1.目的:
python+flask+mysql搭建一个简单的前端+后端博客,包含增删改查相关操作。
2.实现
下面的操作是从0到1,教大家一步步怎么实现的。
2.1
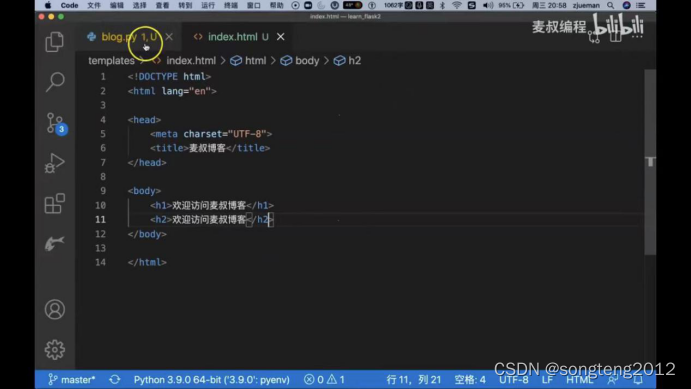
图1:新建index.html,render_template的作用是打开一个网页;
图2:templates文件夹下新建一个index.html

2.2
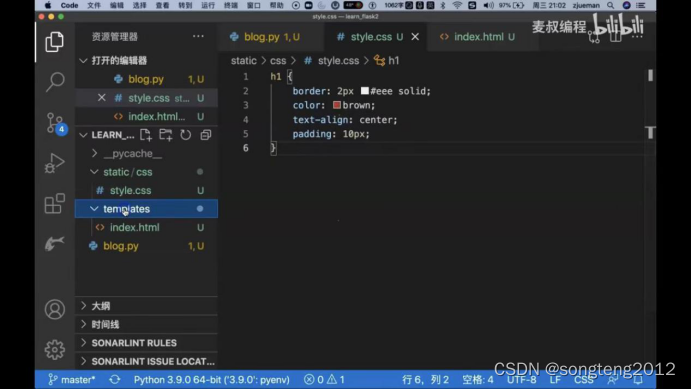
图1:使用样式css美化网页,新建static/css/style.css;
图2:修改templates文件夹下的index.html,link代表连接样式表,{{}}代表动态的,变量
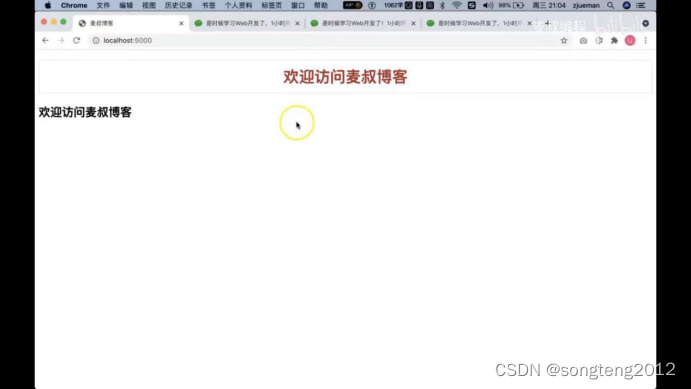
图3:运行展示效果

2.3
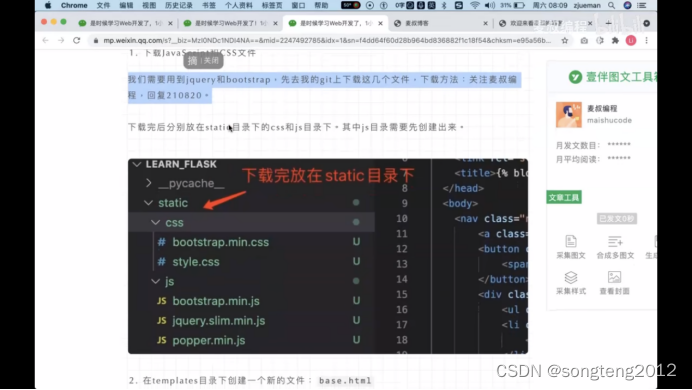
图1:下载css和js模板(到github下载),放在static目录下
2.4
图1:使用模板,在template下新建base.html基础模板;
图2:修改templates下index.html里面的内容,先继承base.html,然后在往block title或content里面加内容


2.5
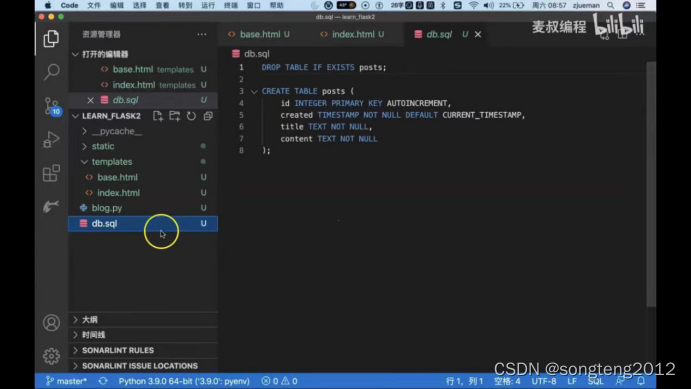
图1:创建数据库,新建一个db.sql数据库;
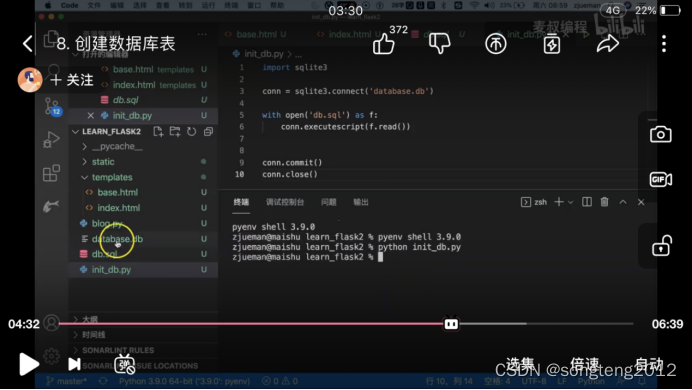
图2:新建init_db.py去初始化数据库,在终端执行一下;
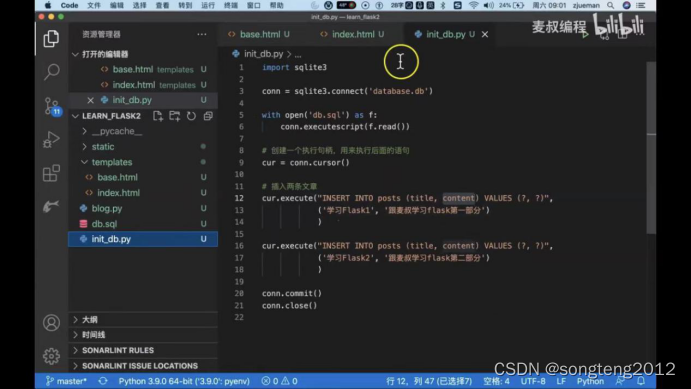
图3:删除生成的database库,插入两条数据,再执行一下
2.6
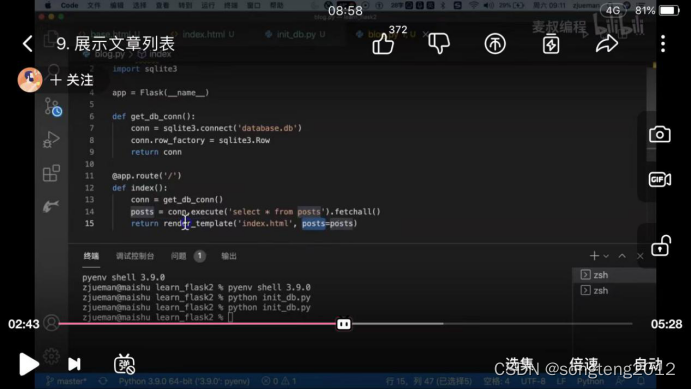
图1:把数据库的信息显示在网页上,修改blog.py 定义数据库连接函数,把posts传到index网页中;
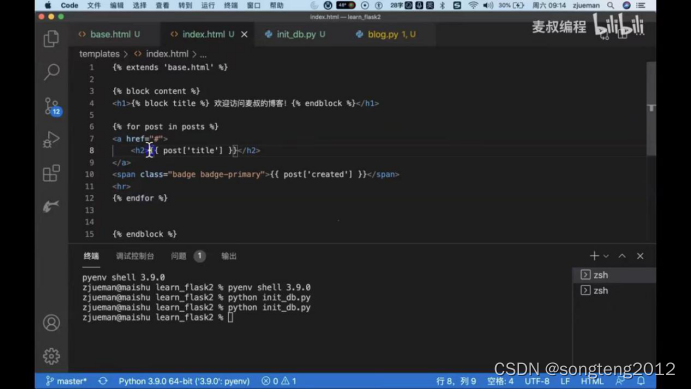
图2:index.html中添加展示post的title和created
2.7
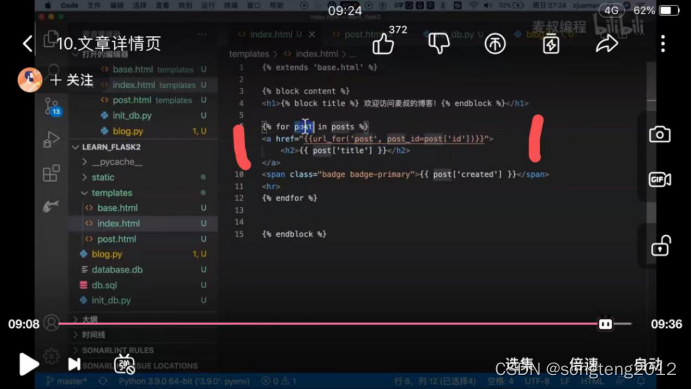
图1:点击链接进去详情页 ,blog.py创建post_id函数,通过网页的id进入详情页;
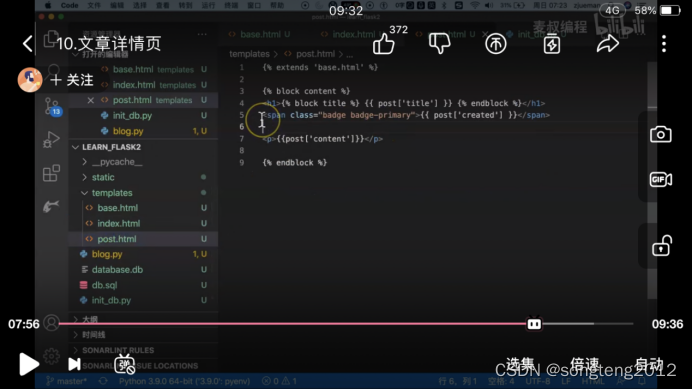
图2:新建post.html(复制index.html),这里写完后,就可以在网页中直接输入id查看详情信息;
图3:index.html中加入跳转的连接

2.8
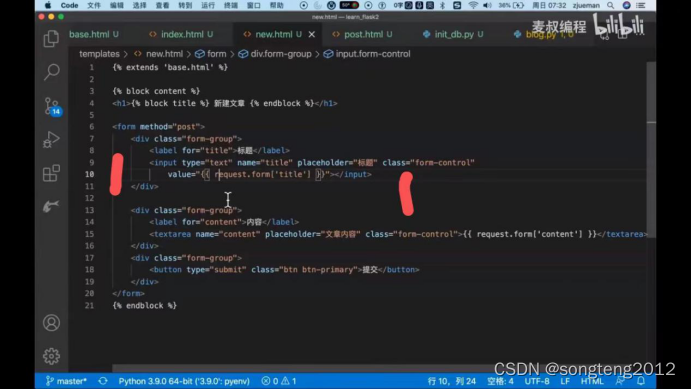
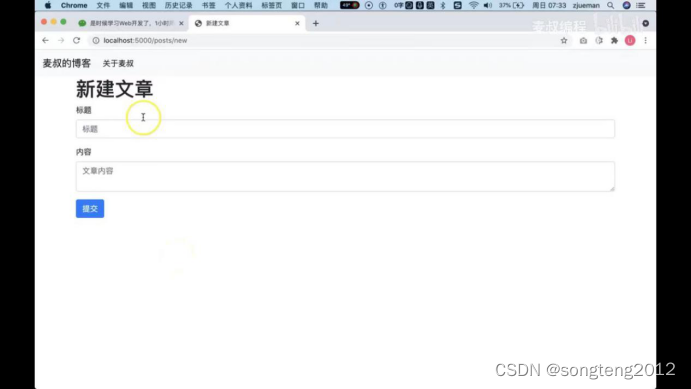
图1:新建文章页面,新建文章有展示和提交,所以有get和post ;
图2:新建new.html,value的标题没有等于空,而是等于request.form,防止提交表单失败,之前填写的标题没有了,内容中的request.form也是同样的道理
图3:页面的展示效果

2.9
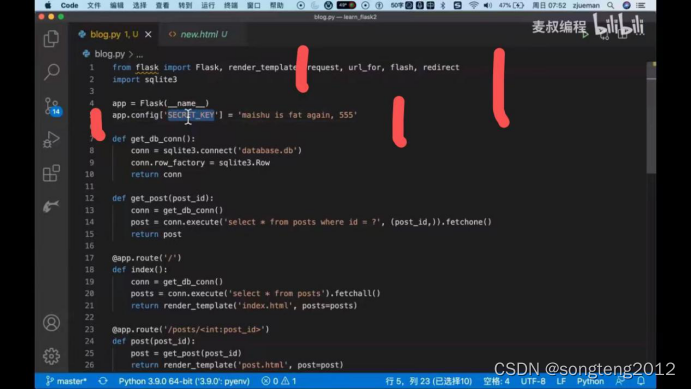
图1:app.config[SECRET_KEY]加密钥,防止被改动;
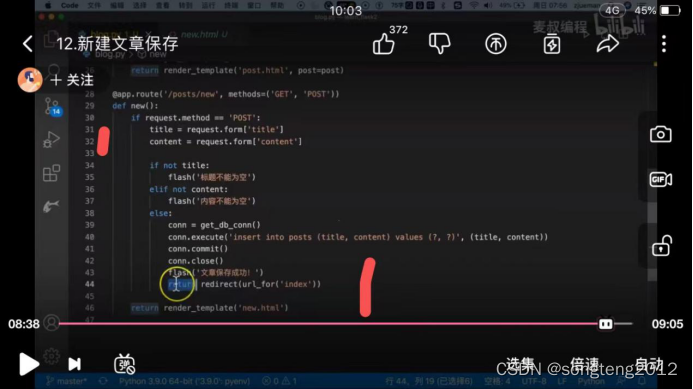
图2:新建文章保存,导入一些库文件,new函数中增加保存到数据库的代码,别忘记跳转到首页前加return ,如果是post也就是提交才保存
2.10
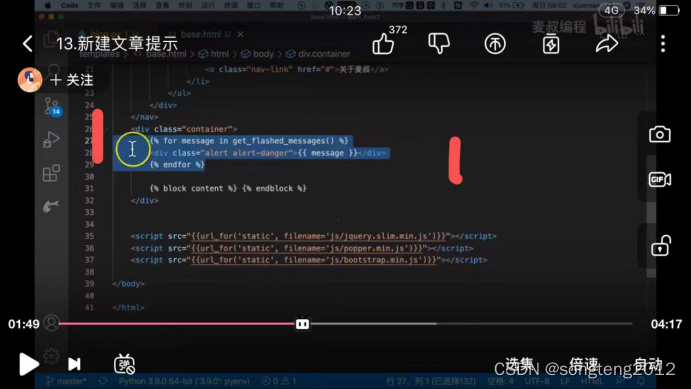
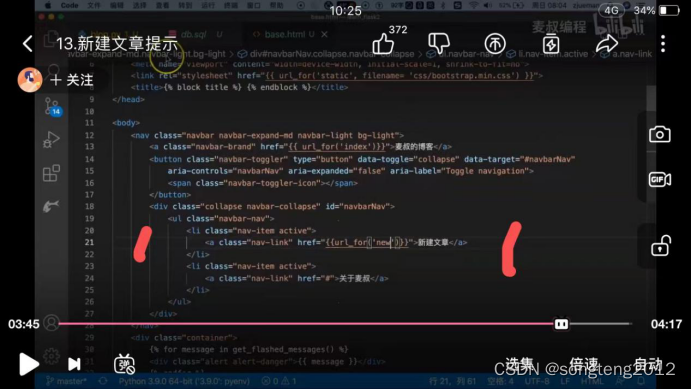
图1、2、3:增加提示,最新的文章展示在前面,增加新建文章的连接
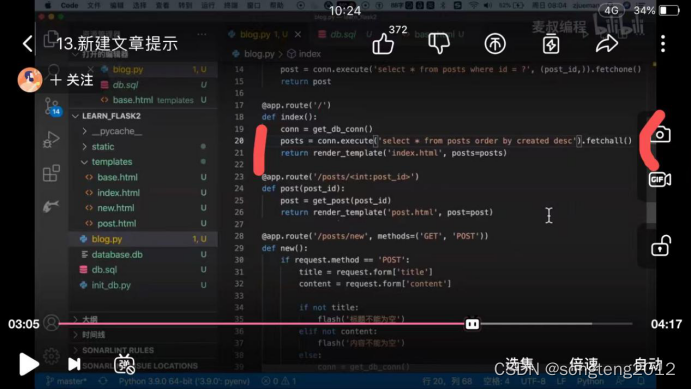
2.11
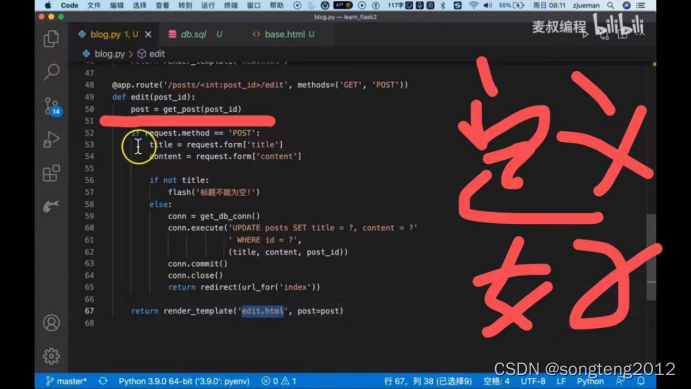
图1:编辑文章,get_pist之前函数定义好的,看看title =request.form[title] ;
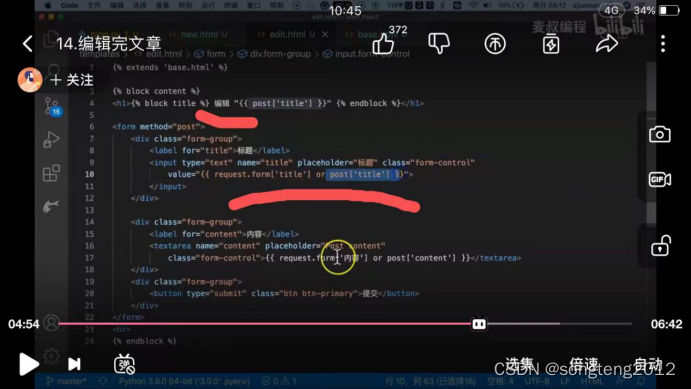
图2:新建edit.html,把new.html复制过来,标题改为编辑,注意编辑要么从数据库中取要么从已修改过中取;
图3:编辑连接放在时间后面

2.12
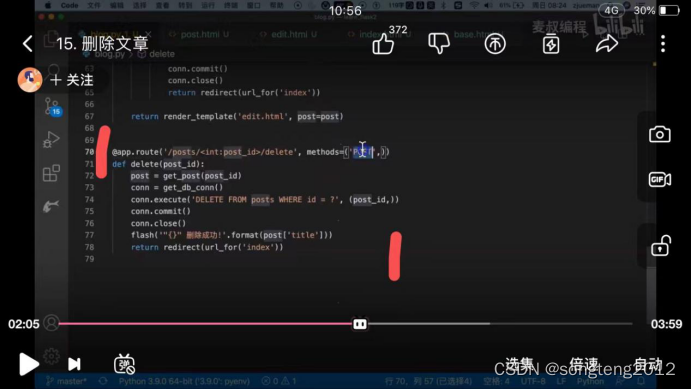
图1:在文章详情中添加删除,增加delete函数,用的是post防止爬虫,post不能用网页访问,用postman去访问 ;
图2:post.html文章详情页中添加删除连接
图3:网页展示效果


2.13
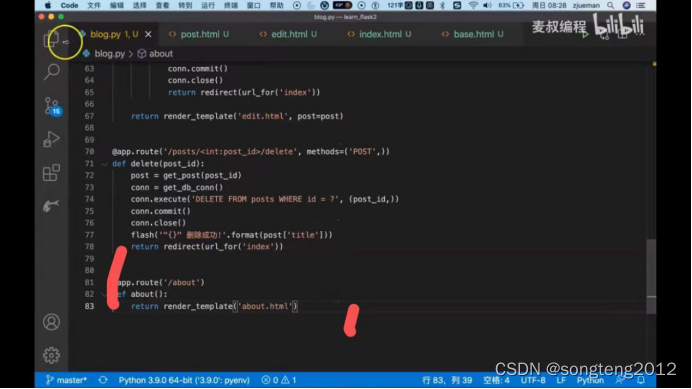
图1:关于麦叔,函数定义好;
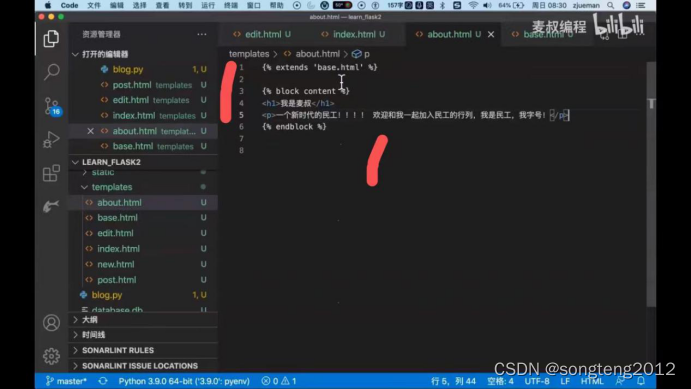
图2:新建about.html ,注意写在里面;
图3:在base.html中herd里面连接指向修改为about.html

3.下载
https://github.com/songteng2012/python-flask-mysql-blog

