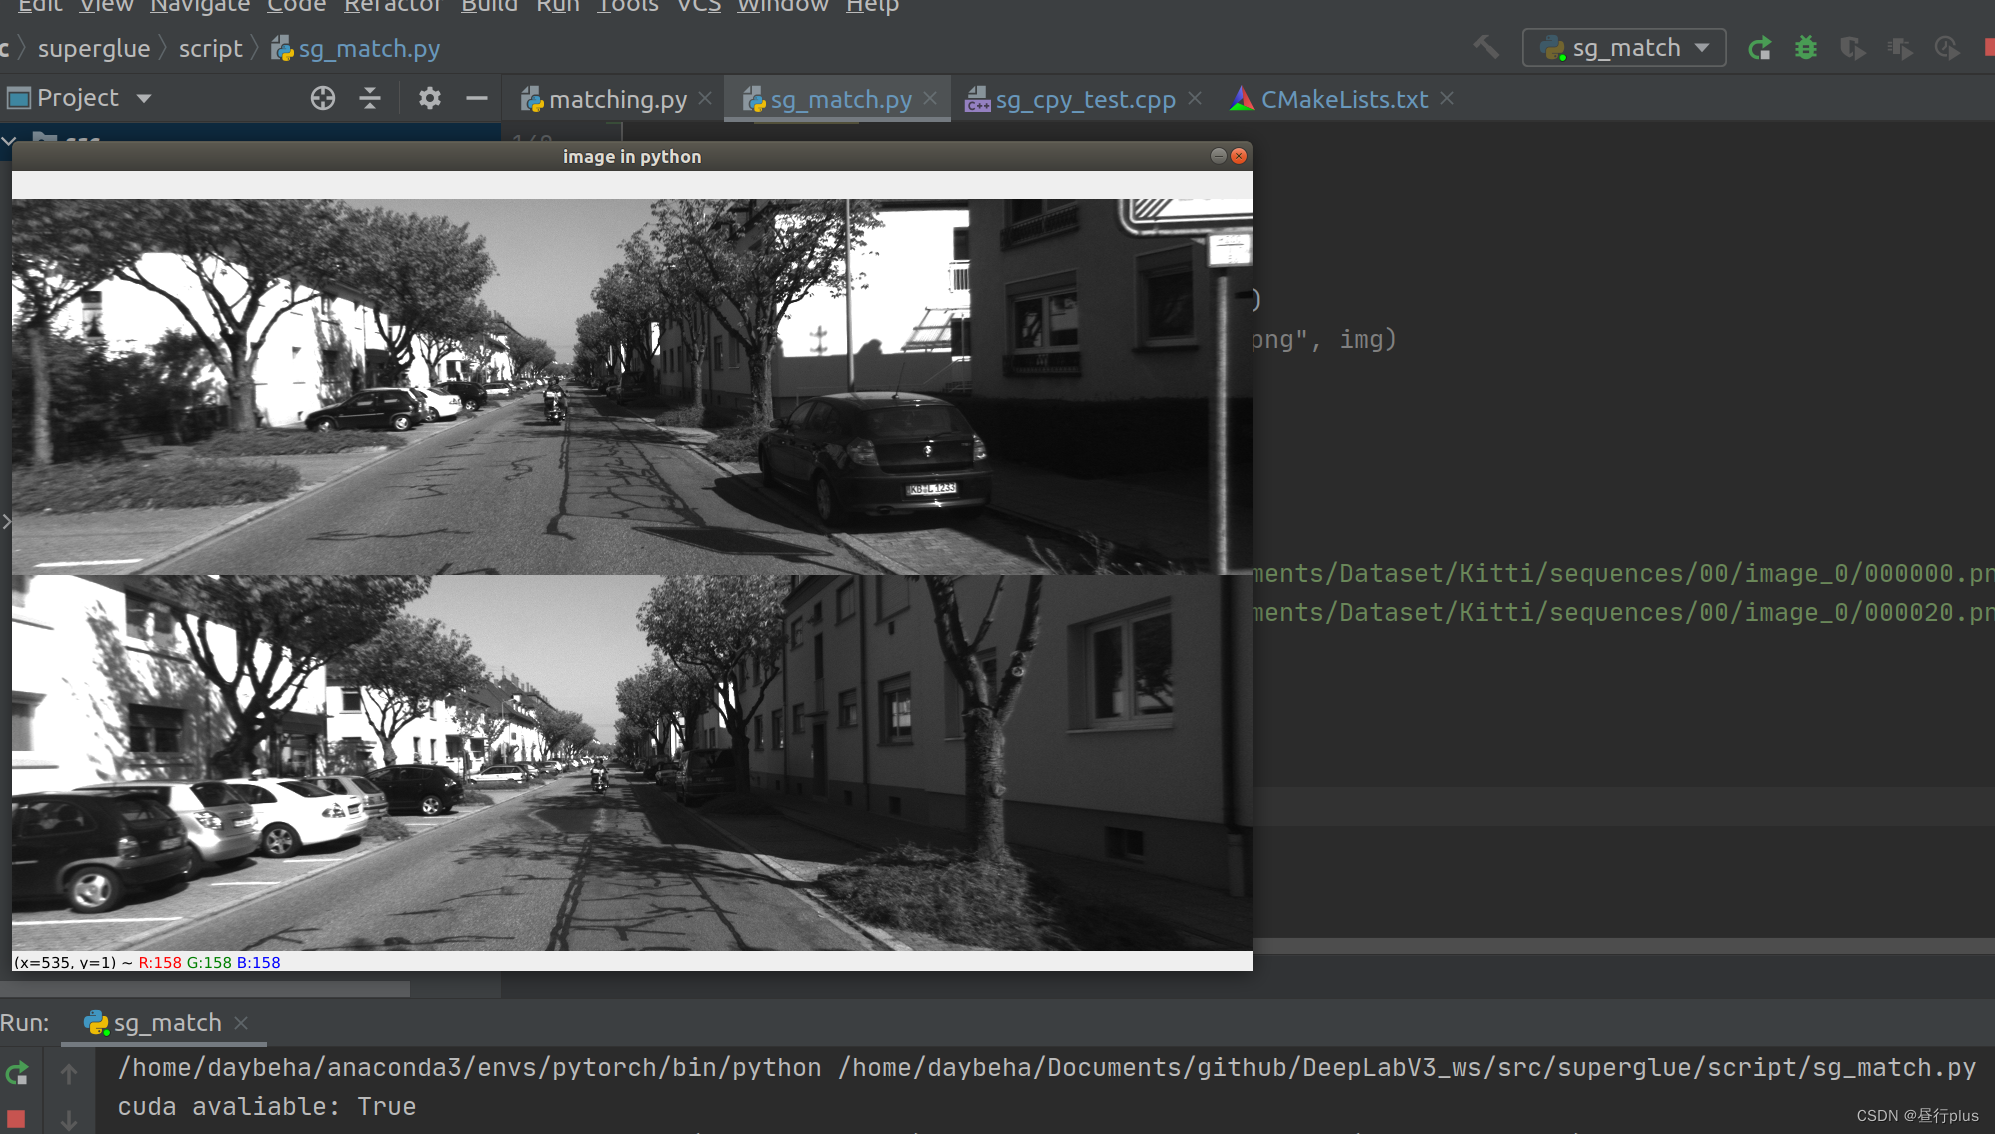
系统:ubuntu 18.04
前文Cmake/Gcc调用 Python模块演示了调用ubuntu自带python3.6的情况。
这次演示下与anaconda混合编程的情况:
上篇文章根据官网的获取链接命令方法:
python3.9-config --ldflags
得不到类似 -lpython3.9的内容

target_link_libraries部分直接写 -lpython3.9 会找不到Python.h涉及的各种函数从而无法通过编译。
最后解决方法也很简单,我们直接给路径就完了:
set(PYTHON_INCLUDE_DIR "/home/daybeha/anaconda3/envs/pytorch/include/python3.9")
set(NUMPY_INCLUDE_DIR "/home/daybeha/anaconda3/envs/pytorch/include/python3.9/site-packages/numpy/core/include")
set(PYTHON_LIBRARY "/home/daybeha/anaconda3/envs/pytorch/lib/libpython3.9.so")
然后就可以类似OpenCV一样进行 include_directories 和 target_link_libraries:
include_directories(
        ${OpenCV_INCLUDE_DIRS}
#        "/usr/include/python3.6m"
        ${PYTHON_INCLUDE_DIR}
        ${NUMPY_INCLUDE_DIR}
)
target_link_libraries(sg_cpy_test
        ${OpenCV_LIBRARIES}
#        -lpython3.6m
        ${PYTHON_LIBRARY}
        )
完整CmakeList.txt
cmake_minimum_required(VERSION 3.0.2)
project(c_anaconda)

## Compile as C++11, supported in ROS Kinetic and newer
# add_compile_options(-std=c++11)

set(CMAKE_BUILD_TYPE Debug)


# 这里是核心! 路径绝不能错
#set(PYTHON_EXECUTABLE "/home/daybeha/anaconda3/envs/pytorch/bin/python")
set(PYTHON_INCLUDE_DIR "/home/daybeha/anaconda3/envs/pytorch/include/python3.9")
set(NUMPY_INCLUDE_DIR "/home/daybeha/anaconda3/envs/pytorch/include/python3.9/site-packages/numpy/core/include")
set(PYTHON_LIBRARY "/home/daybeha/anaconda3/envs/pytorch/lib/libpython3.9.so")


find_package(OpenCV REQUIRED)

include_directories(
 include
    models
        ${OpenCV_INCLUDE_DIRS}
#        "/usr/include/python3.6m"
        ${PYTHON_INCLUDE_DIR}
        ${NUMPY_INCLUDE_DIR}
)

#LINK_DIRECTORIES("/usr/lib/python3.6/config-3.6m-x86_64-linux-gnu")
#LINK_DIRECTORIES("/home/daybeha/anaconda3/envs/pytorch/lib/python3.9/config-3.9-x86_64-linux-gnu")


add_executable(sg_cpy_test src/sg_cpy_test.cpp)
target_link_libraries(sg_cpy_test
        ${OpenCV_LIBRARIES}
#        -lpython3.6m
        ${PYTHON_LIBRARY}
        )
sg_cpy_test.cpp
//
// Created by daybeha on 2022/7/8.
//

#define PY_SSIZE_T_CLEAN
#include <Python.h>
#include <iostream>
#include <opencv2/opencv.hpp>
#include "numpy/arrayobject.h"

using namespace std;


const char * python_modle= "sg_match";
const char * python_func =  "con_show";
//const char * python_func =  "show_img";


PyObject* Mat2Numpy(cv::Mat img){
    int r = img.rows;
    int c = img.cols;
    int ch = img.channels();
    // total number of elements (here it's an RGB image of size 640x480)
    int nElem = r * c * ch;

    // 创建数组类型,保存上面读到的图片
    // create an array of apropriate datatype
    uchar* m = new uchar[nElem];
    // copy the data from the cv::Mat object into the array
    std::memcpy(m, img.data, nElem * sizeof(uchar));

//    // the dimensions of the matrix
//    npy_intp mdim[] = { r, c, ch};
//    // 将cv::Mat 转为 numpy.array 类型 convert the cv::Mat to numpy.array
//    PyObject* mat = PyArray_SimpleNewFromData(ch, mdim, NPY_UINT8, (void*) m);

    // the dimensions of the matrix
    PyObject* mat;
    cout << "mdim : " << endl;
    if(ch == 1){
        npy_intp mdim[2] = {r, c};
        cout << mdim[0] << ", " << mdim[1] << ", "<< mdim[2] <<endl;
        // 将cv::Mat 转为 numpy.array 类型 convert the cv::Mat to numpy.array
        // 注意第一个参数是数组维度,不是图像通道数
        mat = PyArray_SimpleNewFromData(2, mdim, NPY_UINT8, (void*) m);
    }else{
        npy_intp mdim[3] = {r, c, ch};
        cout << mdim[0] << ", " << mdim[1] << ", "<< mdim[2] <<endl;
        mat = PyArray_SimpleNewFromData(3, mdim, NPY_UINT8, (void*) m);
    }

//    delete[] m;
    return mat;
}


int main(int argc, char *argv[])
{
//    Py_SetProgramName(reinterpret_cast<wchar_t *>(argv[0]));


    PyObject *pName, *pModule, *pFunc, *pDict;
    // 初始化
    Py_Initialize();


    // 将Python工作路径切换到待调用模块所在目录,一定要保证路径名的正确性
    string path = "/home/daybeha/Documents/github/DeepLabV3_ws/src/superglue/script";
    string chdir_cmd = string("sys.path.append(\"") + path + "\")";
    PyRun_SimpleString("import sys\n");
    PyRun_SimpleString(chdir_cmd.c_str());
    PyRun_SimpleString("print(sys.path)");

    // 检查当前Python版本
    PyRun_SimpleString("import platform\n"
                       "print(f\"\\033[92m Python Version: {platform.python_version()}\\033[0m\")\n");

    // 在C中使用numpy之前一定要先 import_array()
    // https://numpy.org/doc/1.13/reference/c-api.array.html#c.import_array
    // this macro is defined be NumPy and must be included
//    import_array1(-1);
    import_array();

    // 导入 python 模块
//    pName = PyUnicode_DecodeFSDefault(python_modle);
//    /* Error checking of pName left out */
//    pModule = PyImport_Import(pName);
    pModule = PyImport_ImportModule(python_modle);
//    Py_DECREF(pName);

    PyRun_SimpleString("import os\n"
                       "print(f'current path:{os.getcwd()}')\n");

    if (pModule != NULL) {
        cout << "loaded " << python_modle << endl;

        // 获取目标python函数
//        // get dictionary of all available entities in the module
//        pDict = PyModule_GetDict(pModule);
//        // grab the functions we are interested in (using its name)
//        pFunc = PyDict_GetItemString(pDict, "foo_bar");
        pFunc = PyObject_GetAttrString(pModule, python_func);

        /* pFunc is a new reference */
        if (pFunc && PyCallable_Check(pFunc)) {
            // 读取图片
            cv::Mat img0 = cv::imread("/home/daybeha/Documents/Dataset/Kitti/sequences/00/image_0/000000.png",cv::IMREAD_GRAYSCALE);
            cv::Mat img1 = cv::imread("/home/daybeha/Documents/Dataset/Kitti/sequences/00/image_0/000020.png",cv::IMREAD_GRAYSCALE);

//            int r = img0.rows;
//            int c = img0.cols;
//            int ch = img0.channels();
//            // total number of elements (here it's an RGB image of size 640x480)
//            int nElem = r * c * ch;
//
//            // 创建数组类型,保存上面读到的图片
//            // create an array of apropriate datatype
//            uchar* m0 = new uchar[nElem];
//            uchar* m1 = new uchar[nElem];
//            // copy the data from the cv::Mat object into the array
//            std::memcpy(m0, img0.data, nElem * sizeof(uchar));
//            std::memcpy(m1, img1.data, nElem * sizeof(uchar));
//
//            // the dimensions of the matrix
//            npy_intp mdim[] = { r, c, ch};
//            // 将cv::Mat 转为 numpy.array 类型 convert the cv::Mat to numpy.array
//            PyObject* mat0 = PyArray_SimpleNewFromData(ch, mdim, NPY_UINT8, (void*) m0);
//            PyObject* mat1 = PyArray_SimpleNewFromData(ch, mdim, NPY_UINT8, (void*) m1);

            PyObject* mat0  = Mat2Numpy(img0);
            PyObject* mat1  = Mat2Numpy(img1);


            // 将函数参数封装进一个Tuple
            // create a Python-tuple of arguments for the function call
            // "()" means "tuple". "O" means "object"
//            PyObject* pArgs = Py_BuildValue("(O)", mat0);
            PyObject *pArgs = PyTuple_New(2);     // 必须先创建Tuple
            PyTuple_SetItem(pArgs, 0, mat0);
            PyTuple_SetItem(pArgs, 1, mat1);

            // 调用目标函数 execute the function
            PyObject* result = PyEval_CallObject(pFunc, pArgs);
            if (result != NULL) {
                printf("Result of call: %f\n", PyFloat_AsDouble(result));
                Py_DECREF(result);
            }else{
                cerr << "result Null" << endl;
            }

            // 释放引用 decrement the object references
            Py_XDECREF(mat0);   Py_XDECREF(mat1);
            Py_XDECREF(result);
//            Py_XDECREF(args);
            Py_XDECREF(pArgs);


        }
        else {
            if (PyErr_Occurred())
                PyErr_Print();
            fprintf(stderr, "Cannot find function \"%s\"\n", argv[2]);
        }
        Py_XDECREF(pFunc);
        Py_DECREF(pModule);
    }
    else {
        PyErr_Print();
        fprintf(stderr, "Failed to load \"%s\"\n", argv[1]);
        return 1;
    }

    if (Py_FinalizeEx() < 0) {
        return 120;
    }
    return 0;

}
sg_match.py
import torch
import cv2

print(f"cuda avaliable: {torch.cuda.is_available()}")

def con_show(img0, img1):
    # 纵向连接 image = np.vstack((img0, img1))
    # 横向连接 image = np.concatenate([img0, img1], axis=1)
    image = np.concatenate((img0, img1))

    cv2.imshow("image in python", image)
    # cv2.imwrite("/home/tt/test/111.png", img)
    cv2.waitKey(0)


def show_img(img=None):
    if img is not None:
        cv2.imshow("image in python", img)
        # cv2.imwrite("/home/tt/test/111.png", img)
        cv2.waitKey(0)
    return 0.48795

if __name__ == "__main__":
    img0 = cv2.imread("/home/daybeha/Documents/Dataset/Kitti/sequences/00/image_0/000000.png")
    img1 = cv2.imread("/home/daybeha/Documents/Dataset/Kitti/sequences/00/image_0/000020.png")
    con_show(img0,img1)

Plus
如果是ros工程使用catkin_make的话,参考ROS+Pytorch的联合使用示例(语义分割)
使用如下命令编译:
catkin_make -DPYTHON_EXECUTABLE=/home/daybeha/anaconda3/envs/pytorch/bin/python -DPYTHON_INCLUDE_DIR=/home/daybeha/anaconda3/envs/pytorch/include/python3.9 -DPYTHON_LIBRARY=/home/daybeha/anaconda3/envs/pytorch/lib/libpython3.9.so -DCMAKE_BUILD_TYPE=Release -DSETUPTOOLS_DEB_LAYOUT=OFF
有个问题
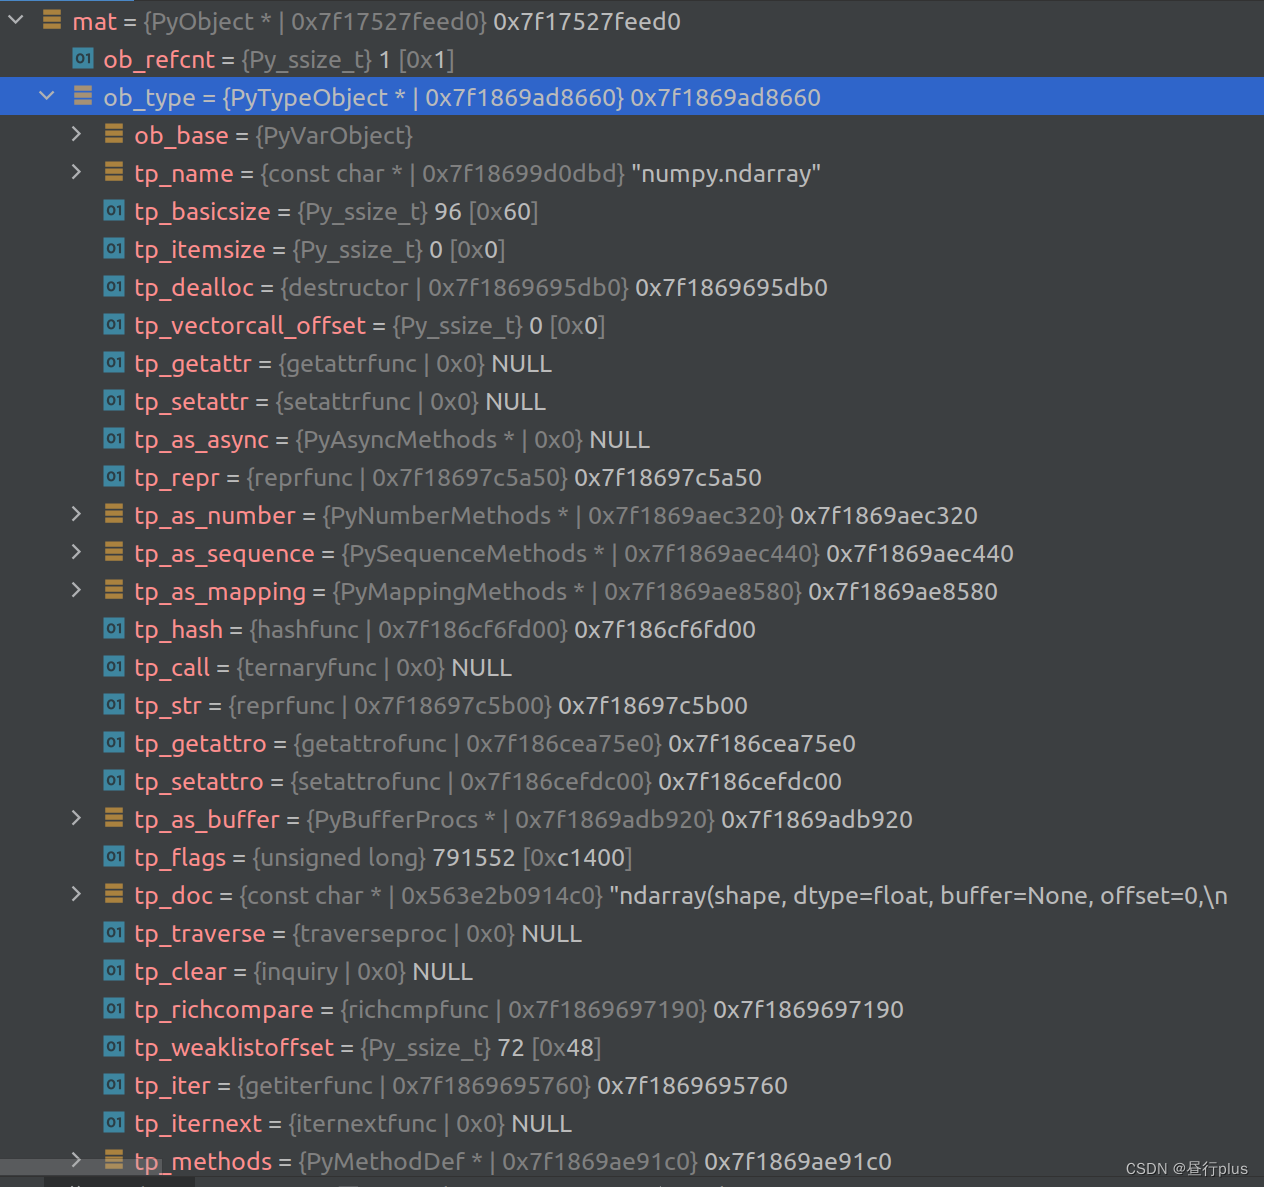
PyObject封装太多参数了,不怎么好Debug,不知道哪个对应的才是转换的数据……
有知道的大佬若能在评论区或私信指导,我将感激不尽!!!

Plus
经测试发现上面的方法在多线程下就没了……因此附加一篇:
CMake下调用anaconda的pytorch及numpy传参CV::Mat给python(多线程版)
Reference
如何实现 C/C++ 与 Python 的通信?
Python.h的Cmake配置
python文档 – 拓展和嵌入
python文档 – python/C API接口
上面文档的中译版
cmake的项目c++调用python方法-爱代码爱编程
C++ 调用 Python 脚本,并把 cv::Mat 类型传参到 Python 端
C++调用 anaconda 下的python ubuntu/ window