-
ǰ��
�����ڴyoloϵ��Ŀ����ģ��ʱ,������Ҫ�Դ����������,��ʱ���ִ���,���Ա�����pycharm�Ļ�����,��yolov6�е�infer.py�������ԡ�
-
����������conda����һ���������������,�����ն�tenminal����ͨinfer.py,��Ҫ��tenminal����������ָ��:
python tools/infer.py --weights weights/yolov6s.pt --source test_img/30%.jpeg --save-txt
���Կ���,�����С��Cweights���Ȳ���,�������ֱ��run�Ļ�,����ֻ�ܹ���Ĭ�ϲ������ý�������,��������Ϊ���ܹ��Գ������DeBug,���������ܹ�Ҫ���������úá�
���ȵ�һ��:�������Ҽ�,�ҵ���Modify Run Configuration����һ��,
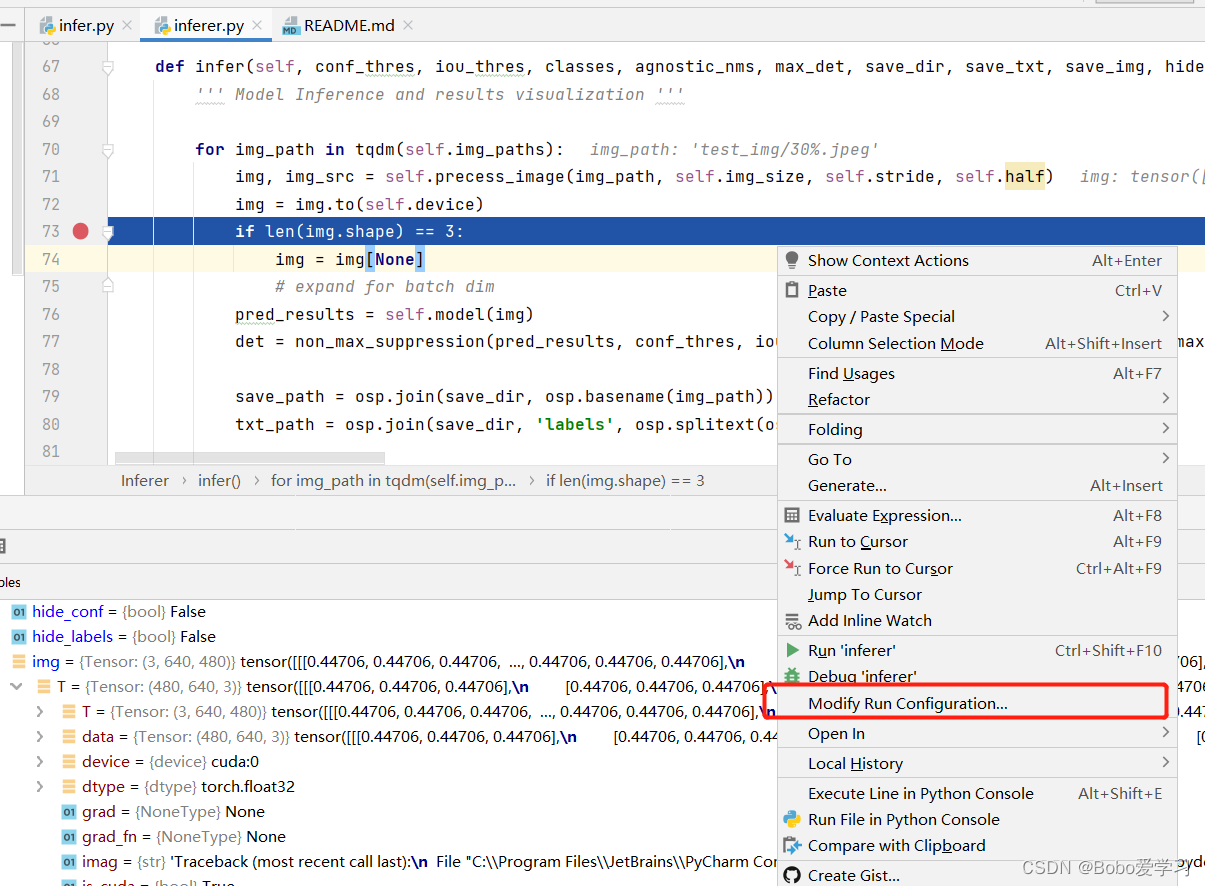
�������,�ῴ�����½���,
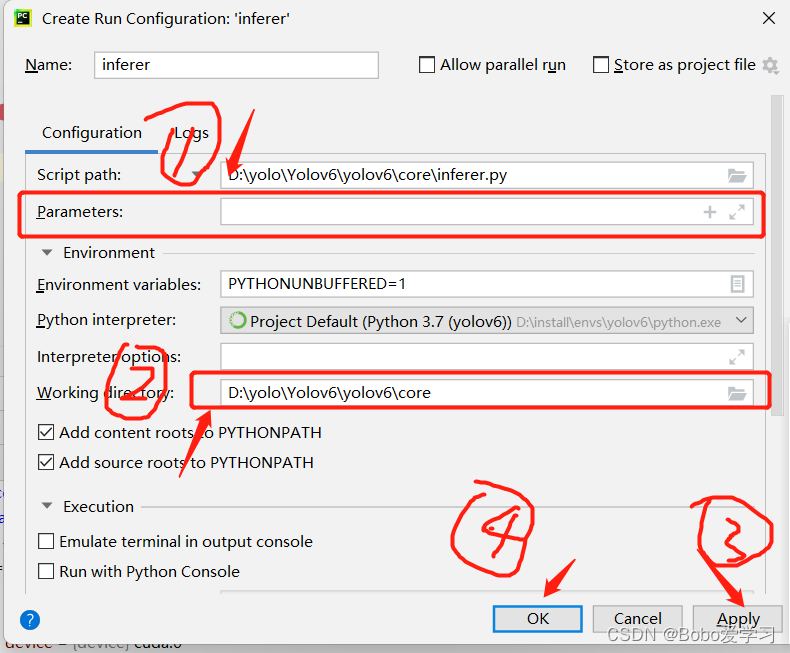
�ڡ�Parameters����������,�������²�������,�����,����:

!!ע��ע��!!,�������ϵġ�Working directory���еĹ����ռ�,һ��Ҫ��Ϊ��weights/yolov6s.pt�������·������һ��Ŀ¼,Ҳ����yolov6,������ʾ:

���һ��Ҫ��"apply",Ȼ���ٵ����OK����
3.����(Debug)
��ѡ��Debug,

�����,��ͼ��ʾ:
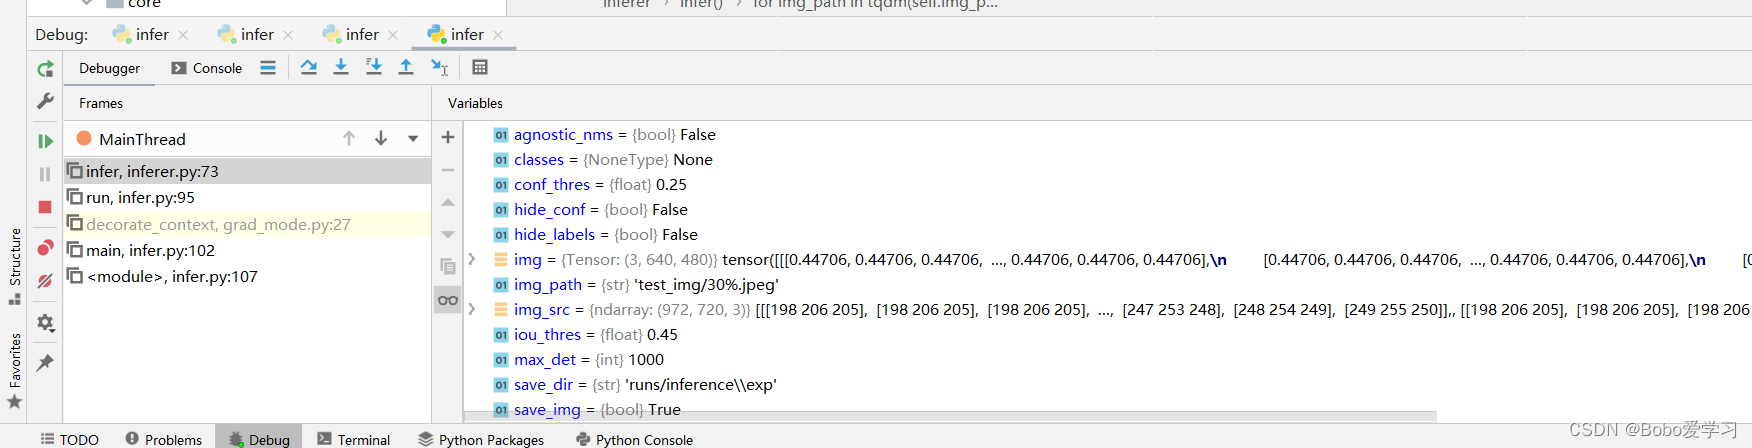
�Ѿ����Կ�ʼ����,ô�б�����
4.����
���ڴ�ϵ�,����,����ο�������ƪ����,ϣ���ܹ��ﵽ��,ף��һ��˳��!
https://blog.csdn.net/weixin_43499626/article/details/117222955