简介:
介绍一下两种安装方法本质上都是改变镜像源
方法一
1.我们进入pycharm后点击左上角的File―>Settings

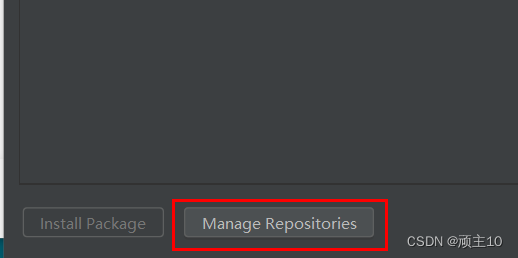
2.点击 Project:项目名下的Proton Interpreter,再点击下方的+号。

3.点击下方Manage Repositions
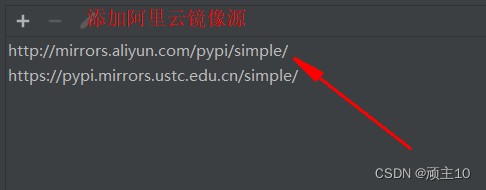
4.点击默认的路径,点击―号将其删除,然后添加以下镜像源的其中一个。我用的是阿里的 还是很快的。小伙伴们可以每个试试,找一个快点的就行。
新版ubuntu要求使用https源,要注意。
阿里云:http://mirrors.aliyun.com/pypi/simple/
清华:https://pypi.tuna.tsinghua.edu.cn/simple
中国科技大学 https://pypi.mirrors.ustc.edu.cn/simple/
华中理工大学:http://pypi.hustunique.com/
山东理工大学:http://pypi.sdutlinux.org/
豆瓣:http://pypi.douban.com/simple/
官网:https://pypi.python.org/simple/
方法二
1.我们打开我的电脑进入以下路径C:\Users\a\AppData\Roaming\pip,其中a是我的用户名,
在Roaming文件夹中找到pip文件夹 如果没有可以新建一个pip文件夹,找到pip.ini配置文件,同理,没有pip.ini的也创建一个文本修改后缀即可。

2.右键编辑将里面的原内容删除掉,修改为以下内容,为方便大家粘贴,我就直接把我的复制过来。方便大家Ctrl+c和Ctrl+v。
[global]
[global]
timeout = 10000
index-url = http://mirrors.aliyun.com/pypi/simple/
trusted-host = mirrors.aliyun.com
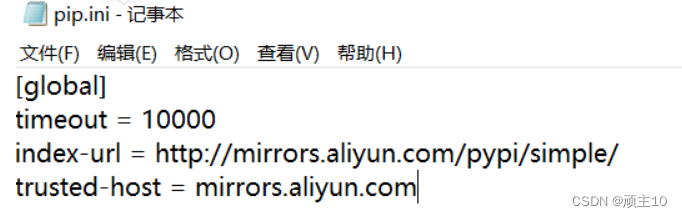
然后保存退出即可,重新启动以下pycharm,可以测试一下,比之前的速度真的快不少。

原文档地址:https://blog.csdn.net/m0_46179013/article/details/119118578
持续更新
更新:2022年7月9日