python���űػ�
һ��windows��python�İ�װ
- ����(https://www.python.org),ѡ��Downloads(Ҳ��Ӧ���̵�ֱ������)
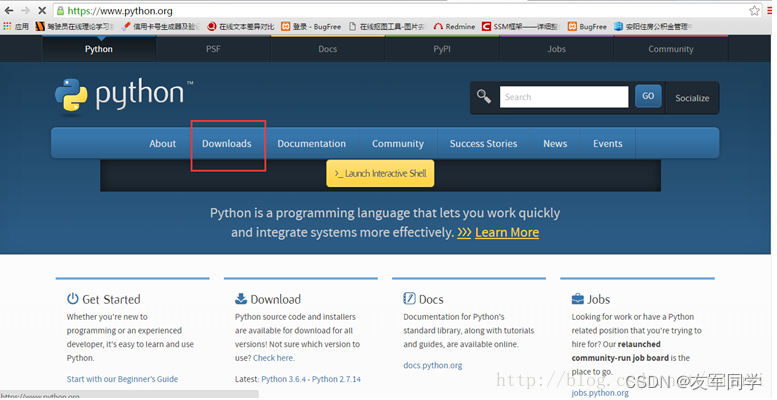
2.Ȼ��ѡ����Ӧ�İ汾python3.xxxx

3.������ɺ��,���������ص���python 3.6.4
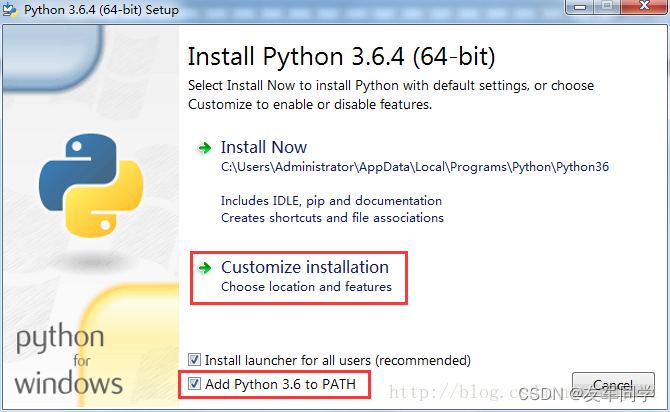
(1)��ѡAdd Python 3.6 to PATH�ǰ�Python�İ�װ·�����ӵ�ϵͳ����������Path������(�������Ǿ���һ���Լ����ӻ���������_)
(2)ѡ��Install NowĬ�Ͻ�pythone��װ��C��Ŀ¼��(��Ϊһ����ʱ������Ů,�ҵ�Ȼ����ѡ�����(?��?))
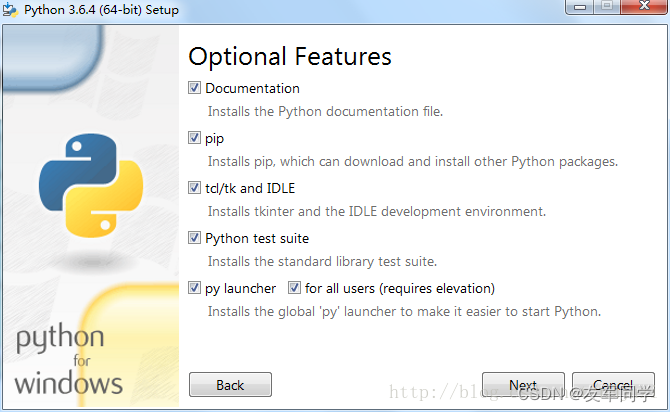
(3)ѡ��Customize installation���Զ���·��(��ѡ���) - ѡ��Customize installation��,��һ��Ĭ��ȫѡ,Ȼ����next(������������ѡ������pip��,������֪��Ϊʲôû������,�����ҵ�����������������o(�i�n�i)o)
3.��һ��Ҫ��ѡ��Install for all users,·�������Լ�����Ҫѡ��(�Ұ�װ����F���µ�Python36�ļ�����)
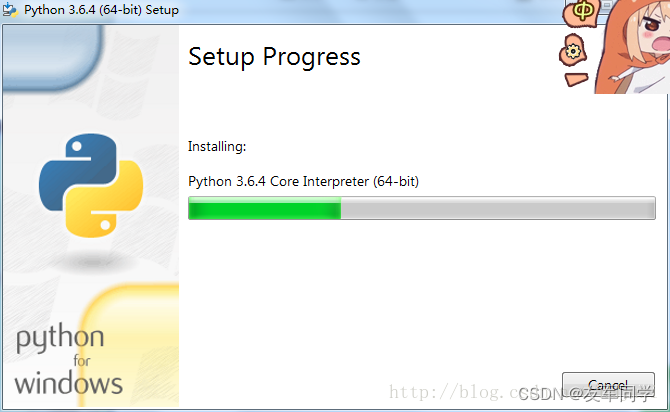
4.���Install,�Ϳ�ʼ��װ��,���̺ܿ�
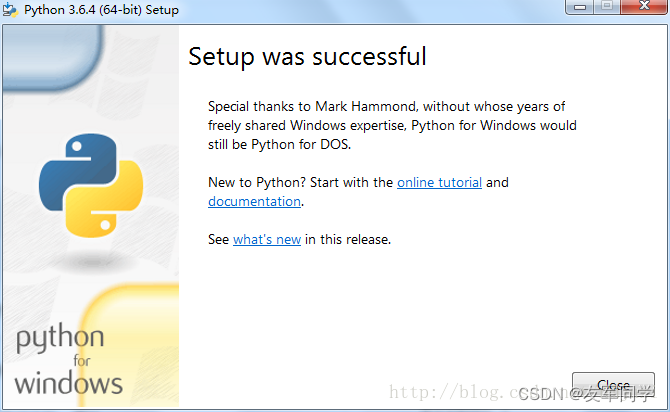
��װ�ɹ�
5.��֤һ���Ƿ�װ�ɹ�
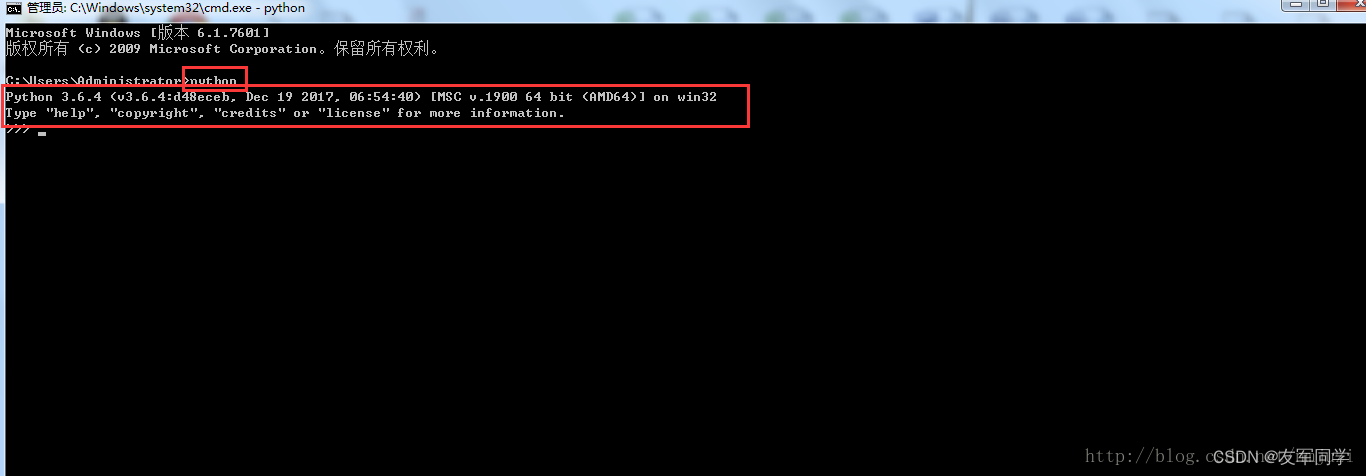
ת����:������ѽ
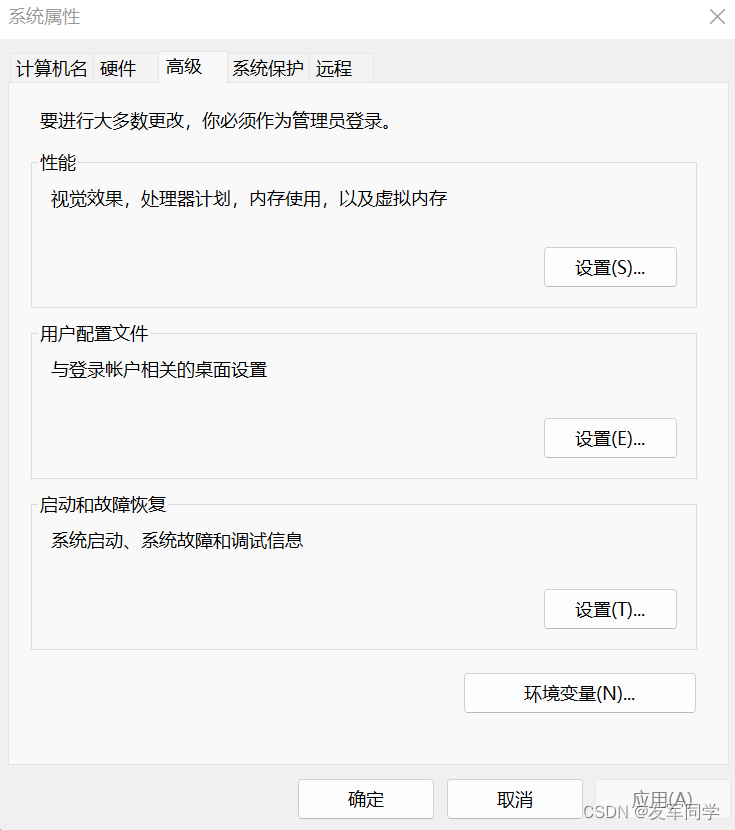
�����ֶ���python���õ�ϵͳ����
1.�һ��˵���,�������,ѡ�������,Ȼ������������(N)
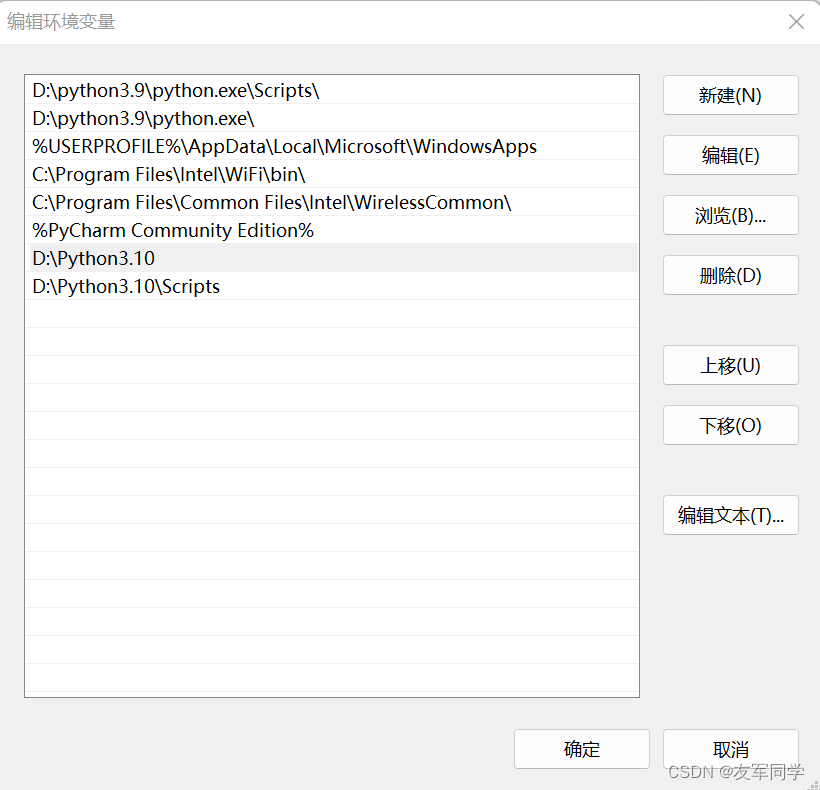
2.˫��path(�û�������ϵͳ����������)
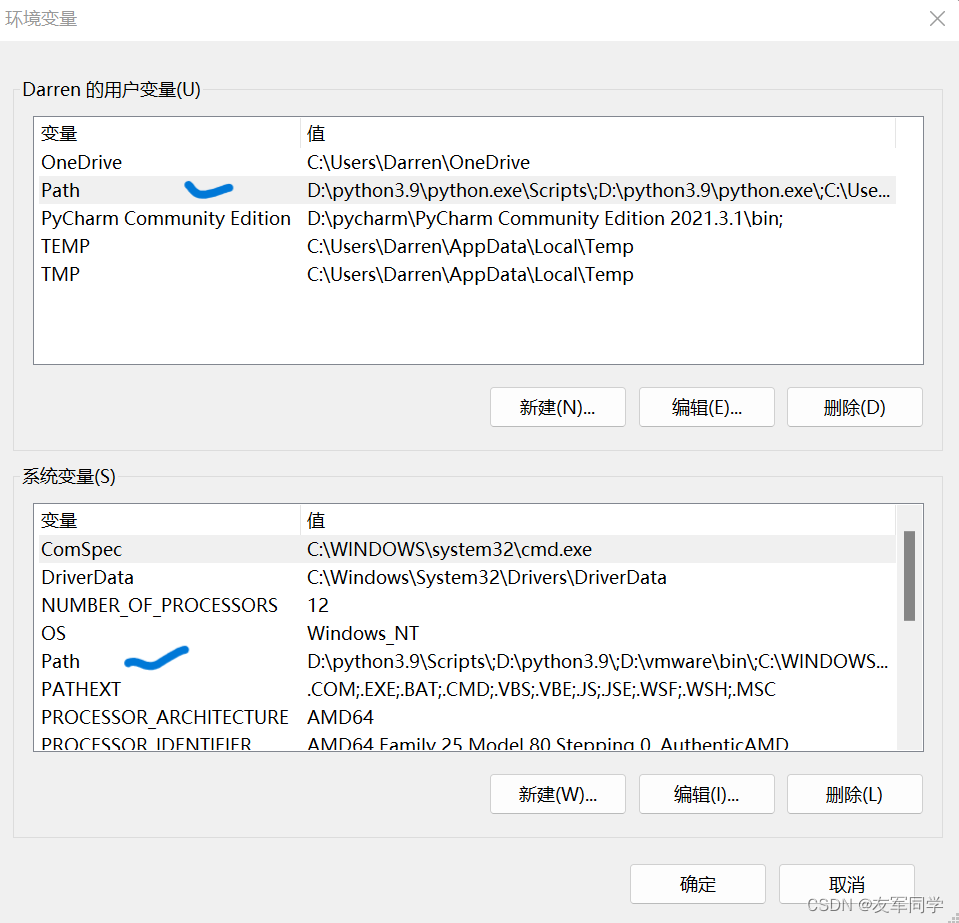
- ����½�,�����½�һ��D://python3.10
����python�������Դ�ķ���
(��numpy��)
- pip��Դ
a. ��ʱ��Դ:
pip install requests -i http://pypi .tuna.tsinghua.edu.cn/simple/
b.������(���������û�Դ):
�˵���,����%APPDATA%
���س�,��ת������Ŀ¼,�½�pip�ļ���
����pip.ini�ļ�
���ļ���,������������,�رռ���(����Դ�ɸ���)
������:
http://mirrors.aliyun.com/pypi/simple/
�й��Ƽ���ѧ:
https://pypi.mirrors.ustc.edu.cn/simple/
����(douban):
http://pypi.douban.com/simple/
�廪��ѧ:
http:/pypi.tuna.tsinghua.edu.cn/simple/
�й���ѧ������ѧ:
http:/pypi.mirrors.ustc.edu.cn/simple/
[global]
timeout = 6000
index-url = https://pypi.tuna.tsinghua.edu.cn/simple
trusted-host = pypi.tuna.tsinghua.edu.cn
2.whl ��Դ,��numpyΪ��(whl������߰�װ,������whl����Ҫ����)
����ַPython Extension Packages for Windows
������Ӧ��whl�ļ�(��Ctrl + F����numpy,���numpy)
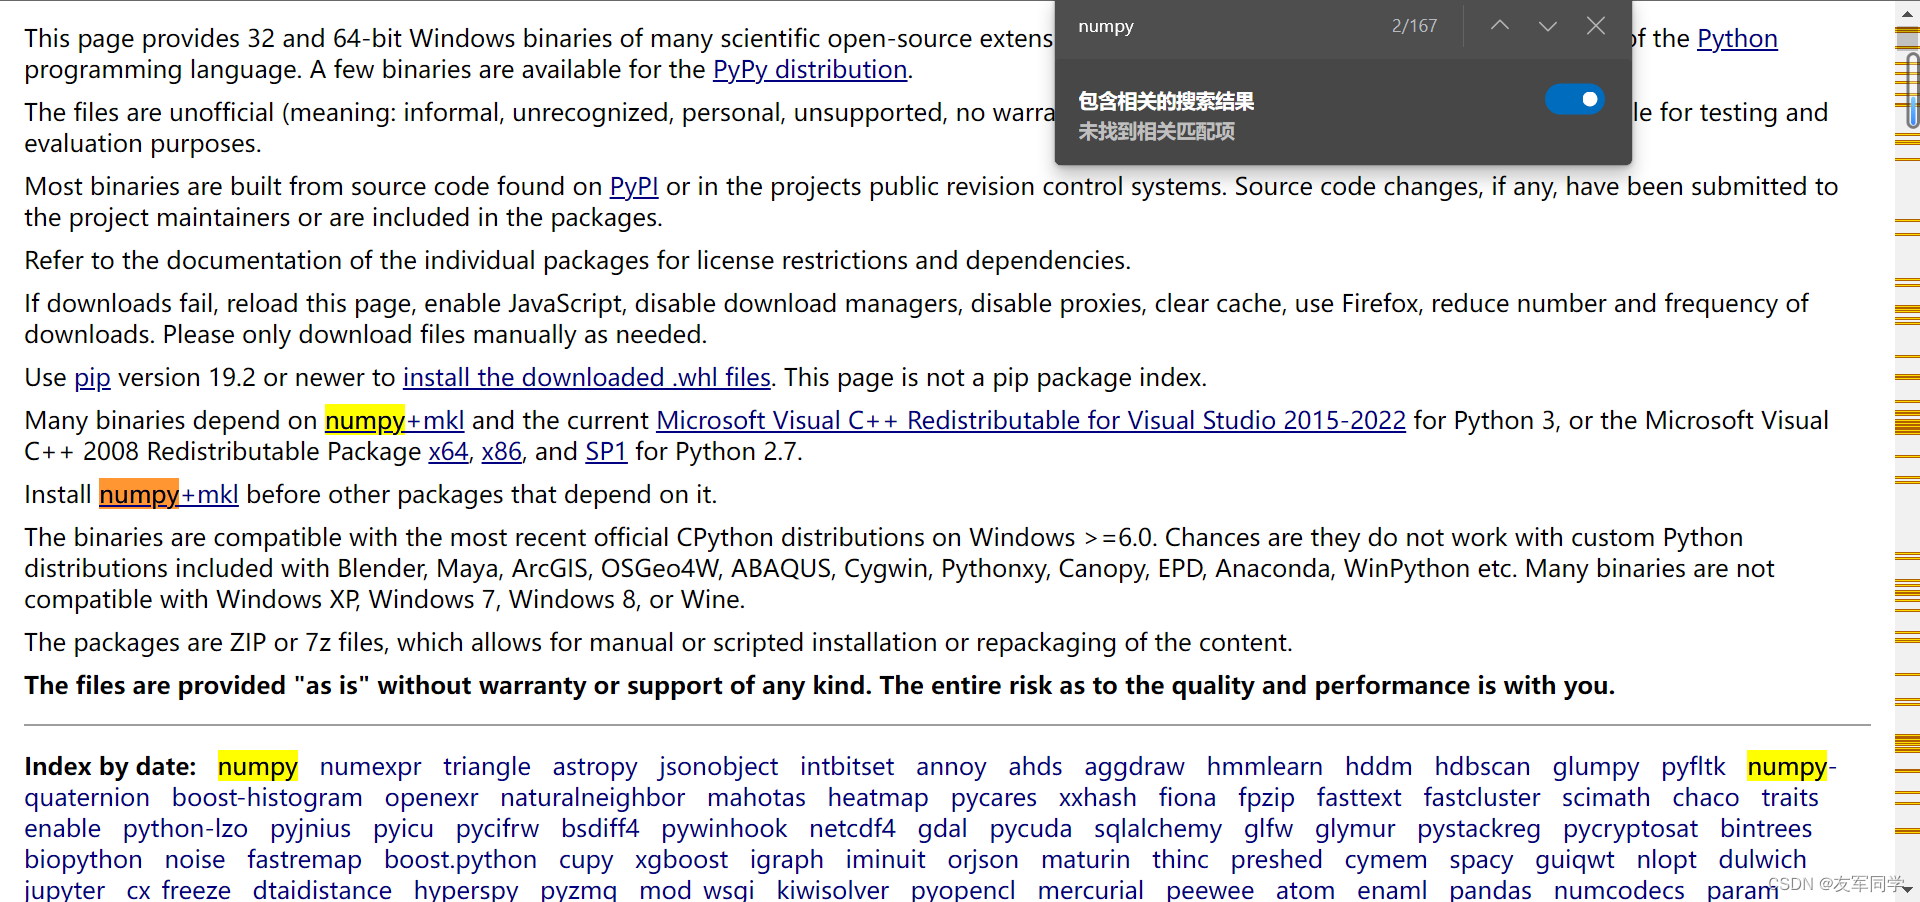
ѡ����Ӧpython�汾�Ŀ�����
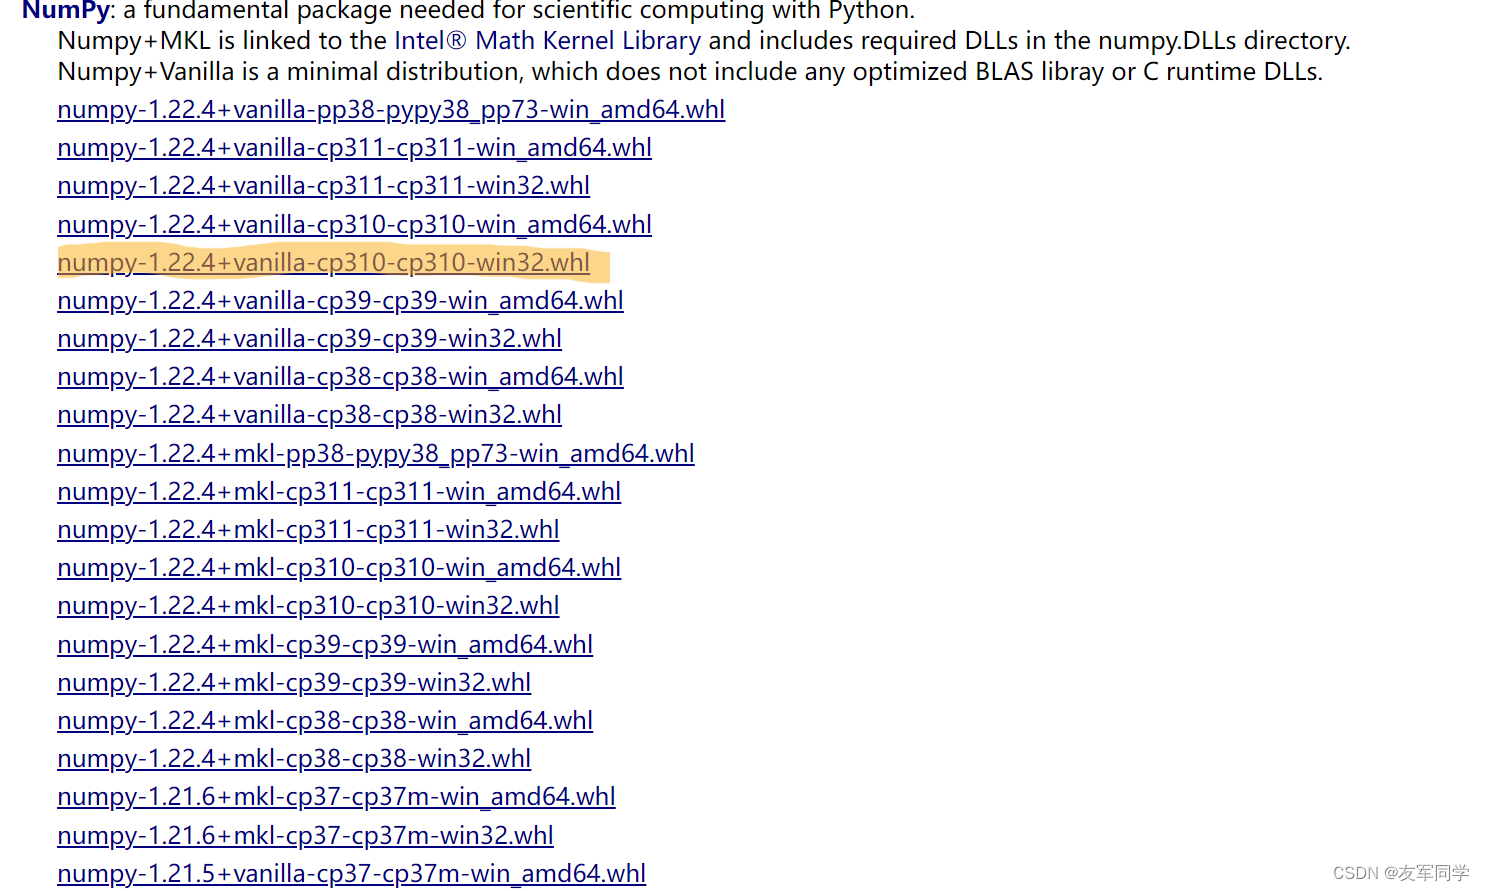
���غú�װ��Ǩ�Ƶ�python·����ȥ
����:d:\python3.9\python.exe\lib\site-packages
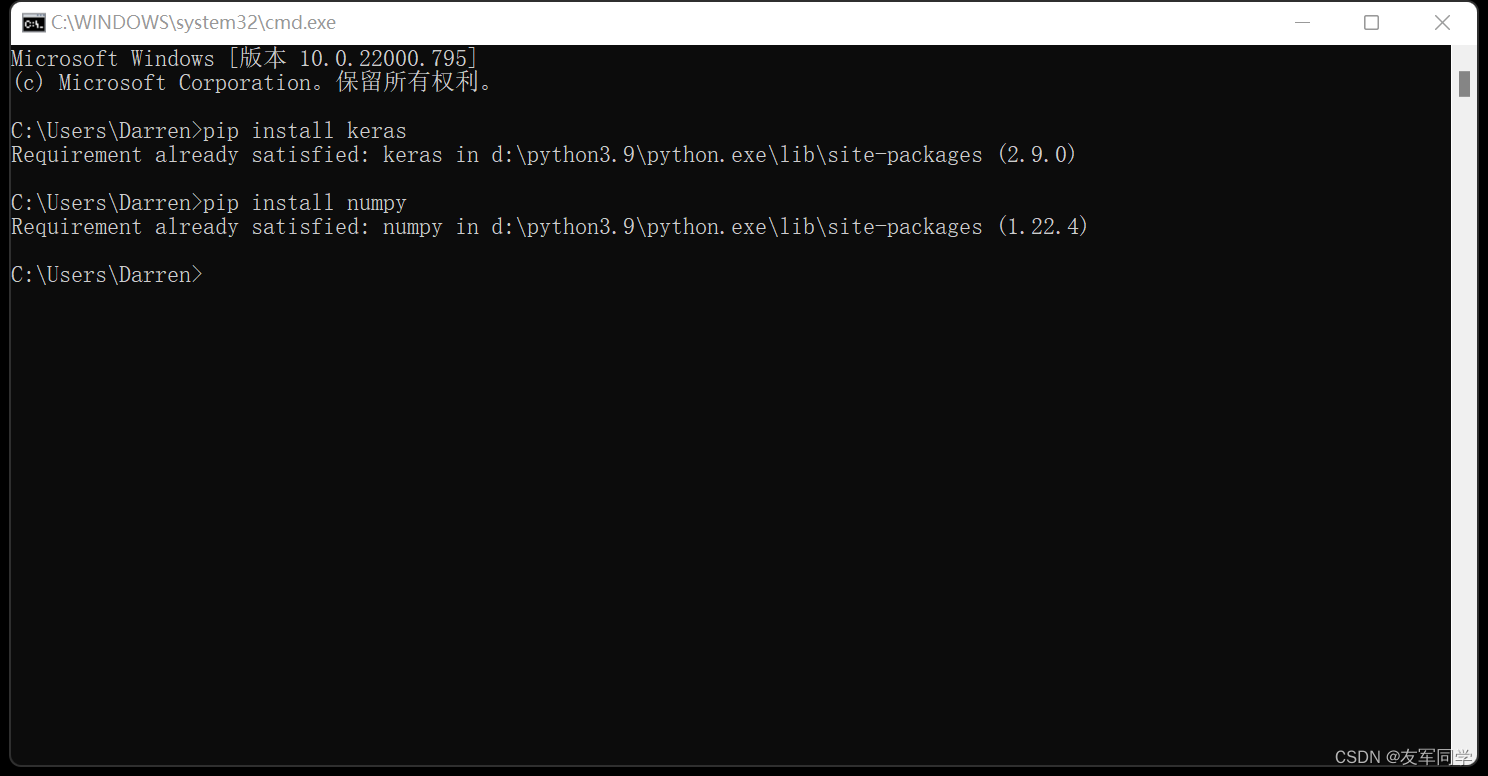
Ȼ����cmdִ������:
pip install numpy
��ɺ����ʾ��װ�ɹ���