图片验证码显示与校验
为了防止被人暴力破解。所以要在登陆界面添加验证功能。
1、验证码显示
(1)图片验证码
login.html
<!--图片验证码-->
        <div class="form-group">
            <label for="id_code">图片验证码</label>
            <div class="row">
                <div class="col-xs-7">
                    <input type="text" name="code" class="form-control" placeholder="请输入图片验证码" required=""
                           id="id_code">
                    <span style="color: red;"></span>
                </div>
                <div class="col-xs-5">
                    <img id="image_code" src="{% static '/img/code.png/' %}" style="width: 100px">
                </div>
            </div>
        </div>
自备一张

访问页面
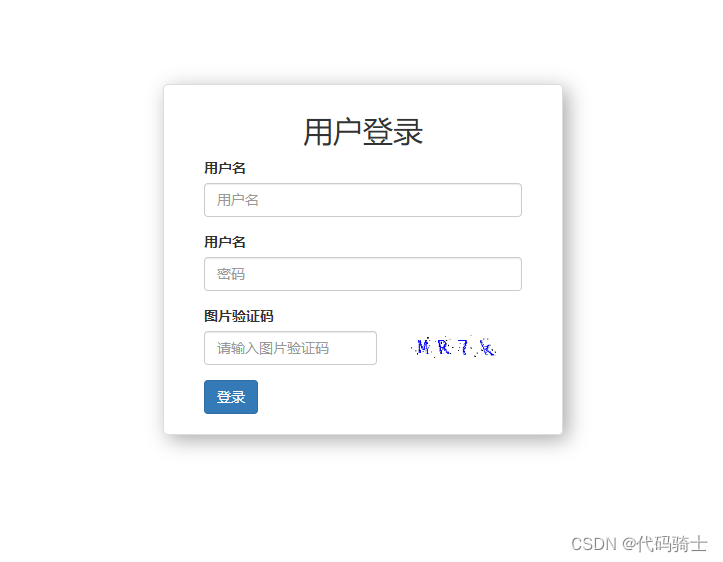
上面只是搭建了一个静态案例,下面学习如何用代码生成图片。
(2)生成图片
安装第三方模块:pip install pillow
使用方法
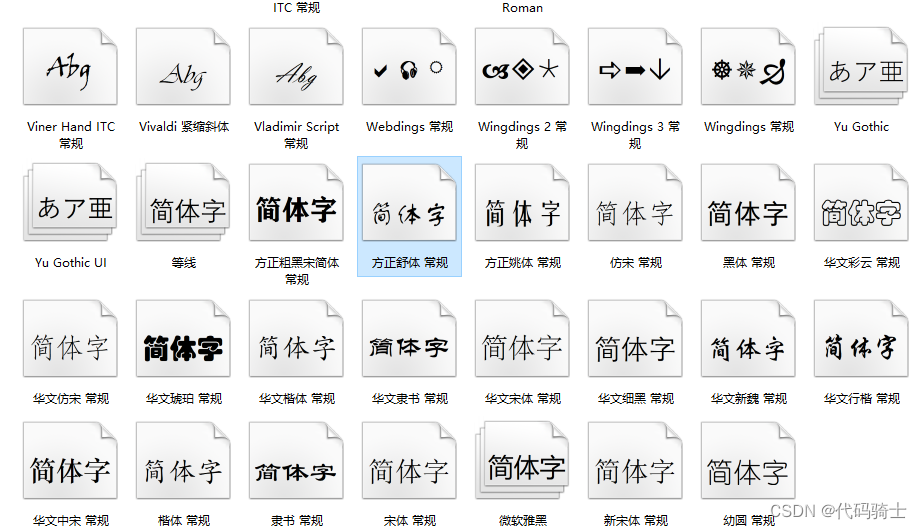
导入字体文件,并拷贝到项目文件夹
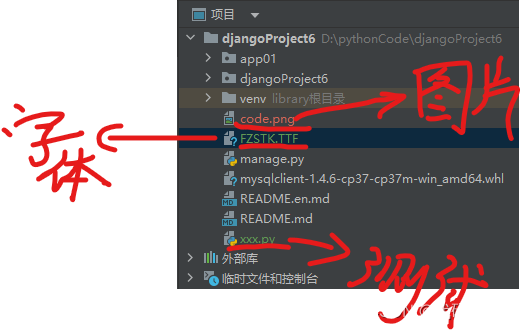
C:\Windows\Fonts
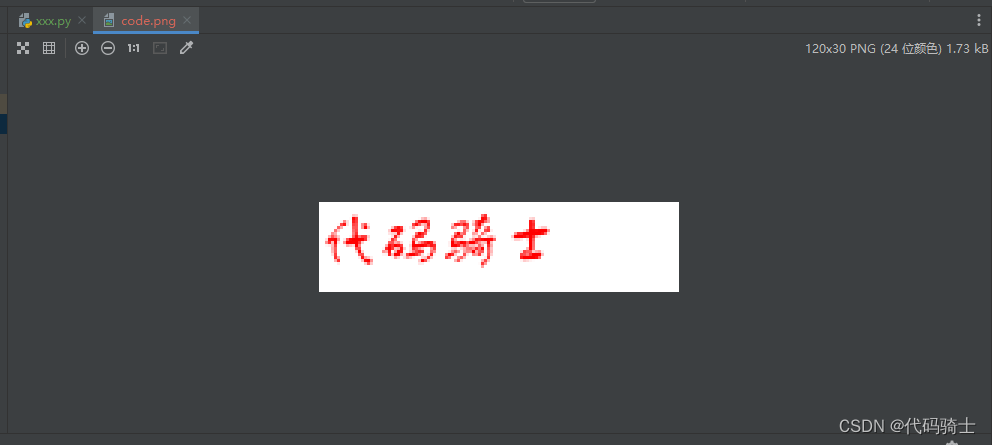
新建测试代码
from PIL import Image,ImageDraw,ImageFont
img = Image.new(mode='RGB', size=(120, 30), color=(255, 255, 255))
#创建画笔
draw = ImageDraw.Draw(img, mode='RGB')
#导入字体文件
font = ImageFont.truetype("FZSTK.TTF",20)
#写文字
draw.text([0,0],'代码骑士',"red",font=font)
# 保存在本地
with open('code.png','wb') as f:
    img.save(f,format='png')
显示图片:
生成验证码函数
转载
from PIL import Image,ImageDraw,ImageFilter,ImageFont

import random

def check_code(width=120, height=30, char_length=5, font_file='ALGER.TTF', font_size=28):
    code = []
    img = Image.new(mode='RGB', size=(width, height), color=(255, 255, 255))
    draw = ImageDraw.Draw(img, mode='RGB')

    def rndChar():
        """
        生成随机字母
        :return:
        """
        return chr(random.randint(65, 90))

    def rndColor():
        """
        生成随机颜色
        :return:
        """
        return (random.randint(0, 255), random.randint(10, 255), random.randint(64, 255))

    # 写文字
    font = ImageFont.truetype(font_file, font_size)
    for i in range(char_length):
        char = rndChar()
        code.append(char)
        h = random.randint(0, 4)
        draw.text([i * width / char_length, h], char, font=font, fill=rndColor())

    # 写干扰点
    for i in range(40):
        draw.point([random.randint(0, width), random.randint(0, height)], fill=rndColor())

    # 写干扰圆圈
    for i in range(40):
        draw.point([random.randint(0, width), random.randint(0, height)], fill=rndColor())
        x = random.randint(0, width)
        y = random.randint(0, height)
        draw.arc((x, y, x + 4, y + 4), 0, 90, fill=rndColor())

    # 画干扰线
    for i in range(5):
        x1 = random.randint(0, width)
        y1 = random.randint(0, height)
        x2 = random.randint(0, width)
        y2 = random.randint(0, height)

        draw.line((x1, y1, x2, y2), fill=rndColor())

    img = img.filter(ImageFilter.EDGE_ENHANCE_MORE)
    return img, ''.join(code)

if __name__ == '__main__':
    # 1. 直接打开
     img,code = check_code()
     #img.show()
     print(code)
     # 保存在本地
     with open('code.png', 'wb') as f:
        img.save(f, format='png')
(3)项目实例
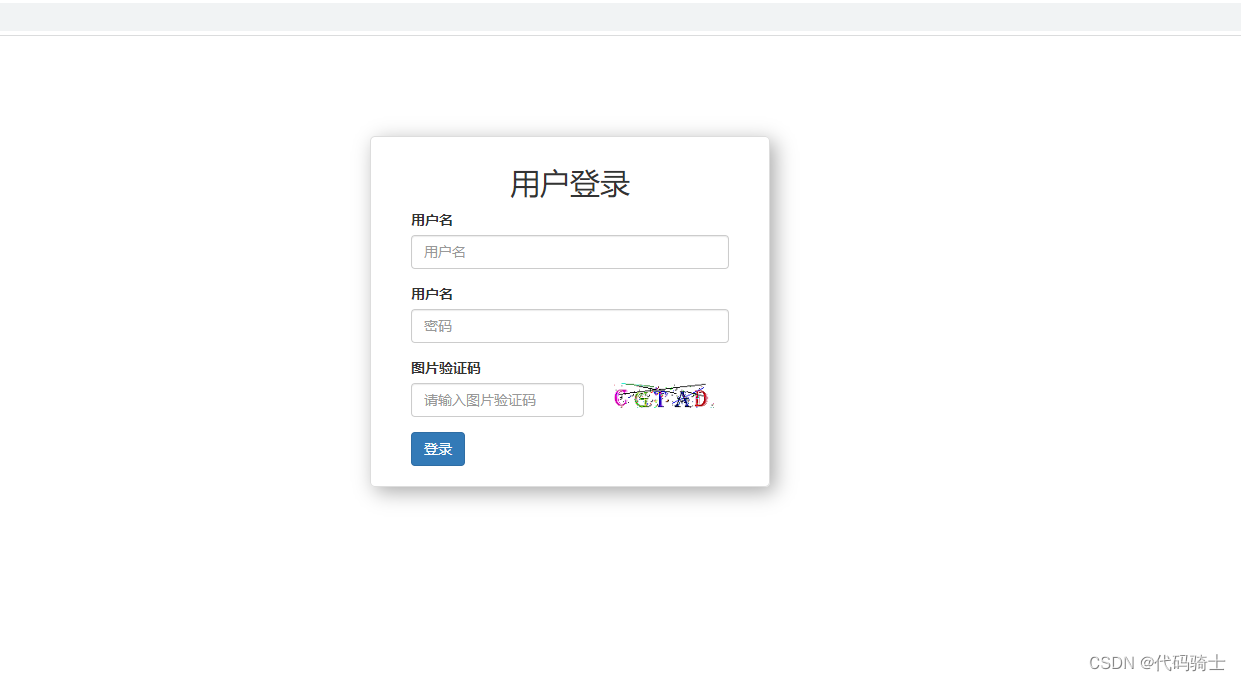
1、创建一个url保存图片
urls.py
#------------------图片验证码---------------------------------------------------
    path('image/code/', account.image_code),
2、在登陆页面中引入图片
login.html

3、在app01中utils创建code文件
code.py
from PIL import Image,ImageDraw,ImageFilter,ImageFont

import random

def check_code(width=120, height=30, char_length=5, font_file='ALGER.TTF', font_size=28):
    code = []
    img = Image.new(mode='RGB', size=(width, height), color=(255, 255, 255))
    draw = ImageDraw.Draw(img, mode='RGB')

    def rndChar():
        """
        生成随机字母
        :return:
        """
        return chr(random.randint(65, 90))

    def rndColor():
        """
        生成随机颜色
        :return:
        """
        return (random.randint(0, 255), random.randint(10, 255), random.randint(64, 255))

    # 写文字
    font = ImageFont.truetype(font_file, font_size)
    for i in range(char_length):
        char = rndChar()
        code.append(char)
        h = random.randint(0, 4)
        draw.text([i * width / char_length, h], char, font=font, fill=rndColor())

    # 写干扰点
    for i in range(40):
        draw.point([random.randint(0, width), random.randint(0, height)], fill=rndColor())

    # 写干扰圆圈
    for i in range(40):
        draw.point([random.randint(0, width), random.randint(0, height)], fill=rndColor())
        x = random.randint(0, width)
        y = random.randint(0, height)
        draw.arc((x, y, x + 4, y + 4), 0, 90, fill=rndColor())

    # 画干扰线
    for i in range(5):
        x1 = random.randint(0, width)
        y1 = random.randint(0, height)
        x2 = random.randint(0, width)
        y2 = random.randint(0, height)

        draw.line((x1, y1, x2, y2), fill=rndColor())

    img = img.filter(ImageFilter.EDGE_ENHANCE_MORE)
    return img, ''.join(code)
4、在视图函数中调用生成随机验证码图片的函数
from app01.utils.code import check_code
#将图片写入内存
from io import BytesIO

def image_code(request):
    """生成图片验证码"""
    #调用生成图片函数
    img,code_string = check_code()
    print(code_string)
    #将图片对象img写入内存
    stream = BytesIO()
    img.save(stream,'png')
    return HttpResponse(stream.getvalue())
5、在中间件中取消对保存图片url的访问
auth.py
from django.utils.deprecation import MiddlewareMixin
from django.shortcuts import HttpResponse,redirect,render

class AuthMiddleware(MiddlewareMixin):
    """中间件"""
    def process_request(self,request):
        #0、排除不需要登录验证就能访问的页面
        if request.path_info in ["/login/","/image/code/"]:
            return
        #1、读取当前访问的用户的session信息,如果能读到,说明已登录过,就可以继续向后走
        info_dict = request.session.get("info")
        if info_dict:
            return
        # 2、没登录过,重新登录
        return redirect("/login/")
6、访问页面
2、验证码校验
(1)项目实例
1、先将随机验证码的字符串写到用户session中
account.py
def image_code(request):
    """生成图片验证码"""
    #调用生成图片函数
    img,code_string = check_code()
    #print(code_string)

    #将随机验证码写入session中,便于后续校验
    request.session['image_code'] = code_string
    #给session设置60s超时,超时则验证码无效
    request.session.set_expiry(60)

    #将图片对象img写入内存
    stream = BytesIO()
    img.save(stream,'png')
    return HttpResponse(stream.getvalue())
2、修改form字段
form.py
class LoginForm(BootStrapForm):#采用继承
    username = forms.CharField(
        label="用户名",
        widget=forms.TextInput,#(attrs={'class':"form-control",'placeholder':'用户名'})
        required=True#必填项
    )
    password = forms.CharField(
        label="密码",
        widget=forms.PasswordInput(render_value=True),#render_value=True:保留原来字段#(attrs={'class':"form-control",'placeholder':'密码'})
        required=True#必填项
    )
    code = forms.CharField(
        label="用户名",
        widget=forms.TextInput,
        required=True#必填项
    )
    def clean_password(self):
        pwd = self.cleaned_data.get("password")
        return md5(pwd)
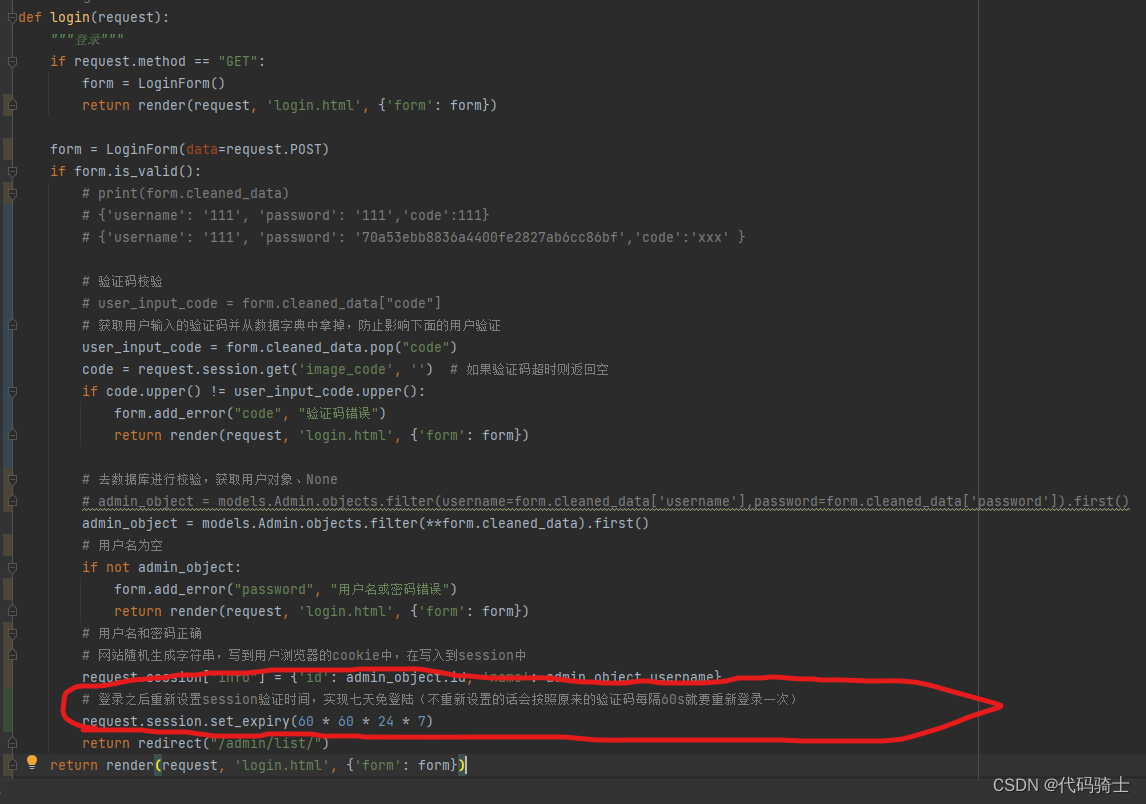
3、修改登陆逻辑
account.py
def login(request):
    """登录"""
    if request.method == "GET":
        form = LoginForm()
        return render(request,'login.html',{'form':form})

    form = LoginForm(data = request.POST)
    if form.is_valid():
        #print(form.cleaned_data)
        #{'username': '111', 'password': '111','code':111}
        #{'username': '111', 'password': '70a53ebb8836a4400fe2827ab6cc86bf','code':'xxx' }

        #验证码校验
        #user_input_code = form.cleaned_data["code"]
        #获取用户输入的验证码并从数据字典中拿掉,防止影响下面的用户验证
        user_input_code = form.cleaned_data.pop("code")
        code = request.session.get('image_code','')#如果验证码超时则返回空
        if code.upper() != user_input_code.upper():
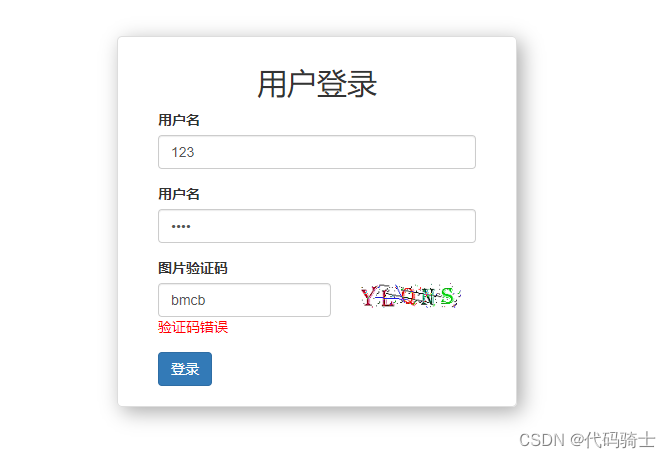
            form.add_error("code", "验证码错误")
            return render(request, 'login.html', {'form': form})

        #去数据库进行校验,获取用户对象、None
        #admin_object = models.Admin.objects.filter(username=form.cleaned_data['username'],password=form.cleaned_data['password']).first()
        admin_object = models.Admin.objects.filter(**form.cleaned_data).first()
        #用户名为空
        if not admin_object:
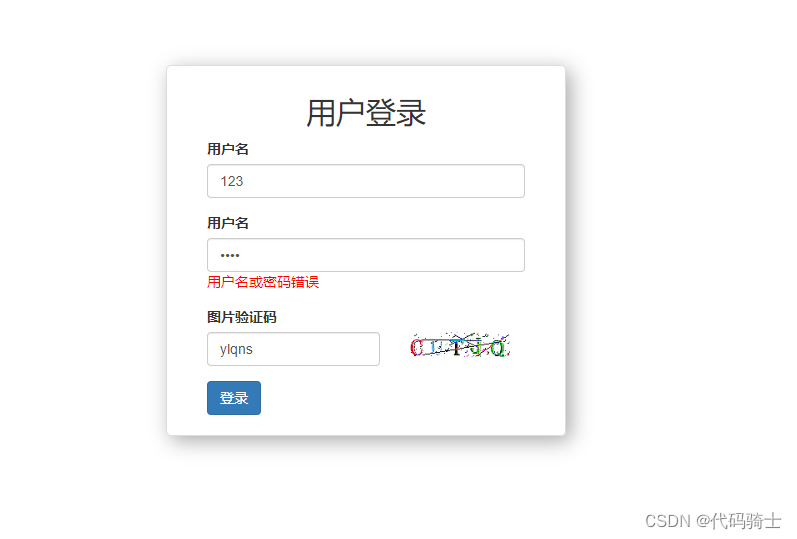
            form.add_error("password","用户名或密码错误")
            return render(request, 'login.html', {'form': form})
        #用户名和密码正确
        #网站随机生成字符串,写到用户浏览器的cookie中,在写入到session中
        request.session["info"] = {'id':admin_object.id,'name':admin_object.username}
        return redirect("/admin/list/")
    return render(request,'login.html',{'form':form})
4、修改前端页面
login.html
<div class="form-group">
            <label for="id_code">图片验证码</label>
            <div class="row">
                <div class="col-xs-7">
                    {{ form.code }}
                    <span style="color: red">{{ form.code.errors.0 }}</span>
                </div>
                <div class="col-xs-5">
                    <img id="image_code" src="/image/code/" style="width: 100px">
                </div>
            </div>
        </div>
5、访问页面
***6、延长有session效时间,实现七天免登陆
