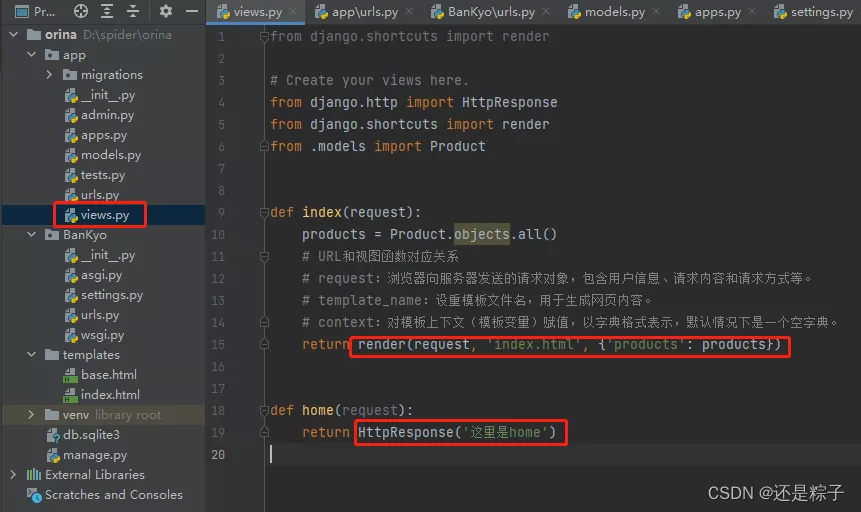
一、Django项目创建
1、创建项目,命令:
D:\spider\orina> django-admin startproject BanKyo
虚拟环境:
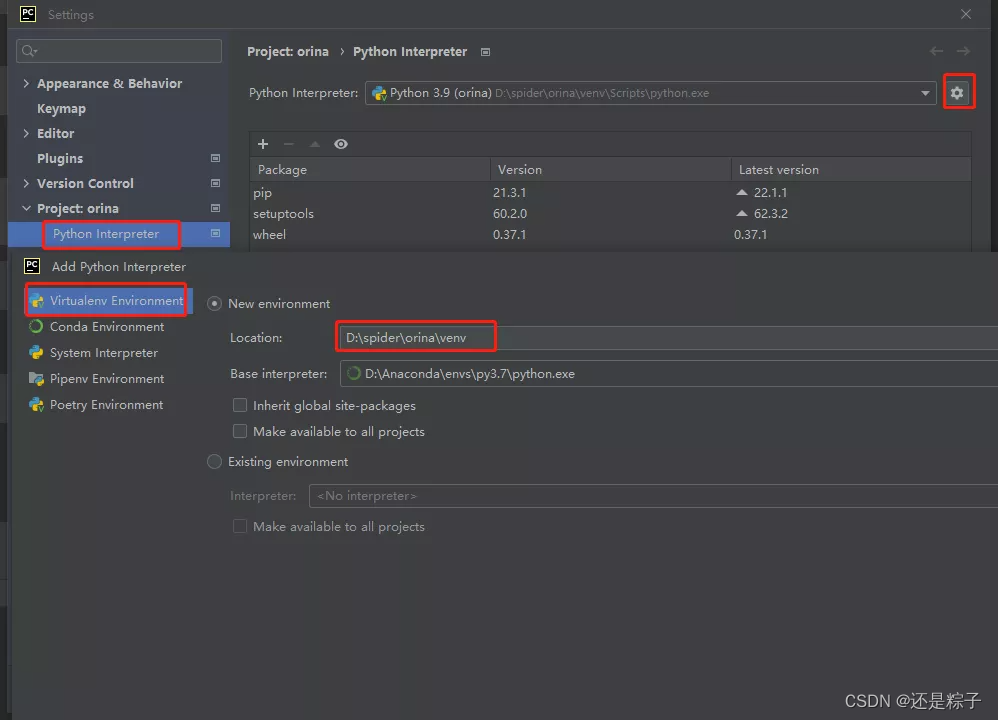
2、创建子项目
D:\spider\orina> python manage.py startapp app
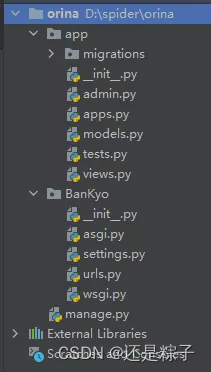
二、开启web服务
1、进入虚拟环境
提示:本项目配置使用了Anaconda
cd venv/Scripts
activate
2、安装一下要用的配置文件
命令:pip install 配置文件名
配置文件名:django djangorestframework django-cors-headers pymysql redis

3、 开启web服务
(venv) PS D:\spider\orina> python manage.py runserver
三、页面设计
1、项目名/子应用/models.py
继承Model类(django.db.models.Model)
模型类——>表
模型类的属性——>表字段
from django.db import models

class Product(models.Model):
	  name = models.CharField(max_length=255)
	  price = models.FloatField()
	  stock = models.IntegerField()
	  image_url = models.CharField(max_length=2083)

class Offer(models.Model):
	  code = models.CharField(max_length=10)
	  description = models.CharField(max_length=255)
	  discount = models.FloatField()
2、项目名/子应用/views.py
MyShop/Products/views.py
from django.http import HttpResponse
from django.shortcuts import render
from .models import Product

def index(request):
	  products = Product.objects.all()
	  return render(request, 'index.html', {'products': products})

def home(request):
	  return HttpResponse('There are new Products')
四、其他命令
1、数据迁移
python manage.py makemigrations

python manage.py migrate

2、创建用户
python manage.py createsuperuser
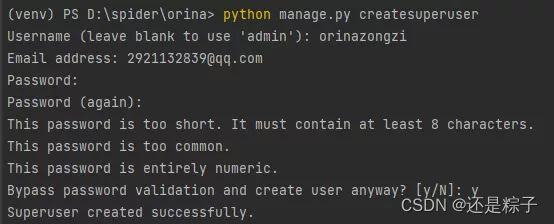
3、路由设置
admin里设置,路由路径设置,可在网页端对数据进行操作
# Register your models here.
from django.contrib import admin
from .models import Product, Offer

class OfferAdmin(admin.ModelAdmin):
    list_display = ('code', 'description', 'discount')

class ProductAdmin(admin.ModelAdmin):
    list_display = ('name', 'price', 'stock')

admin.site.register(Offer, OfferAdmin)
admin.site.register(Product, ProductAdmin)
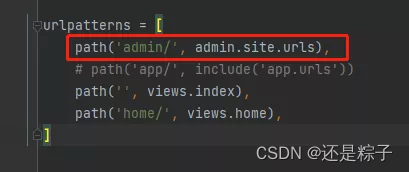
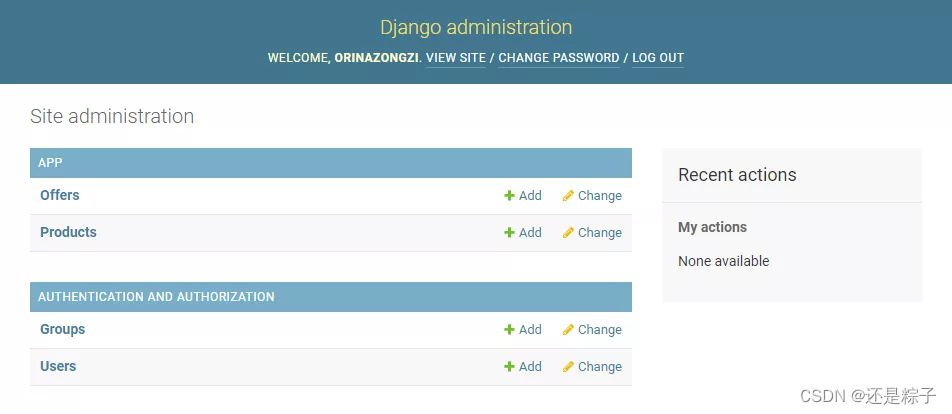
浏览器输入:http://127.0.0.1:8000/admin/
输入账号密码,根据需求添加数据
4、其他
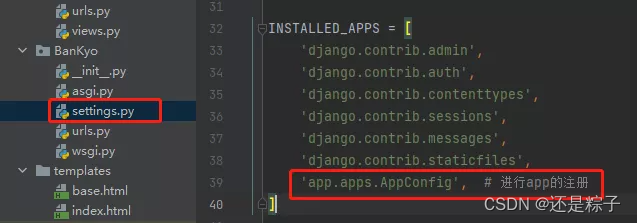
1、注册app
settings.py文件:
INSTALLED_APPS添加字段 ‘子应用名.apps.配置类’

注册
2、URL和视图函数的对应关系
