继续上一节,我们使用live555之后得到rtsp的流,然后再解码进行下一步动作。先进行基础播放,然后再进行分析,后接opencv,直接将码流解到opencv的mat 中。
c++11 thread
c++11 thread 比起使用api 或者 pthread lib 要方便很多了,两种方式比较推荐
1 使用lamba
2 使用封装并继承
thread 封装
class c_thread
{
private:

	//线程
	thread _thread;
	//等待信号
	std::mutex _signal_mutex;
	std::condition_variable _cond;
protected:
	//char  _running = false;
	char _stop = true;
	//锁定运行状态
	std::mutex _mutex;
public:
	c_thread()
	{}
	virtual ~c_thread()
	{}

public:
	char * status(){
		return &_stop;
	}

	void Join()
	{
		if (_thread.joinable())
			_thread.join();
	}
	bool  IsStop()
	{
		return _stop == 1 ? true : false;
	}

	void WaitForSignal()
	{
		std::unique_lock<std::mutex> ul(_signal_mutex);
		_cond.wait(ul);
	}
	void Notify()
	{
		_cond.notify_one();
	}

	virtual int Start()
	{
		if (_stop == 1)//非運行中
		{
			_stop = 0;
			_thread = std::thread(std::bind(&c_thread::Run, this));
			return 0;
		}
		return -1;
	}

	virtual void Stop()
	{
		_stop = 1; // true;
	}

	virtual void Run() = 0;
};
使用虚函数 virtual void Run() = 0 ,因此实现类必须实现 Run 函数
例子

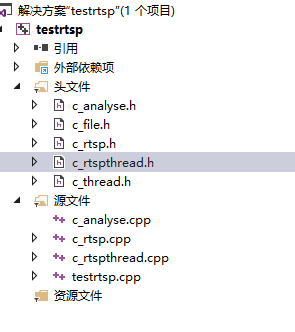
c_rtspthrad 继承c_thread ,实现Run
class c_rtspthread:public c_thread
{
	int v_headlen = 0;
	c_rtsp *v_rtsp = nullptr;
	//32位hash值
	uint32_t  v_key = 0;// hash(live/1001);
	uint32_t  _recv_stamp  = 0;
	uint32_t  _first_stamp = 0;
	sp_buffer _spbuffer;
	void *v_flv;
	c_analyse *v_analyse = NULL;
private:
	//decode use it
	AVCodec *v_codec = NULL;
	AVCodecContext *v_codecctx = NULL;
	AVFrame *v_frame = NULL;
	//c_analyse *v_analyse = NULL;
	int do_decode_init(const char *codec);
	int do_decode_unit();
	int width()
	{
		if (v_codecctx != NULL)
			return v_codecctx->width;
		return 0;
	}
	int height()
	{
		if (v_codecctx != NULL)
			return v_codecctx->height;
		return 0;
	}

	int Decode2YUV(uint8_t* src,
		int srcLen,
		uint8_t *destYuv,
		int destw, int desth);
	void Decode2RGB(uint8_t* src, int & srcLen);

	struct SwsContext *_img_convert_ctx = NULL;
public:

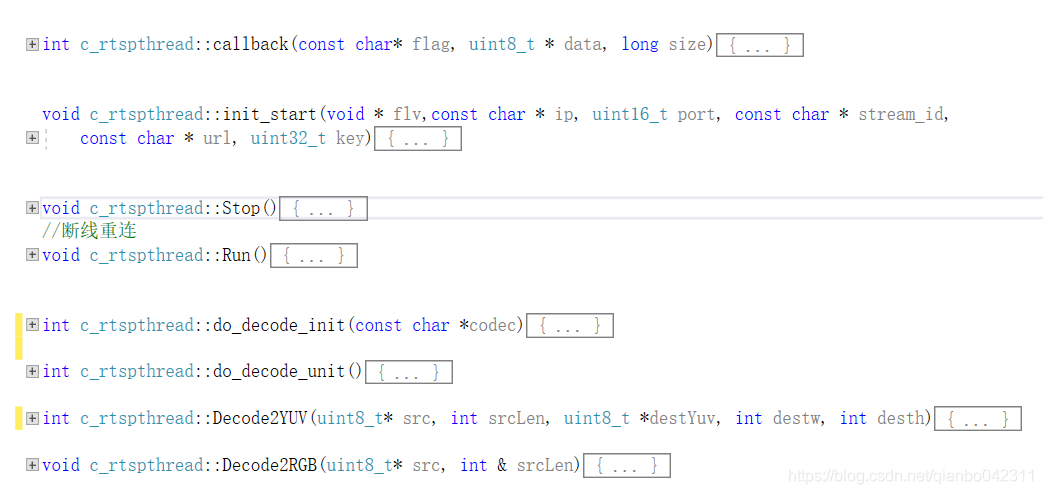
	void init_start(void * flv,const char * ip, uint16_t port, const char * stream_id,
		const char * url, uint32_t key);

	int callback(const char* flag, uint8_t * data, long size);

	//重写stop函数
	void Stop();
	//断线重连
	void Run();
};
这个例子是继承thread 后实现了一个rtsp 客户端

这个类是从rtsp client 拉取流之后解码使用,可以将rtsp 的流解码成 yuv或者RGB,实际上是BGR,解码后可以做两种动作
1 解码播放
2 解码实现识别分析。
解码到mat
void c_rtspthread::Decode2RGB(uint8_t* src, int & srcLen)
{
	AVPacket pkt;
	av_init_packet(&pkt);
	pkt.data = src;
	pkt.size = srcLen;
	int ret = avcodec_send_packet(v_codecctx, &pkt) == 0;
	av_packet_unref(&pkt);
	if (ret < 0)
	{
		fprintf(stderr, "Error sending a packet for decoding\n");
		return;
	}
	while (ret >= 0)
	{

		ret = avcodec_receive_frame(v_codecctx, v_frame);
		if (ret == AVERROR(EAGAIN) || ret == AVERROR_EOF)
		{
			//av_frame_free(&frame);
			break;
		}
		else if (ret < 0) {
			//fprintf(stderr, "Error during decoding\n");
			//av_frame_free(&frame);
			break;
		}
		int w = 640; //v_frame->width;
		int h = 360; //v_frame->height;

		if (_img_convert_ctx == NULL)
		{
			_img_convert_ctx = sws_getContext(w, h,
				v_codecctx->pix_fmt,//PIX_FMT_YUV420P,
				w,
				h,
				AV_PIX_FMT_BGR24,
				//SWS_POINT,
				SWS_BICUBIC,
				NULL,
				NULL,
				NULL);
		}
		AVFrame *dframe = av_frame_alloc();
		cv::Mat nmat;
		nmat.create(cv::Size(w, h), CV_8UC3);
		//printf("frame %3d\n", v_codecctx->frame_number);
		av_image_fill_arrays(dframe->data, dframe->linesize, nmat.data, AV_PIX_FMT_BGR24,
			w, h, 16);
		sws_scale(_img_convert_ctx, v_frame->data, v_frame->linesize, 0, h,
			dframe->data, dframe->linesize);
		if (v_analyse != NULL)
		{
			v_analyse->pushdata(nmat);
		}
		av_frame_free(&dframe);
	}
	//av_packet_unref(&pkt);

}
播放使用:
1 直接使用opencv
2 使用sdl, 这里使用opencv直接播放就行,使用opencv非常简单
imshow 函数直接显示mat,
分析,使用opencv,
且听下回分解