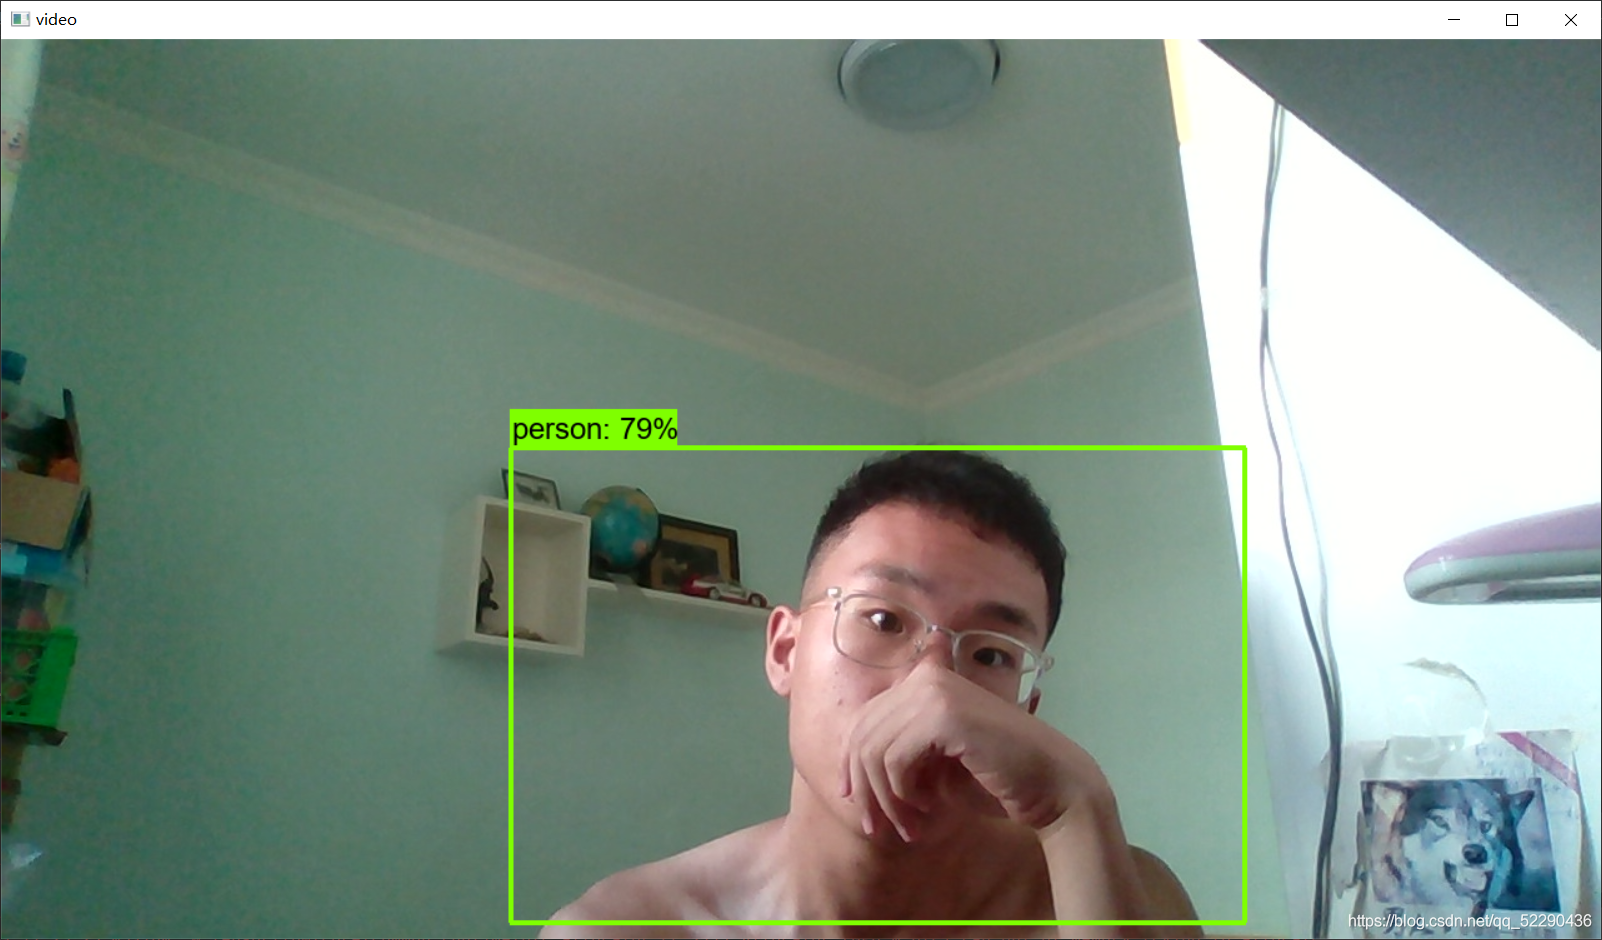
对于物体识别,谷歌已经有训练好的模型供我们使用,图方便不想自己训练的可以直接使用。
说实话,装这个tensorflow真心麻烦,我建议用anaconda环境搭建,还要注意装的话装1.几的版本就可,用gpu跑的话注意显卡型号和版本是否兼容。真是踩无数坑啊。。建议找个细致一点的教程,一步一步来,至于这个我就不多写了。
要获取预训练模型,模型下载
在这里还要添加模型目录,就是把下载的解压到anaconda的库目录下,可以搜相关教程即可。
我的代码:
# coding: utf-8
# 可以放在任何文件夹下运行(前提正确配置API[环境变量])
# 退出 按q键

import numpy as np
import tensorflow as tf
import cv2
import os

from object_detection.utils import visualization_utils as vis_util
from object_detection.utils import label_map_util

os.environ['TF_CPP_MIN_LOG_LEVEL'] = '2'
cv2.setUseOptimized(True)           # 加速cv

# 要改的内容
###############################################
PATH_TO_CKPT = 'C:/Users/POG/anaconda3/Lib/site-packages/tensorflow/models/research/object_detection/ssd_mobilenet_v1_coco_2018_01_28/frozen_inference_graph.pb'   # 模型及标签地址
PATH_TO_LABELS = 'C:/Users/POG/anaconda3/Lib/site-packages/tensorflow/models/research/object_detection/data/mscoco_label_map.pbtxt'

NUM_CLASSES = 90            # 检测对象个数

camera_num = 0                # 要打开的摄像头编号,可能是0或1
width, height = 1280,720    # 视频分辨率
###############################################

# Load a (frozen) Tensorflow model into memory.
detection_graph = tf.Graph()
with detection_graph.as_default():
    od_graph_def = tf.compat.v1.GraphDef()
    with tf.compat.v1.gfile.GFile(PATH_TO_CKPT, 'rb') as fid:
        serialized_graph = fid.read()
        od_graph_def.ParseFromString(serialized_graph)
        tf.import_graph_def(od_graph_def, name='')

# Loading label map
label_map = label_map_util.load_labelmap(PATH_TO_LABELS)
categories = label_map_util.convert_label_map_to_categories(label_map, max_num_classes=NUM_CLASSES, use_display_name=True)
category_index = label_map_util.create_category_index(categories)


mv = cv2.VideoCapture(camera_num)  # 打开摄像头

mv.set(3, width)     # 设置分辨率
mv.set(4, height)


config = tf.compat.v1.ConfigProto()
config.gpu_options.allow_growth = True
with detection_graph.as_default():
    with tf.compat.v1.Session(graph=detection_graph, config=config) as sess:
        image_tensor = detection_graph.get_tensor_by_name('image_tensor:0')
        detection_boxes = detection_graph.get_tensor_by_name('detection_boxes:0')
        detection_scores = detection_graph.get_tensor_by_name('detection_scores:0')
        detection_classes = detection_graph.get_tensor_by_name('detection_classes:0')
        num_detections = detection_graph.get_tensor_by_name('num_detections:0')

        while True:
            ret, image_source = mv.read()  # 读取视频帧
            image_source = cv2.cvtColor(image_source, cv2.COLOR_BGR2RGB)
            image_np = cv2.resize(image_source , (width, height), interpolation=cv2.INTER_CUBIC)
            image_np_expanded = np.expand_dims(image_np, axis=0)
            # Actual detection.
            (boxes, scores, classes, num) = sess.run(
                [detection_boxes, detection_scores, detection_classes, num_detections],
                feed_dict={image_tensor: image_np_expanded})
            # Visualization of the results of a detection.
            vis_util.visualize_boxes_and_labels_on_image_array(
                image_np,
                np.squeeze(boxes),
                np.squeeze(classes).astype(np.int32),
                np.squeeze(scores),
                category_index,
                use_normalized_coordinates=True,
                line_thickness=4)
            image_np = cv2.cvtColor(image_np, cv2.COLOR_RGB2BGR)
            cv2.imshow("video", image_np)
            if cv2.waitKey(1) & 0xFF == ord('q'):  # 按q退出
                break
我这里用的是tensorflow2的版本,代码会和1的有些不同。
结果:
