一、图片处理
import cv2 # pip install opencv-python    仓库地址:https://github.com/opencv/opencv-python
import matplotlib.pyplot as plt

def to_plt_color(img):
    # 通过次函数将cv2 与 plt 颜色对应上
    img_cp = img.copy()
    return img_cp[...,(2,1,0)]

def cv_img_show(img, title=""):
    # 由于 jupyter notebook 调不了 cv2.imshow() 于是我使用用了 matplotlib.pyplot 包来显示图片, 并且将cv2 的颜色与 matplotlib对应上
    if title:
        plt.title(title)
    plt.imshow(to_plt_color(img))
    plt.show()
读取图片与显示图片
# 读取图片文件
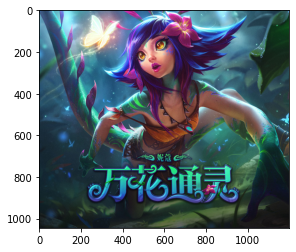
img = cv2.imread("nikou.jpg") # numpy.ndarray
print(type(img))
print(img.shape)  # 高,宽, BGR (0-255) 注意颜色通道顺序, 与matlabplot 的顺序不一样
<class 'numpy.ndarray'>
(1044, 1200, 3)
#### 显示图片
# cv2.imshow("", img)
cv_img_show(img) # 由于 jupyter notebook 调不了 cv2.imshow() 于是我使用用了 matplotlib.pyplot 包来显示图片
编辑与保存图片
cv2.imwrite(path, img) 保存图片
### 编辑图片
img_cp = img.copy()

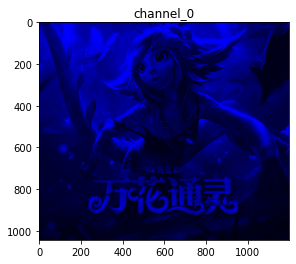
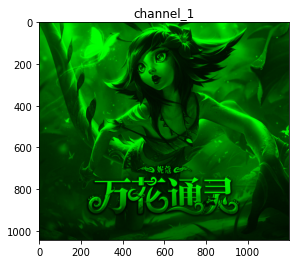
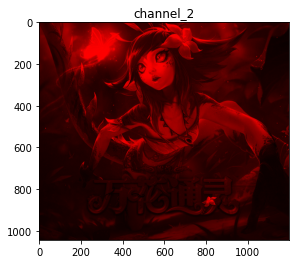
def save_channel(img, channel=0):
    img = img.copy()
    for i in range(img.shape[-1]):
        if i != channel:
            img[..., i] = 0 # numpy.ndarray 直接按照索引修改像素点为0
    cv2.imwrite(f"channel{channel}.jpg", img) # 保存图片

    plt.title(f"channel_{channel}") # 显示图片
    plt.imshow(to_plt_color(img))
    plt.show()


for i in range(img_cp.shape[-1]):
    save_channel(img_cp, channel=i)
截取部分图片
img_part = img.copy()[0:400, 400:800, :] # 截图部分图片
cv_img_show(img_part)
print(img_part.shape)
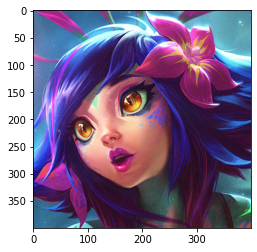
(400, 400, 3)
图片通道分离与合并
cv2.split() 通道分离
cv2.merge() 通道合并
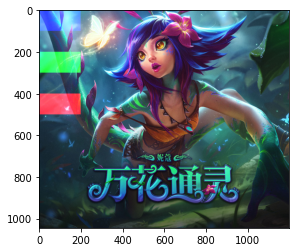
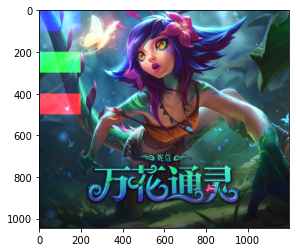
## 为了方便识别是哪个通道,所以先做个标记
def mark_channel(img):
    l = 200
    h = int(l / 2)
    for i in range(3):
        img[i * l: i * l + h, 0:200, i] = 255 # 标记通道

img_cp = img.copy()
mark_channel(img_cp)
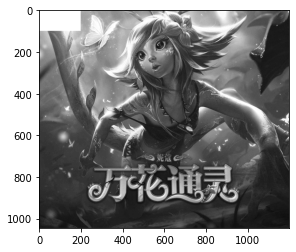
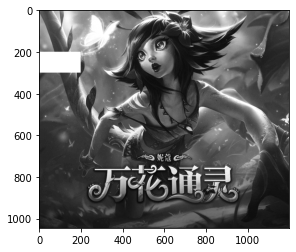
blue, green, red = cv2.split(img_cp) # 分离通道,顺序是b,g,r
print(type(blue))
print(blue.shape) # 维度下降, 变为单通道
<class 'numpy.ndarray'>
(1044, 1200)
img_cp = img.copy()
mark_channel(img_cp)
cv_img_show(img_cp)

plt.imshow(blue, cmap='gray')
plt.show()
plt.imshow(green, cmap="gray")
plt.show()
plt.imshow(red, cmap="gray")
plt.show()
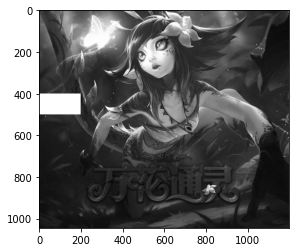
img_merge = cv2.merge([blue,green, red])
cv_img_show(img_merge)
颜色模式变换
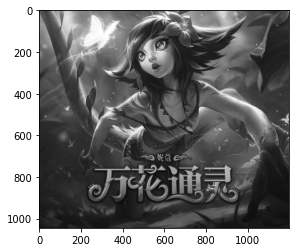
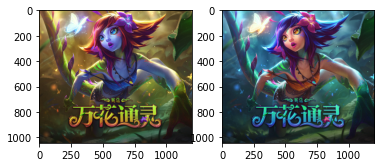
颜色模式变换:cv2.COLOR_BGR2GRAY: BGR模式变成灰度, cv2.COLOR_BGR2RGB: BGR变成 RGB 其他如 CMYK Lab模式也有对应转换
# 彩色变成灰度图
img_gray = cv2.cvtColor(img, cv2.COLOR_BGR2GRAY) # 也可以变成其他颜色模式, 更改第二个参数即可
print(img_gray.shape) # 维度下降,变成二维灰度图
(1044, 1200)
plt.imshow(img_gray, cmap="gray")
<matplotlib.image.AxesImage at 0x23024ed6760>
# 将 BGR 颜色变成 RGB
img_rgb = cv2.cvtColor(img, cv2.COLOR_BGR2RGB)
# plt.figure()
plt.subplot(1,2,1)
plt.imshow(img)
plt.subplot(1,2,2)
plt.imshow(img_rgb)
plt.show()
图片相加
"""
cv2.copyMakeBorder(img, top, bottom, left, right, border_type, value=None)
    参数:
        img: numpy.ndarray
        top,bottom,left,right: 上下左右边界宽度,单位为像素值
        border_type:
            cv2.BORDER_CONSTANT, 带颜色的边界,需要传入另外一个颜色值
            cv2.BORDER_REFLECT, 边缘元素的镜像反射做为边界
            cv2.BORDER_REFLECT_101/cv2.BORDER_DEFAULT
            cv2.BORDER_REPLICATE, 边缘元素的复制做为边界
            CV2.BORDER_WRAP

        value: borderType为cv2.BORDER_CONSTANT时,传入的边界颜色值,如[0,255,0]

"""


img2 = cv2.imread("mumu.jpg")
#img = cv2.cvtColor(img2,cv.COLOR_BGR2RGB)
print(img2.shape)
# img2 = cv2.resize(img2, img.shape[:2][::-1])
# 给图片增加边框
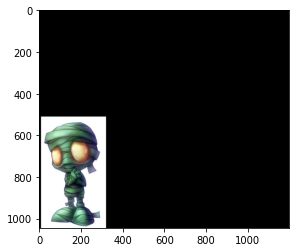
img2 = cv2.copyMakeBorder(img2, 500, 0,10,900, borderType=cv2.BORDER_CONSTANT, value=(0,0,0)) # top,bottom,left,right: 上下左右边界宽度,单位为像素值
img2 =cv2.resize(img2, img.shape[:2][::-1]) # 图片长宽变换,使 shape一致
print(img2.shape)
cv_img_show(img2)
(523, 320, 3)
(1044, 1200, 3)
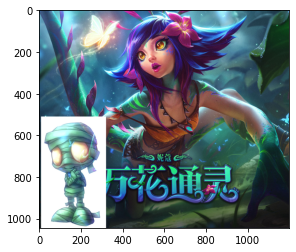
img_add = cv2.add(img, img2) # 必须相同 shape才能相加, 当颜色值相加大于255时,赋值为 255
cv_img_show(img_add)
img.shape
(1044, 1200, 3)
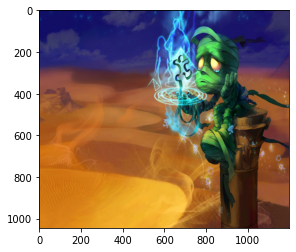
img3 = cv2.imread("mumu2.jpg")
img3 = cv2.resize(img3, img.shape[:2][::-1])
cv_img_show(img3)
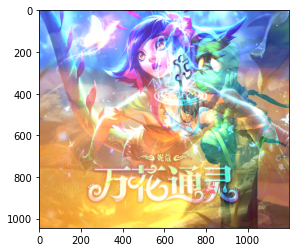
img_merge = cv2.add(img3, img)
cv_img_show(img_merge)
cv2.imwrite("merge.jpg",img_merge)
True
将图片保存到内存中(PIL)
某些应用场景需要序列化或者发送图片,如果将处理好的图片,先保存到硬盘,然后再读取二进制内容,这中方式速度慢。可以使用PIL直接写到BytesIO,免去磁盘IO。
import io
from PIL import Image
with io.BytesIO() as f:
    img_pil = Image.fromarray(cv2.cvtColor(img_merge, cv2.COLOR_BGR2RGB))
    img_pil.save(f, "JPEG")
#     cv2.imwrite(f, img,cv2.IMWRITE_JPEG_QUALITY)
    data = f.getvalue()
    print(type(data))
    print(data[:10])

with open("pil_save.jpg", "wb") as f:
    f.write(data)
<class 'bytes'>
b'\xff\xd8\xff\xe0\x00\x10JFIF'