从0开始在树莓派中部署openvino+yolov3----2
上一篇以及配置好了树莓派的基本功能,现在来搭建openvino。
文章目录
一、在树莓派上下载openvino
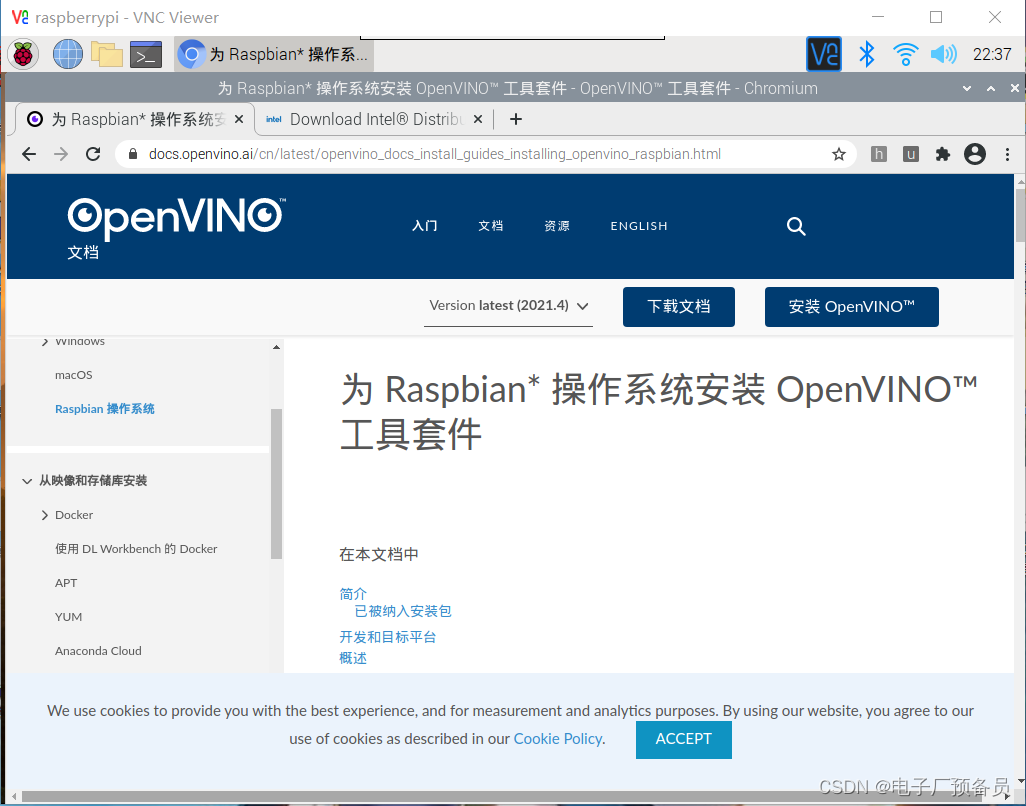
在树莓派里面的浏览器上搜索
https://docs.openvinotoolkit.org/cn/latest/_docs_install_guides_installing_openvino_raspbian.html

点击安装openvino

最后一个选择版本
文件压缩包下载到了Downloads目录下面

二、安装openvino
打开总端输入下面指令,转到Downloads目录下
cd /home/pi/Downloads
创建安装文件夹
sudo mkdir -p /opt/intel/openvino
解压缩文件(对于的版本号需要跟换成自己下载的)
sudo tar -xf l_openvino_toolkit_runtime_raspbian_p_2020.4.287.tgz --strip 1 -C /opt/intel/openvino
安装 编译工具
sudo apt install cmake
设置环境变量(永久)
echo "source /opt/intel/openvino/bin/setupvars.sh" >> ~/.bashrc
添加usb规则
sh /opt/intel/openvino/install_dependencies/install_NCS_udev_rules.sh
给树莓派插上ncs2(神经棒)
分别输入下面的指令
mkdir openvino && cd openvino
mkdir build && cd build
cmake -DCMAKE_BUILD_TYPE=Release -DCMAKE_CXX_FLAGS="-march=armv7-a" /opt/intel/openvino/deployment_tools/inference_engine/samples/cpp
make -j2 object_detection_sample_ssd
三、demo
下载两个文件(类似权重文件,RI模型)
分别为bin文件和xml文件,下面两个为识别人脸的文件
wget --no-check-certificate https://download.01.org/opencv/2020/openvinotoolkit/2020.1/open_model_zoo/models_bin/1/face-detection-adas-0001/FP16/face-detection-adas-0001.bin


wget --no-check-certificate https://download.01.org/opencv/2020/openvinotoolkit/2020.1/open_model_zoo/models_bin/1/face-detection-adas-0001/FP16/face-detection-adas-0001.xml
找一张人脸照片下载,创建一个目录image,把图片放进去,或者找到它的绝对路径替换下面指令中的路径。
./armv7l/Release/object_detection_sample_ssd -m face-detection-adas-0001.xml -d MYRIAD -i ~/Downloads/image
利用opencv识别(openvino自带opencv无需自己去下载)
创建一个python文件(先创建一个文本,然后改成.py格式)
import cv2 as cv
# bin文件和xml文件如果不在python程序同一目录下,需为绝对路径
net = cv.dnn.readNet('face-detection-adas-0001.xml', 'face-detection-adas-0001.bin')
# Specify target device
net.setPreferableTarget(cv.dnn.DNN_TARGET_MYRIAD)
# 这里为我的图片绝对路径
frame = cv.imread('/home/pi/Downloads/image/1.jpeg')
# Prepare input blob and perform an inference
blob = cv.dnn.blobFromImage(frame, size=(672, 384), ddepth=cv.CV_8U)
net.setInput(blob)
out = net.forward()
# Draw detected faces on the frame
for detection in out.reshape(-1, 7):
    confidence = float(detection[2])
    xmin = int(detection[3] * frame.shape[1])
    ymin = int(detection[4] * frame.shape[0])
    xmax = int(detection[5] * frame.shape[1])
    ymax = int(detection[6] * frame.shape[0])
    if confidence > 0.5:
        cv.rectangle(frame, (xmin, ymin), (xmax, ymax), color=(0, 255, 0))
# Save the frame to an image file

