在用CNN进行图片分类的任务时,发现很多demo都是使用已有的h5文件数据集进行训练
但是其他人的数据集毕竟不能100%契合每个项目
所以还是想自己准备数据集
可照片好拍,打标签和制作h5文件却很麻烦
试了一些第三方打标工具,包括labelme啥的,不是要花钱就是不好用
所以自己用Python写了个小程序,功能是:
从文件夹遍历所有图片,然后逐一打标
最后生成h5文件
程序代码如下:
1.导入所有的需要的包:
import os
import cv2
from keras.preprocessing import image
from matplotlib.pyplot import imshow, show
import numpy as np
from keras.applications.imagenet_utils import preprocess_input
import h5py
from sklearn.model_selection import train_test_split
2.手动输入分类数量、训练集h5文件名、测试集h5文件名、训练集占比:
# 分类数量:
class_num = int(input('Input the number of classes:'))
print(str(class_num) + " classes!")

# 创建hdf5训练集文件:
file_name = input('Input the hdf5 training dataset file name:')
f = h5py.File(file_name + ".hdf5", "w")

# 创建hdf5测试集文件:
file_name = input('Input the hdf5 test dataset file name:')
f2 = h5py.File(file_name + ".hdf5", "w")

# 训练集占比:
train_per = float(input('Input the percentage of the training set:'))
print('The training set accounts for ' + str(train_per * 100) + '% of the whole dataset.')
3.从当前目录遍历所有图片:
def getFileList(dir,Filelist, ext=None):
    """
    获取文件夹及其子文件夹中文件列表
    输入 dir:文件夹根目录
    输入 ext: 扩展名
    返回: 文件路径列表
    """
    newDir = dir
    if os.path.isfile(dir):
        if ext is None:
            Filelist.append(dir)
        else:
            if ext in dir[-3:]:
                Filelist.append(dir)

    elif os.path.isdir(dir):
        for s in os.listdir(dir):
            newDir=os.path.join(dir,s)
            getFileList(newDir, Filelist, ext)

    return Filelist

org_img_folder='./'

# 检索文件
img_num = len(imglist)
imglist = getFileList(org_img_folder, [], 'jpg')
print('本次执行检索到 '+str(img_num)+' 张图像\n')
4.进行图片逐一标注:
# 新建一个储存图片像素值的矩阵:
X_train = np.zeros((img_num, 64, 64, 3))
print(X_train.shape)
# 储存对应标签的矩阵:
y_train = np.zeros((img_num, 1))

i = 0

for img_path in imglist:
    print(img_path)
    img = image.load_img(img_path, target_size=(64, 64))
    imshow(img)
    show()
    time.sleep(1)
    class_tf = False

    while class_tf == False:
        class1 = input('which class?')
        if int(class1) < class_num:
            class_tf = True

    x = image.img_to_array(img)
    x = np.expand_dims(x, axis=0)

    # 将像素值和标签写入矩阵:
    X_train[i] = x
    y_train[i] = class1

    i += 1
5.分割训练集和测试集:
X_train, X_test, y_train, y_test = train_test_split(X_train, y_train, test_size=train_per, random_state=42)

X_train.shape, X_test.shape, y_train.shape, y_test.shape
# 如果只是想把图片数据储存到numpy里,可以到此结束。
6.将训练集和测试集分别写入hdf5文件中:
# 写训练数据到hdf5文件里:
d = f.create_dataset("X_train", data=X_train)
d = f.create_dataset("y_train", data=y_train)
f.close()

# 写测试数据到hdf5文件里:
d = f2.create_dataset("X_test", data=X_test)
d = f2.create_dataset("y_test", data=y_test)
f2.close()
?完整代码:
import os
import cv2
from keras.preprocessing import image
from matplotlib.pyplot import imshow, show
import numpy as np
from keras.applications.imagenet_utils import preprocess_input
import h5py
from sklearn.model_selection import train_test_split

# 分类数量:
class_num = int(input('Input the number of classes:'))
print(str(class_num) + " classes!")

# 创建hdf5训练集文件:
file_name = input('Input the hdf5 training dataset file name:')
f = h5py.File(file_name + ".hdf5", "w")

# 创建hdf5测试集文件:
file_name = input('Input the hdf5 test dataset file name:')
f2 = h5py.File(file_name + ".hdf5", "w")

# 训练集占比:
train_per = float(input('Input the percentage of the training set:'))
print('The training set accounts for ' + str(train_per * 100) + '% of the whole dataset.')

def getFileList(dir,Filelist, ext=None):
    """
    获取文件夹及其子文件夹中文件列表
    输入 dir:文件夹根目录
    输入 ext: 扩展名
    返回: 文件路径列表
    """
    newDir = dir
    if os.path.isfile(dir):
        if ext is None:
            Filelist.append(dir)
        else:
            if ext in dir[-3:]:
                Filelist.append(dir)

    elif os.path.isdir(dir):
        for s in os.listdir(dir):
            newDir=os.path.join(dir,s)
            getFileList(newDir, Filelist, ext)

    return Filelist

org_img_folder='./'

# 检索文件
img_num = len(imglist)
imglist = getFileList(org_img_folder, [], 'jpg')
print('本次执行检索到 '+str(img_num)+' 张图像\n')


# 新建一个储存图片像素值的矩阵:
X_train = np.zeros((img_num, 64, 64, 3))
print(X_train.shape)
# 储存对应标签的矩阵:
y_train = np.zeros((img_num, 1))

i = 0

for img_path in imglist:
    print(img_path)
    img = image.load_img(img_path, target_size=(64, 64))
    imshow(img)
    show()
    time.sleep(1)
    class_tf = False

    while class_tf == False:
        class1 = input('which class?')
        if int(class1) < class_num:
            class_tf = True

    x = image.img_to_array(img)
    x = np.expand_dims(x, axis=0)

    # 将像素值和标签写入矩阵:
    X_train[i] = x
    y_train[i] = class1

    i += 1

X_train, X_test, y_train, y_test = train_test_split(X_train, y_train, test_size=train_per, random_state=42)

X_train.shape, X_test.shape, y_train.shape, y_test.shape
# 如果只是想把图片数据储存到numpy里,可以到此结束。

# 写训练数据到hdf5文件里:
d = f.create_dataset("X_train", data=X_train)
d = f.create_dataset("y_train", data=y_train)
f.close()

# 写测试数据到hdf5文件里:
d = f2.create_dataset("X_test", data=X_test)
d = f2.create_dataset("y_test", data=y_test)
f2.close()
程序运行效果:
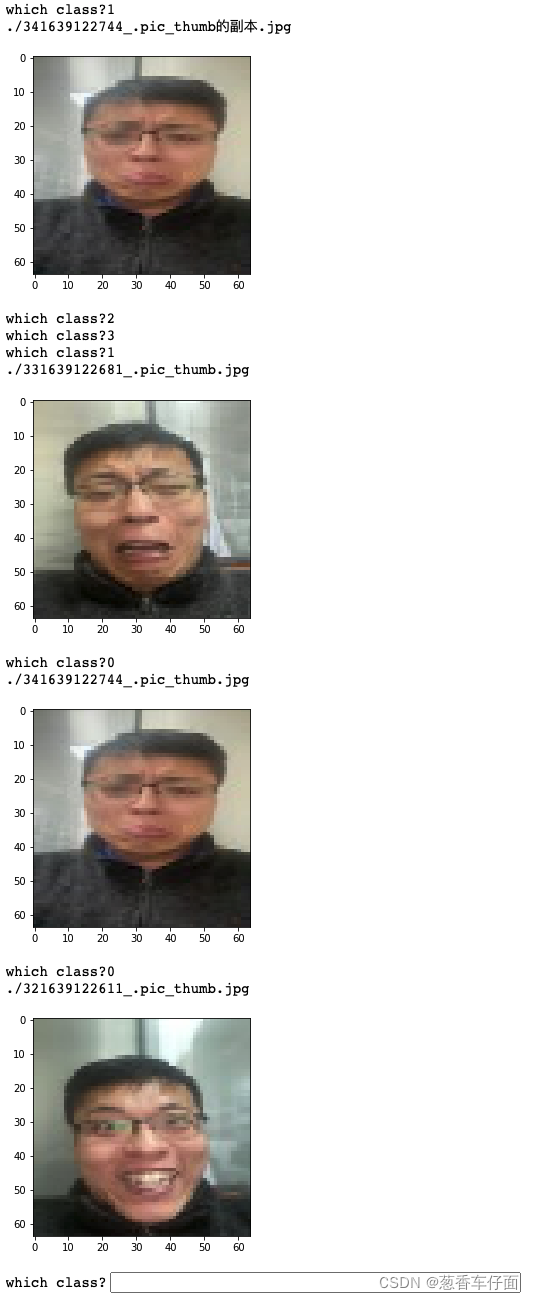
?(图片用于情感识别,是博主本人。。。)