本博文优先在掘金社区发布!
前言
啥也不说了,来先看效果图
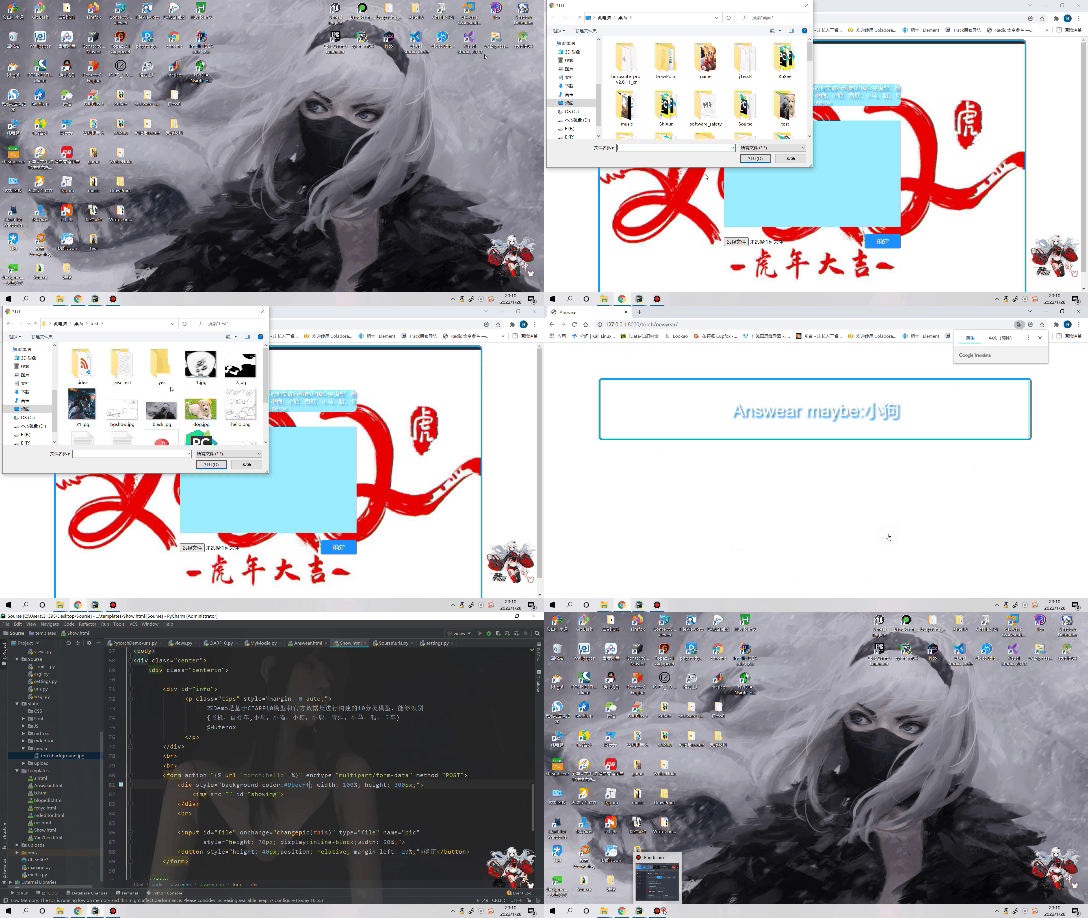
本来我是打算去把昨天在实验平台训练的模型拿到手的,结果当我早上起来一看,发现不知道为什么,可能是用的人多,我的云设备断开了,于是在训练了37轮之后就挂了。没办法我只能去重新训练,想着多训练几次,然后
不出意外又挂了,mad,人嘛了。
没办法我只能把昨天的模型拿过来,这个的识别率只有 62.4%。我其实还有想法去做那个涂鸦识别的,但是这个数据集太大了,网络到是有搭建好的,后面可以看看把人家训练好的模型拿过来,然后结合一下先前mediapipe做的demo,实在不行,把这个ciarf10拿过来,然后自己搞点数据集,也能分类涂鸦,没办法,复杂的神经网络模型,很难训练,没有设备GTX1650表示顶不住,一个VGG你都要训练好几天,所以只能拿这个玩玩。
环境
我这里使用的是 Django3.2
用的是我经常使用的一个测试项目(直接有现成的嘛)
然后是直接使用html css js 写的。
项目结构
这个我是直接在原来的测试项目里面创建的。也就是这样的。
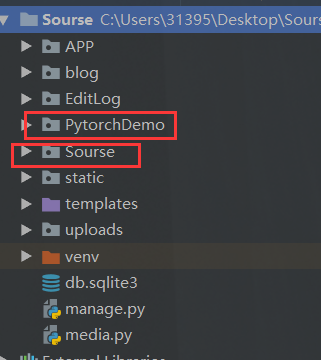
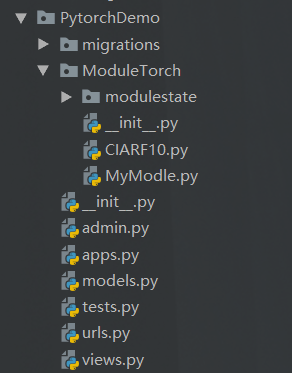
我们的代码都在这APP里面。
当然还有就是,这里使用了一张背景图片
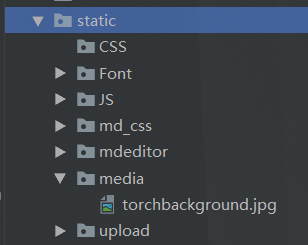
其他的就没有了,基本上就那样。
前端
现在上我们的前端代码
这个就两个页面
图片上传
<!DOCTYPE html>
<html lang="en">
<head>
    <meta charset="UTF-8">
    <title>图片识别Demo</title>
</head>

<style>
    .center {

        margin: 0 auto;
        width: 80%;
        border: 5px solid #18a0ec;
        transition: all 0.9s;
        border-radius: 10px;
        background-image:url("/static/media/torchbackground.jpg") ;
        background-repeat: no-repeat;
        background-size: cover;
        -webkit-background-size: cover;
        -o-background-size: cover;
        background-position: center 0;


    }
    .centerin{
        width: 500px;
        height: 500px;
        margin: 0 auto;
        padding: 10%;

        border-radius: 10px;
    }

        button {
        margin-left: 80%;
        width: 20%;
        height: 35px;
        border-width: 0px;
        border-radius: 3px;
        background: #1E90FF;
        cursor: pointer;
        outline: none;
        font-family: Microsoft YaHei;
        color: white;
        font-size: 17px;
    }
    #info{
        width: 500px;
        /*   这个居中 */
        margin: 0 auto;
        background: #9becff;
        border-radius: 10px;
    }
    #info:hover {
      box-shadow: 0px 15px 30px rgba(0, 0, 0, 0.4);
      margin-top: 5px;
}

    .tips{

      text-align:center;
      color:#fff;
      text-shadow: #1e88e1 5px 5px 5px;
}
</style>

<body>
<div class="center">
    <div class="centerin">

        <div id="info">
              <p class="tips" style="margin: 0 auto;">
                    本Demo是基于CIARF10模型和官方数据集进行构建的10分类模型,能够识别
                    {飞机,自行车,小鸟,小猫,小狗,小鹿,青蛙,小马,船,卡车}
                    @Huterox
              </p>
        </div>
        <br>
        <br>
        <form action="{% url 'torch:hello' %}" enctype="multipart/form-data" method="POST">
            <div style="background-color:#9becff; width: 100%; height: 300px;">
                <img src="" id="showimg">
            </div>
            <br>

            <input id="file" onchange="changepic(this)" type="file" name="pic"
                   style="height: 70px; display:inline-block;width: 50%;">
            <button style="height: 40px;position: relative; margin-left: 29%;">确定</button>
        </form>

    </div>

</div>
</body>
<script>
    function changepic() {
        var reads = new FileReader();
        f = document.getElementById('file').files[0];
        reads.readAsDataURL(f);
        reads.onload = function (e) {
            var showing = document.getElementById('showimg');
            var userpic = document.getElementById('userpic');
            showing.src = this.result;
            showing.style.height = "300px";
            showing.style.width = "100%";
        };
    }
</script>

</html>
结果显示
<!DOCTYPE html>
<html lang="en">
<head>
    <meta charset="UTF-8">
    <title>Answear</title>
</head>
<style>

.show {
  margin: 100px auto;
  width: 80%;

  border: 5px solid #18a0ec;
  transition: all 0.9s;
  border-radius: 10px;


}

.show:hover {
  box-shadow: 0px 15px 30px rgba(0, 0, 0, 0.4);
  margin-top: 90px;
}
.tips{

  text-align:center;
  font: 50px helvetica,arial,sans-serif;
  color:#fff;
  text-shadow: #1e88e1 5px 5px 5px;
}


</style>
<body>
 <div >
    <div class="show">
      <p class="tips">
        {{ answear }}
      </p>
    </div>
  </div>
</body>
</html>
后端
这个也没啥好说了,你配置好环境,就能搞了
模型部署
这里就是定义了一下我们的模型,还有模型调用。
# coding=utf-8

from torch import nn

from torch.nn import Conv2d, MaxPool2d, Flatten, Linear, Sequential


class MyModule(nn.Module):

    def __init__(self):
        super().__init__()

        self.model = Sequential(
            Conv2d(3, 32, kernel_size=(5, 5), padding=2),
            MaxPool2d(2),
            Conv2d(32, 32, (5, 5), padding=2),
            MaxPool2d(2),
            Conv2d(32, 64, (5, 5), padding=2),
            MaxPool2d(2),
            Flatten(),
            Linear(1024, 64),
            Linear(64, 10)

        )

    def forward(self,x):
        x = self.model(x)

        return x
模型调用

# coding=utf-8
from PIL import Image
import torchvision
import torch
from PytorchDemo.ModuleTorch.MyModle import MyModule

def recognize_img(Image):

    compose = torchvision.transforms.Compose([
        torchvision.transforms.Resize((32, 32)),
        torchvision.transforms.ToTensor()
    ])


    module_path = "PytorchDemo/ModuleTorch/modulestate/mymodule_500.pth"
    image = compose(Image)
    module = MyModule()
    module.load_state_dict(torch.load(module_path))

    image = torch.reshape(image, (1, 3, 32, 32))

    module.eval()
    with torch.no_grad():
        out = module(image)

        return out.argmax(1).item()
路由
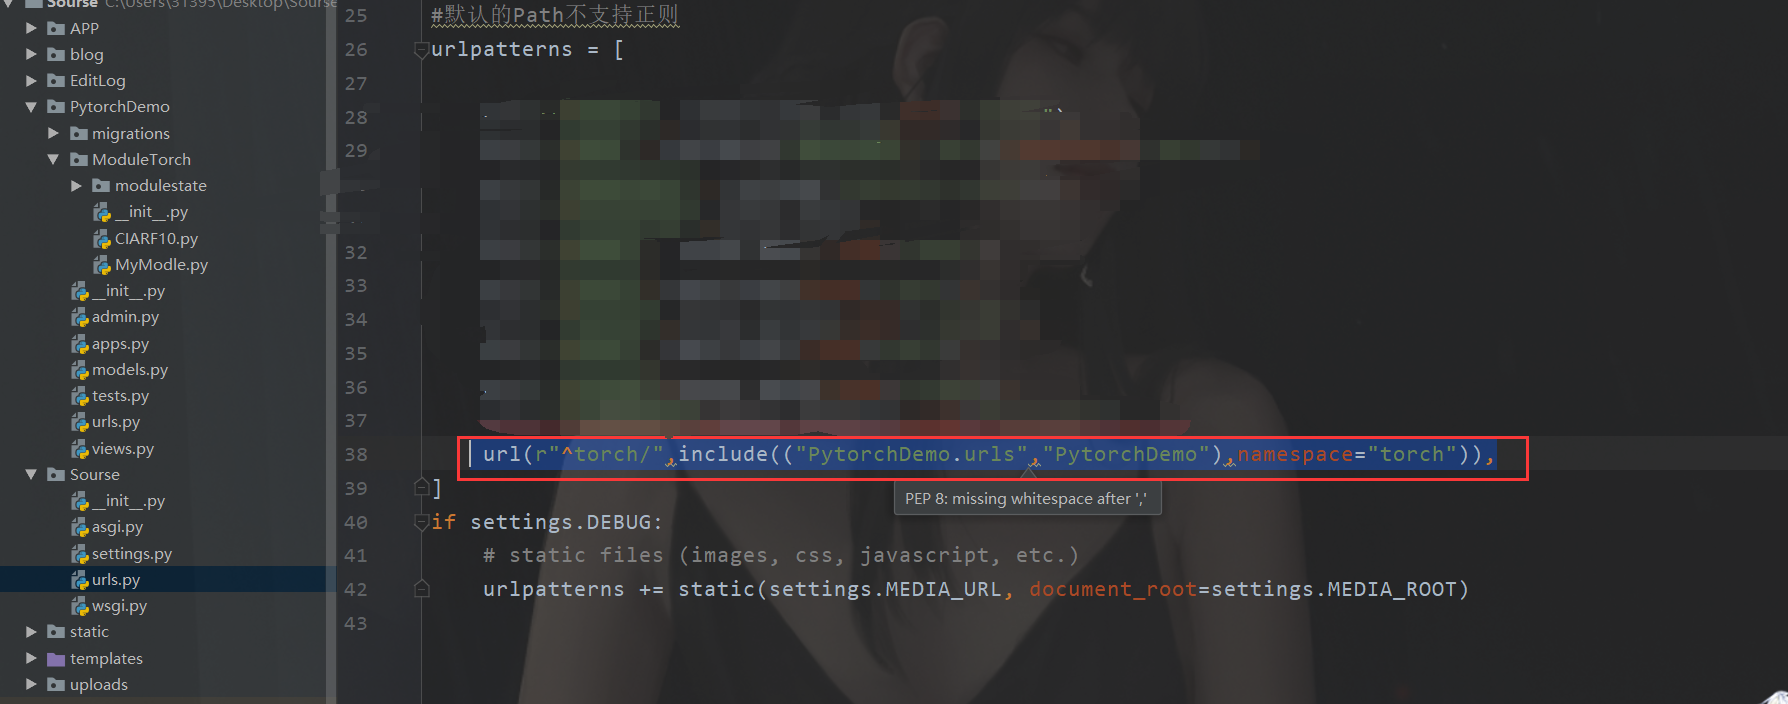
主路由
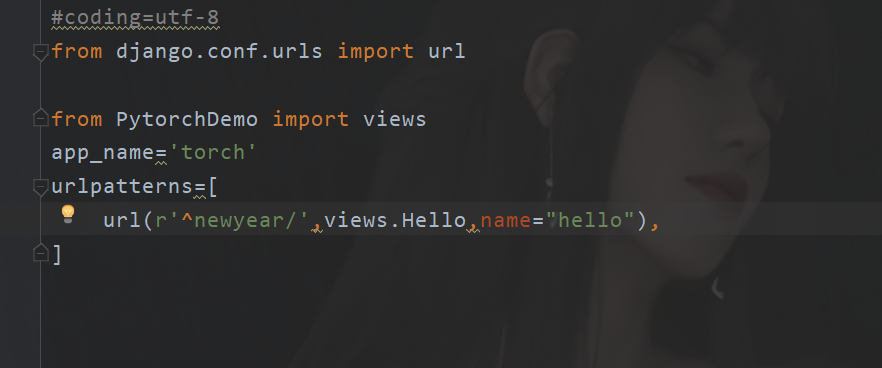
分路由
业务代码
这个都有解释
#coding = utf-8
from django.http import HttpResponse
from django.shortcuts import render
import asyncio

# Create your views here.
from django.views.decorators.clickjacking import xframe_options_sameorigin
from django.views.decorators.csrf import csrf_exempt
from PIL import Image
from PytorchDemo.ModuleTorch.CIARF10 import recognize_img

async def UseCIARF10(request,image):
    # {飞机,自行车,小鸟,小猫,小狗,小鹿,青蛙,小马,船,卡车}
    #是的这个view又是我从老demo里面改的,后来才想起来这是个运算密集型任务,异步同步没区别~
    Things = {0:"飞机",1:"自行车",2:"小鸟",3:"小猫",4:"小鹿",
              5:"小狗",6:"青蛙",7:"小马",8:"船",9:"卡车"
              }

    out = recognize_img(image)

    out = Things.get(out,"No Answear")
    print(out)
    Data = {
        "answear": "Answear maybe:{}".format(out)
    }
    return Data


@csrf_exempt
@xframe_options_sameorigin
def Hello(request):
    if(request.method=="GET"):
        return render(request,"Show.html")

    elif(request.method=="POST"):
        image = request.FILES.get('pic')
        if(image):
            image = Image.open(image)


            loop = asyncio.new_event_loop()
            asyncio.set_event_loop(loop) #设置事件循环

            try:
                res = loop.run_until_complete(UseCIARF10(request,image))
            finally:
                loop.close()

            return render(request, "Answear.html",context=res)

        else:
            return render(request, "Show.html")


    return HttpResponse("NO Power")
值得一提的是,在Django3.x支持了异步,但是对于一个view而言总体上还是同步的,sync view 对系统进行优化,当前视图遇到IO操作可以切换,为其他用户提供算力。之后操作完后一个return返回数据。
总结
拿到模型之后部署还是很简单的,后面的话,配合uwsgc Nginx 线上部署。然后在Django里面也是发现一些以前没发现的好玩的东西。最后提前祝大家新春快乐~虎年大吉
