安装GPU深度学习环境
检查机器
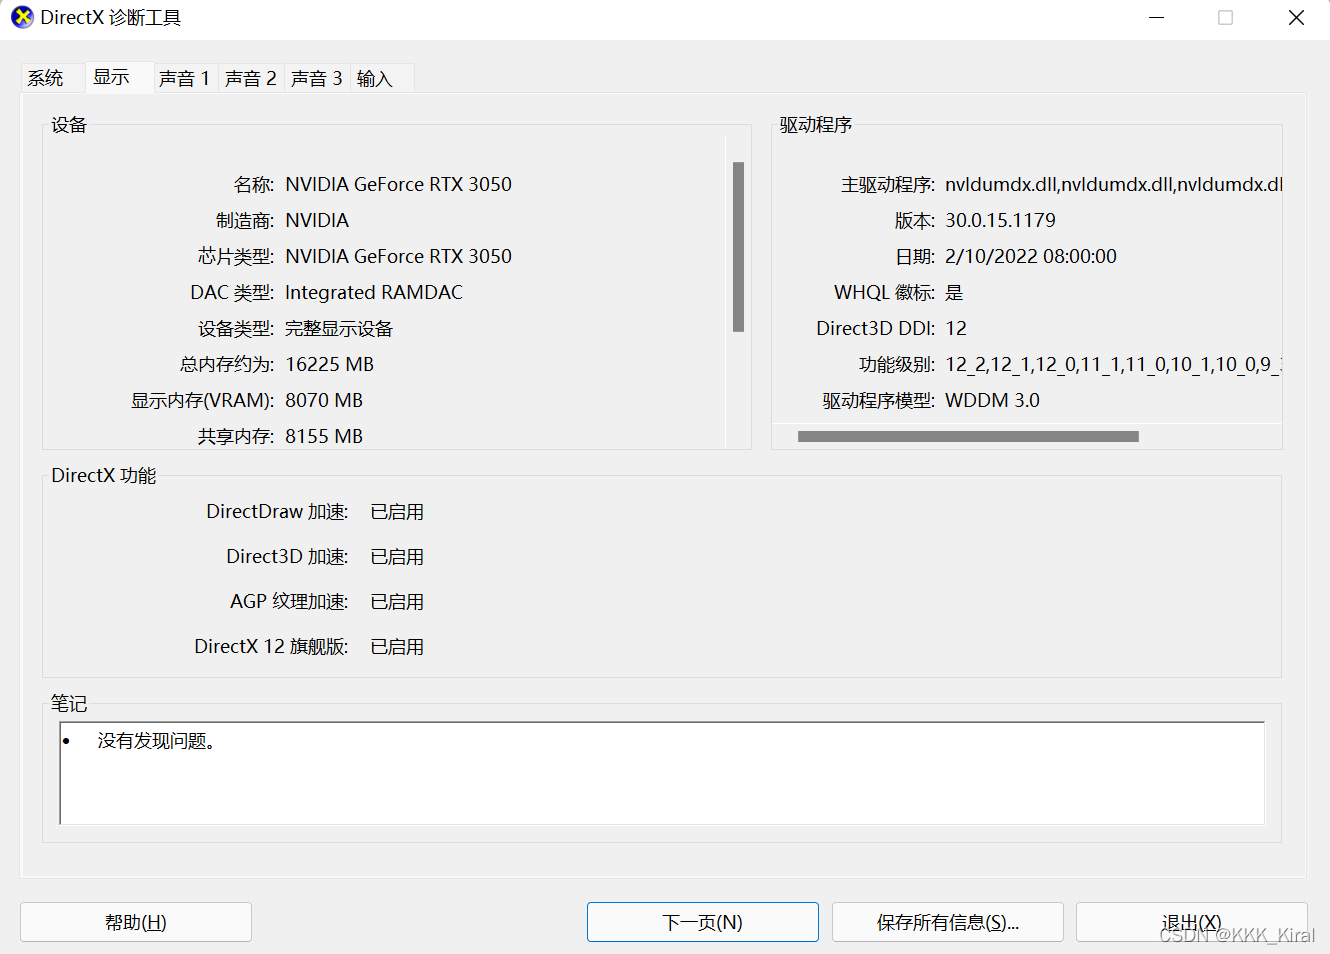
cmd DxDiag
可以看到显卡为: NVIDIA GeForce RTX 3050

安装并检查CUDA
默认选项, 安装完cuda后

或者通过命令行输入nvidia-smi, 可以看到 cuda11.6

下载Anaconda
自动打开浏览器并修改Jupyter Notebook的默认文件夹路径
打开cmd,然后输入jupyter notebook --generate-config
到时候会出现.jupyter\jupyter_notebook_config.py with default…输入y 确定
会生成jupyter_notebook_config.py 这个文件, 在文件末尾添加如下code
# 让jupyter自动打开浏览器
import webbrowser
webbrowser.register('chrome',None,webbrowser.GenericBrowser(u'C:/Program Files/Google/Chrome/Application/chrome.exe'))  # chrome.exe所在径 '\'换位'/' 或者其它浏览器
c.NotebookApp.browser = 'chrome'

# 修改jupyter默认路径
c.NotebookApp.notebook_dir = 'D:\Jupyter_projects'
若在开始菜单找不到Anaconda command prompt入口
打开终端,跳转到Anaconda的安装目录,输入 python .\Lib_nsis.py mkmenus 即可解决
下载PyTorch

pip3 install torch==1.10.2+cu113 torchvision==0.11.3+cu113 torchaudio===0.10.2+cu113 -f https://download.pytorch.org/whl/cu113/torch_stable.html

安装完成 - 测试成功
