PyTorch Metric Learning库代码学习二 Inference
- Install the packages
- Import the packages
- Create helper functions
- Create the dataset and load the trained model
- Create the InferenceModel wrapper
- Get nearest neighbors of a query 测试集聚类
- Compare two images of the same class 测试集聚类
- Compare two images of different classes 测试集聚类
- Get nearest neighbors of a query 测试集预测
度量学习作为一个大领域,网上有不少介绍的文章,pytorch-metric-learning库的官方文档也有比较详细的说明和demo. 简介度量学习和pytorch-metric-learning的使用
官方 API : PyTorch Metric Learning
在深度学习里面,使用学习好的模型做预测的过程叫inference,这个情景下和predict大致一个意思。
官方例子链接:Inference
Install the packages
!pip install pytorch-metric-learning
!pip install -q faiss-gpu
!git clone https://github.com/akamaster/pytorch_resnet_cifar10
Import the packages
%matplotlib inline
import matplotlib.pyplot as plt
import numpy as np
import torch
import torchvision
from pytorch_resnet_cifar10 import resnet
from torchvision import datasets, transforms

from pytorch_metric_learning.distances import CosineSimilarity
from pytorch_metric_learning.utils import common_functions as c_f
from pytorch_metric_learning.utils.inference import InferenceModel, MatchFinder
Create helper functions
def print_decision(is_match):
    if is_match:
        print("Same class")
    else:
        print("Different class")


mean = [0.485, 0.456, 0.406]
std = [0.229, 0.224, 0.225]

inv_normalize = transforms.Normalize(
    mean=[-m / s for m, s in zip(mean, std)], std=[1 / s for s in std]
) # normalisation逆变换


def imshow(img, figsize=(8, 4)):
    img = inv_normalize(img)
    npimg = img.numpy()
    plt.figure(figsize=figsize)
    plt.imshow(np.transpose(npimg, (1, 2, 0)))
    plt.show()
Create the dataset and load the trained model
下载CIFAR10数据集的测试集,10000张图片
transform = transforms.Compose(
    [transforms.ToTensor(), transforms.Normalize(mean=mean, std=std)]
)

dataset = datasets.CIFAR10(
    root="CIFAR10_Dataset", train=False, transform=transform, download=True
)
print(len(dataset.targets))  # 10000个测试集
labels_to_indices = c_f.get_labels_to_indices(dataset.targets)
函数c_f.get_labels_to_indices将所有的label的索引储存在字典中。例子:

加载模型,去掉模型最后的分类层. 这里的模型是别人训练好的,我们直接拿来当作度量学习的embedding. 在我们使用时应该加载我们自己的trunk模型,不需要再改最后一层.
labels_to_indices = c_f.get_labels_to_indices(dataset.targets)
model = torch.nn.DataParallel(resnet.resnet20())
checkpoint = torch.load("pytorch_resnet_cifar10/pretrained_models/resnet20-12fca82f.th")
model.load_state_dict(checkpoint["state_dict"])
model.module.linear = c_f.Identity()
model.to(torch.device("cuda"))
print("done model loading")
Create the InferenceModel wrapper
这一步是关键,utils.inference 包含的类可以方便地在批处理中或从一组对中查找匹配对。
回忆一下度量学习的大体流程,先使用深度学习网络当作我们的embedding网络, 也叫做主干trunk,这里还有两种写法,一种是将最后一层的分类个数直接改为embedding个数,在损失函数中使用各种度量学习的loss,另一种是直接把最后一层改为embedding层(trunk主干+嵌入器)。第一种方法的例子建议看我的PyTorch Metric Learning库代码学习一,第二种写法建议看Kaggle的鲸鱼分类。
然后,在我们做预测时,使用配对器找出每个测试集中数据离训练集最近的点,则这个点的label就是我们预测出来的label。
from pytorch_metric_learning.utils.inference import InferenceModel
InferenceModel(trunk,
                embedder=None,
                match_finder=None,
                normalize_embeddings=True,
                knn_func=None,
                data_device=None,
                dtype=None)

这是我们的配对器函数,这里我们是第一种写法,只有主干没有嵌入器。
match_finder = MatchFinder(distance=CosineSimilarity(), threshold=0.7)
inference_model = InferenceModel(model, match_finder=match_finder)

# cars 1 and frogs 6
classA, classB = labels_to_indices[1], labels_to_indices[6]
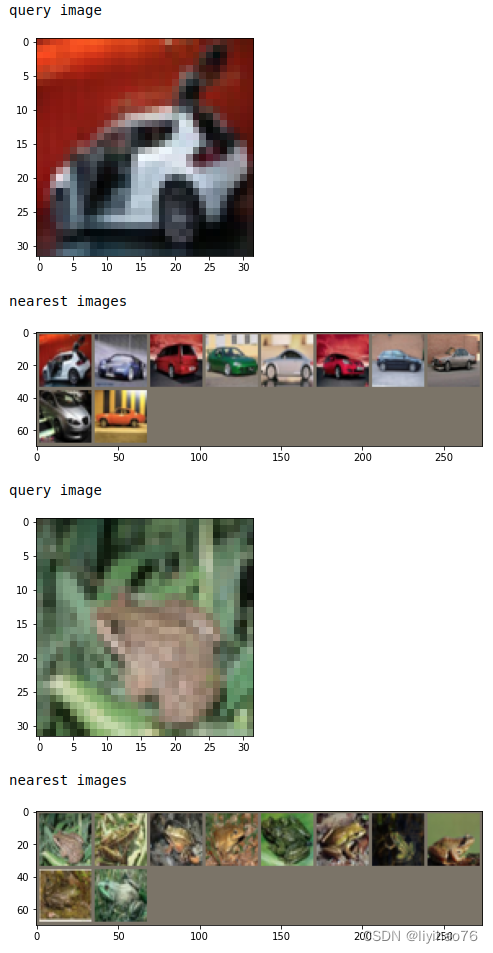
Get nearest neighbors of a query 测试集聚类
# pass in a dataset to serve as the search space for k-nn
inference_model.train_knn(dataset)
# get 10 nearest neighbors for a car image
for img_type in [classA, classB]:
    img = dataset[img_type[0]][0].unsqueeze(0)
    print("query image")
    imshow(torchvision.utils.make_grid(img))
    distances, indices = inference_model.get_nearest_neighbors(img, k=10)
    nearest_imgs = [dataset[i][0] for i in indices.cpu()[0]]
    print("nearest images")
    imshow(torchvision.utils.make_grid(nearest_imgs))

Compare two images of the same class 测试集聚类
# compare two images of the same class
(x, _), (y, _) = dataset[classA[0]], dataset[classA[1]]
imshow(torchvision.utils.make_grid(torch.stack([x, y], dim=0)))
decision = inference_model.is_match(x.unsqueeze(0), y.unsqueeze(0))
print_decision(decision)

Compare two images of different classes 测试集聚类
# compare two images of a different class
(x, _), (y, _) = dataset[classA[0]], dataset[classB[0]]
imshow(torchvision.utils.make_grid(torch.stack([x, y], dim=0)))
decision = inference_model.is_match(x.unsqueeze(0), y.unsqueeze(0))
print_decision(decision)

Get nearest neighbors of a query 测试集预测
transform = transforms.Compose(
    [transforms.ToTensor(), transforms.Normalize(mean=mean, std=std)]
)

train_dataset = datasets.CIFAR10(
    root="CIFAR10_Dataset", train=True, transform=transform, download=True
)
test_dataset = datasets.CIFAR10(
    root="CIFAR10_Dataset", train=False, transform=transform, download=True
)

labels_to_indices = c_f.get_labels_to_indices(test_dataset.targets)
model = torch.nn.DataParallel(resnet.resnet20())
checkpoint = torch.load("pytorch_resnet_cifar10/pretrained_models/resnet20-12fca82f.th")
model.load_state_dict(checkpoint["state_dict"])
model.module.linear = c_f.Identity()
model.to(torch.device("cuda"))
print("done model loading")

match_finder = MatchFinder(distance=CosineSimilarity(), threshold=0.7)
inference_model = InferenceModel(model, match_finder=match_finder)

# cars and frogs
classA, classB = labels_to_indices[1], labels_to_indices[6]
# pass in a dataset to serve as the search space for k-nn
inference_model.train_knn(train_dataset)

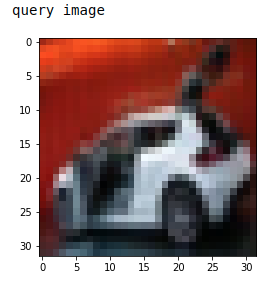
img = test_dataset[classA[0]][0].unsqueeze(0)
print("query image")
imshow(torchvision.utils.make_grid(img))

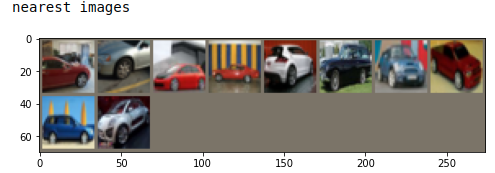
distances, indices = inference_model.get_nearest_neighbors(img, k=10)

print(distances) #tensor([[0.0468, 0.0584, 0.0600, 0.0613, 0.0621, 0.0630, 0.0632, 0.0644, 0.0657,0.0676]], device='cuda:0')
print(indices) #tensor([[26404, 27238, 38183, 36848, 19181,  7221, 49221, 36721, 10748,  8571]],device='cuda:0')

nearest_imgs = [train_dataset[i][0] for i in indices.cpu()[0]]
print("nearest images")
imshow(torchvision.utils.make_grid(nearest_imgs))

