1 安装cuda。去cuda官网下载,选择需要的版本
这里选择cuda_11.3.0_465.89_win10.exe,然后进行安装(选精简版进行默然安装就可以,默认C盘)
Cmd中切换cuda安装路径,输入nvcc -V,查看CUDA是否安装成功

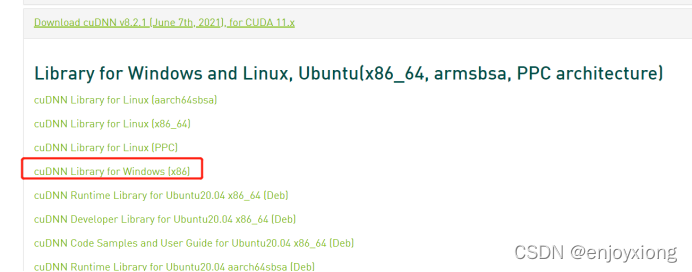
2 安装cuDNN.官网https://developer.nvidia.com/cudnn下载与CUDA对应的版本
这里下载cudnn-11.3-windows-x64-v8.2.1.32.zip

下载完成后,解压,复制下列三个文件夹

黏贴到cuda安装目录下

win+R,cmd打开命令窗,输入:
cd /d C:\Program Files\NVIDIA GPU Computing Toolkit\CUDA\v11.3\extras\demo_suite
回车切换路径
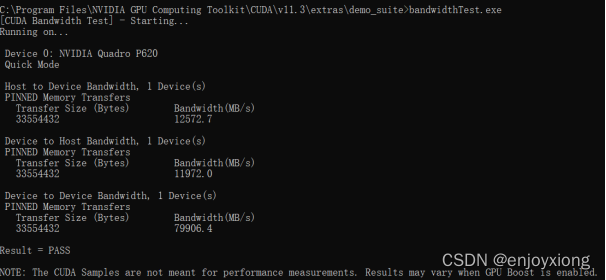
输入:bandwidthTest.exe

显示PASS则安装成功
输入:deviceQuery.exe

显示PASS,则cuda和cudnn均安装成功。
3 安装pytorch的torch和torchvision
进入pytorch网站:https://pytorch.org/,选择选择pip下载(https://pytorch.org/get-started/locally/)

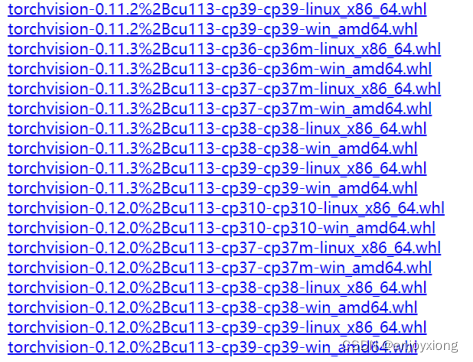
进入官网https://download.pytorch.org/whl/cu113/torch_stable.html 进行下载

本文下载与cuda11.3对应的版本
torch-1.11.0+cu113-cp38-cp38-win_amd64.whl
torchvision-0.12.0+cu113-cp38-cp38-win_amd64.whl
注意:先安装torch,再安装torchvision。torchvision版本一定要与torch版对应,否则安装torchvision时,会安装低版本的torch,从而覆盖gpu版本torch,使其变成版本。
这里列举两种安装方法:
(1)在anaconda中新建一个虚拟环境,独立安装
①创建虚拟环境
conda create -n pytorch_gpu python=3.8(n表示参数name,pytorch_gpu表示自己起的环境的名字,python=3.8表示需要使用的一些包)

②激活虚拟环境
在anaconda的Anaconda Prompt 中输入命令activate pytorch_gpu
③安装torch与torchvision
切换至路径 D:\Program Files\Anaconda3\envs\pytorch_gpu\Lib\site-packages
输入命令:pip install torch-1.11.0+cu113-cp38-cp38-win_amd64.whl
然后输入:pip install torchvision-0.12.0+cu113-cp38-cp38-win_amd64.whl
输入以下命令进行测试:
import torch
import torchvision
print(torch.version)
print(torchvision.version)

④关闭虚拟环境:conda deactivate
(2)在D:\Program Files\Anaconda3\Lib\site-packages中直接安装
将安装包拷贝至该文件夹中,参照(1)中命令安装和测试。
4 在PyCharm中测试
(1)添加anaconda环境

(2)新建工程
