????????PaddleDetection为百度公司推出的具有丰富检测模型的算法库,不仅能够帮助初学者快速入门深度学习,也给广大科研人员快速复现SOTA算法提供了方便。但是在成果落地应用阶段,现有的解决方案很多依赖高性能计算显卡,虽然30系列显卡的推出已经将部署成本大大降低,但是升级硬件设备还是需要一笔不小的支出,使得许多中小微型企业望洋兴叹。因此如果能够使用现有的计算设备进行部署,可以进一步控制成本。Intel公司推出的OpenVINO套件可以实现在CPU上实时处理深度学习模型,能够降低中小微型企业部署人工智能模型的成本,实现利用AI给产业赋能,进而推动产业升级转型。
???????OpenVINO 2022推出之前,需要将PaddlePaddle设计的模型先转化为ONNX格式的模型才可以进行推理加速。近年来,Intel加强了与百度的合作,使得OpenVINO可以直接读取PaddlePaddle模型,不需要先转换为中间格式,大大提高了模型部署的效率。因此本文主要探索基于OpenVINO的PaddleDetection模型部署。文章主要包含环境配置、环境安装以及常见问题三部分内容。在环境安装部分中,详细介绍了PaddlePaddle模型转化为OpenVINO 2022的具体过程,并提供了测试代码,与此同时,本文还进行了运行效率的测试,分别对使用GPU加速、不使用任何加速以及使用OpenVINO加速这三种情况下的模型推理速度进行了测试。
目录
1.1 在Anaconda中配置PaddlePaddle虚拟环境
5.3 使用OpenVINO加速PaddlePaddle推理
2、numpy.ndarray has the wrong size, try recompiling. Expected 80, got 88
3、使用PaddlePaddle进行推理时会莫名其妙地退出,表现为程序运行结束,没有报错,但是没有图像输出。
环境配置:
1、Win10家庭版
2、PaddlePaddle 2.2
3、PaddleDetection 2.4
4、Anaconda3-5.3.0
5、OpenVINO 2022
6、CUDA 11.0
环境安装
1、配置PaddleDetection
1.1 在Anaconda中配置PaddlePaddle虚拟环境
a、使用如下指令创建虚拟环境。
conda create -n paddle2 python=3.7b、使用如下指令激活paddlepaddle环境。
conda activate paddle2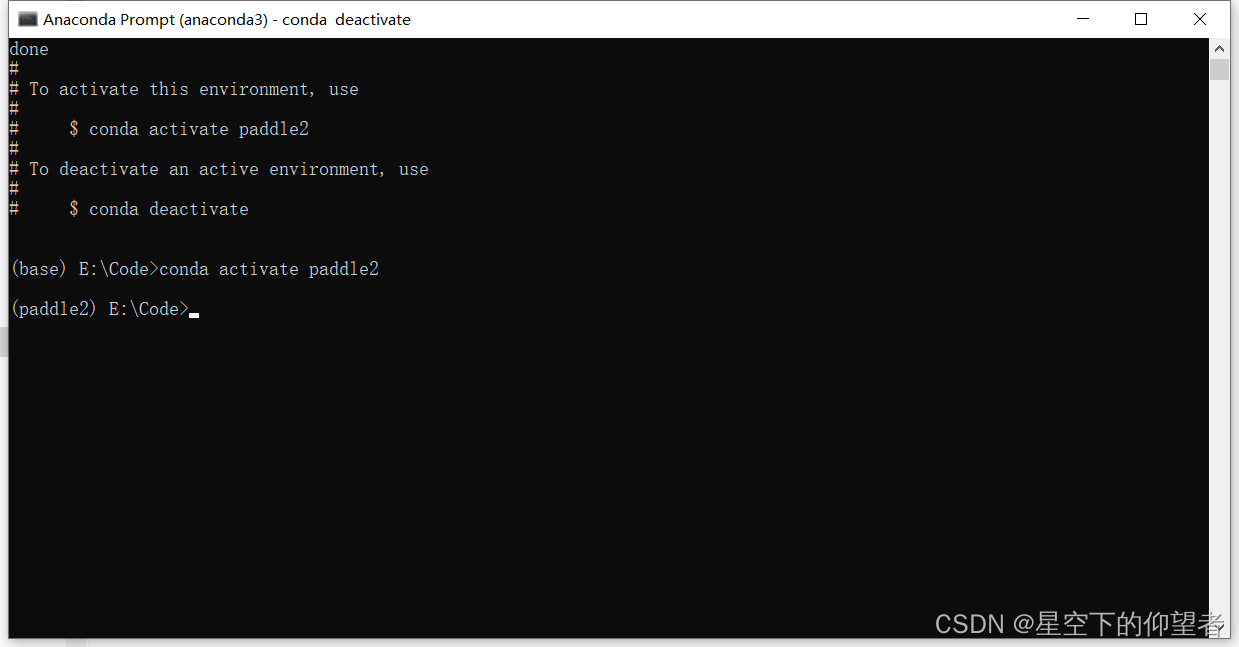
1.2 配置PaddleDetection
?a、使用如下指令下载PaddleDetection。
git clone --recursive https://github.com/PaddlePaddle/PaddleDetection.git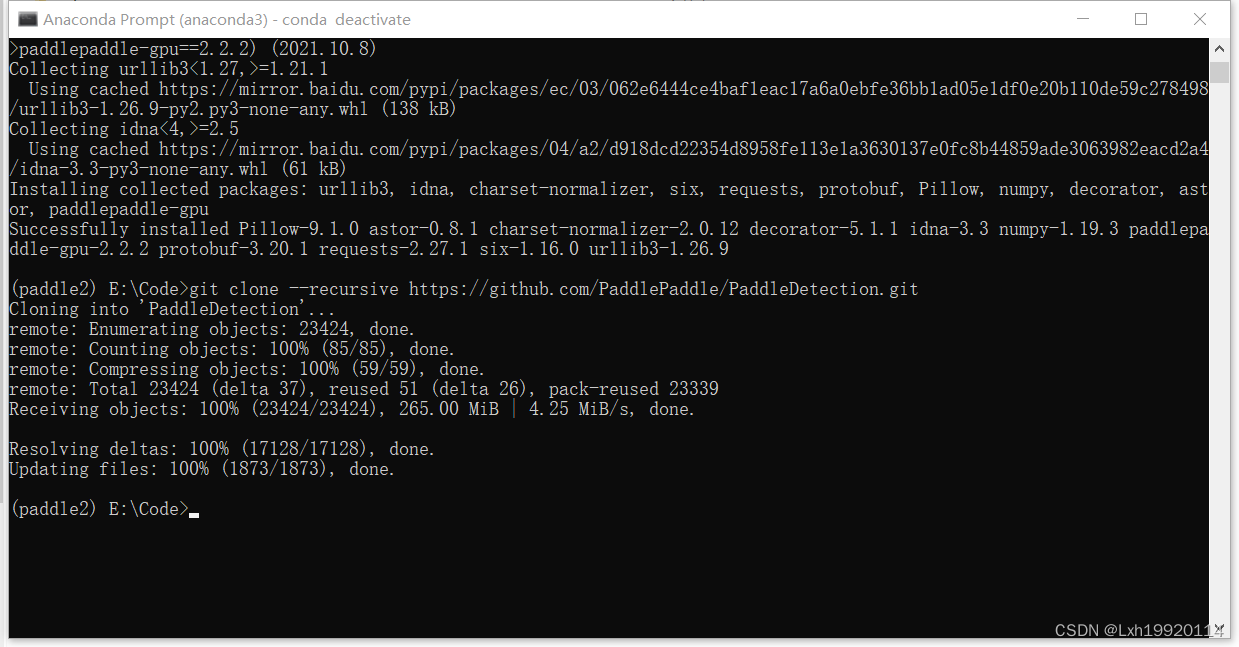
b、在requirements.txt中注释掉pycocotools,以防止安装失败。
tqdm
typeguard ; python_version >= '3.4'
visualdl>=2.1.0 ; python_version <= '3.7'
opencv-python
PyYAML
shapely
scipy
terminaltables
Cython
#pycocotools
#xtcocotools==1.6 #only for crowdpose
setuptools>=42.0.0
lap
sklearn
motmetrics
openpyxl
cython_bbox
c、安装依赖项和PaddleDetection。
python -m pip install paddlepaddle-gpu==2.2.2.post110 -f https://www.paddlepaddle.org.cn/whl/windows/mkl/avx/stable.html
pip install -r requirements.txt -i https://pypi.tuna.tsinghua.edu.cn/simple/
pip install git+https://github.com/philferriere/cocoapi.git#subdirectory=PythonAPI
python setup.py install
?d、测试是否安装成功。
python ppdet/modeling/tests/test_architectures.py
?e、使用如下指令体验目标检测。
python tools/infer.py -c configs/ppyolo/ppyolo_r50vd_dcn_1x_coco.yml -o use_gpu=true weights=https://paddledet.bj.bcebos.com/models/ppyolo_r50vd_dcn_1x_coco.pdparams --infer_img=demo/000000014439.jpg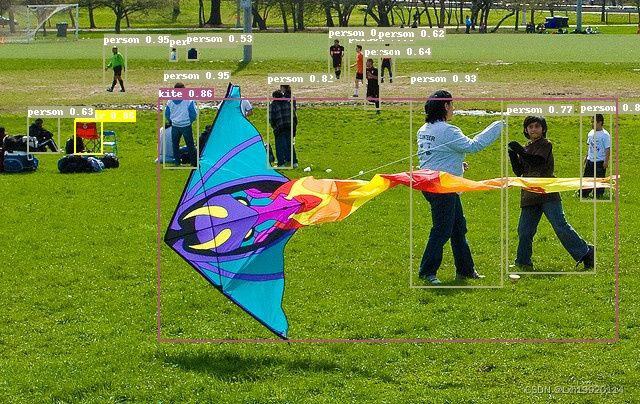
2 配置OpenVINO 2022
????????需要注意的是由于依赖项的冲突,OpenVINO与PaddlePaddle不建议安装在同一个虚拟环境中,无论安装顺序如何,都有可能导致PaddleDetection无法推理结束的情况。使用如下指令创建虚拟环境并安装openvino。
conda create -n openvino python=3.7
conda activate openvino
pip install openvino-dev[onnx]==2022.1.0
?输入如下指令判断openvino是否安装成功,若出现帮助选项说明安装成功。
mo -h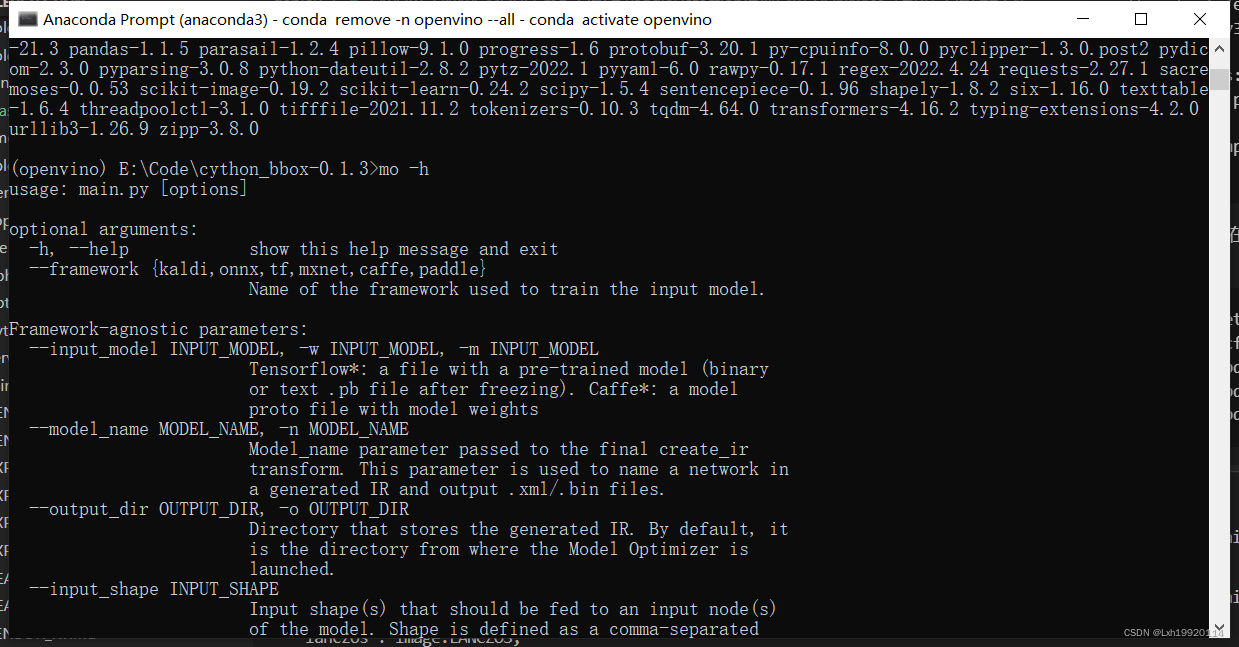
3 导出PaddlePaddle部署模型
????????由于使用OpenVINO部署需要“model.pdmodel”和“model.pdiparams”文件,因此需要对下载的模型权重“ppyolo_r50vd_dcn_1x_coco.pdparams”进行转换,原始的模型权重文件放至在models目录下。
python tools/export_model.py -c configs/ppyolo/ppyolo_r50vd_dcn_1x_coco.yml -o use_gpu=true weights=models/ppyolo_r50vd_dcn_1x_coco.pdparams TestReader.inputs_def.image_shape=[3,640,640] --output_dir inference_model4 使用OpenVINO进行推理
4.1 引入依赖库
import sys, os.path
import numpy as np
import cv2
from openvino.inference_engine import IENetwork, IECore, ExecutableNetwork
import yaml
from yaml.loader import SafeLoader
import colorsys
import random
4.2 定义检测器类
class Detector:
    def __init__(self,pdmodel_path, pdmodel_file, pdmodel_config, device, img_size = 640) -> None:

        self.pdmodel_path = pdmodel_path
        self.pdmodel_file = os.path.join(pdmodel_path,pdmodel_file)
        self.pdmodel_config = os.path.join(pdmodel_path,pdmodel_config)
        print(self.pdmodel_file,self.pdmodel_config)
        self.device = device
        self.labellist = []
        #加载标签列表
        label_list=[]
        self.img_size = img_size
        with open(self.pdmodel_config) as f:
            data = yaml.load(f, Loader=SafeLoader)
        self.label_list = data['label_list'];
        self.colors = self.ncolors(len(self.label_list))
        #读取模型结构
        self.ie = IECore()
        self.net = self.ie.read_network(self.pdmodel_file)
        #调整输入层尺寸
        self.net.reshape({'image': [1, 3, self.img_size, self.img_size], 'im_shape': [
                1, 2], 'scale_factor': [1, 2]})
        #加载预训练权重
        self.exec_net = self.ie.load_network(self.net, self.device)
        assert isinstance(self.exec_net, ExecutableNetwork)

    #检测并绘制结果
    def detect(self,image,conf_thresh=0.2, showImage = True, frameName = None, saveImage = False, saveImgName = None):
        result_image = image.copy()
        test_image = self.image_preprocess(image, self.img_size)
        test_im_shape = np.array([[self.img_size, self.img_size]]).astype('float32')
        test_scale_factor = np.array([[1, 2]]).astype('float32')
        #构建输入字典
        inputs_dict = {'image': test_image, "im_shape": test_im_shape,
                    "scale_factor": test_scale_factor}
        #模型推理
        output = self.exec_net.infer(inputs_dict)
        result_ie = list(output.values())
        #绘制并保存结果
        scale_x = result_image.shape[1]/self.img_size*2
        scale_y = result_image.shape[0]/self.img_size
        result_image = self.draw_box(result_image, result_ie[0], scale_x, scale_y,conf_thresh = conf_thresh)
        if(showImage and frameName != None):
            cv2.imshow(frameName,result_image)
        elif(showImage and frameName == None):
            cv2.imshow("openvino",result_image)
        if (saveImage and saveImgName != None):
            cv2.imwrite(saveImgName,result_image)
        elif(saveImage and saveImgName == None):
            cv2.imwrite("openvino_test.jpg",result_image)

    #图像预处理,主要负责调整输入图像尺寸,并归一化
    def image_preprocess(self, input_image, size):
        img = cv2.resize(input_image, (size,size))
        img = np.transpose(img, [2,0,1]) / 255
        img = np.expand_dims(img, 0)
        ##NormalizeImage: {mean: [0.485, 0.456, 0.406], std: [0.229, 0.224, 0.225], is_scale: True}
        img_mean = np.array([0.485, 0.456,0.406]).reshape((3,1,1))
        img_std = np.array([0.229, 0.224, 0.225]).reshape((3,1,1))
        img -= img_mean
        img /= img_std
        return img.astype(np.float32)
    #生成具有辨识度的类别颜色
    def get_n_hls_colors(self,num):
        hls_colors = []
        i = 0
        step = 360.0 / num
        while i < 360:
            h = i
            s = 90 + random.random() * 10
            l = 50 + random.random() * 10
            _hlsc = [h / 360.0, l / 100.0, s / 100.0]
            hls_colors.append(_hlsc)
            i += step
        return hls_colors
    def ncolors(self,num):
        rgb_colors = []
        if num < 1:
            return rgb_colors
        hls_colors = self.get_n_hls_colors(num)
        for hlsc in hls_colors:
            _r, _g, _b = colorsys.hls_to_rgb(hlsc[0], hlsc[1], hlsc[2])
            r, g, b = [int(x * 255.0) for x in (_r, _g, _b)]
            rgb_colors.append([r, g, b])
        return rgb_colors
    #将检测结果绘制在图像中
    def draw_box(self,img, results, scale_x, scale_y, line_width=2 , conf_thresh = 0.2):
        for i in range(len(results)):
            # print(results[i])
            bbox = results[i, 2:]
            label_id = int(results[i, 0])
            score = results[i, 1]
            if(score>conf_thresh):
                xmin, ymin, xmax, ymax = [int(bbox[0]*scale_x), int(bbox[1]*scale_y),
                                        int(bbox[2]*scale_x), int(bbox[3]*scale_y)]
                cv2.rectangle(img,(xmin, ymin),(xmax, ymax),self.colors[label_id],3)
                font = cv2.FONT_HERSHEY_SIMPLEX
                label_text = self.label_list[label_id];
                tf = max(line_width - 1, 1)  # font thickness
                w, h = cv2.getTextSize(label_text, 0, fontScale=line_width / 3, thickness=tf)[0]  # text width, height
                cv2.rectangle(img, (xmin, ymin), (xmin+w, ymin-h-3), self.colors[label_id], -1)
                cv2.putText(img, label_text,(xmin,ymin), font, line_width / 3,(0,0,0), thickness=tf, lineType=cv2.LINE_AA)
                # cv2.putText(img, str(score),(xmin,ymin-40), font, 0.8,(255,255,255), 2,cv2.LINE_AA)
        return img
4.3 main函数
def main():
    # 指定检测模型所在路径
    pdmodel_path = "inference_model/ppyolo_r50vd_dcn_1x_coco"
    pdmodel_file = "model.pdmodel"
    pdmodel_config = "infer_cfg.yml"
    device = 'CPU'
    img_size = 640 #图像尺寸
    detNet = Detector(pdmodel_path,pdmodel_file,pdmodel_config,device,img_size)
    #读取图像并进行预处理
    image_path = "demo/000000014439.jpg"
    input_image = cv2.imread(image_path)
    detNet.detect(input_image,saveImage=True)

if __name__ == '__main__':
    sys.exit(main())
4.4 运行结果
 ?
?
5 运行效率对比
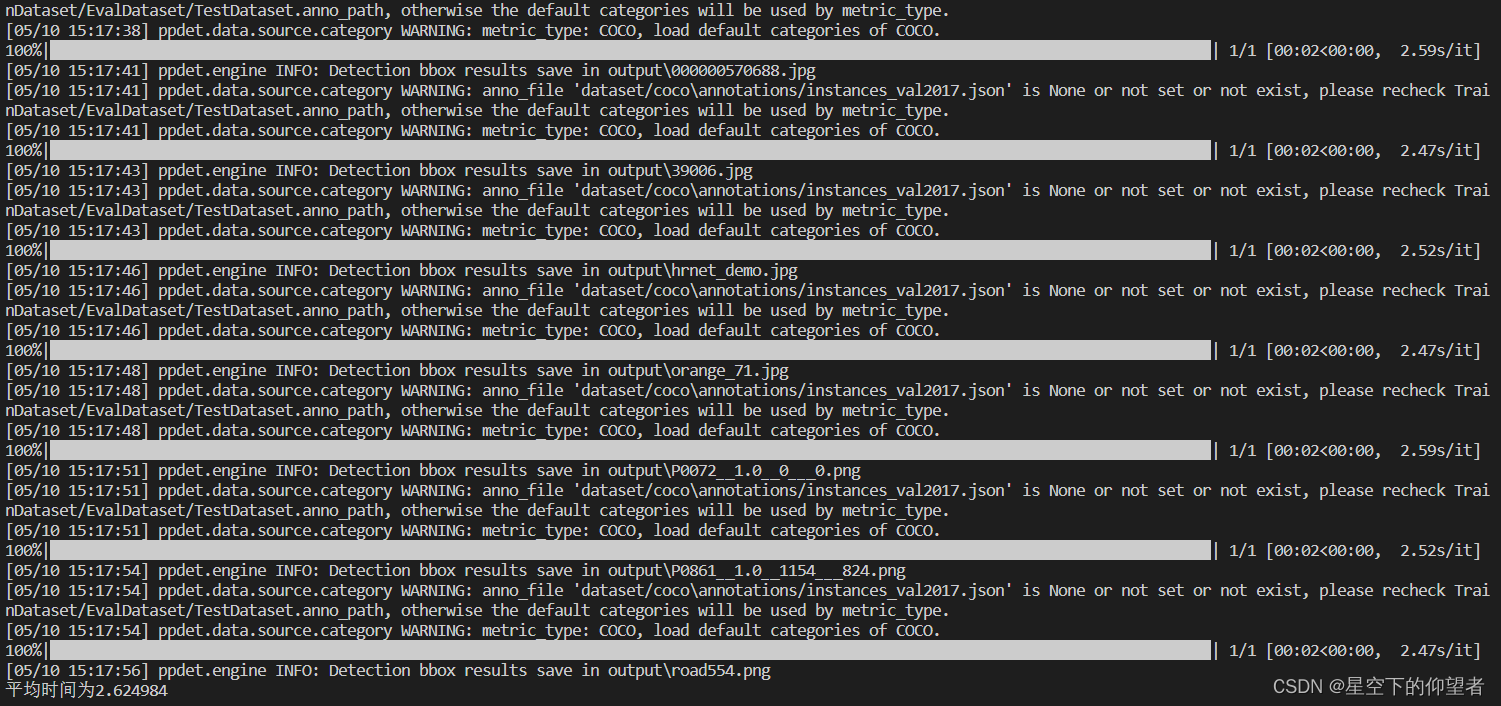
????????以ppyolo_r50vd_dcn_1x_coco模型为例,在笔记本上分别测试在1050Ti显卡以及i7-10750H CPU上的推理速度,测试样例为PaddleDetection/demo路径下的所有图片。时间计算从读取数据开始至存储检测结果至本地。
5.1 利用GPU加速PaddlePaddle推理
a、测试代码如下:
def run(FLAGS, cfg):
    # build trainer
    trainer = Trainer(cfg, mode='test')
    files = os.listdir(FLAGS.infer_img)
    # load weights
    trainer.load_weights(cfg.weights)
    ts = 0
    index = 0
    for img in list(filter(file_filter,files)):
        t1 = time.time()
        # get inference images
        images = get_test_images(FLAGS.infer_dir, FLAGS.infer_img + img)

        # inference
        trainer.predict(
            images,
            draw_threshold=FLAGS.draw_threshold,
            output_dir=FLAGS.output_dir,
            save_results=FLAGS.save_results)
        ts += time.time()-t1
        index += 1
    print("平均时间为{:f}".format(ts/index))
b、测试结果如下,平均时间为0.265590s:

5.2 使用CPU进行PaddlePaddle推理
测试代码与5.1相同,运行结果如下,平均时间为2.624984s:
5.3 使用OpenVINO加速PaddlePaddle推理
a、测试代码如下:
def main():
    # 指定检测模型所在路径
    pdmodel_path = "inference_model/ppyolo_r50vd_dcn_1x_coco"
    pdmodel_file = "model.pdmodel"
    pdmodel_config = "infer_cfg.yml"
    device = 'CPU'
    img_size = 640 #图像尺寸
    detNet = Detector(pdmodel_path,pdmodel_file,pdmodel_config,device,img_size)
    #读取图像并进行预处理
    image_path = "demo/"
    files = os.listdir(image_path)
    ts = 0
    index = 0
    for img in files:
        t1 = time.time()
        input_image = cv2.imread(image_path + img)
        detNet.detect(input_image,showImage=False,saveImage=True)
        ts += time.time()-t1
        index += 1
    print("平均时间为{:f}".format(ts/index))
b、运行结果如下,平均时间为0.371806s:
 c、上述对比实验可以看出使用OpenVINO确实可以有效地提升深度学习模型的推理速度,因此可以实现不升级设备的情况下提升模型在CPU上的推理效率,从而降低了部署成本。
常见问题:
1、Cython-bbox安装失败
解决方法:参考这篇博客的Cython-bbox安装方法。
2、numpy.ndarray has the wrong size, try recompiling. Expected 80, got 88
解决方法:需要先安装paddlepaddle,再安装其他依赖项,否则容易出现这些稀奇古怪的问题。
3、使用PaddlePaddle进行推理时会莫名其妙地退出,表现为程序运行结束,没有报错,但是没有图像输出。
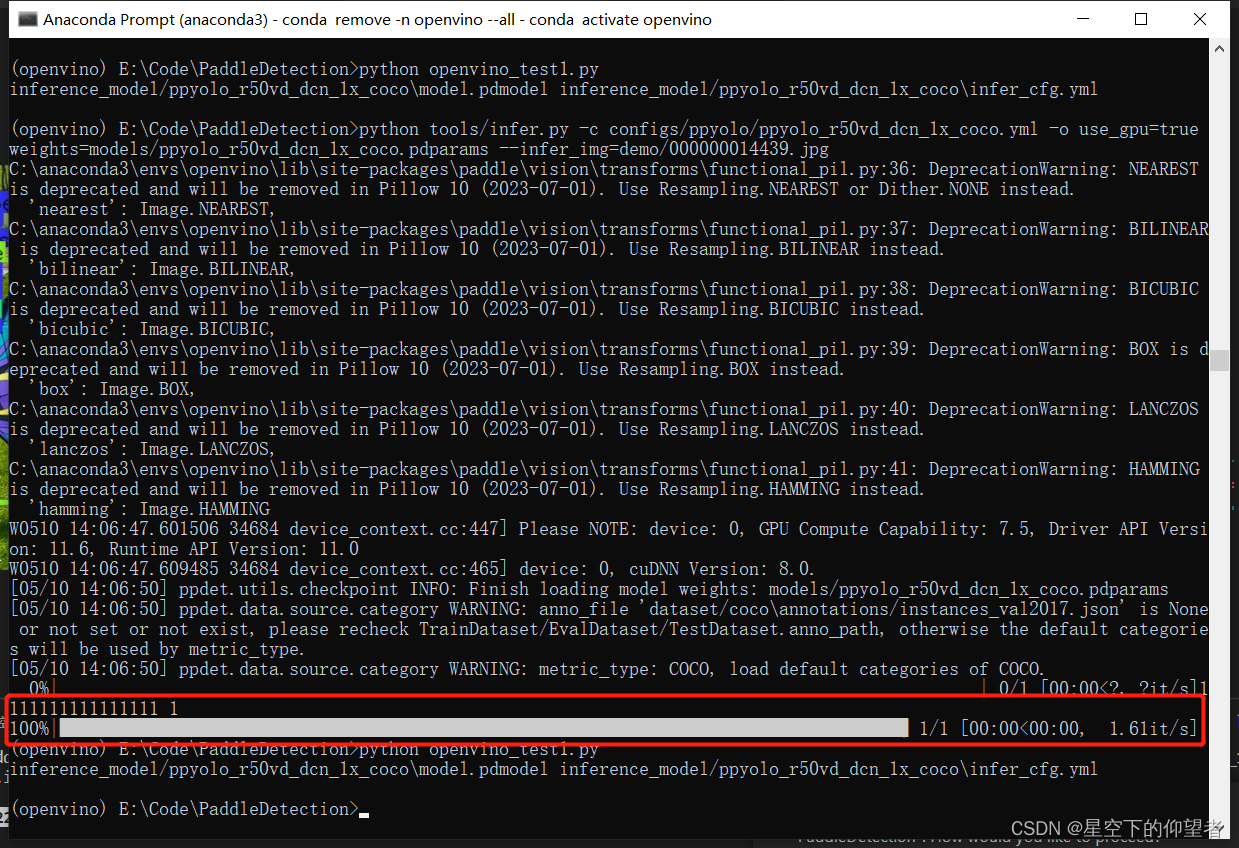
解决方法:出现这种情况,主要因为依赖项冲突导致运行失败,需要按照顺序重新安装,特别需要注意的是由于依赖项的冲突,OpenVINO与PaddlePaddle不建议安装在同一个虚拟环境中,无论安装顺序如何,都有可能导致PaddleDetection无法推理结束的情况。具体现象如下图所示,在运行过程中应该会打印出两行内容,但是实际运行时只打印出了一行,然后程序就结束了,没有报错,也没有提示异常,目前除了重新安装环境没有找到其他的解决方法。

