介绍
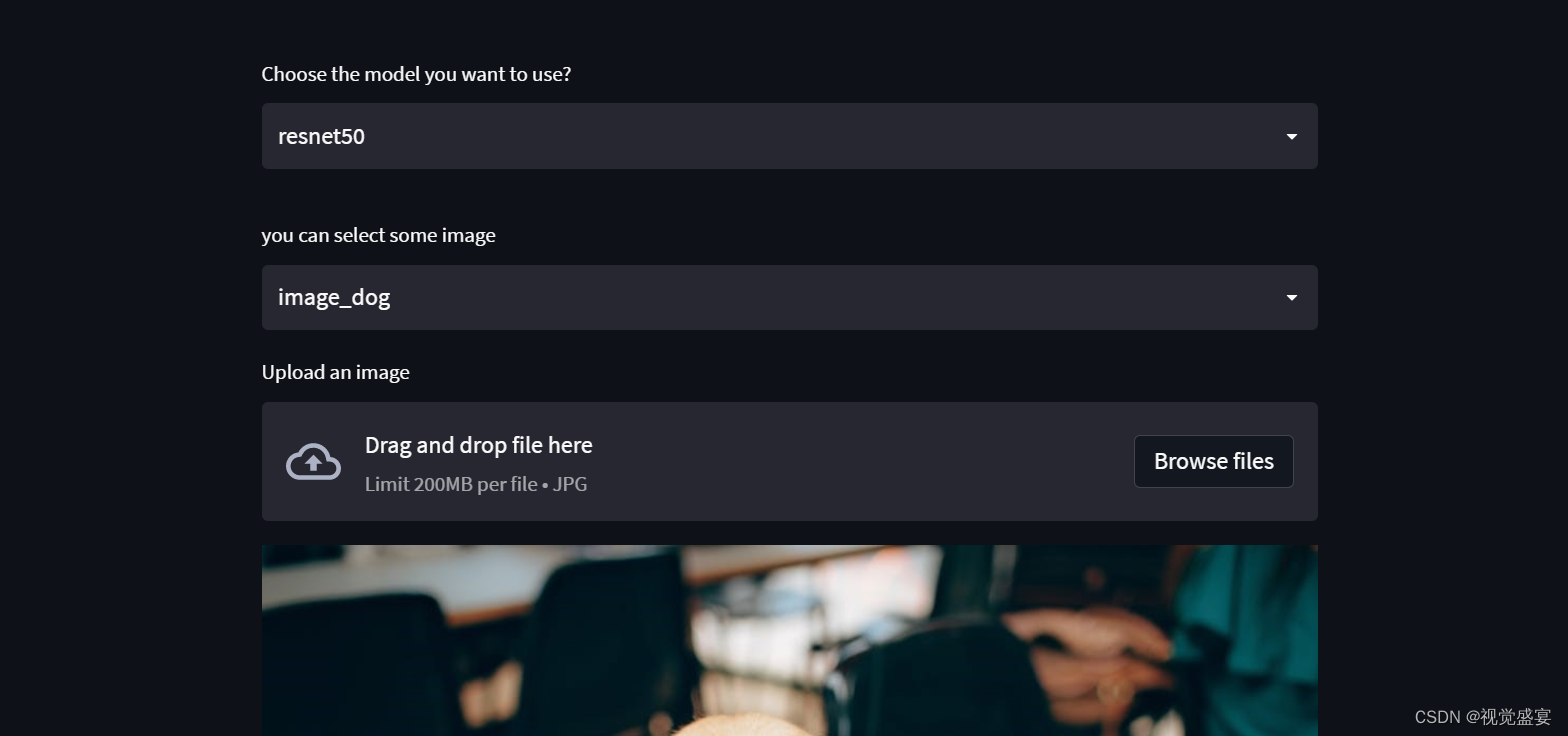
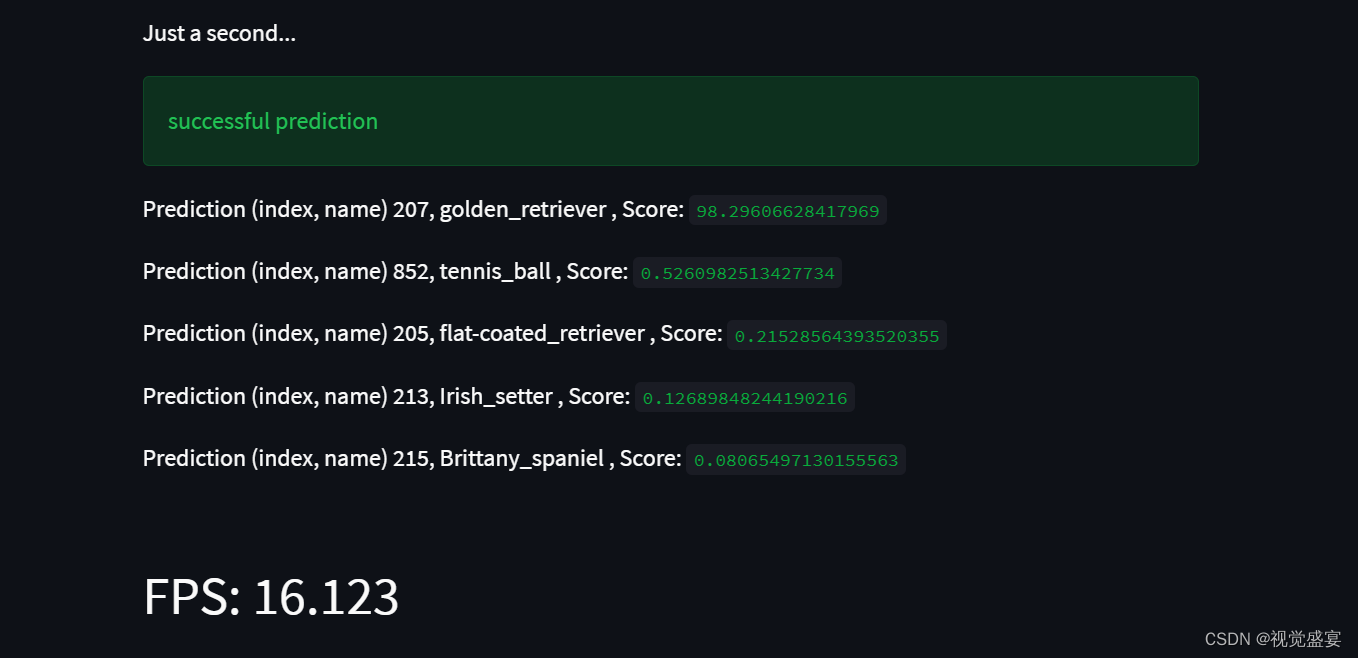
我们本次实现的目标是将本地的图像分类或者目标检测等等深度学习算法部署成web在线预测的形式。效果图如下,在线图像分类网站
大概的设计是有五个可以选择的模型,第二步是可以选择一些照片用来测试分类,同样可以自己本地上传一些照片,最后输出分类的结果和FPS。调试好本地的web之后就部署在服务器上。
代码部分
环境安装
推荐使用conda下载安装环境,安装命令如下,这里推荐使用python3.7-3.9,为最终部署准备,尽量和服务器一致。根据自己本地的环境安装torch版本,pytorch官方版本下载命令,最后在下载安装一下streamlit,这个库专门为机器学习而打造的web库。注意点 ,不要直接pip install requirements.txt,这里的txt库不全,主要是在服务器部署阶段也会使用这个txt来安装环境,如果有streamlit的部分库会安装失败,我已经把部分库删掉了。
conda create -n web python=3.7
activate web
conda install pytorch==1.6.0 torchvision==0.7.0 cudatoolkit=10.1 -c pytorch
pip install streamlit
运行案例
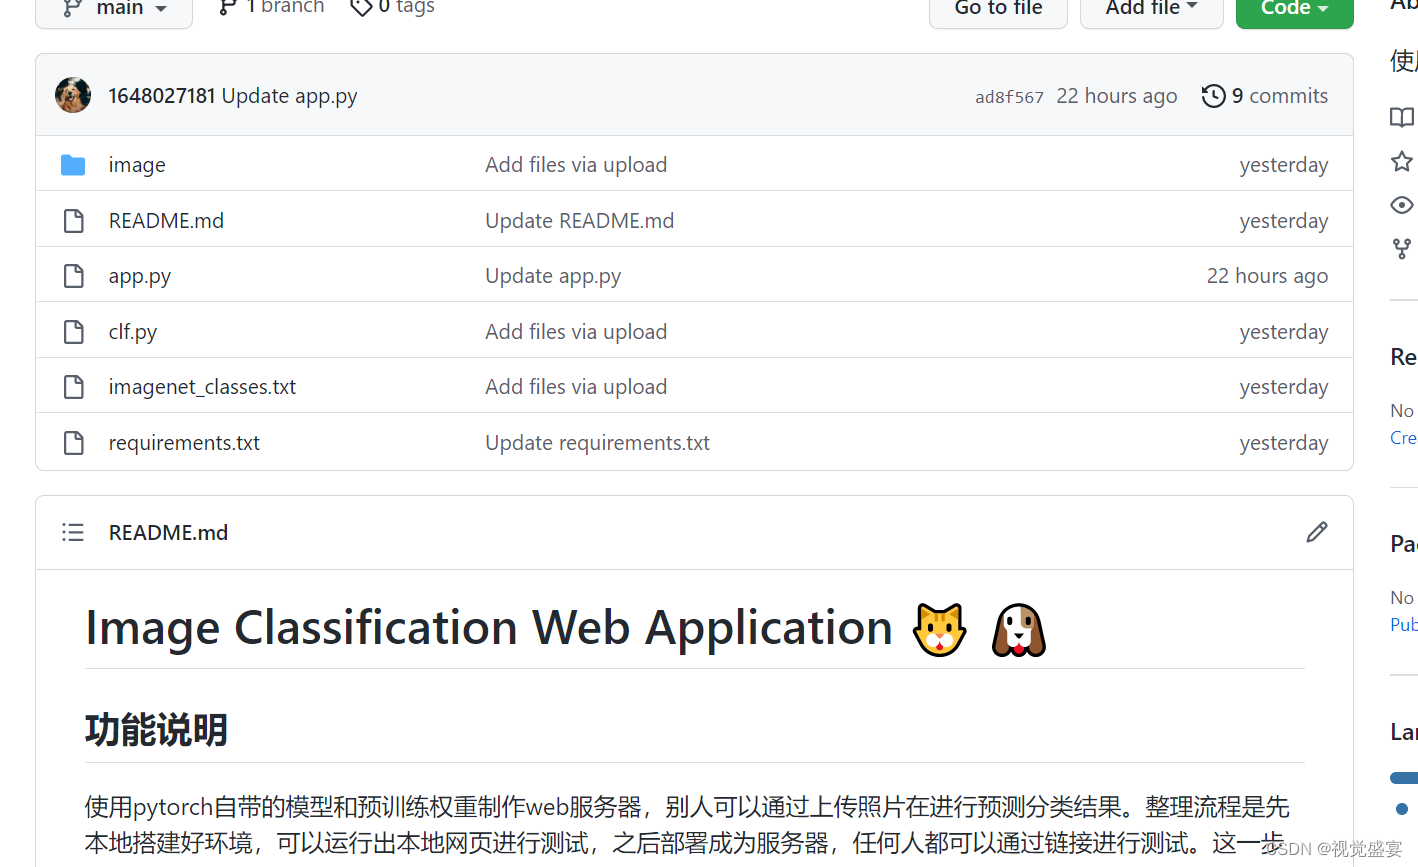
下载代码github链接下载到本地
切换到当前文件夹下,之后在(学习D:>代码>2022learn>web>\image_classification_timm_app)这个位置点积一下,输入cmd进入终端
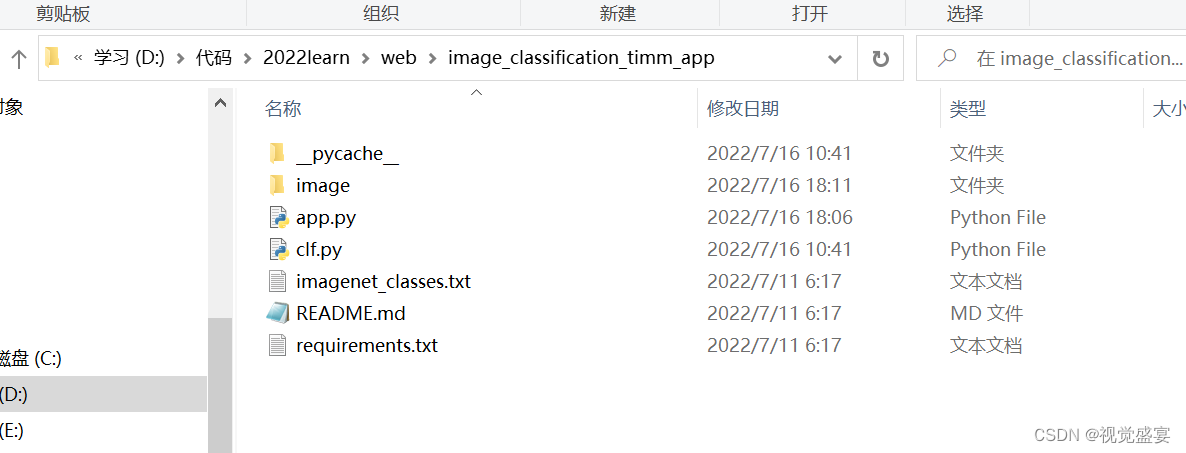
在输入activate web进入到创建好的虚拟环境中

最后一步,streamlit run app.py就可以直接弹出本地的web了
代码讲解
主要是使用torch自带的模型和权重,自己训练也可以,不少需要将权重也一并上传到github中。这里我简单的构建了五个模型,通过网页可以进行选择模型。
from torchvision import models, transforms
import torch
from PIL import Image
import time
def predict(image_path,option):
    if option =="resnet101":
        model = models.resnet101(pretrained=True)
    elif option =="resnet50":
        model = models.resnet50(pretrained=True)
    elif option == "densenet121":
        model = models.densenet121(pretrained=True)
    elif option == "shufflenet_v2_x0_5":
        model = models.shufflenet_v2_x0_5(pretrained=True)
    else:
        model = models.mobilenet_v2(pretrained=True)

    #https://pytorch.org/docs/stable/torchvision/models.html
    transform = transforms.Compose([
    transforms.Resize(256),
    transforms.CenterCrop(224),
    transforms.ToTensor(),
    transforms.Normalize(
    mean=[0.485, 0.456, 0.406],
    std=[0.229, 0.224, 0.225]
    )])

    img = Image.open(image_path)
    batch_t = torch.unsqueeze(transform(img), 0)

    model.eval()
    t1 = time.time()
    out = model(batch_t)
    t2 = time.time()
    fps = round(float(1 / (t2 - t1)), 3)
    with open('imagenet_classes.txt') as f:
        classes = [line.strip() for line in f.readlines()]
    prob = torch.nn.functional.softmax(out, dim=1)[0] * 100
    _, indices = torch.sort(out, descending=True)
    return [(classes[idx], prob[idx].item()) for idx in indices[0][:5]],fps
streamlit这个库是专门做web使用,官方有很详细的教程,看一遍说明文档就可以自行设计网页。streamlit链接,学习文档链接
import streamlit as st
from PIL import Image
from clf import predict
import time
st.set_option('deprecation.showfileUploaderEncoding', False)

st.title("VisualFeast Simple Image Classification App")
st.write("")
st.write("")
option = st.selectbox(
     'Choose the model you want to use?',
     ('resnet50', 'resnet101', 'densenet121','shufflenet_v2_x0_5','mobilenet_v2'))
""
option2 = st.selectbox(
     'you can select some image',
     ('image_dog', 'image_snake'))

file_up = st.file_uploader("Upload an image", type="jpg")
if file_up is None:
    if option2 =="image_dog":
        image=Image.open("image/dog.jpg")
        file_up="image/dog.jpg"
    else:
        image=Image.open("image/snake.jpg")
        file_up="image/snake.jpg"
    st.image(image, caption='Uploaded Image.', use_column_width=True)
    st.write("")
    st.write("Just a second...")
    labels, fps = predict(file_up, option)

    # print out the top 5 prediction labels with scores
    st.success('successful prediction')
    for i in labels:
        st.write("Prediction (index, name)", i[0], ",   Score: ", i[1])

    # print(t2-t1)
    # st.write(float(t2-t1))
    st.write("")
    st.metric("", "FPS:   " + str(fps))

else:
    image = Image.open(file_up)
    st.image(image, caption='Uploaded Image.', use_column_width=True)
    st.write("")
    st.write("Just a second...")
    labels,fps = predict(file_up,option)

    # print out the top 5 prediction labels with scores
    st.success('successful prediction')
    for i in labels:
        st.write("Prediction (index, name)", i[0], ",   Score: ", i[1])

    # print(t2-t1)
    # st.write(float(t2-t1))
    st.write("")
    st.metric("","FPS:   "+str(fps))
部署
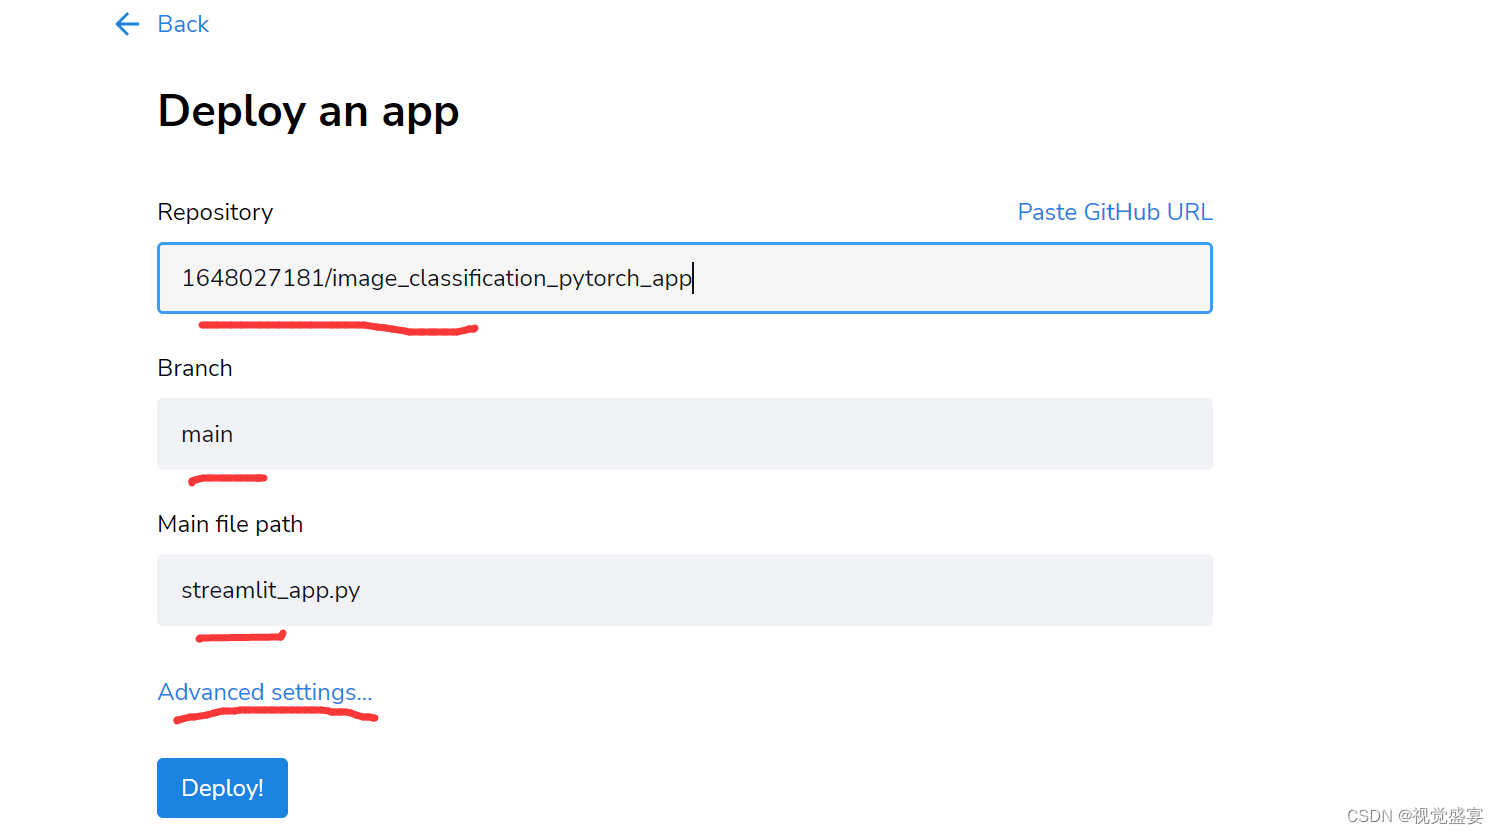
进入streamlit cloud中streamlit cloud,用github登录好,然后直接点New App 创建即可。

同时现将代码上传到你的github库中,然后选择库,主要是在setting中设置一下python=3.7的版本就可以了。之后等待部署成功即可。
总结
通过部署在服务器上就可以向别人展示你的成果,搭建的过程比较简单,可以自己去应用到其他任务当中。