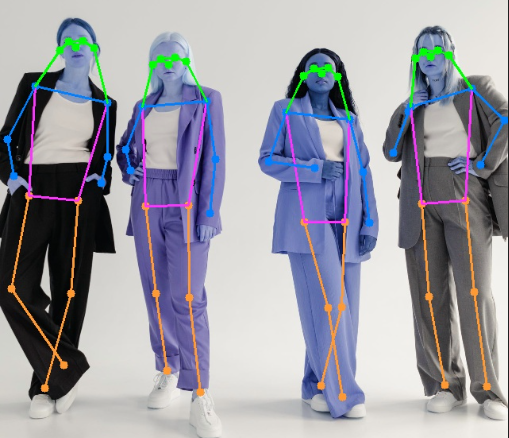
上文搭建了YOLO7开发环境,并进行了物体定位测试。参见:YOLO7环境搭建、代码测试。本文将介绍如何使用YOLO7进行姿势识别。

1. 预训练模型
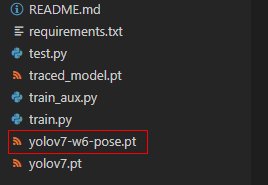
下载YOLO7姿势识别预训练模型(点击下载),将下载的yolov7-w6-pose.pt放到YOLO7项目根目录下。

2. 测试代码
在项目跟目录下,新建文件pos_reg.py,并输入如下代码:
# 姿势识别

# 导入类库
import matplotlib.pyplot as plt
import torch
import cv2
from torchvision import transforms
import numpy as np
from utils.datasets import letterbox
from utils.general import non_max_suppression_kpt
from utils.plots import output_to_keypoint, plot_skeleton_kpts

# 加载模型
device = torch.device("cuda:0" if torch.cuda.is_available() else "cpu")
weigths = torch.load('yolov7-w6-pose.pt')
model = weigths['model']
model = model.half().to(device)
_ = model.eval()


# 读取图片
image = cv2.imread('./person.jpg')
image = letterbox(image, 960, stride=64, auto=True)[0]
image_ = image.copy()
image = transforms.ToTensor()(image)
image = torch.tensor(np.array([image.numpy()]))
image = image.to(device)
image = image.half()

# 姿势识别
output, _ = model(image)

# 输出结果
output = non_max_suppression_kpt(output, 0.25, 0.65, nc=model.yaml['nc'], nkpt=model.yaml['nkpt'], kpt_label=True)
output = output_to_keypoint(output)
nimg = image[0].permute(1, 2, 0) * 255
nimg = nimg.cpu().numpy().astype(np.uint8)
nimg = cv2.cvtColor(nimg, cv2.COLOR_RGB2BGR)
for idx in range(output.shape[0]):
    plot_skeleton_kpts(nimg, output[idx, 7:].T, 3)


# 保存结果
cv2.imwrite("pos_reg.jpg",nimg)
3. 运行代码
找一张图片放到项目根目录下(示例图片下载),命名为person.jpg。打开并运行pos_reg.py,运行完成后会输出pos_reg.jpg,即姿势识别后的图片。


4. 问题
如果提示错误:RuntimeError: Can’t call numpy() on Tensor that requires grad. Use tensor.detach().numpy() instead.,则需修改utils/plots.py的442行和443行,将将cpu().numpy()修改为cpu().detach().numpy():
def output_to_keypoint(output):
    # Convert model output to target format [batch_id, class_id, x, y, w, h, conf]
    targets = []
    for i, o in enumerate(output):
        kpts = o[:,6:]
        o = o[:,:6]
        # 将cpu().numpy()修改为cpu().detach().numpy()
        for index, (*box, conf, cls) in enumerate(o.cpu().detach().numpy()):
            targets.append([i, cls, *list(*xyxy2xywh(np.array(box)[None])), conf, *list(kpts.cpu().detach().numpy()[index])])
    return np.array(targets)