从二维曲线过渡到二维视频流,如何在蓝桥ROS中进行实践学习呢。
如上是算法实践的基础,比如人脸识别,车道识别算法,怎么做,云端也没啥摄像头。
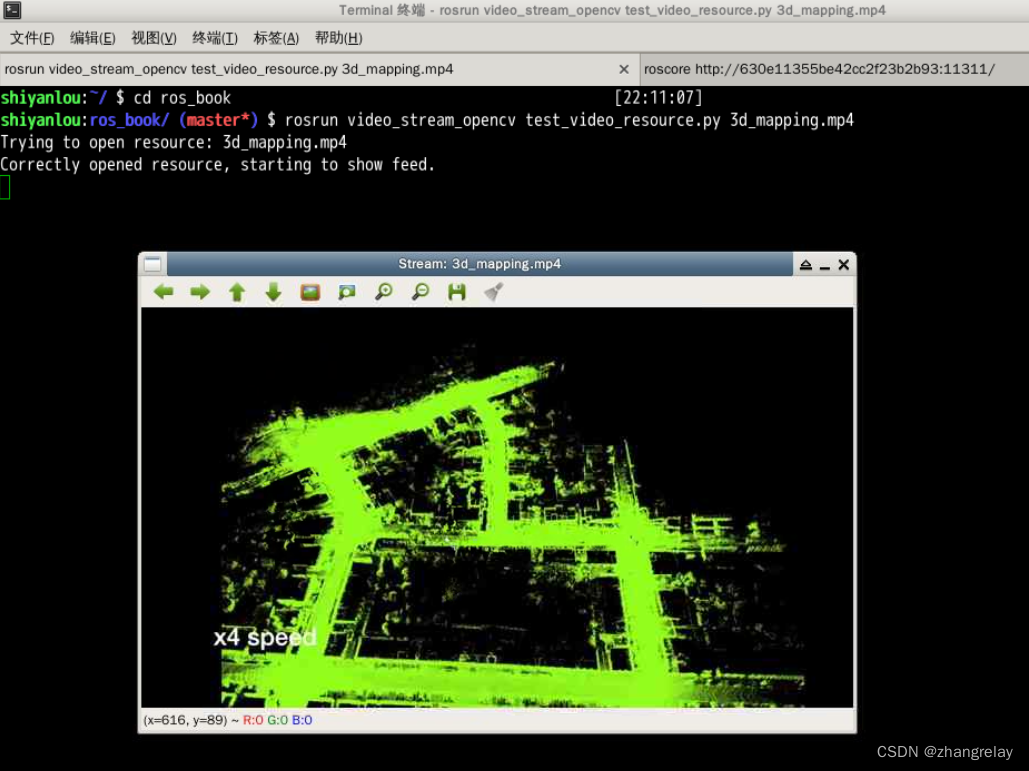
使用video_stream_opencv,下面详细介绍。
在ROS1系统中,可以创建一个节点,在节点中展示来自即插即用摄像头的图像(云端可以用视频流)。这是一个复杂数据主题的例子,这些数据可以使用特殊工具更好地可视化或分析。只需要一个摄像头(或者一段视频)来完成这些,例如笔记本上的webcam(或一些符合标准的视频文件)。在这个案例中,通过调用OpenCV库实现一段基本的摄像头(或视频)捕捉程序,然后在ROS中将采集到的cv::Mat图像转换到ROS图像,这样就可以在主题中发布了。这个节点会在/camera主题里发布图像帧。
使用rosrun运行节点并进行图像捕捉和发布工作。节点中的代码对于读者来说可能很陌生,但是在后面的课程中,会介绍如何在ROS中使用摄像头(或者视频)和图像,到时候再回来看这些代码,就会完全理解节点的工作原理和每行代码的含义:

rosrun video_stream_opencv video_stream _video_stream_provider:=3d_mapping.mp4
[ INFO] [1661869321.091075568]: Resource video_stream_provider: 3d_mapping.mp4
[ INFO] [1661869321.091177650]: Getting video from provider: 3d_mapping.mp4
[ INFO] [1661869321.101022675]: Video stream provider type detected: videofile
[ INFO] [1661869321.101886789]: Camera name: camera
[ INFO] [1661869321.102684898]: Setting camera FPS to: 30
[ INFO] [1661869321.102730771]: Camera reports FPS: 23.976
[ INFO] [1661869321.103452704]: Setting buffer size for capturing frames to: 100
[ INFO] [1661869321.104175990]: Throttling to fps: 240
[ INFO] [1661869321.104899852]: Publishing with frame_id: camera
[ INFO] [1661869321.105675786]: Provided camera_info_url: ''
[ INFO] [1661869321.106396018]: Flip horizontal image is: false
[ INFO] [1661869321.106985600]: Flip vertical image is: false
[ INFO] [1661869321.109821221]: using default calibration URL
[ INFO] [1661869321.109877421]: camera calibration URL: file:///home/shiyanlou/.ros/camera_info/camera.yaml
[ INFO] [1661869321.109961349]: Unable to open camera calibration file [/home/shiyanlou/.ros/camera_info/camera.yaml]
[ WARN] [1661869321.109995031]: Camera calibration file /home/shiyanlou/.ros/camera_info/camera.yaml not found.
[ INFO] [1661869321.110029900]: Opened the stream, starting to publish.
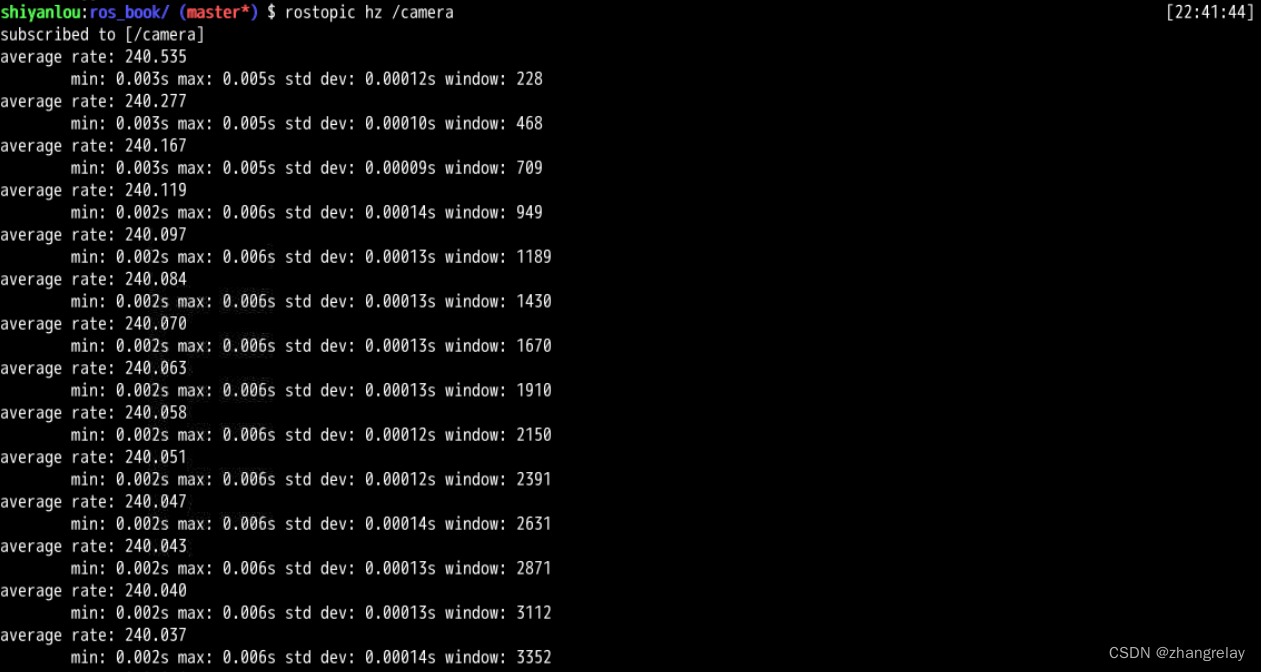
一旦节点运行起来,我们就能够列出主题列表(rostopic list),并查看是否包含/camera 主题。查看是否正确捕捉到图像有一个简单直接的方法,使用rostopic hz /camera语句查看在主题中收到的图像更新频率是多少。频率通常是30Hz,如下图所示:

?
显示视频
想要查看视频,不能直接使用rostopic echo /camera命令,因为这会使用文本格式输出图片的信息,数据量会非常巨大,不可能进行任何有效的分析。因此,会调用下面的命令:
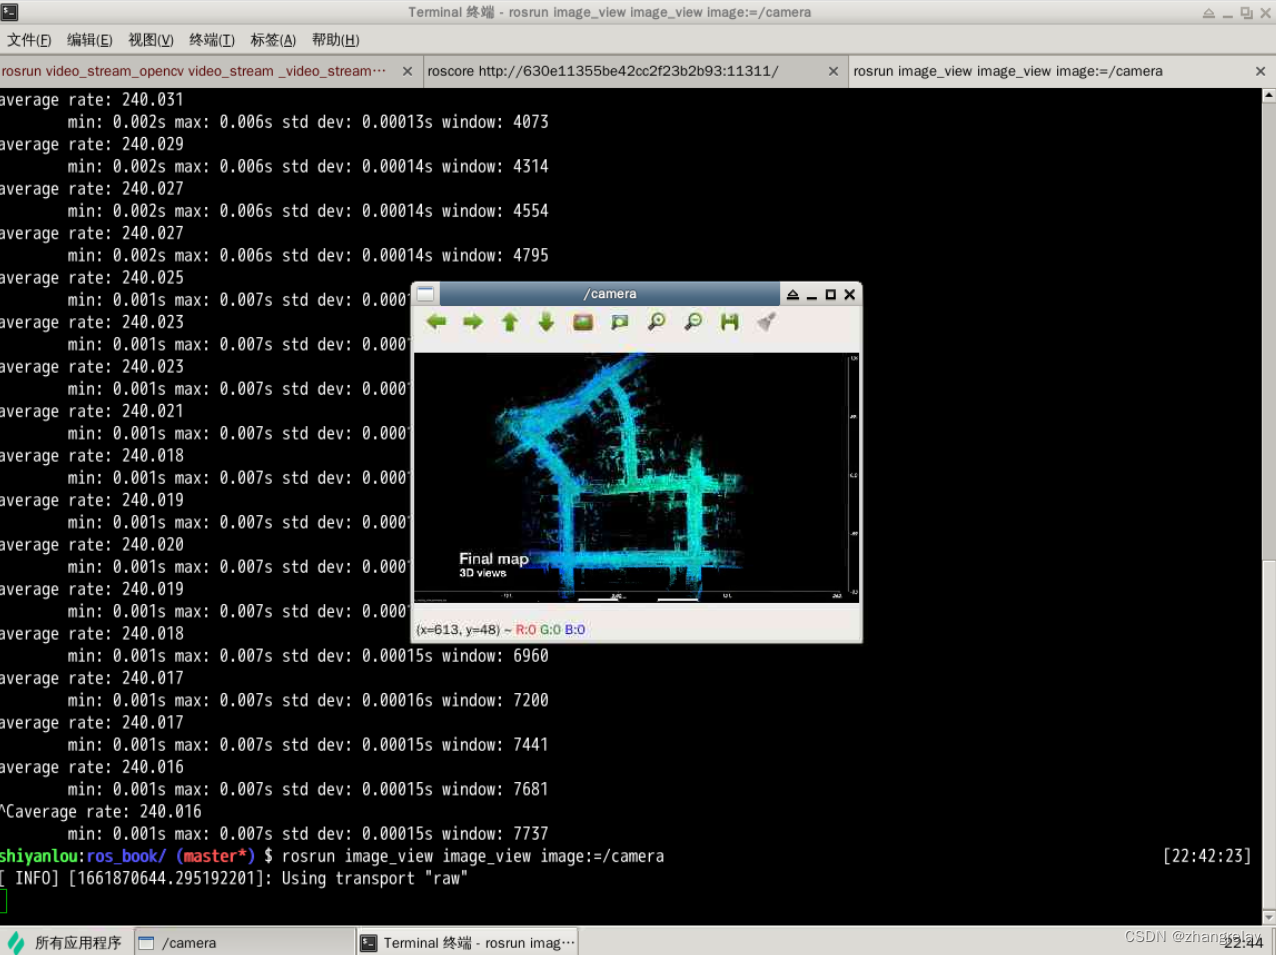
$ rosrun image_view image_view image:=/camera
这里使用了image_view节点,在窗口中展示了给定主题(使用image参数)的图像,如下图所示。这样我们就能简单直接地显示在主题内发布的每一幅图像或帧,即使数据来自网络也可以实现。你可以通过在窗口中点击右边的按钮将当前帧保存在硬盘里,通常会存在home目录下或者~/.ros目录下。


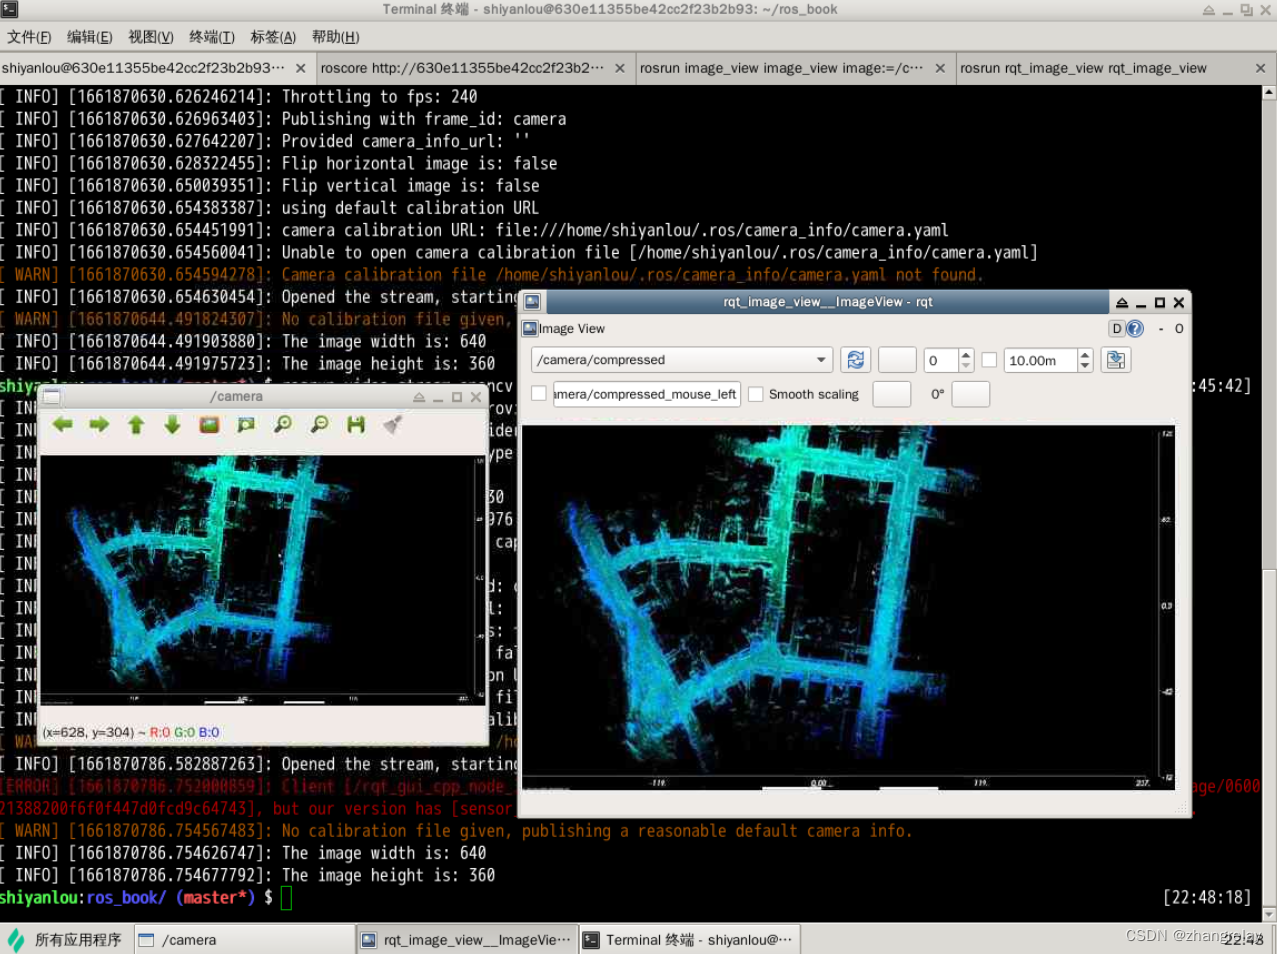
ROS Kinetic还有rqt_image_view,支持在一个窗口查看多个图像,但不允许点击右边按钮保存图像。我们可以在GUI上手动选择图像主题或使用image_view:
$ rosrun rqt_image_view rqt_image_view
前面命令结果如下图所示:

<?xml version="1.0"?>
<launch>
   <!-- launch video stream -->
   <include file="$(find video_stream_opencv)/launch/camera.launch" >
        <!-- node name and ros graph name -->
        <arg name="camera_name" value="videofile" />
        <!-- full path to the video file -->
        <!-- wget http://techslides.com/demos/sample-videos/small.mp4 -O /xxx/xxx.mp4 -->
        <arg name="video_stream_provider" value="/xxx/xxx.mp4" />
        <!-- set camera fps to (video files not affected) -->
        <!-- <arg name="set_camera_fps" value="30"/> -->
        <!-- set buffer queue size of frame capturing to -->
        <arg name="buffer_queue_size" value="1000" />
        <!-- throttling the querying of frames to -->
        <arg name="fps" value="30" />
        <!-- setting frame_id -->
        <arg name="frame_id" value="videofile_frame" />
        <!-- camera info loading, take care as it needs the "file:///" at the start , e.g.:
        "file:///$(find your_camera_package)/config/your_camera.yaml" -->
        <arg name="camera_info_url" value="" />
        <!-- flip the image horizontally (mirror it) -->
        <arg name="flip_horizontal" value="false" />
        <!-- flip the image vertically -->
        <arg name="flip_vertical" value="false" />
        <!-- enable looping playback -->
        <arg name="loop_videofile" value="true" />
        <!-- visualize on an image_view window the stream generated -->
        <arg name="visualize" value="true" />
   </include>
</launch>