文章目录
intel realsense 深度相机深度图像处理API总结
一.导入库文件
-
除高级功能外,其他所有功能都通过以下头文件提供
#include <librealsense2/rs.hpp> // 除高级功能外,RealSense API其他所有功能都通过此头文件提供
二.开启数据流传输
-
RealSense SDK2.0主要通过管道(pipeline)控制摄像机枚举以及流的处理
// RealSense SDK2.0主要通过管道(pipeline)控制摄像机枚举以及流的处理 rs2::pipeline p; -
通过配置和启动管道,就可以实现对流的处理
// 配置并启动管道
p.start();
三.获取图像帧数据
-
一旦配置了管道,我们就可以循环等待新的帧,wait_for_frames函数将阻塞程序,直到下一组帧的到达,这里的帧中包含了彩色相机与深度相机等相机采集到的帧数据
// 阻塞程序,直到获取新的一组帧数据 rs2::frameset frames = p.wait_for_frames(); -
要从帧数据中获取相对应的图像,可以使用get_***_frame 函数,其中***可以取color或者depth
rs2::frame color_frame = frames.get_color_frame(); // 尝试获取一帧彩色图像 rs2::frame depth_frame = frames.get_depth_frame(); // 尝试获取一帧深度图像,深度图像对象为rs2::frame rs2::depth_frame depth_frame = frames.get_depth_frame(); // 尝试获取一帧深度图像,深度图像对象为rs2::depth_frame -
使用rs2::depth_frame获取到的深度帧数据中包含图像的很多基础信息,可以使用get_***()函数获取相对应的信息
// 获取图像基本信息
float units = depth_frame.get_units(); // 获取深度图像深度单位
float width = depth_frame.get_width(); // 获取深度图像宽
float height = depth_frame.get_height(); // 获取深度图像高
double timestamp = depth_frame.get_timestamp(); // 获取图像拍摄时间
unsigned long long frame_number = depth_frame.get_frame_number(); // 获取图像帧号
float dist_to_center = depth_frame.get_distance(width / 2, height / 2); // 查询相机平面到图像中心中对象的距离
四.使用OpenCV显示深度图像和高度图像
-
显示彩色图像
彩色图像只需要在创建OpenCV Mat对象时,将获取到的彩色图像的图像大小和数据的指针给Mat对象即可
rs2::frame color_frame = frames.get_color_frame(); // 尝试获取一帧彩色图像 // 将图像数据转换为opencv的Mat类型数据 cv::Mat frame_color(cv::Size(640, 480), CV_8UC3, (void*)color_frame.get_data(), cv::Mat::AUTO_STEP); //显示图像 cv::imshow("color", frame_color); cv::waitKey(1); -
显示高度图像
获取到的高度图像帧需要先进行色彩转换,然后才能进行显示
-
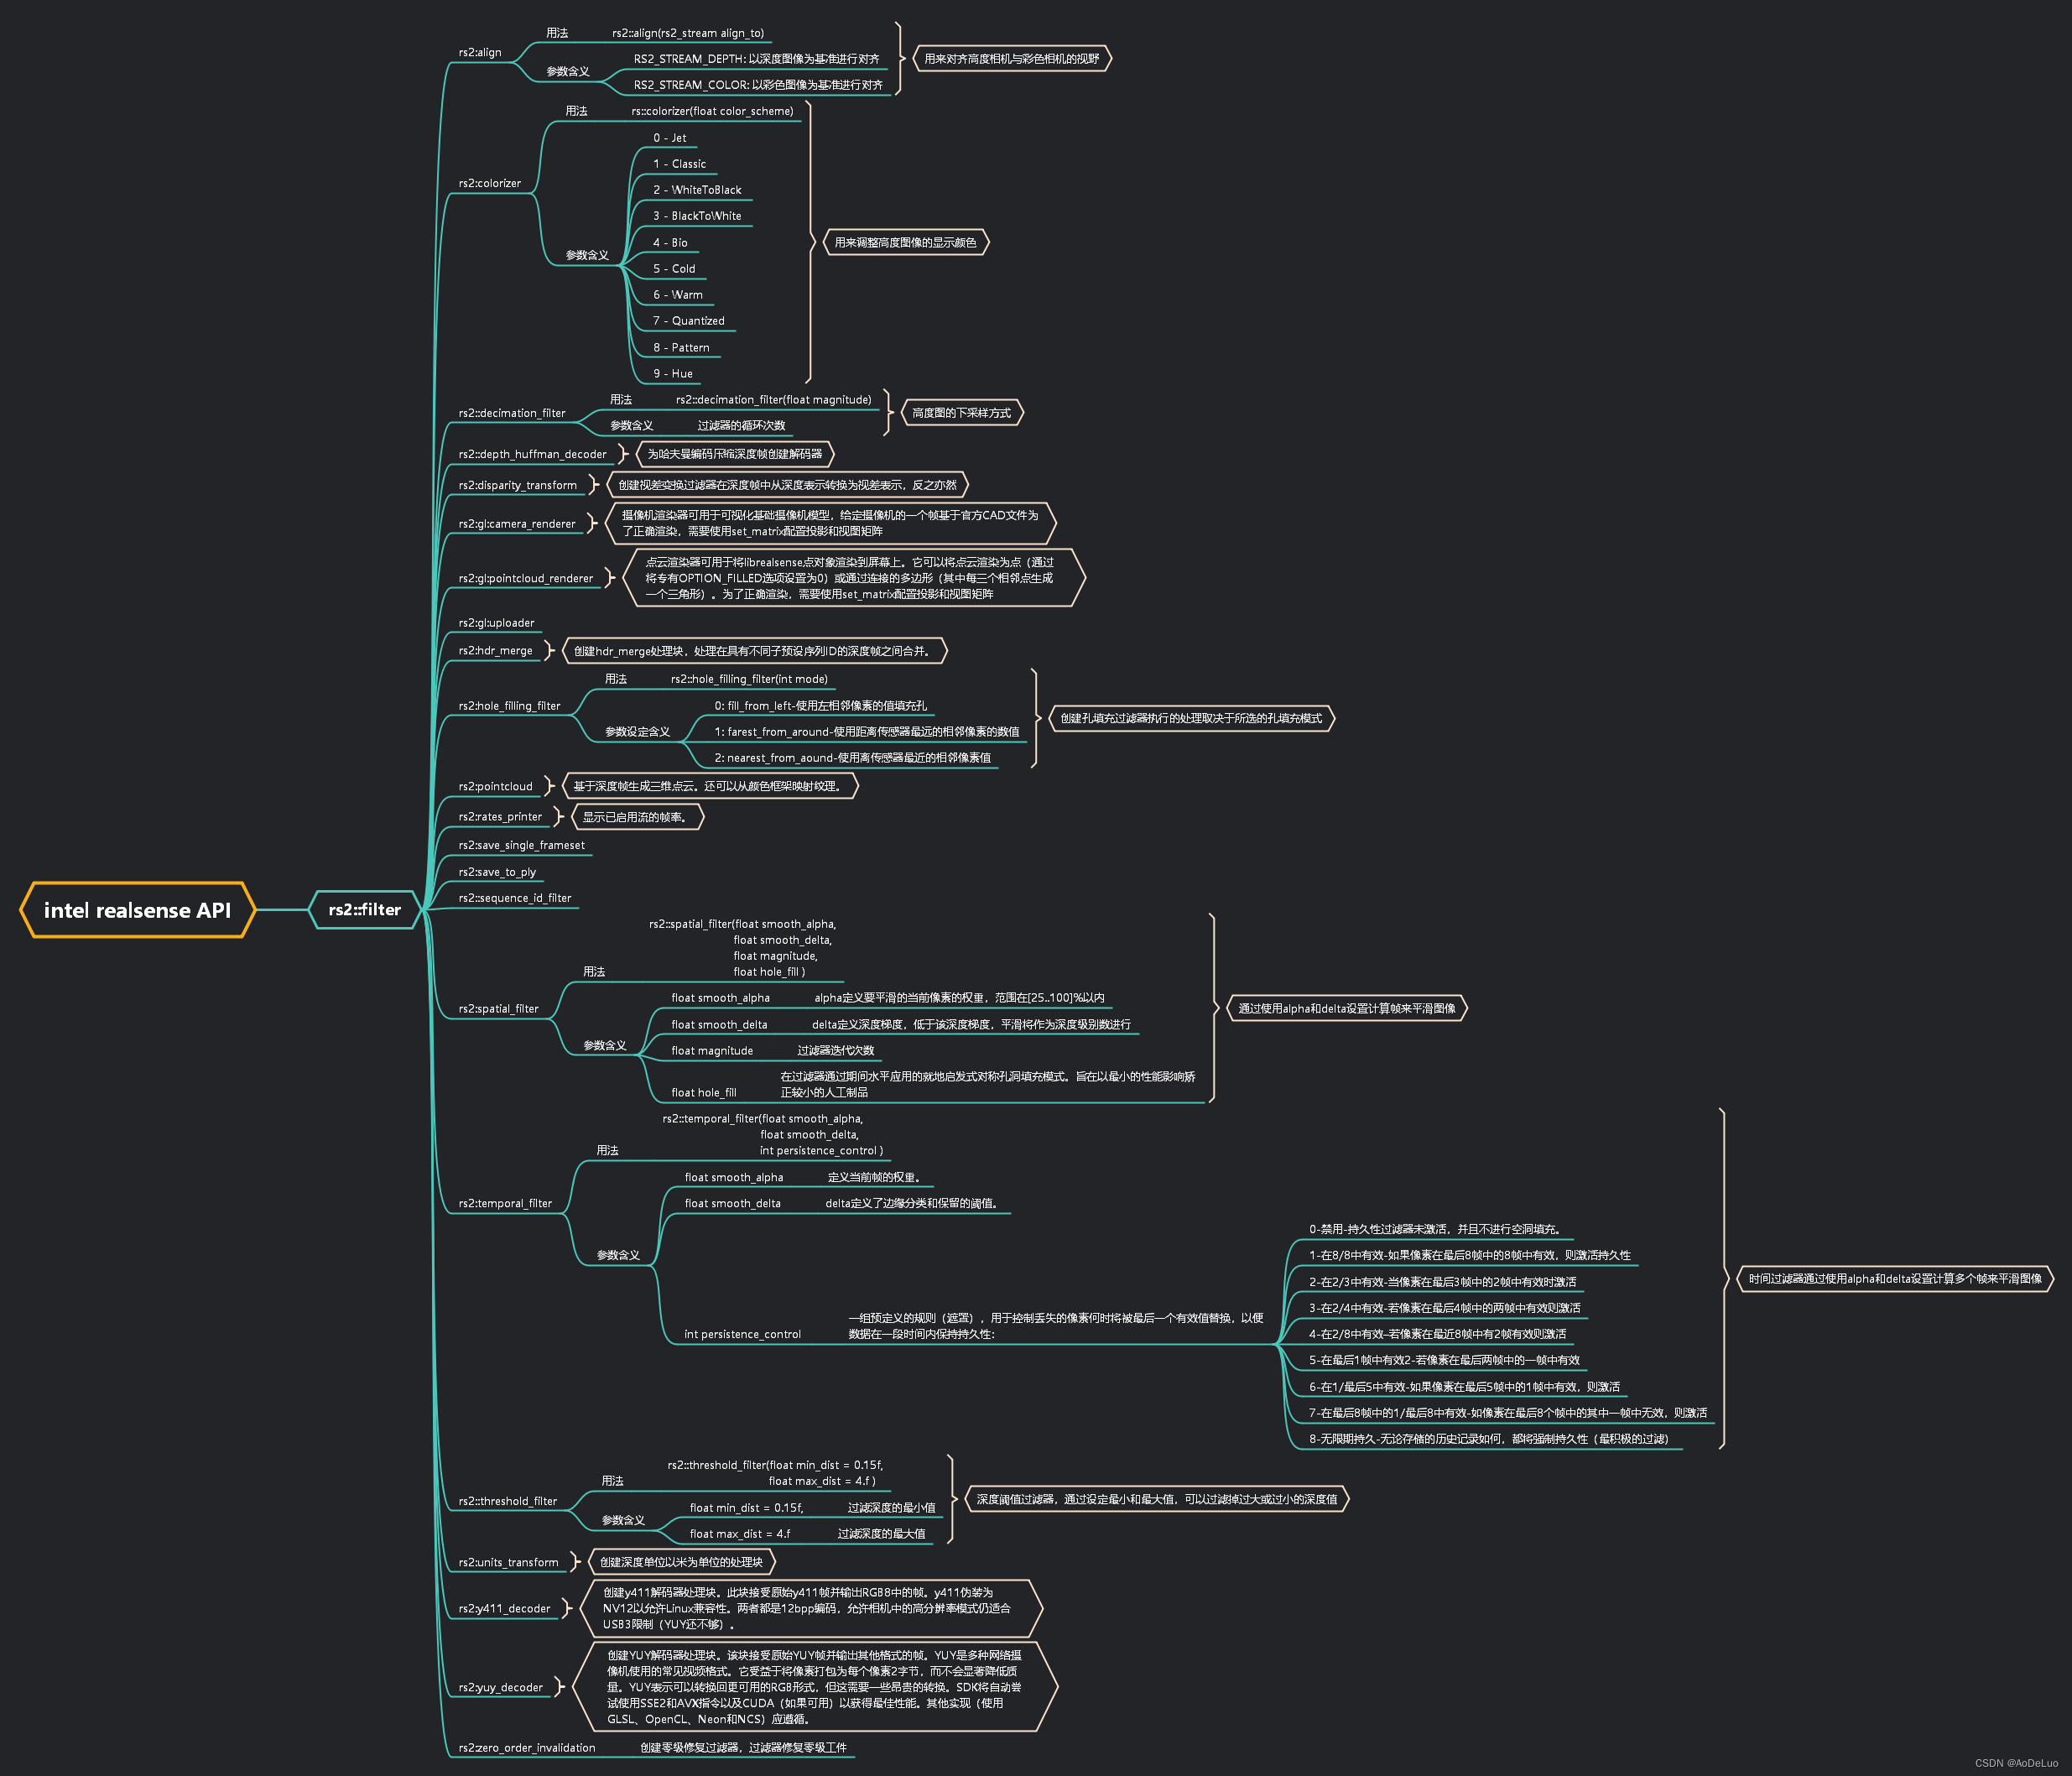
创建色彩转换对象,参数可以是0-9(0 - Jet 1 - Classic 2 - WhiteToBlack 3 - BlackToWhite 4 - Bio 5 - Cold 6 - Warm 7 - Quantized 8 - Pattern 9 - Hue)
// 声明深度着色器以实现深度数据的可视化 rs2::colorizer color_map(9); //内部参数可以是0-9的任意一个值,代表不同的色彩标记方式 -
获取高度帧数据时,进行颜色着色,然后转换为OpenCV的Mat对象进行显示
rs2::frame depth_frame = frames.get_depth_frame().apply_filter(color_map); // 尝试获取一帧深度图像,使用着色器进行着色
const int w = depth_frame.as<rs2::video_frame>().get_width(); // 获取深度图像宽
const int h = depth_frame.as<rs2::video_frame>().get_height(); // 获取深度图像高
cv::Mat frame_depth(cv::Size(w, h), CV_8UC3, (void*)depth_frame.get_data(), cv::Mat::AUTO_STEP);
// 显示图像
cv::imshow("depth", frame_depth);
cv::waitKey(1);
0 - Jet模式
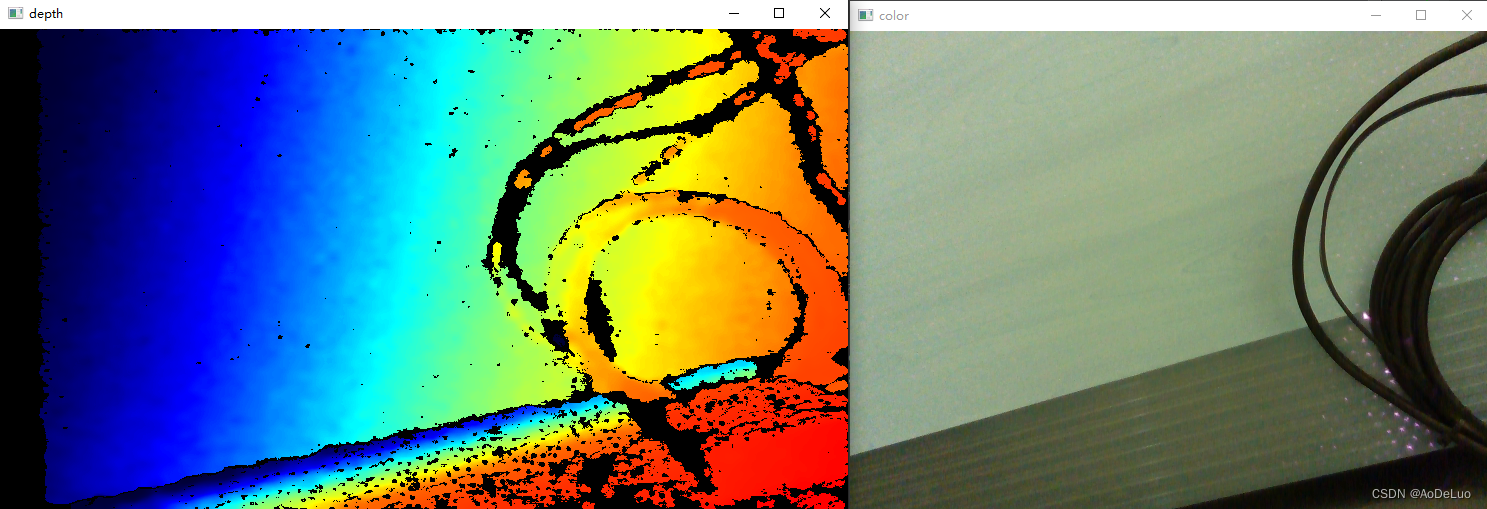
1 - Classic模式
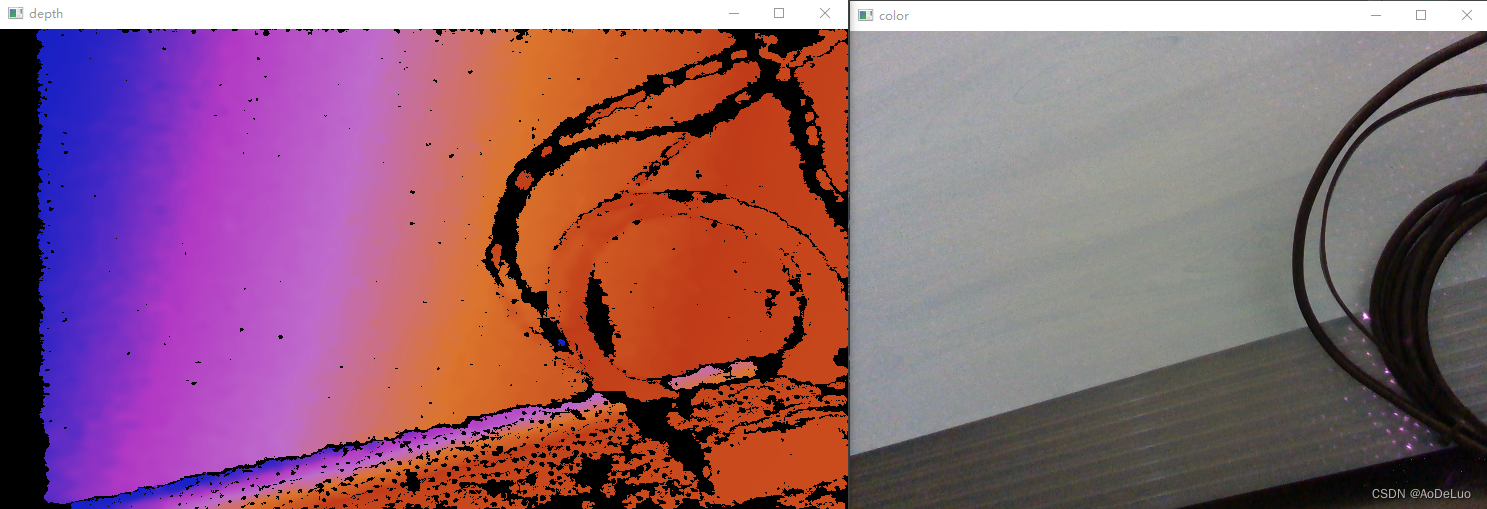
2 - WhiteToBlack模式
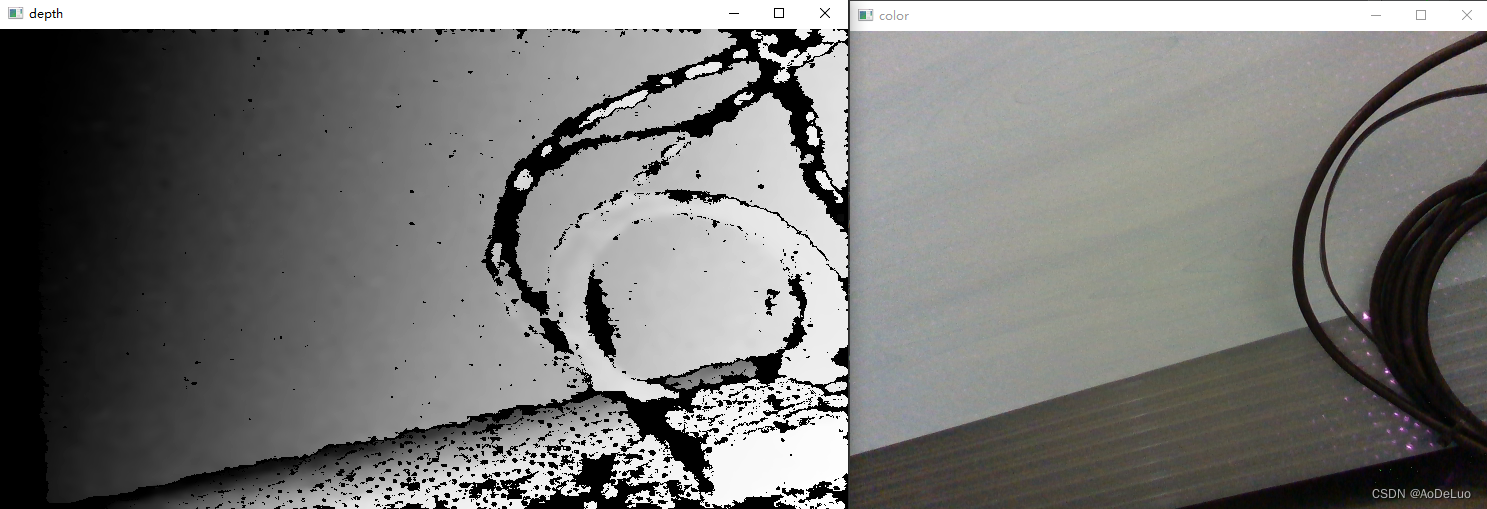
3 - BlackToWhite模式
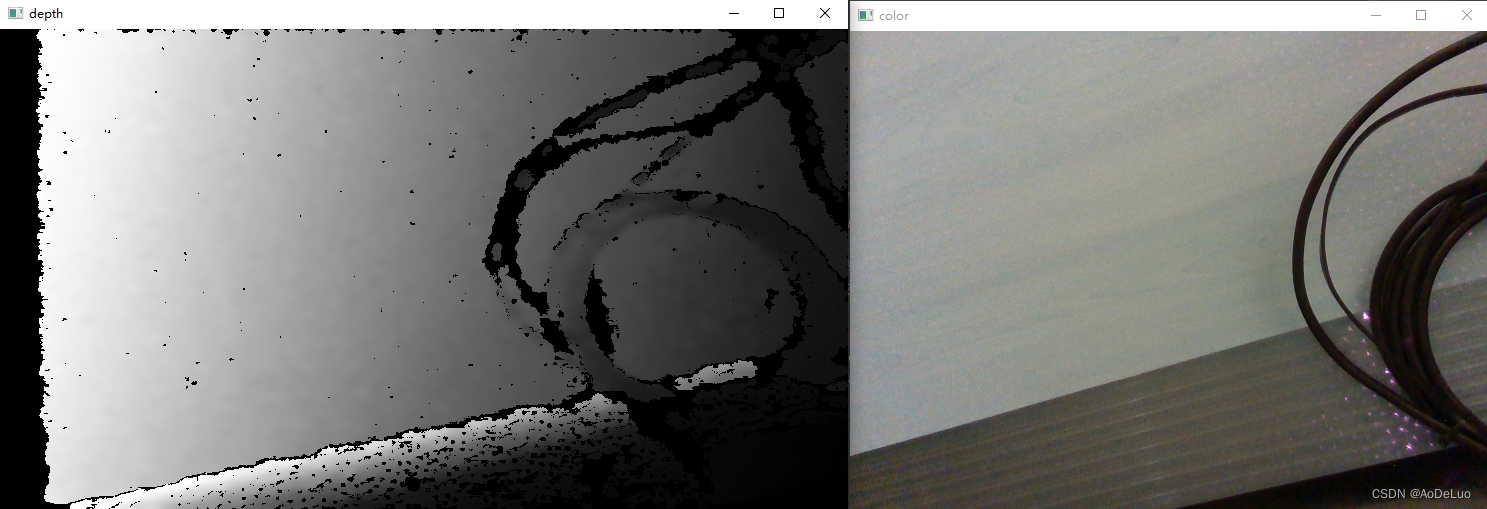
4 - Bio模式
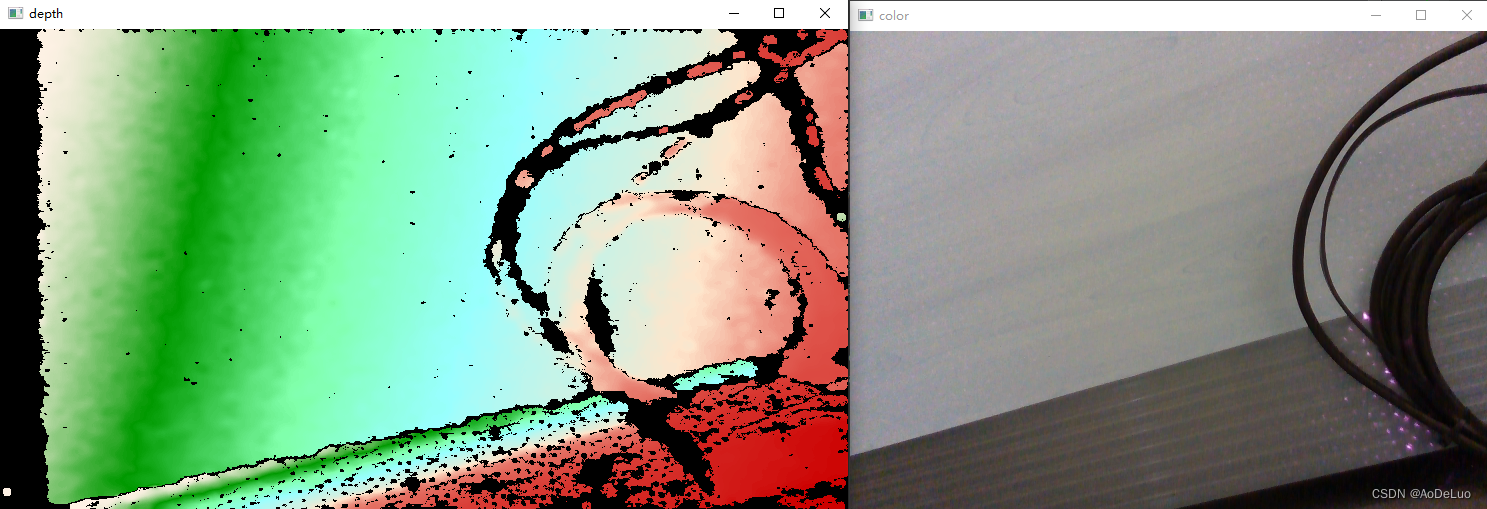
5 - Warm模式
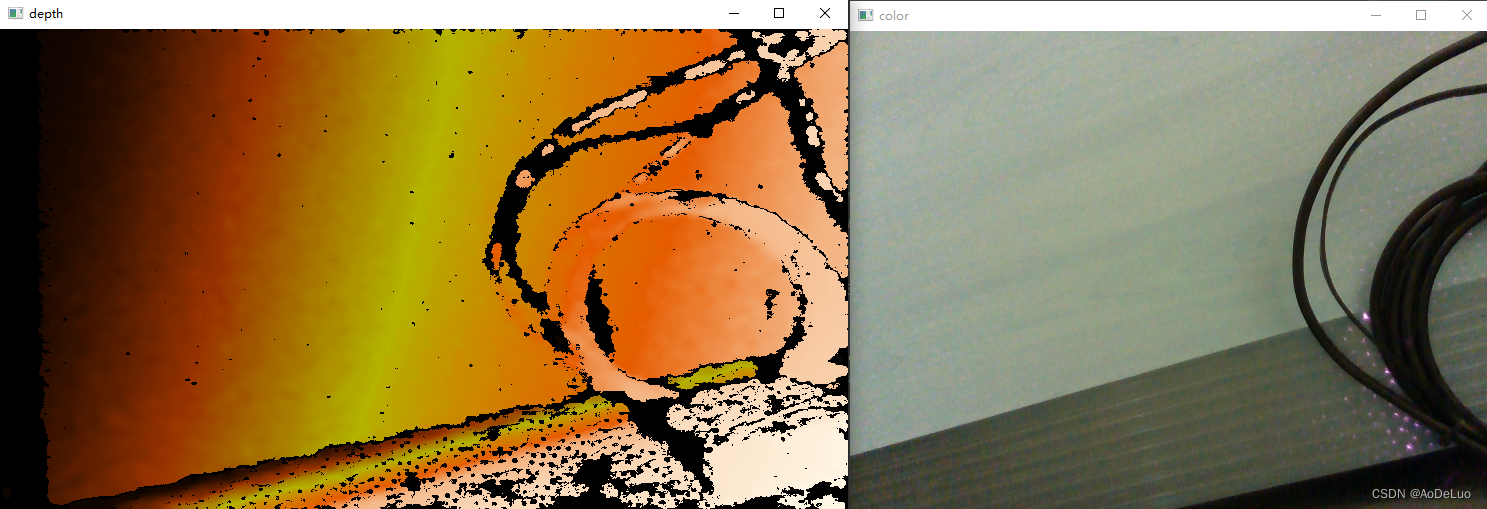
6 - Cold模式
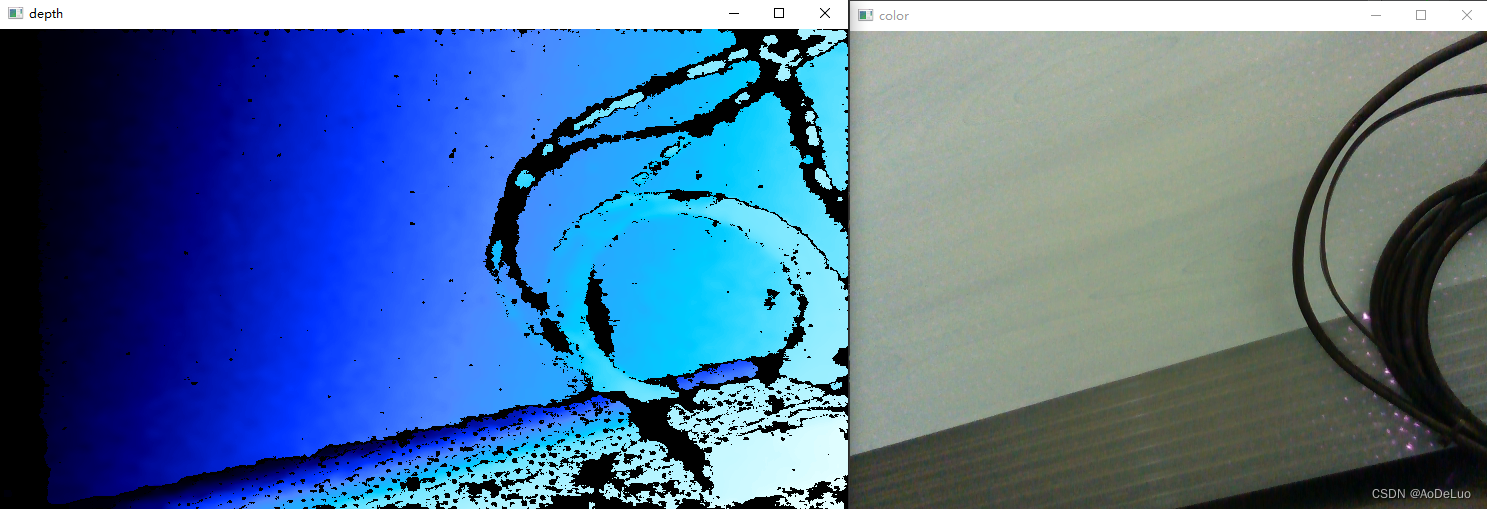
7 - Quantized模式
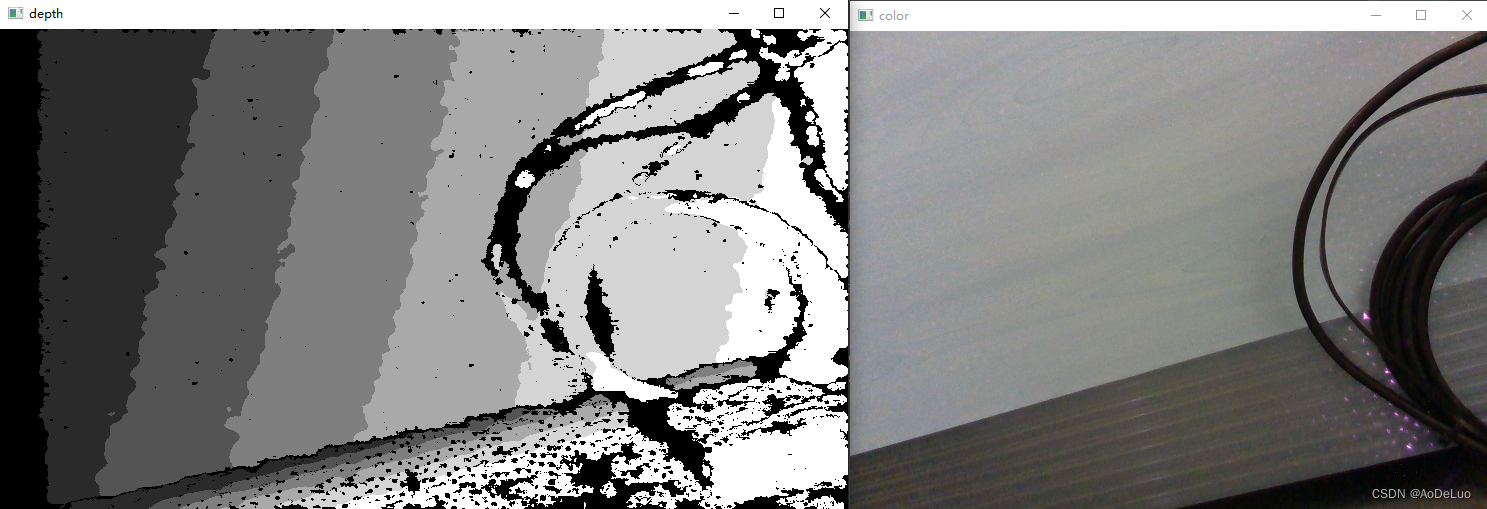
8 - Pattern模式
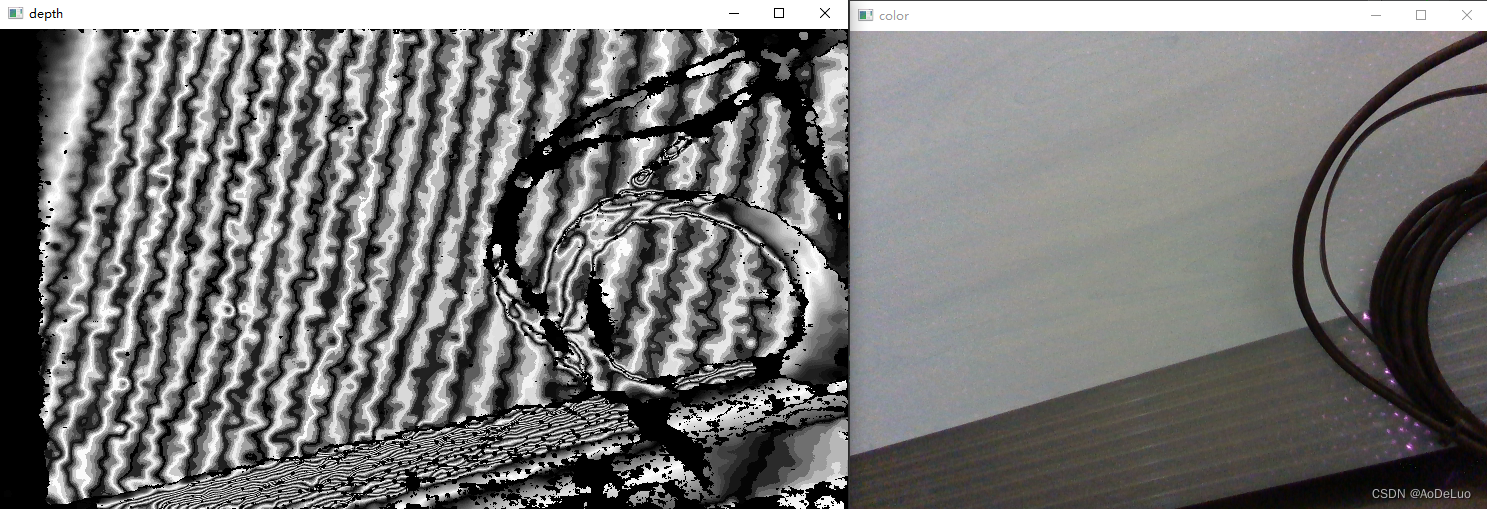
9 - Hue模式
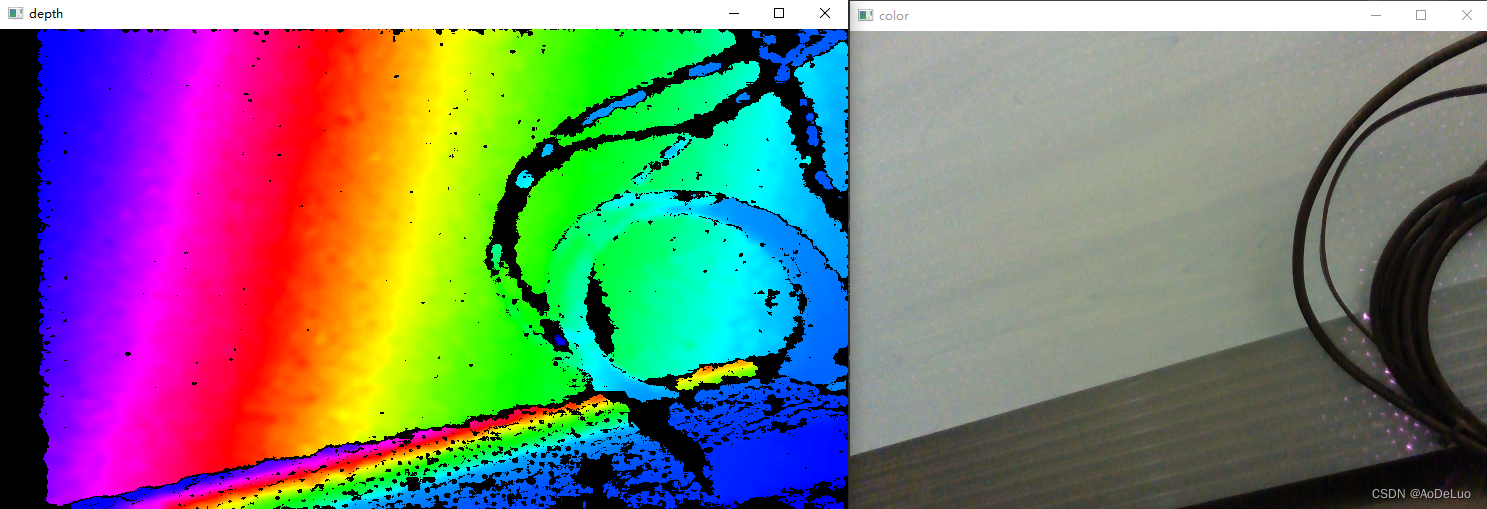
-
五.使用过滤器对图像数据进行后处理
rs2::frameset为未经过处理的原始数据,也可以通过创建过滤器来对原始数据进行处理,得到想要得数据
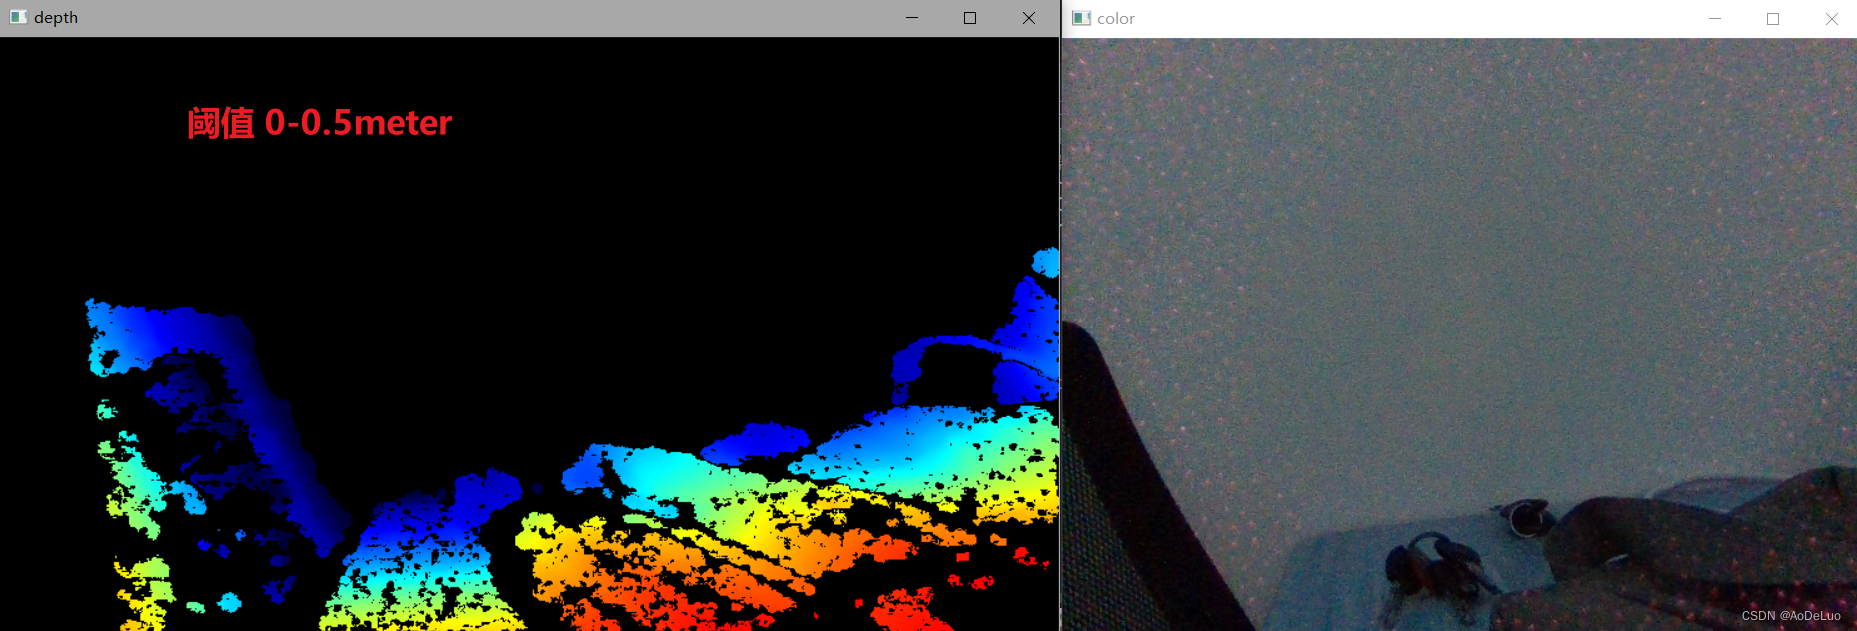
1.深度阈值过滤器 rs2::threshold_filter
rs2::threshold_filter thr_filter(0, 1);   // 阈值-删除深度图像中超出建议范围的值
rs2::frameset frames = p.wait_for_frames();  // 阻塞程序直到帧到达
frames = thr_filter.process(frames); // 使用过滤器对图像进行处理
rs2::frame color_frame = frames.get_color_frame(); // 尝试获取一帧彩色图像
rs2::frame depth_frame = frames.get_depth_frame().apply_filter(color_map); // 尝试获取一帧深度图像,使用着色器进行着色
const int w = depth_frame.as<rs2::video_frame>().get_width(); // 获取深度图像宽
const int h = depth_frame.as<rs2::video_frame>().get_height(); // 获取深度图像高

// 将图像数据转换为opencv的Mat类型数据
cv::Mat frame_color(cv::Size(640, 480), CV_8UC3, (void*)color_frame.get_data(), cv::Mat::AUTO_STEP);
cv::Mat frame_depth(cv::Size(w, h), CV_8UC3, (void*)depth_frame.get_data(), cv::Mat::AUTO_STEP);

//显示图像
cv::imshow("color", frame_color);
cv::imshow("depth", frame_depth);

cv::waitKey(1);
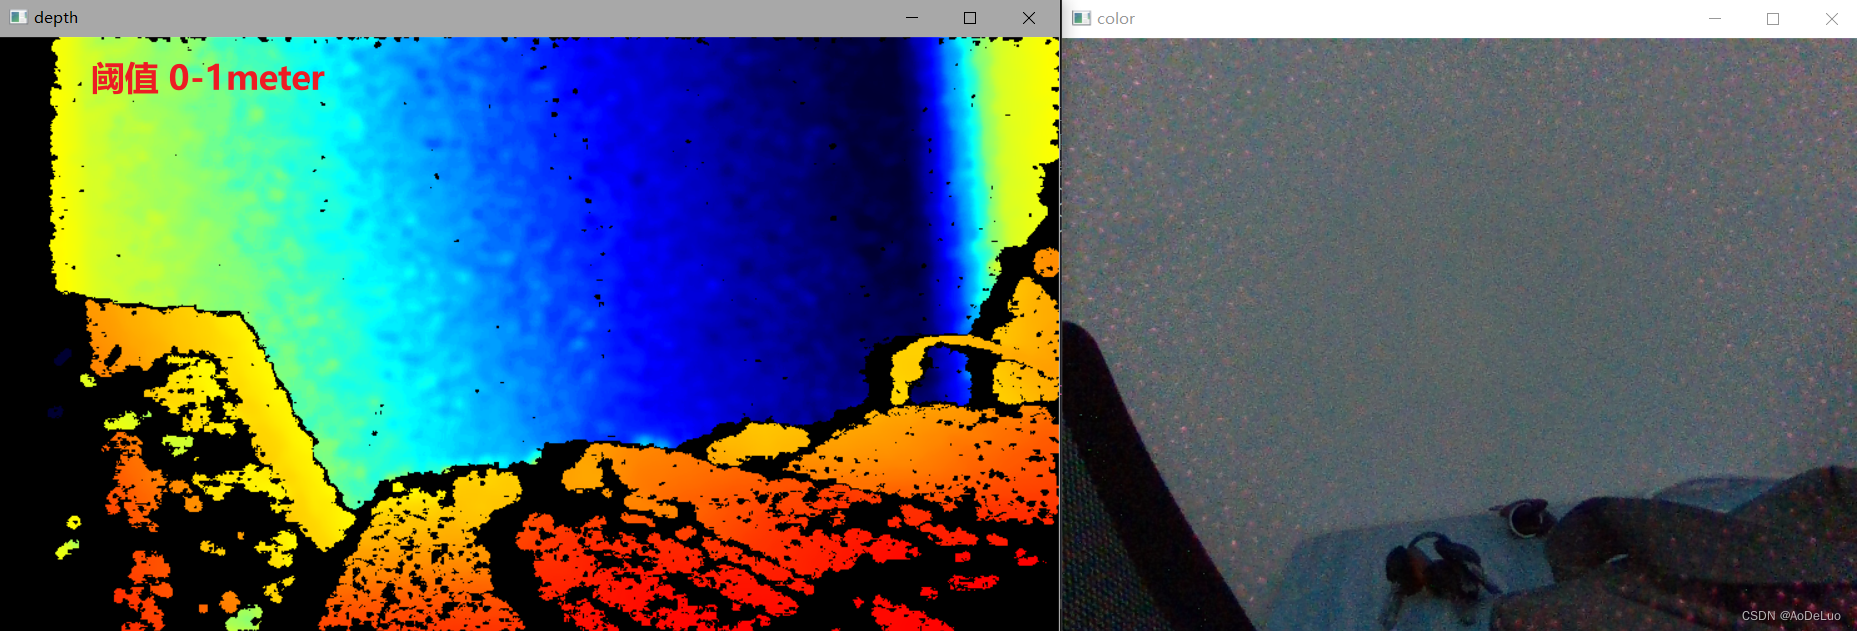
2.高度图像与彩色图像的视野对齐
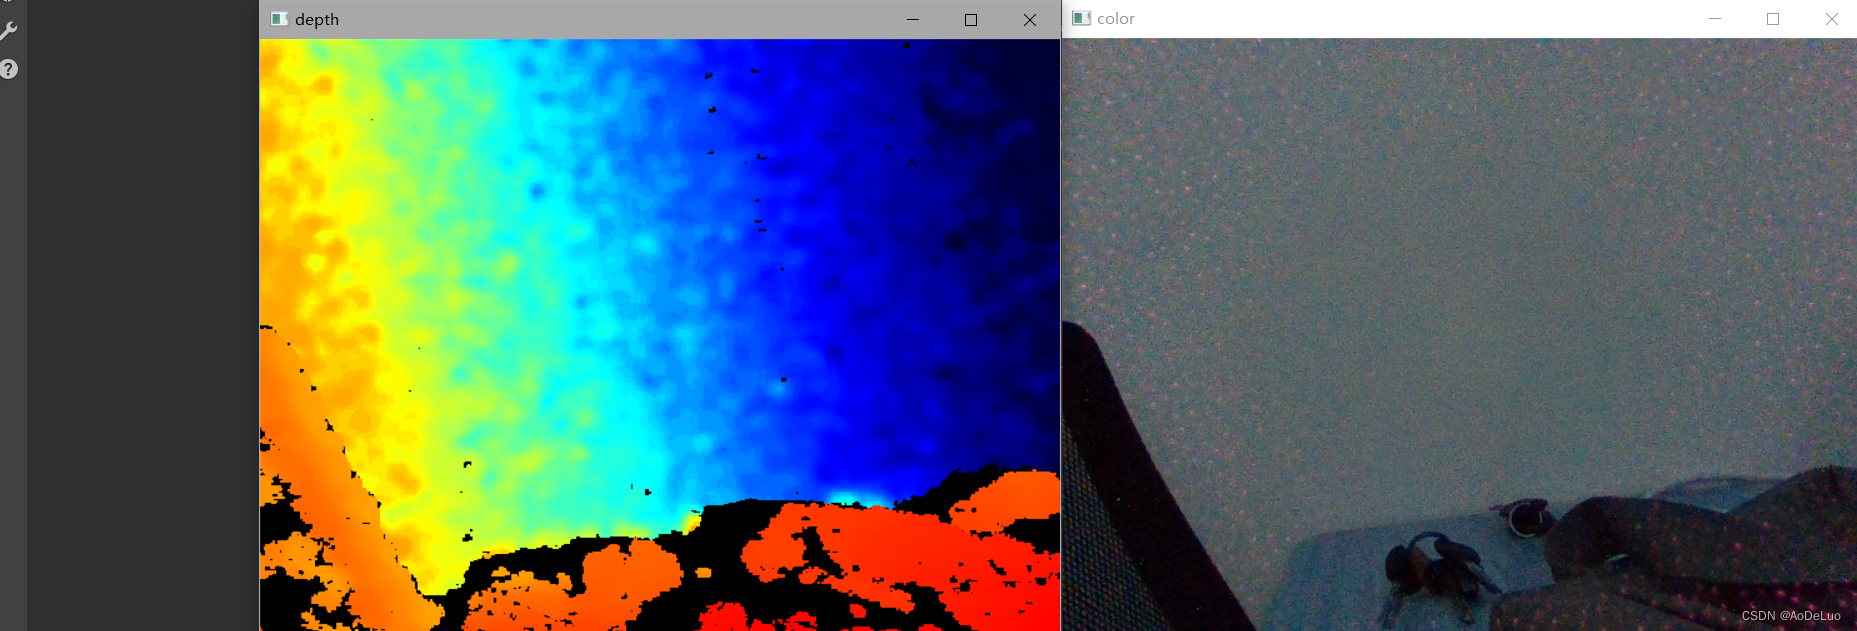
由于硬件原因,左右两侧摄像头与中间的彩色摄像头视角是不一样的,直接输出的高度图像与彩色图像的位置会对不上。如下图,高度摄像头的视野要比彩色摄像头的视野来的广。
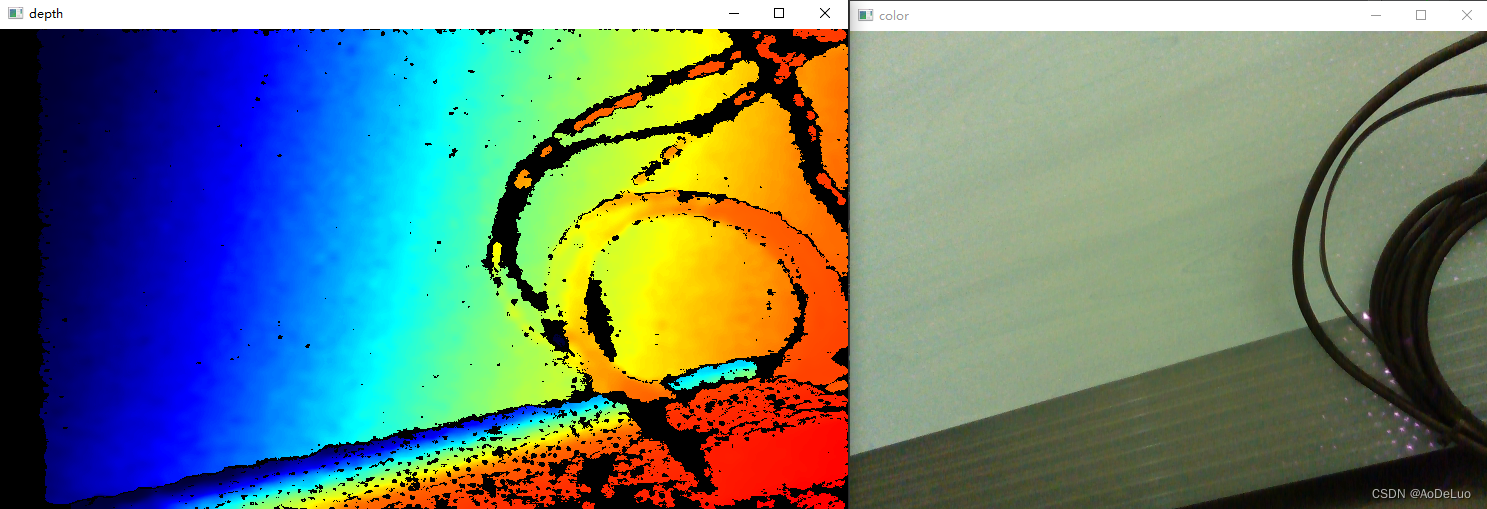
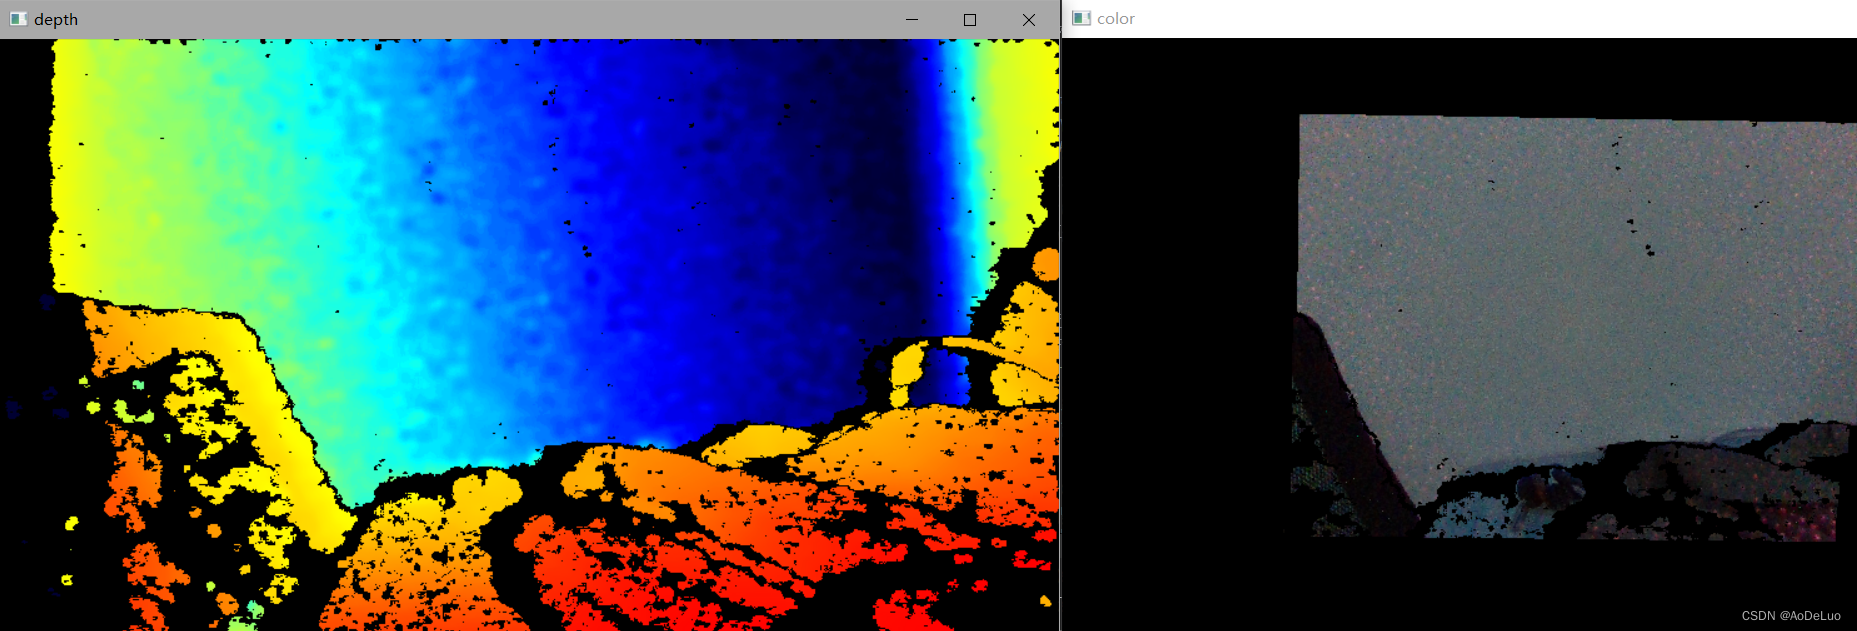
所以,需要使用过滤器,对彩色图像或者深度图像进行处理,使两者在空间上进行对齐。对齐使用rs2::align过滤器
rs2::colorizer color_map(0); // 声明深度着色器以实现深度数据的可视化
rs2::align align_to_depth(RS2_STREAM_DEPTH);  // 以深度相机作为视野基准,调整彩色图像
rs2::align align_to_color(RS2_STREAM_COLOR); // 以彩色图像作为视野基准,调整深度图像
frames = align_to_color.process(frames); // 选择一个过滤器,来对齐深度图像与彩色图像的视野
rs2::frame color_frame = frames.get_color_frame(); // 尝试获取一帧彩色图像
rs2::frame depth_frame = frames.get_depth_frame().apply_filter(color_map); // 尝试获取一帧深度图像,使用着色器进行着色
const int w = depth_frame.as<rs2::video_frame>().get_width(); // 获取深度图像宽
const int h = depth_frame.as<rs2::video_frame>().get_height(); // 获取深度图像高

// 将图像数据转换为opencv的Mat类型数据
cv::Mat frame_color(cv::Size(w, h), CV_8UC3, (void*)color_frame.get_data(), cv::Mat::AUTO_STEP);
cv::Mat frame_depth(cv::Size(w, h), CV_8UC3, (void*)depth_frame.get_data(), cv::Mat::AUTO_STEP);

 //进行格式的转换RGB-BGR
 cv::cvtColor(frame_color, frame_color, cv::COLOR_RGB2BGR);
 cv::cvtColor(frame_color, frame_color, cv::COLOR_RGB2BGR);

//显示图像
cv::imshow("color", frame_color);
cv::imshow("depth", frame_depth);
cv::waitKey(1);
3.其他过滤器使用方式
