Elasticsearch Windows单机集群部署
Elasticsearch下载
ElasticSearch是基于lucence开发的,运行需要java jdk支持。
由于ElasticSearch 5.x 往后依赖于JDK 1.8的,需要下载JDK 1.8或者更高版本。
JDK的下载、安装和环境配置教程(2021年,win10)
Elasticsearch安装
下载好压缩包后分别解压两份,命名随意,路径随意

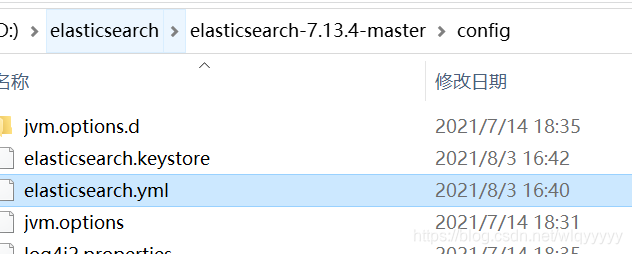
Elasticsearch.yml修改
首先是主节点,打开elasticsearch.yml
# ======================== Elasticsearch Configuration =========================
#
# NOTE: Elasticsearch comes with reasonable defaults for most settings.
#       Before you set out to tweak and tune the configuration, make sure you
#       understand what are you trying to accomplish and the consequences.
#
# The primary way of configuring a node is via this file. This template lists
# the most important settings you may want to configure for a production cluster.
#
# Please consult the documentation for further information on configuration options:
# https://www.elastic.co/guide/en/elasticsearch/reference/index.html
#
# ---------------------------------- Cluster -----------------------------------
#
# Use a descriptive name for your cluster:
#
# 集群名字,需要在同一个集群下的节点需要保持一致
cluster.name: my-elasticsearch
#
# ------------------------------------ Node ------------------------------------
#
# Use a descriptive name for the node:
#
# 节点名字
node.name: master
#
# Add custom attributes to the node:
#
#node.attr.rack: r1
#
# ----------------------------------- Paths ------------------------------------
#
# Path to directory where to store the data (separate multiple locations by comma):
#
#path.data: /path/to/data
#
# Path to log files:
#
#path.logs: /path/to/logs
#
# ----------------------------------- Memory -----------------------------------
#
# Lock the memory on startup:
#
#bootstrap.memory_lock: true
#
# Make sure that the heap size is set to about half the memory available
# on the system and that the owner of the process is allowed to use this
# limit.
#
# Elasticsearch performs poorly when the system is swapping the memory.
#
# ---------------------------------- Network -----------------------------------
#
# By default Elasticsearch is only accessible on localhost. Set a different
# address here to expose this node on the network:
#
# 设置其它节点和该节点交互的ip地址,如果不设置它会自动判断,值必须是个真实的ip地址。
network.host: 127.0.0.1
#
# By default Elasticsearch listens for HTTP traffic on the first free port it
# finds starting at 9200. Set a specific HTTP port here:
#
# 设置是否压缩tcp传输时的数据,默认为false,不压缩。
http.port: 9200
# 这个参数是用来同时设置bind_host和publish_host上面两个参数。
transport.tcp.port: 9300
#
# For more information, consult the network module documentation.
#
# --------------------------------- Discovery ----------------------------------
#
# Pass an initial list of hosts to perform discovery when this node is started:
# The default list of hosts is ["127.0.0.1", "[::1]"]
#
discovery.seed_hosts: ["127.0.0.1:9300", "127.0.0.1:8300","127.0.0.1:7300"]
#
# Bootstrap the cluster using an initial set of master-eligible nodes:
#
cluster.initial_master_nodes: ["127.0.0.1:9300", "127.0.0.1:8300","127.0.0.1:7300"]
#
# For more information, consult the discovery and cluster formation module documentation.
#
# ---------------------------------- Various -----------------------------------
#
# Require explicit names when deleting indices:
#
#action.destructive_requires_name: true
# head插件可以访问es
http.cors.enabled: true
http.cors.allow-origin: "*"
节点1
# ======================== Elasticsearch Configuration =========================
#
# NOTE: Elasticsearch comes with reasonable defaults for most settings.
#       Before you set out to tweak and tune the configuration, make sure you
#       understand what are you trying to accomplish and the consequences.
#
# The primary way of configuring a node is via this file. This template lists
# the most important settings you may want to configure for a production cluster.
#
# Please consult the documentation for further information on configuration options:
# https://www.elastic.co/guide/en/elasticsearch/reference/index.html
#
# ---------------------------------- Cluster -----------------------------------
#
# Use a descriptive name for your cluster:
#
cluster.name: my-elasticsearch
#
# ------------------------------------ Node ------------------------------------
#
# Use a descriptive name for the node:
#
node.name: node-1
#
# Add custom attributes to the node:
#
#node.attr.rack: r1
#
# ----------------------------------- Paths ------------------------------------
#
# Path to directory where to store the data (separate multiple locations by comma):
#
#path.data: /path/to/data
#
# Path to log files:
#
#path.logs: /path/to/logs
#
# ----------------------------------- Memory -----------------------------------
#
# Lock the memory on startup:
#
#bootstrap.memory_lock: true
#
# Make sure that the heap size is set to about half the memory available
# on the system and that the owner of the process is allowed to use this
# limit.
#
# Elasticsearch performs poorly when the system is swapping the memory.
#
# ---------------------------------- Network -----------------------------------
#
# By default Elasticsearch is only accessible on localhost. Set a different
# address here to expose this node on the network:
#
network.host: 127.0.0.1
#
# By default Elasticsearch listens for HTTP traffic on the first free port it
# finds starting at 9200. Set a specific HTTP port here:
#
http.port: 8200
transport.tcp.port: 8300
#
# For more information, consult the network module documentation.
#
# --------------------------------- Discovery ----------------------------------
#
# Pass an initial list of hosts to perform discovery when this node is started:
# The default list of hosts is ["127.0.0.1", "[::1]"]
#
discovery.seed_hosts: ["127.0.0.1:9300", "127.0.0.1:8300","127.0.0.1:7300"]
#
# Bootstrap the cluster using an initial set of master-eligible nodes:
#
cluster.initial_master_nodes: ["127.0.0.1:9300", "127.0.0.1:8300","127.0.0.1:7300"]
#
# For more information, consult the discovery and cluster formation module documentation.
#
# ---------------------------------- Various -----------------------------------
#
# Require explicit names when deleting indices:
#
#action.destructive_requires_name: true
http.cors.enabled: true
http.cors.allow-origin: "*"
二者配置的区别只在http.port,transport.tcp.port和node.name上
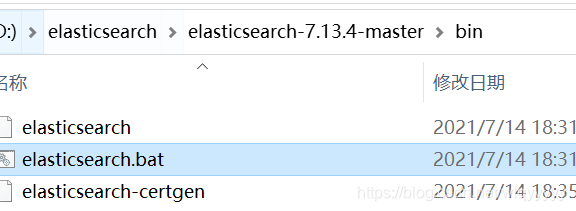
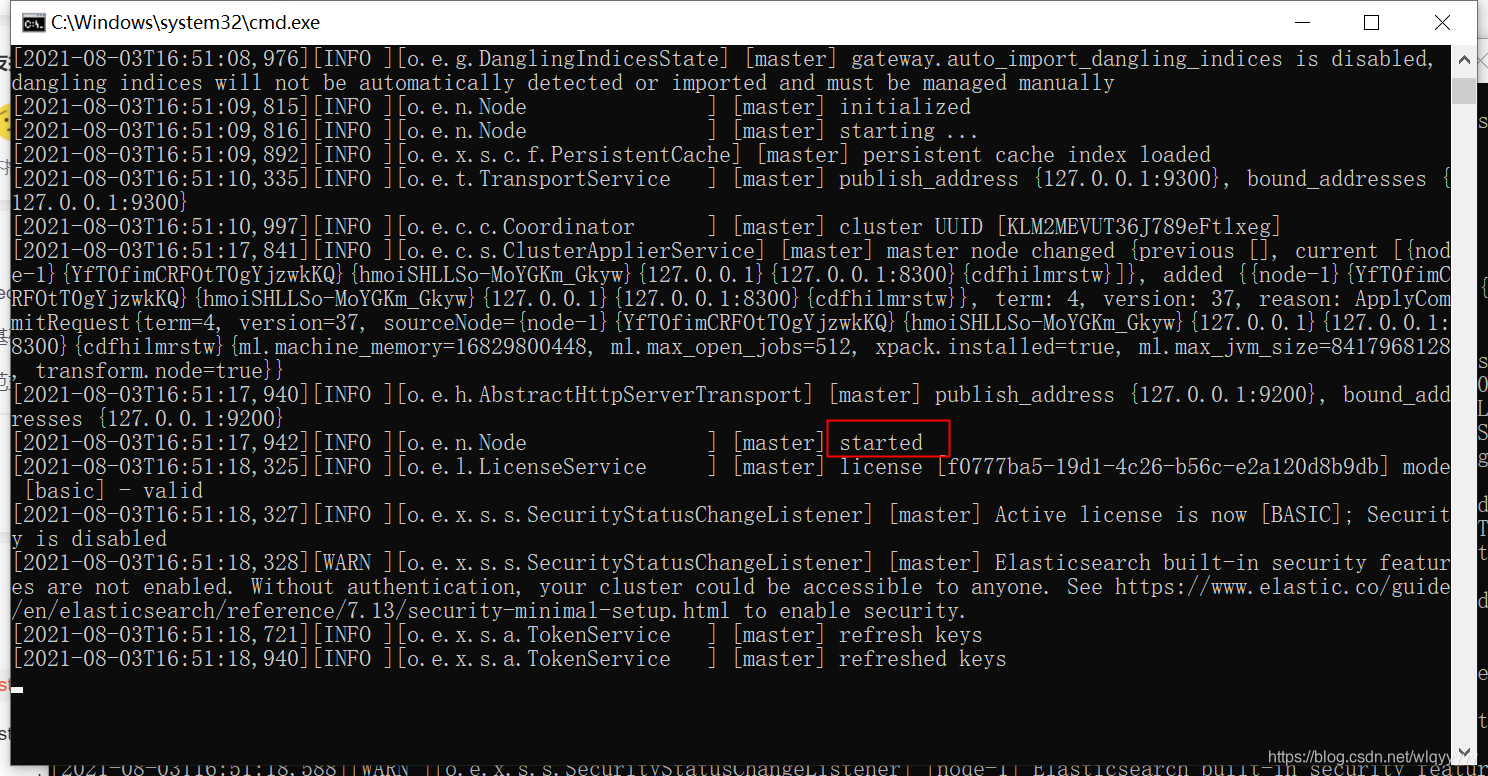
配置好后依次打开节点elasticsearch.bat
出现started即打开成功
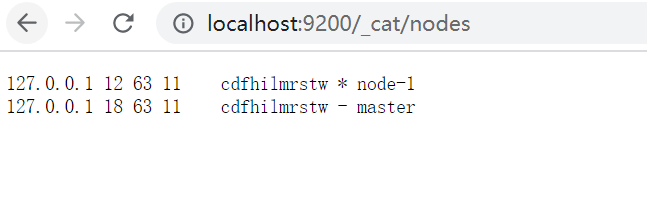
启动之后在浏览器输入http://localhost:9200/_cat/nodes验证一下
安装ElasticSearch-head
首先需要安装node.js
https://nodejs.org/en/download/
一直点击下一步即可,安装好后打开cmd输入版本号
node-v
安装grunt
npm install -g grunt-cli
查看版本号
grunt -version
下载head插件
https://github.com/mobz/elasticsearch-head

启动cmd到该目录下
D:
cd 文件位置


安装完毕后
npm run start
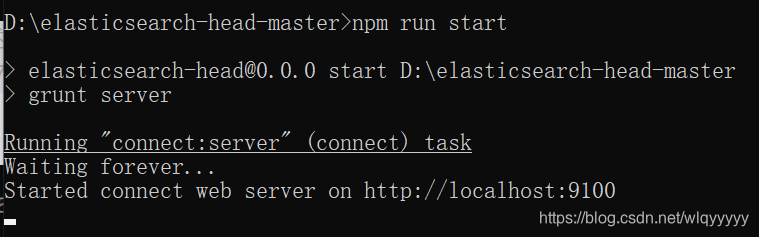
输入http://localhost:9100/

至此,单机集群部署完成
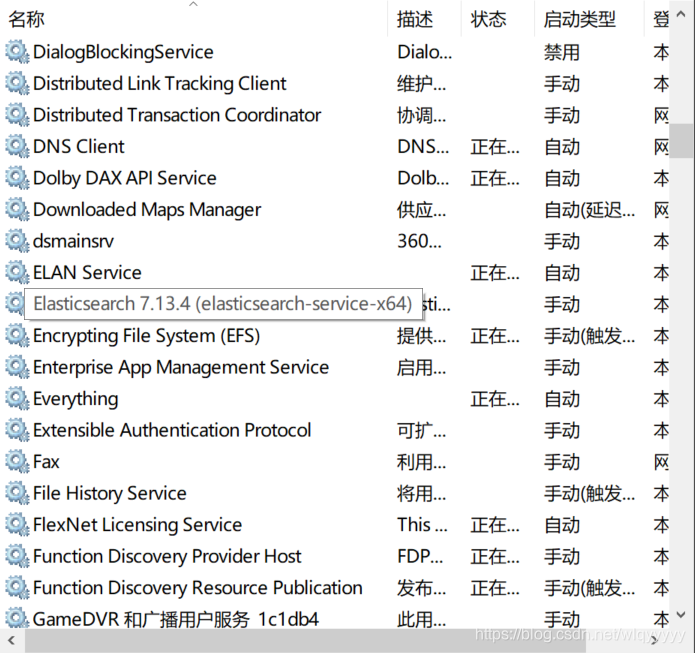
Elasticsearch安装成Windows服务
bin目录下有elasticsearch-service.bat

cmd到bin目录下输入
elasticsearch-service.bat install
再查看服务时就已经存在了