一、Kafak 部署
zookeeper 集群部署参考csdn连接:https://blog.csdn.net/qq_42606357/category_11241804.html
kafka 集群部署参考csdn连接:https://linck.blog.csdn.net/article/details/119257228
二、配置WEB服务器的日志写入kafka
root@web1:/etc/logstash/conf.d# vim nginx-log-to-kafka.conf
input {
  file {
    path => "/var/log/nginx/access.log"
    type => "nginx-accesslog"
    start_position => "beginning"
    stat_interval => "3 second"
    codec => "json"
  }
  file {
    path => "/apps/nginx/logs/error.log"
    type => "nginx-errorlog"
    start_position => "beginning"
    stat_interval => "3 second"
  }
}

output {
  if [type] == "nginx-accesslog" {
    kafka {
      bootstrap_servers => "10.0.0.40:9092,10.0.0.41:9092,10.0.0.42:9092"
      topic_id => "lck-nginx-accesslog"
      codec => "json"
    }
  }
  if [type] == "nginx-errorlog" {
    kafka {
      bootstrap_servers => "10.0.0.40:9092,10.0.0.41:9092,10.0.0.42:9092"
      topic_id => "lck-nginx-errorlog"
      codec => "json"
    }
  }
}
三、检测Logstash配置文件语法是否正确
root@web1:~# /usr/share/logstash/bin/logstash -f /etc/logstash/conf.d/nginx-log-to-kafka.conf -t

四、启动服务并验证
root@web1:~# systemctl restart logstash.service
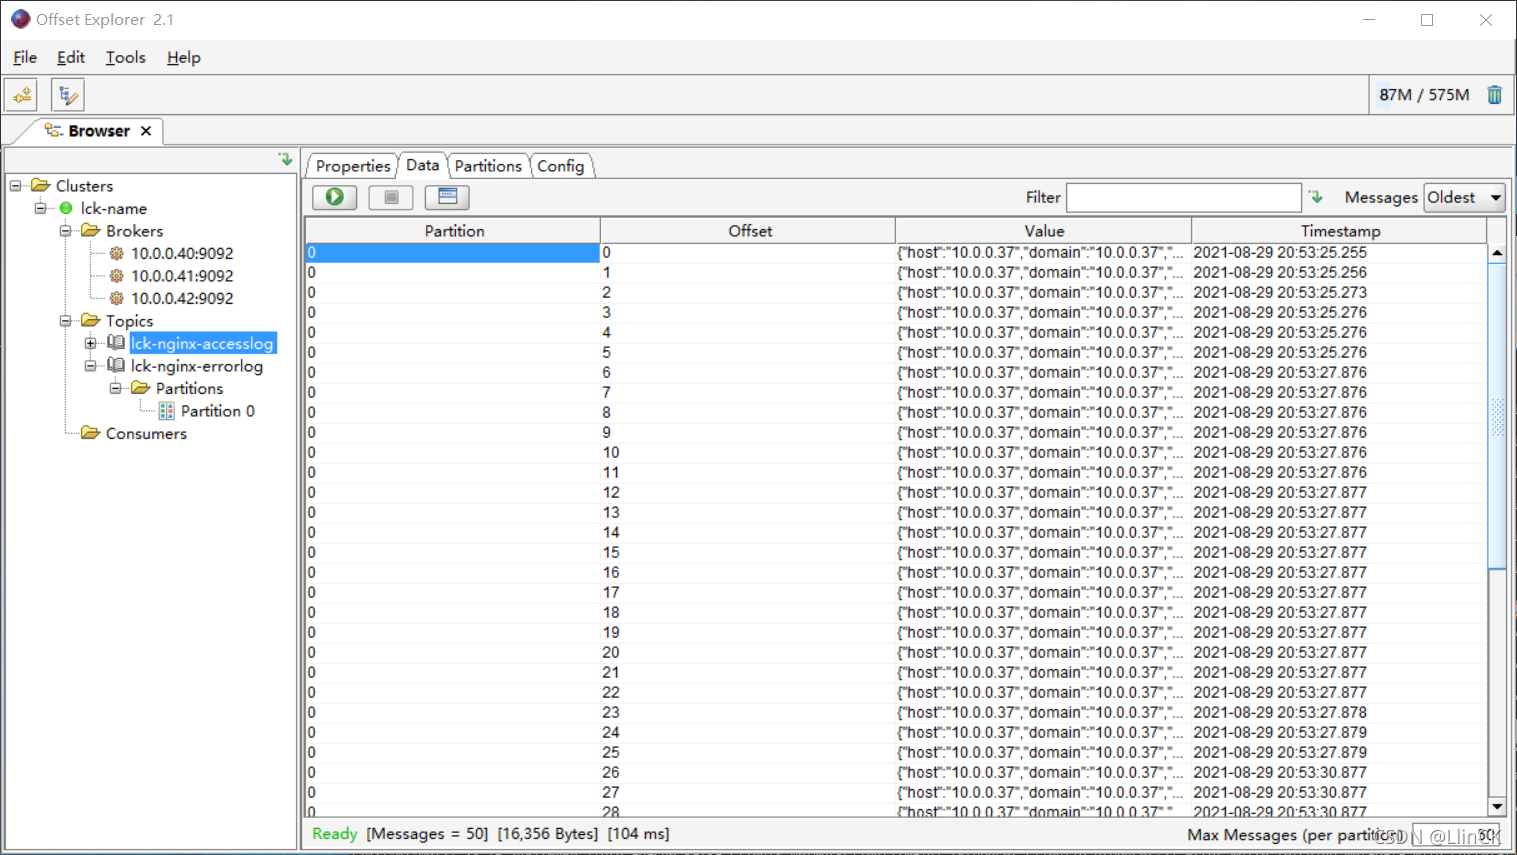
尝试访问页面,生成日志,到kafak客户端查看是否生成日志


五、配置其他 logstash 服务器从 kafak 读取数据并传到 elasticsearch
10.0.0.35 安装 logstash
apt install -y openjdk-8-jdk

# 将 logstash-7.12.1-amd64.deb 软件包传到 /usr/local/src 目录下,并进行安装
dpkg -i /usr/local/src/logstash-7.12.1-amd64.deb
修改配置文件
root@ubuntu1804:~# vim /etc/logstash/conf.d/kafka-to-es.conf
input {
  kafka {
    bootstrap_servers => "10.0.0.40:9092,10.0.0.41:9092,10.0.0.42:9092"
    topics => ["lck-nginx-accesslog","lck-nginx-errorlog"]
    codec => "json"
  }
}

output {
  if [type] == "nginx-accesslog" {
    elasticsearch {
      hosts => ["10.0.0.31:9200"]
      index => "kafka-nginx-newindex-accesslog-%{+YYYY.MM.dd}"
    }
  }
  if [type] == "nginx-errorlog" {
    elasticsearch {
      hosts => ["10.0.0.31:9200"]
      index => "kafka-nginx-newindex-errorlog-%{+YYYY.MM.dd}"
    }
  }
}
六、检测Logstash配置文件语法是否正确
/usr/share/logstash/bin/logstash -f /etc/logstash/conf.d/redis-to-es.conf -t

七、启动服务并验证
systemctl restart logstash.service

八、创建索引方便查询日志

8.1 创建访问日志索引


8.2 创建错误日志索引


