写在前面
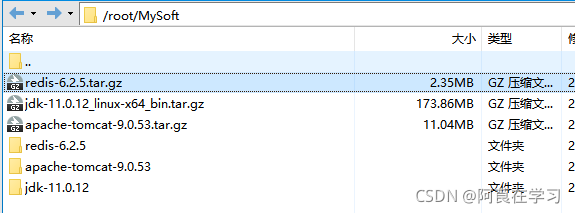
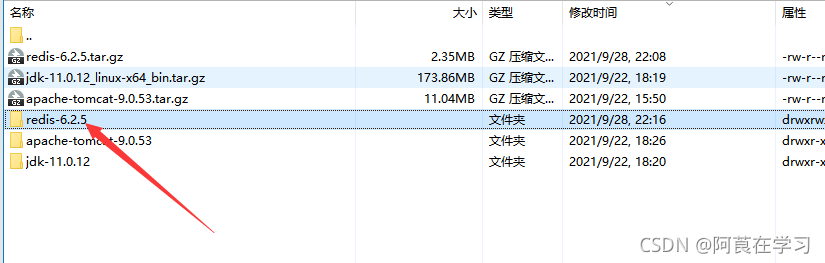
压缩包存放路径: /root/MySoft/
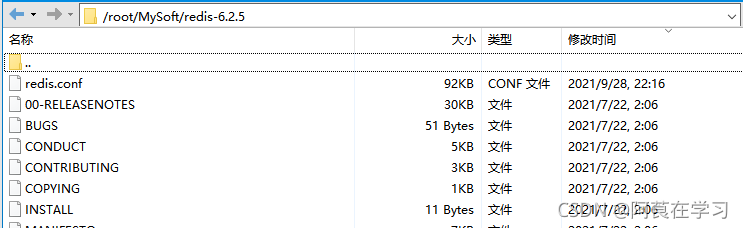
解压后路径:/root/Mysoft/redis-6.2.5
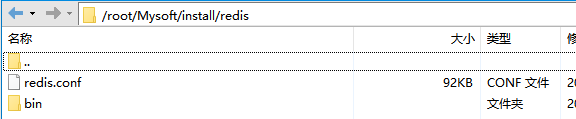
安装路径:/root/Mysoft/install/redis
1、下载
Redis官网:https://redis.io/
2、安装
2.1、安装gcc-c++库,用于编译解压后的redis安装文件
在CentOS中输入 redis yum install gcc-c++下载库
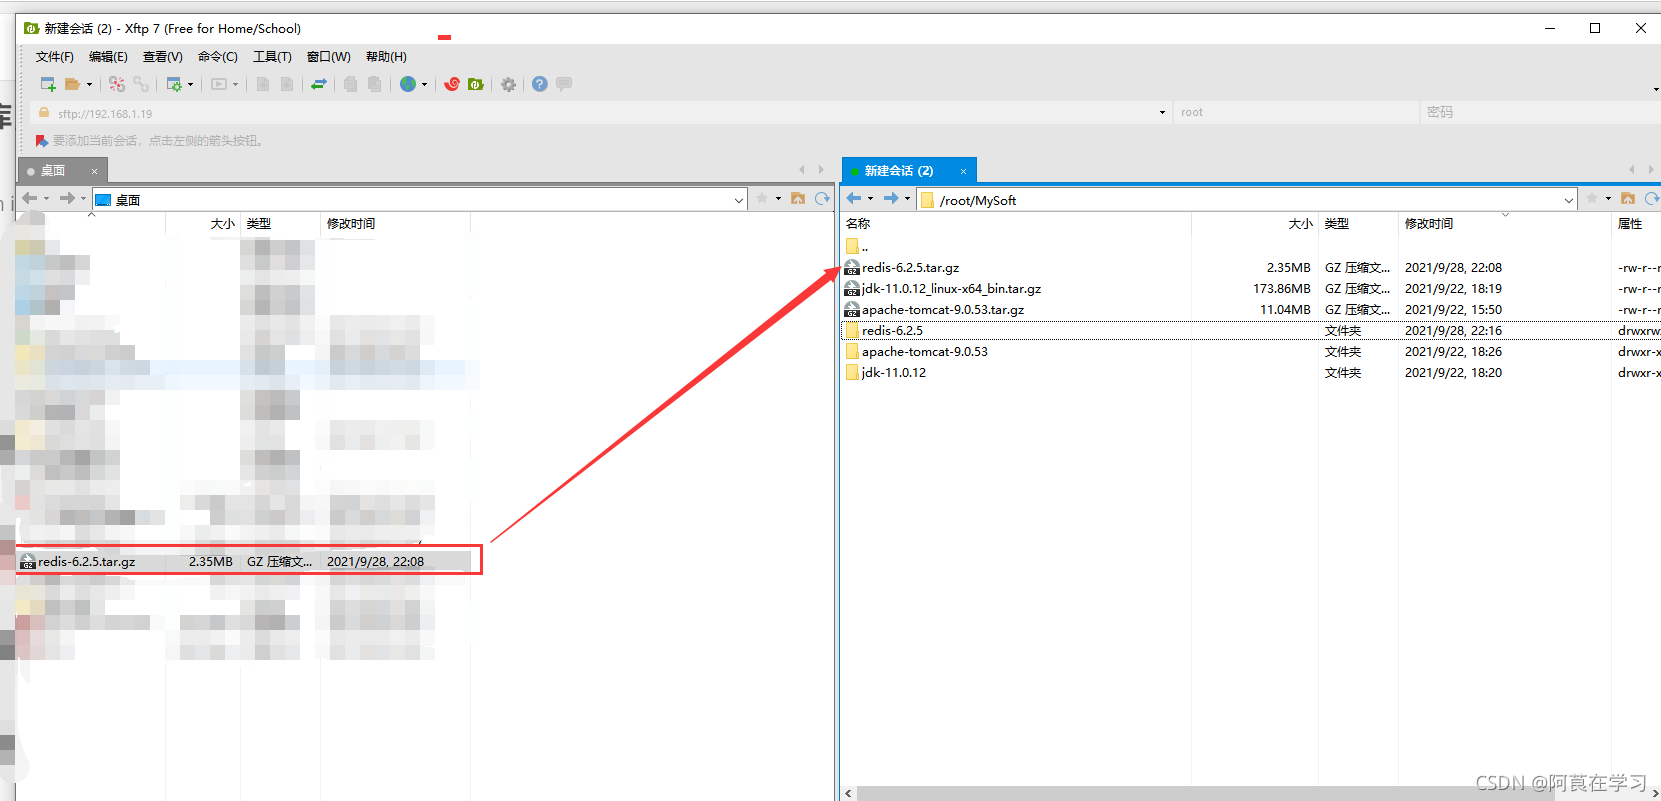
2.2、使用xftp将下载后的文件传到CentOS中
2.3、在CentOS中将文件解压
2.4、使用 cd 命令 进入到redis的解压目录中
2.5、使用 make 命令进行编译

2.6、安装编译后的redis
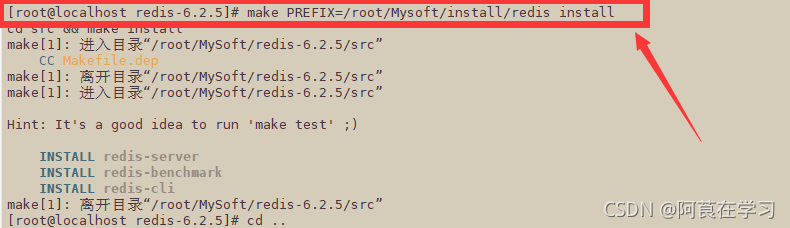
安装命令:make PREFIX=/root/Mysoft/install/redis install
安装路径:/root/Mysoft/install/redis
2.7、在安装目录中执行命令,将redis的配置文件复制到该安装路径下
cp /root/MySoft/redis-6.2.5/redis.conf ./
3、启动
3.1、默认方式启动,前台启动
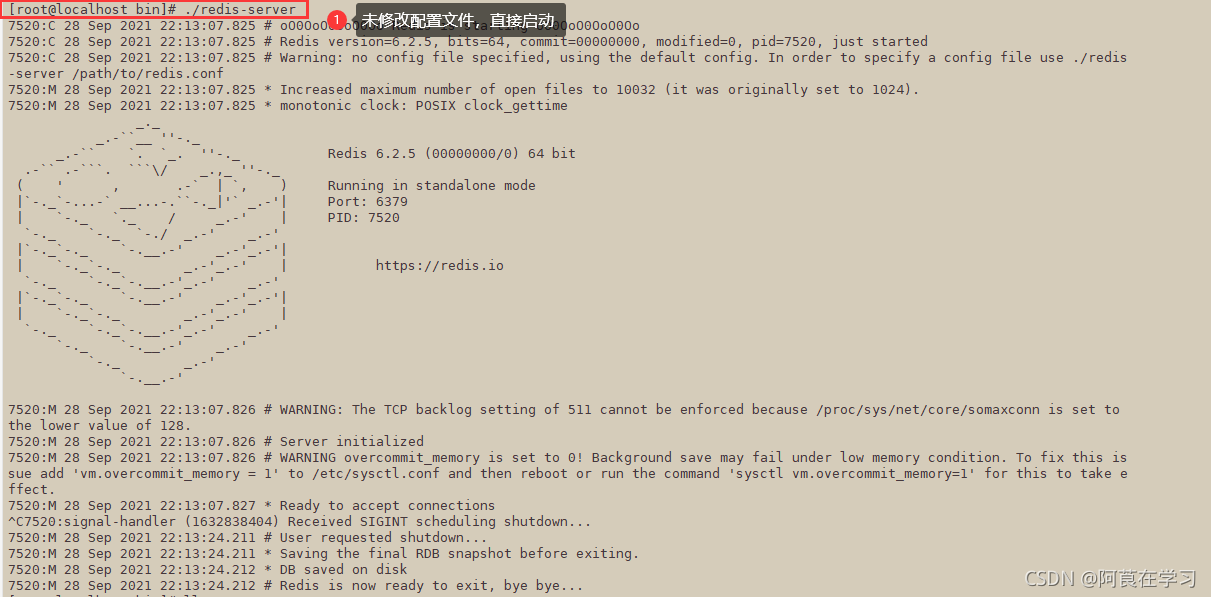
按ctrl+c 停止
3.2、修改配置文件,开启后台启动
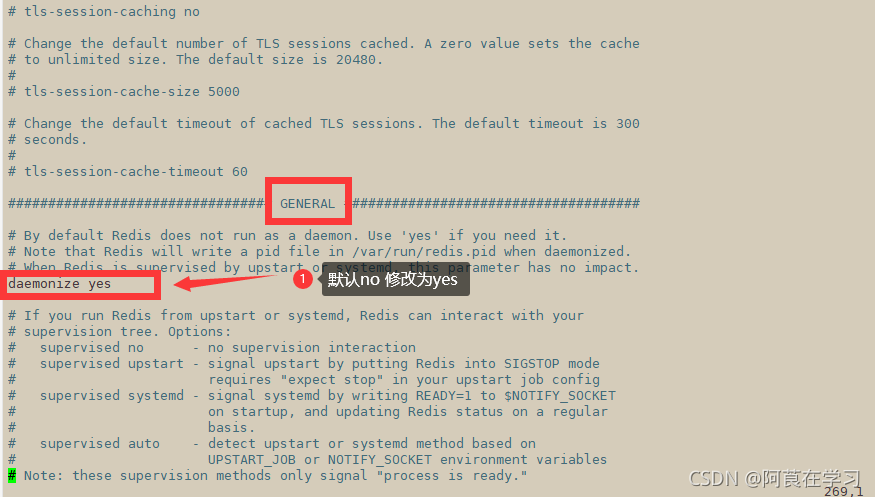
vi redis.conf
按下i键进行编辑
在GENERAL栏中,找到daemonize no , 将no修改成yes
按下ESC键退出编辑模式
按下Shift + ;
输入wq退出并保存修改
3.2、在/root/MySoft/Install/Redis 目录中,启动redis

./bin/redis-server ./redis.conf
前者为redis的服务 后者为该服务指定的启动配置文件
3.3、使用命令 ps -ef | grep -i redis 或 ps -aux | grep -i redis查看是否启动,并获取到该进程的pid

4、连接
4.1、测试是否可以访问

使用cd命令切换到安装目录的bin目录下
使用./redis-cli启动客户端连接本地redis服务
使用redis-cli -h
ip地址 -p 端口号 可以连接远程redis服务
连接之后,使用命令ping 回车后出现PONG 即为可以正常访问
使用quit退出访问
5、停止
5.1、停止redis服务
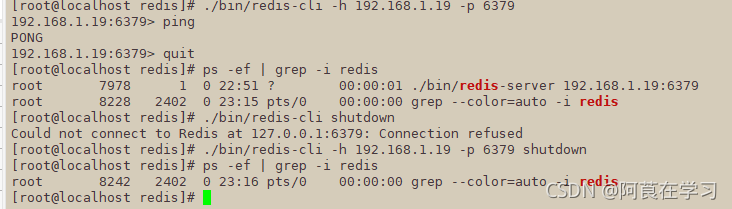
有两种方法,一种是使用kill -9 进程id 强制停止
另一种是./bin/redis-cli shutdown 指令方式停止( 推荐 )
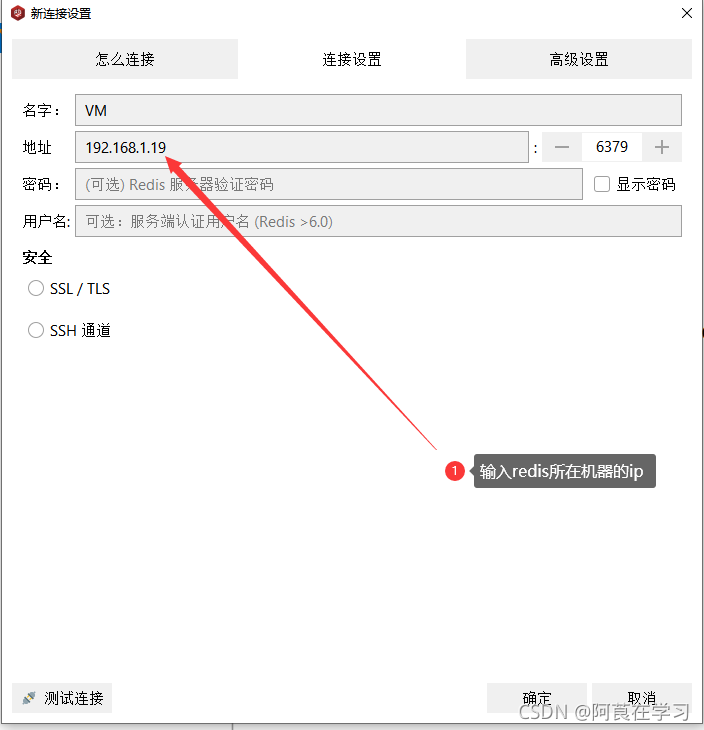
6、使用可视化工具RDM连接Redis
6.1、下载RDM
官网地址:https://rdm.dev/
下载时选择个人试用14天
下载后安装
6.2、关闭CentOS的防火墙
systemctl stop firewalld
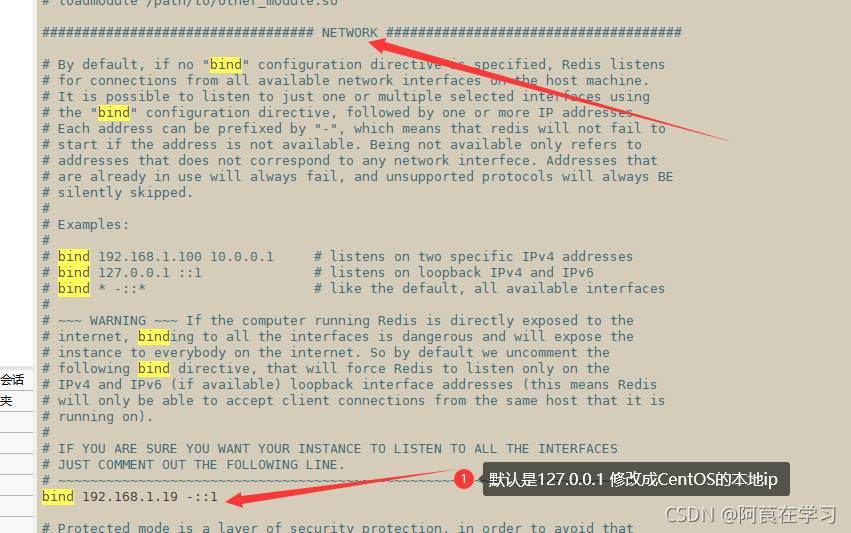
6.3、修改配置文件redis.conf 中的bind
6.4、启动redis
6.5、打开RDM连接
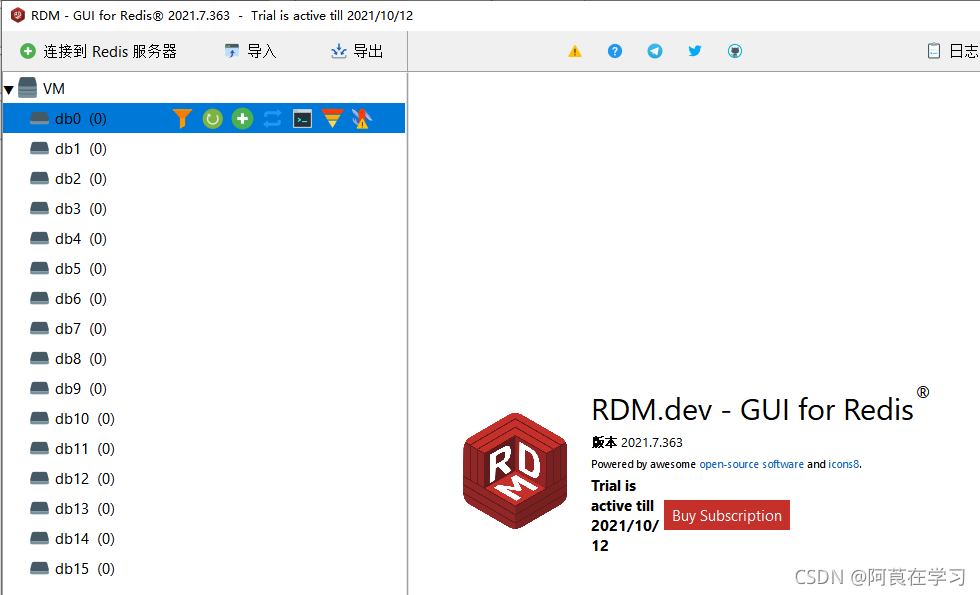
连接成功!!!教程结束