检测MySQL多实例
1. 环境的准备
1.1 MySQL多实例创建
yum -y install mariadb-server
设置三个
MySQL配置文件
mkdir /data/{3307,3308} -p
chown -R mysql.mysql /data/*
vim /etc/my3307.cnf

[mysqld]
datadir=/data/3307/
socket=/data/3307/mysql.sock
port=3307
user=mysql
symbolic-links=0
[mysqld_safe]
log-error=/data/3308/mysqld.log
pid-file=/data/3307/mysqld.pid


vim /etc/my3308.cnf

[mysqld]
datadir=/data/3308/
socket=/data/3308/mysql.sock
port=3307
user=mysql
symbolic-links=0
[mysqld_safe]
log-error=/data/3308/mysqld.log
pid-file=/data/3308/mysqld.pid
初始化
mysql_install_db --user=mysql --defaults-file=/etc/my3307.cnf
mysql_install_db --user=mysql --defaults-file=/etc/my3308.cnf
启动多实例
mysqld_safe --defaults-file=/etc/my3307.cnf
mysqld_safe --defaults-file=/etc/my3308.cnf
登录进去
mysql -S /data/3307/mysql.sock
grant all on *.* to root@localhost identified by '123456';
flush privileges;
exit

mysql -S /data/3308/mysql.sock
grant all on *.* to root@localhost identified by '123456';
flush privileges;
exit
改完就可以登录了
mysql -uroot -p123456 -P 3307
mysql -uroot -p123456 -P 3308
查看进程,检查端口
[root@web03 data]# netstat -lntup| grep mysqld
tcp        0      0 0.0.0.0:3306            0.0.0.0:*               LISTEN      30396/mysqld
tcp        0      0 0.0.0.0:3307            0.0.0.0:*               LISTEN      31682/mysqld
tcp        0      0 0.0.0.0:3308            0.0.0.0:*               LISTEN      32737/mysqld
1.2 创建自动发现文件
vim /etc/zabbix/zabbix_agentd.d/mysql_discovery.conf

cat /etc/zabbix/zabbix_agentd.d/mysql_discovery.conf

UserParameter=mysql.discovery,/bin/bash /server/scripts/mysql_discovery.sh
mkdir -p /server/scripts
vim /server/scripts/mysql_discovery.sh


#!/bin/bash
#mysql low-level discovery
res=$(netstat -lntp|awk -F "[ :\t]+" '/mysqld/{print$5}')
port=($res)
printf '{'
printf '"data":['
for key in ${!port[@]}
do
        if [[ "${#port[@]}" -gt 1 && "${key}" -ne "$((${#port[@]}-1))" ]];then
                printf '{'
                printf "\"{#MYSQLPORT}\":\"${port[${key}]}\"},"
        else [[ "${key}" -eq "((${#port[@]}-1))" ]]
                printf '{'
                printf "\"{#MYSQLPORT}\":\"${port[${key}]}\"}"
        fi
done
printf ']'
printf '}\n'
测试:
[root@web03 scripts]# bash /server/scripts/mysql_discovery.sh
{"data":[{"{#MYSQLPORT}":"3306"},{"{#MYSQLPORT}":"3307"},{"{#MYSQLPORT}":"3308"}]}
重启
systemctl restart zabbix-agent.service
zabbix_get测试取key
zabbix_get -s 172.16.1.9 -k mysql.discovery

(Not all processes could be identified, non-owned process info
 will not be shown, you would have to be root to see it all.)
{"data":[]}
这时我们发现取不出来并提示了个错误
原因是zabbix用户不能使用netstat的-p参数
解决方法为给netstat命令添加s权限
在web03上边
which netstat
/usr/bin/netstat

chmod u+s /usr/bin/netstat

[root@zabbix ~]# zabbix_get -s 172.16.1.9 -k mysql.discovery
{"data":[{"{#MYSQLPORT}":"3306"},{"{#MYSQLPORT}":"3307"},{"{#MYSQLPORT}":"3308"}]}
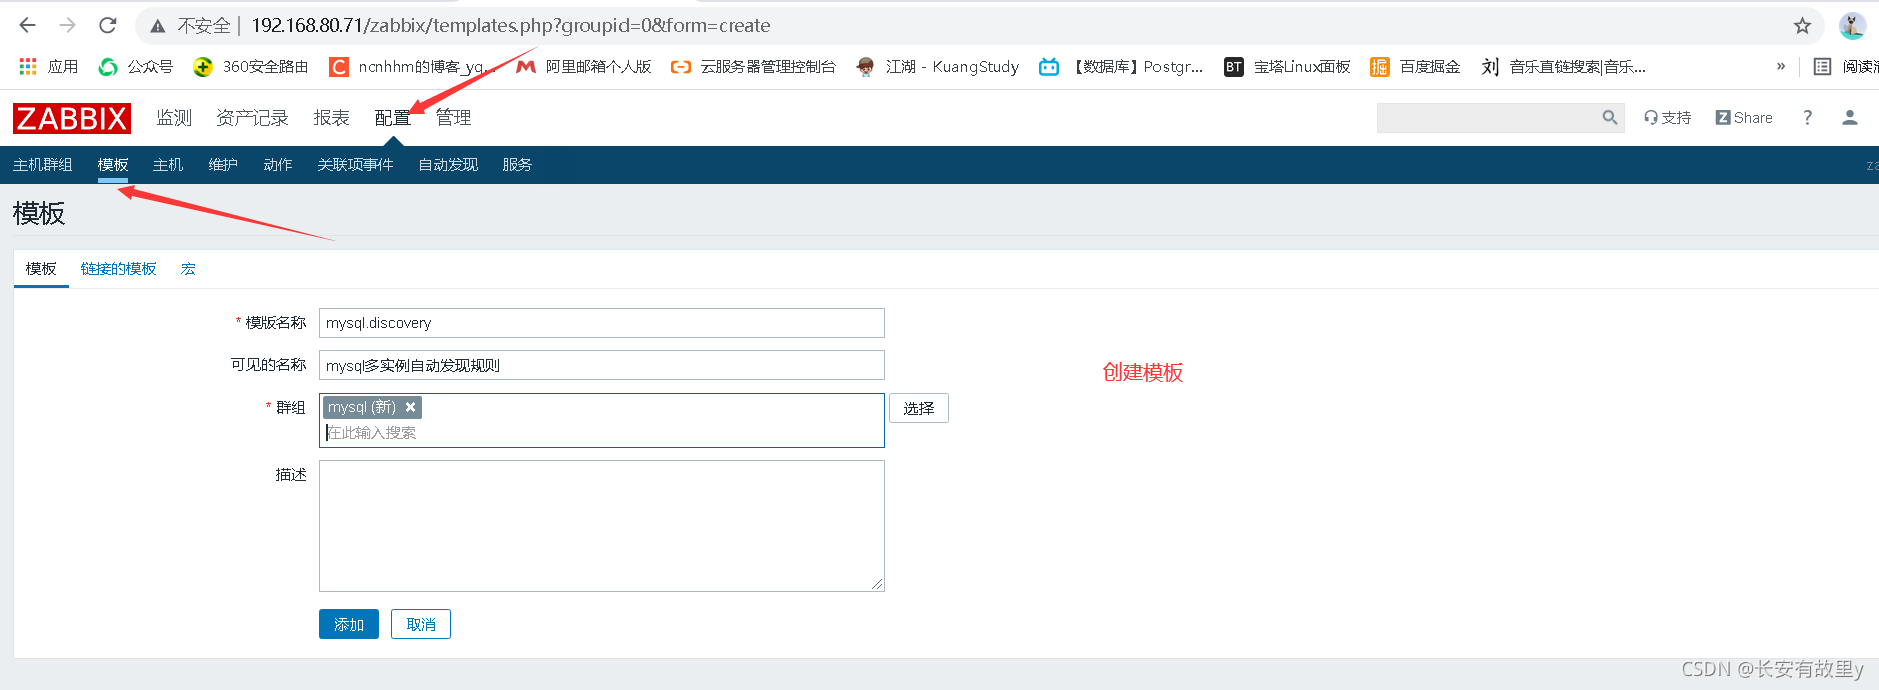
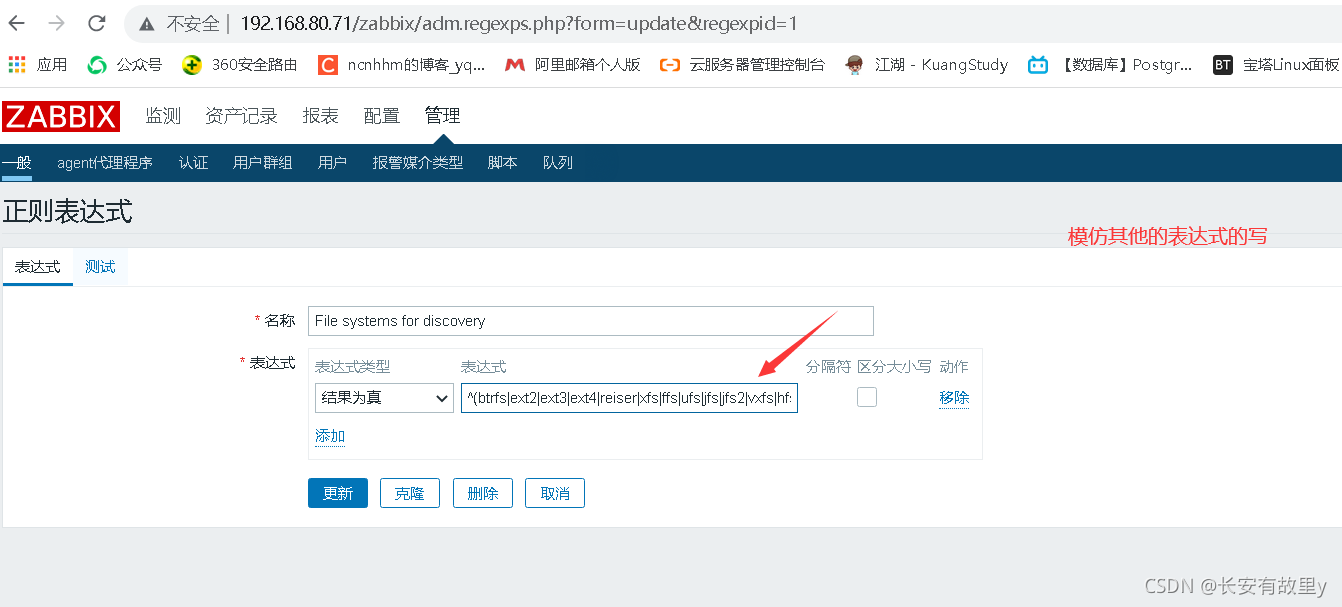
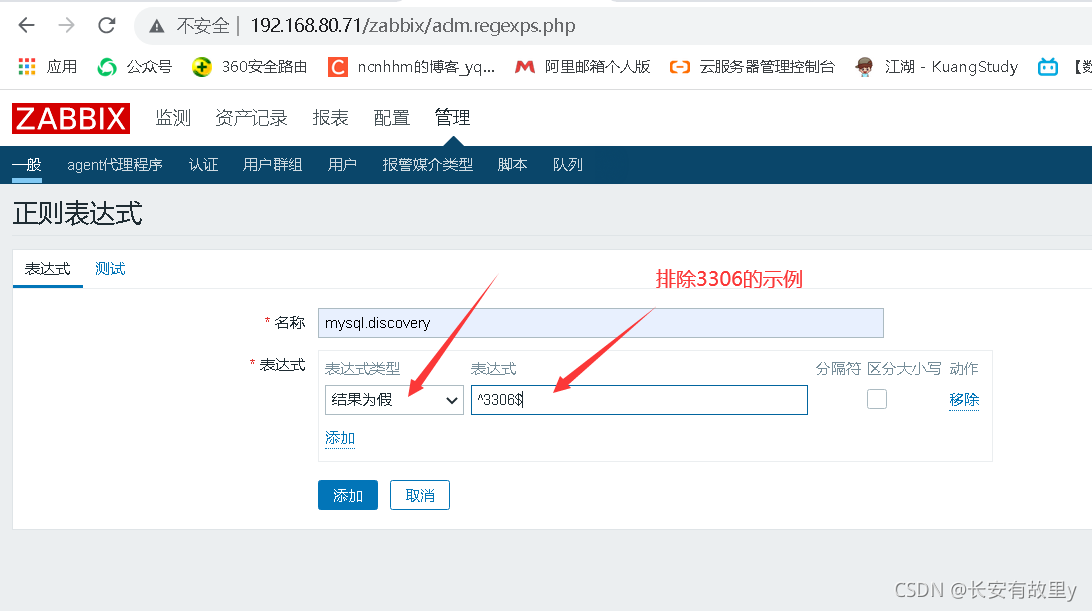
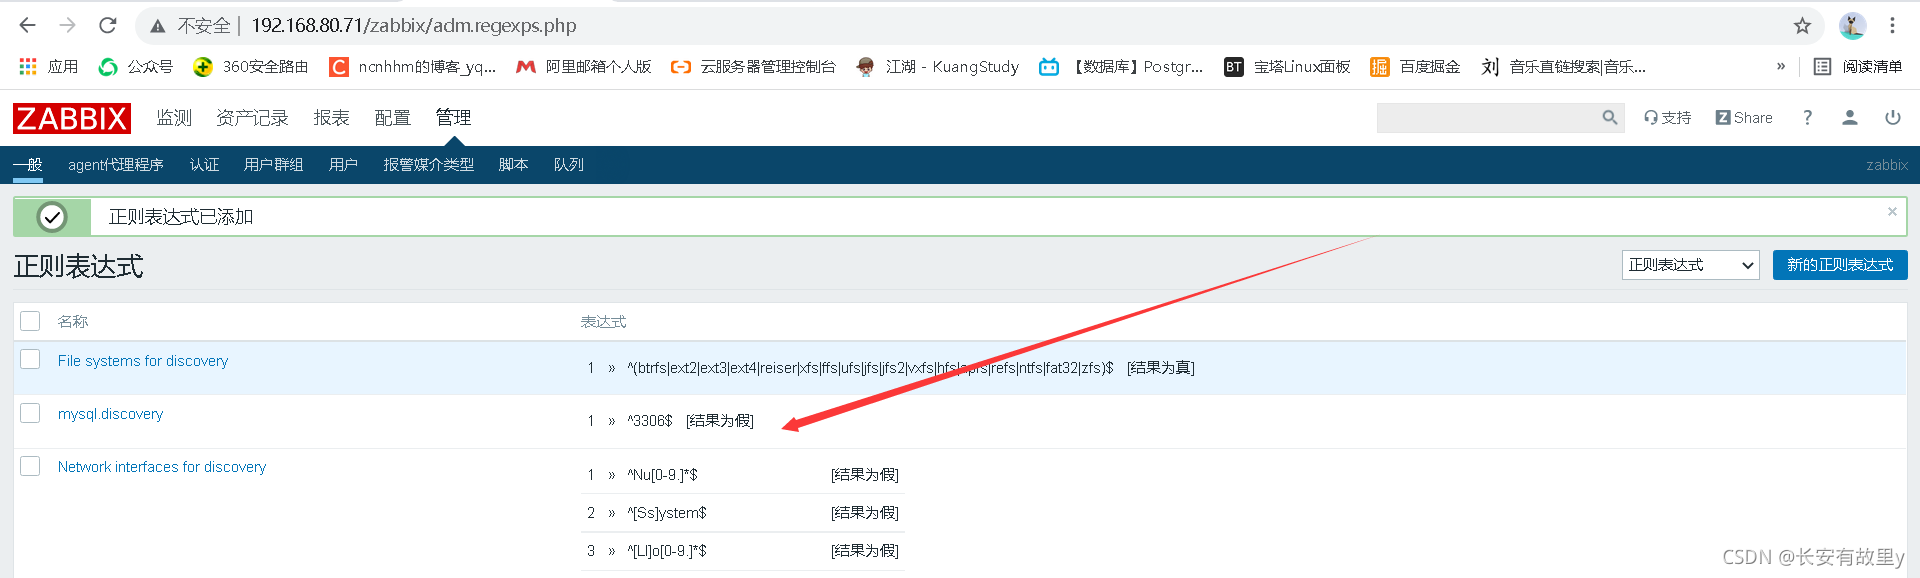
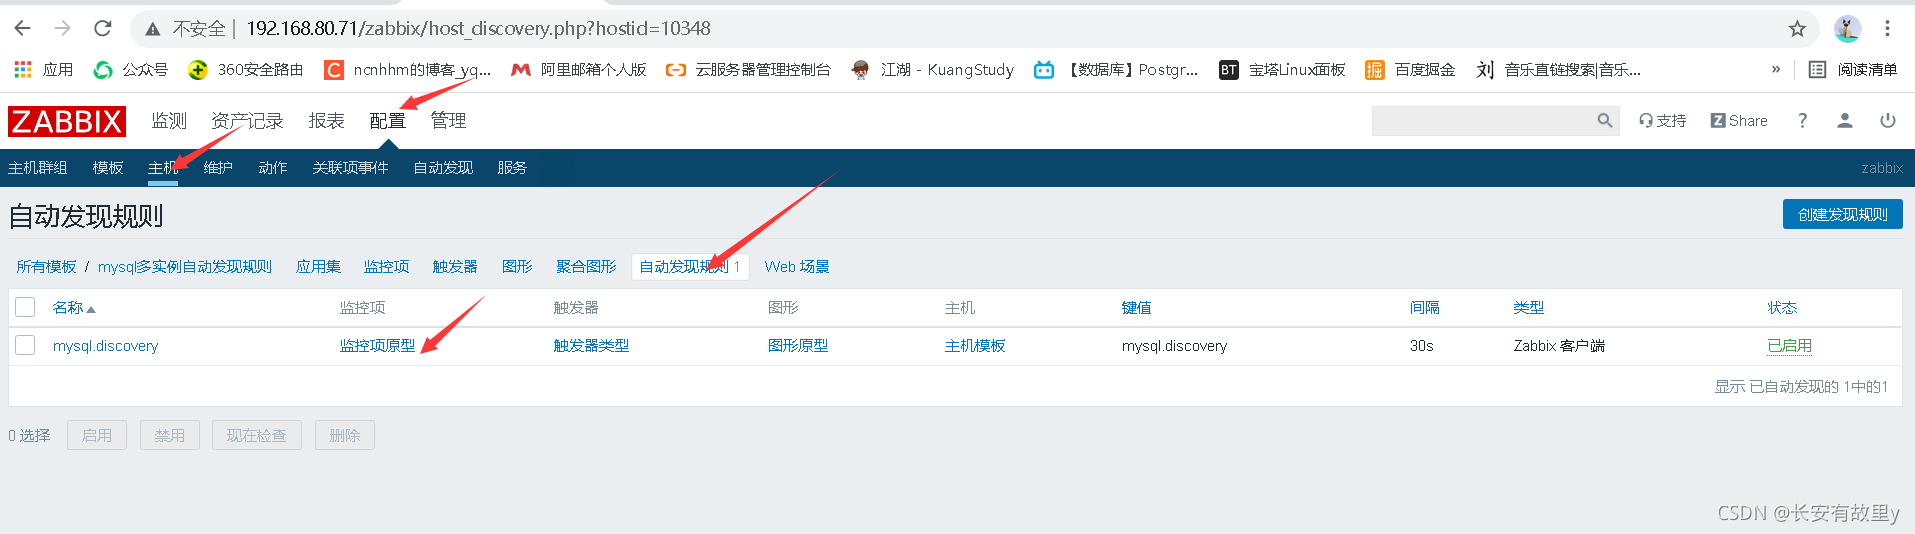
1.3 web页面操作
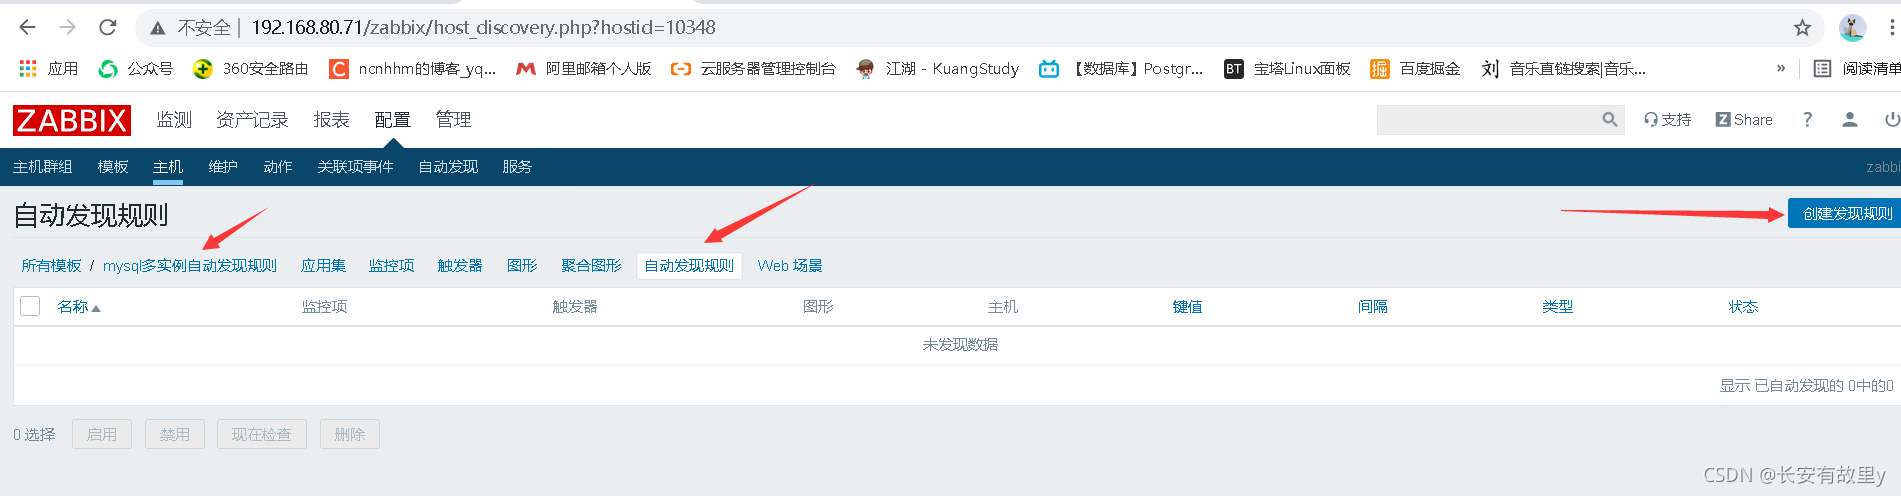

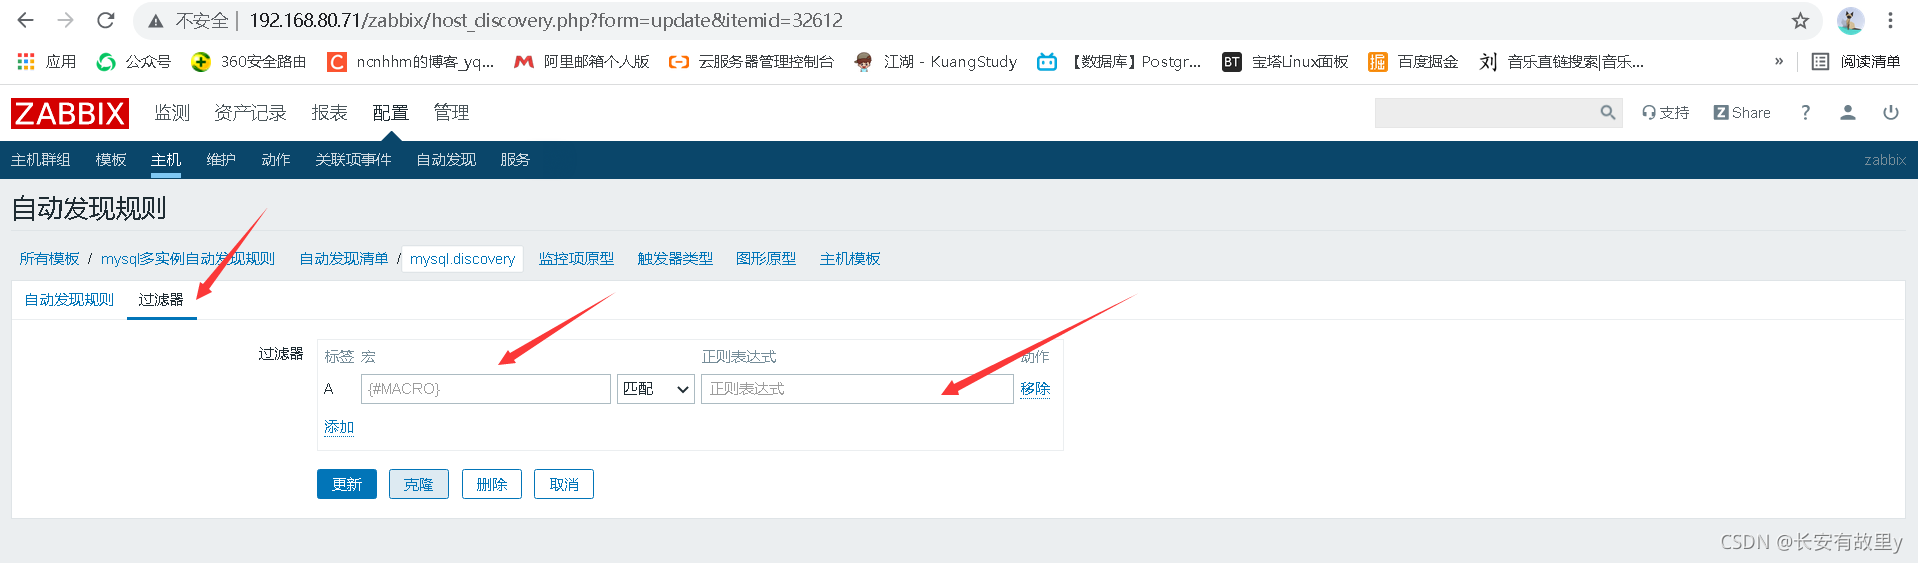
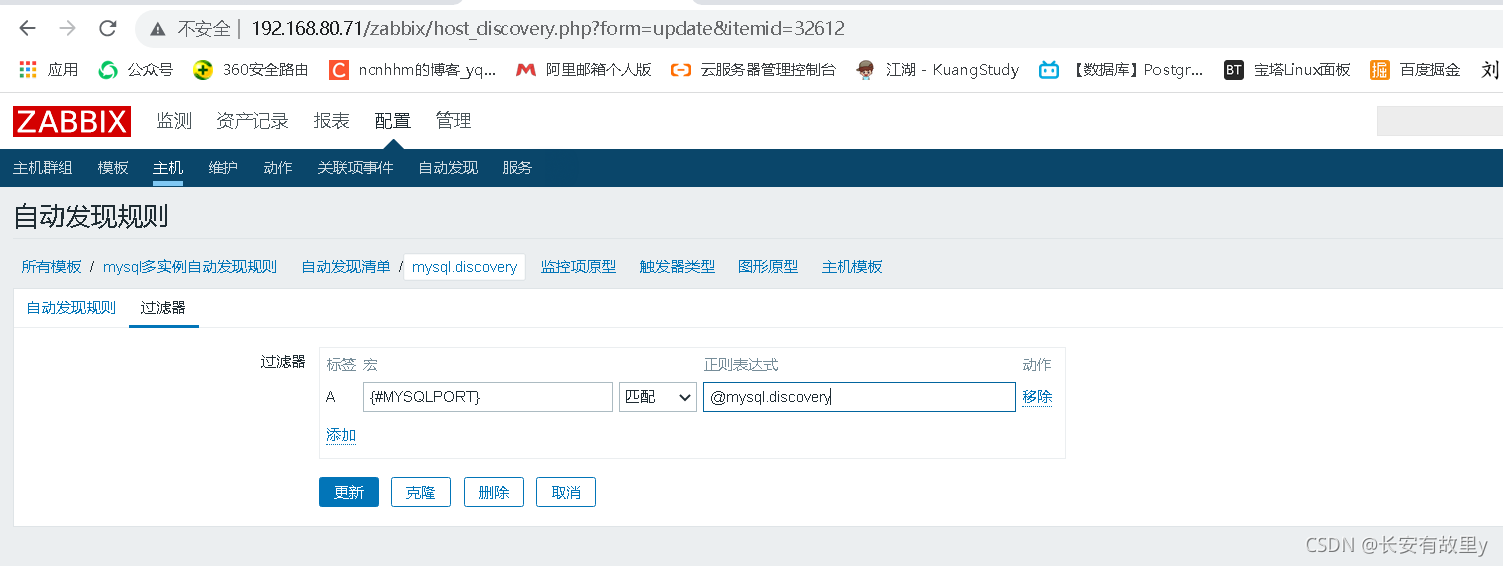
这个是脚本里边的参数
{#MYSQLPORT}
@mysql.discovery
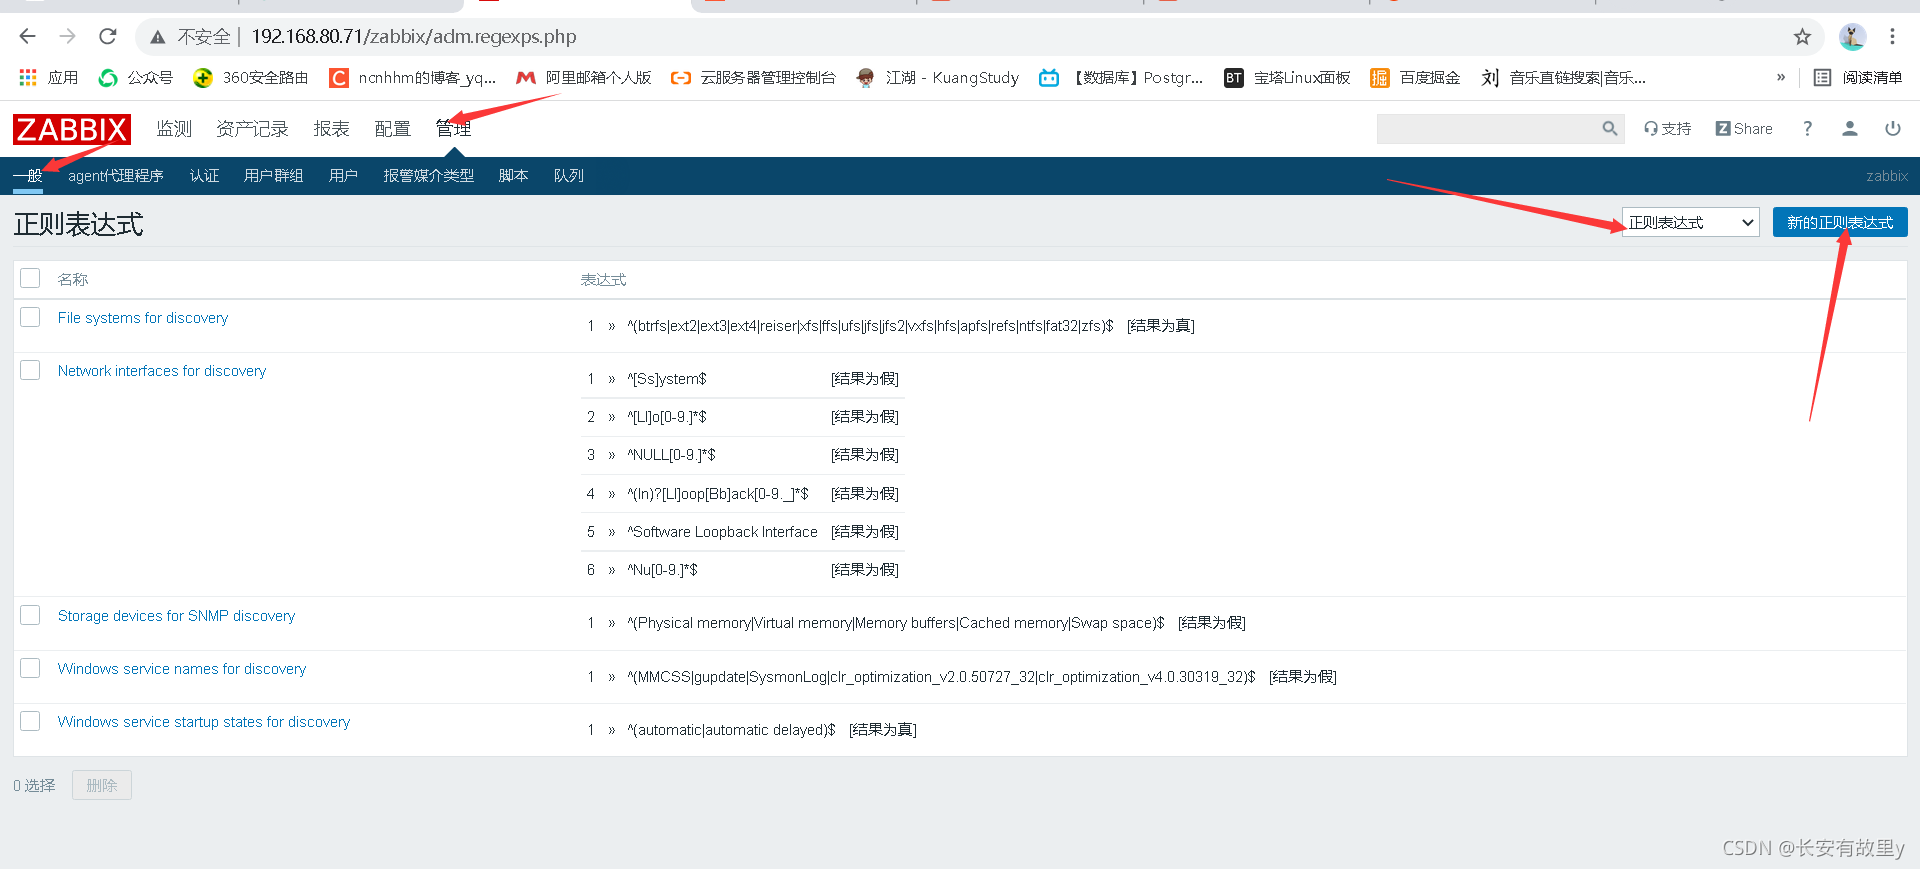
表达式创建
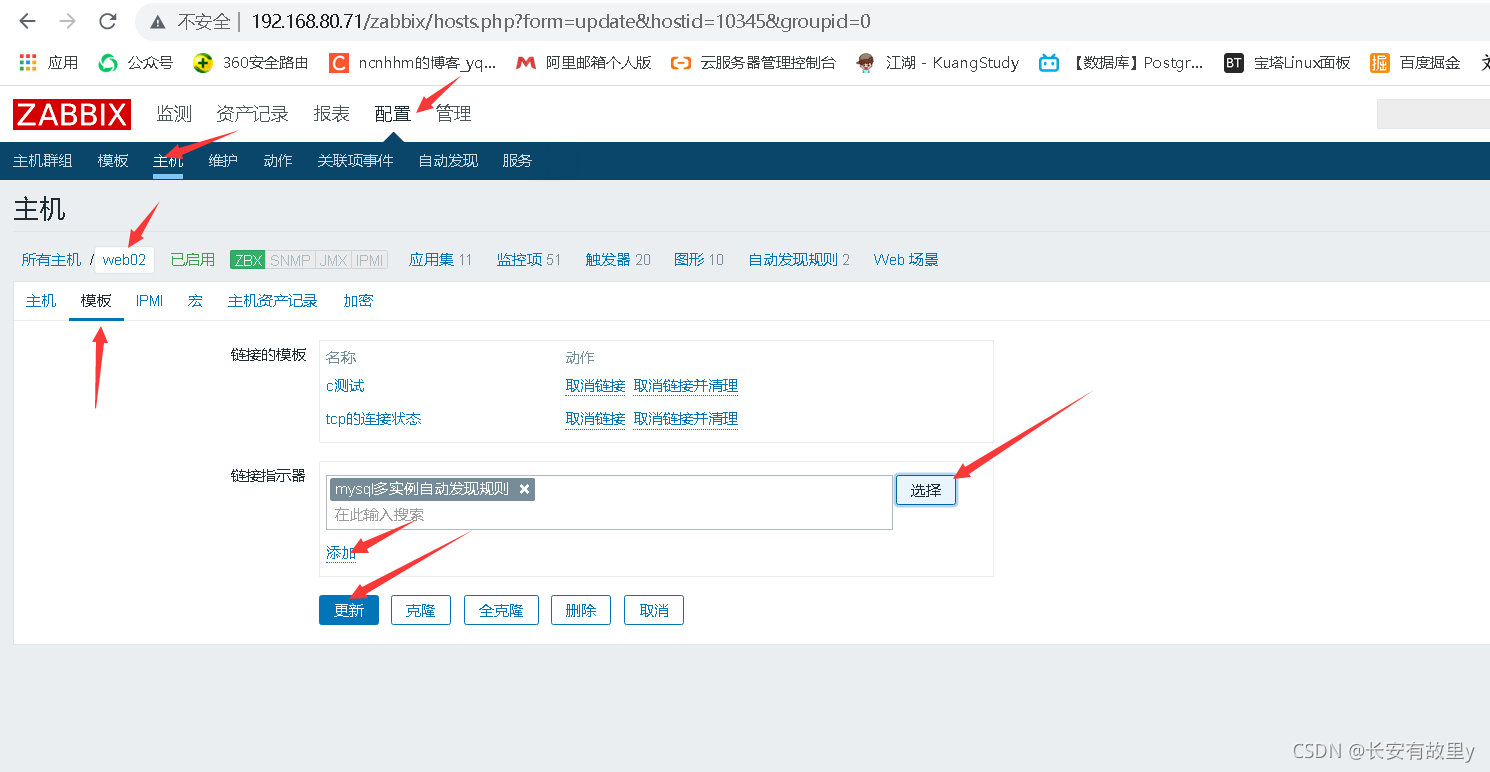
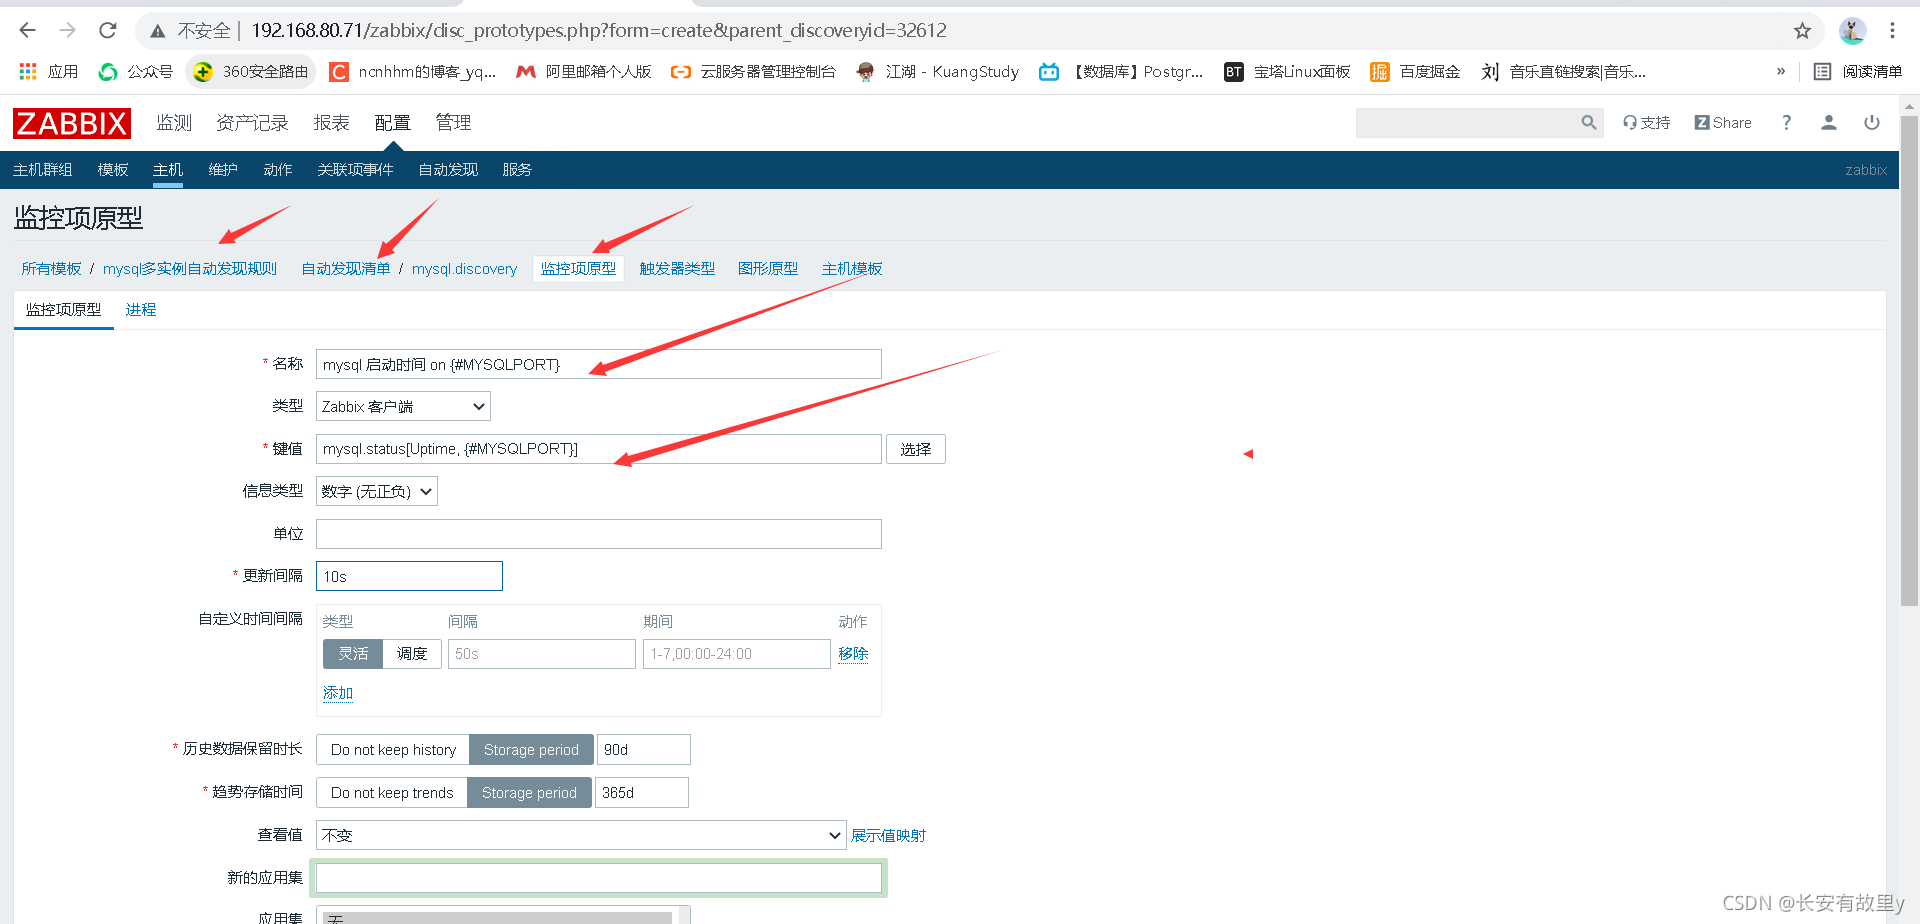
1.4 模仿zabbix自带的mysql监控配置修改监控项
cat /etc/zabbix/zabbix_agentd.d/userparameter_mysql.conf
修改一下

UserParameter=mysql.status[*],echo "show global status where Variable_name='$1';" | HOME=/var/lib/zabbix mysql -uroot -p123456 -P $2 -N | awk '{print $$2}'

systemctl restart zabbix-agent.service
访问监控项
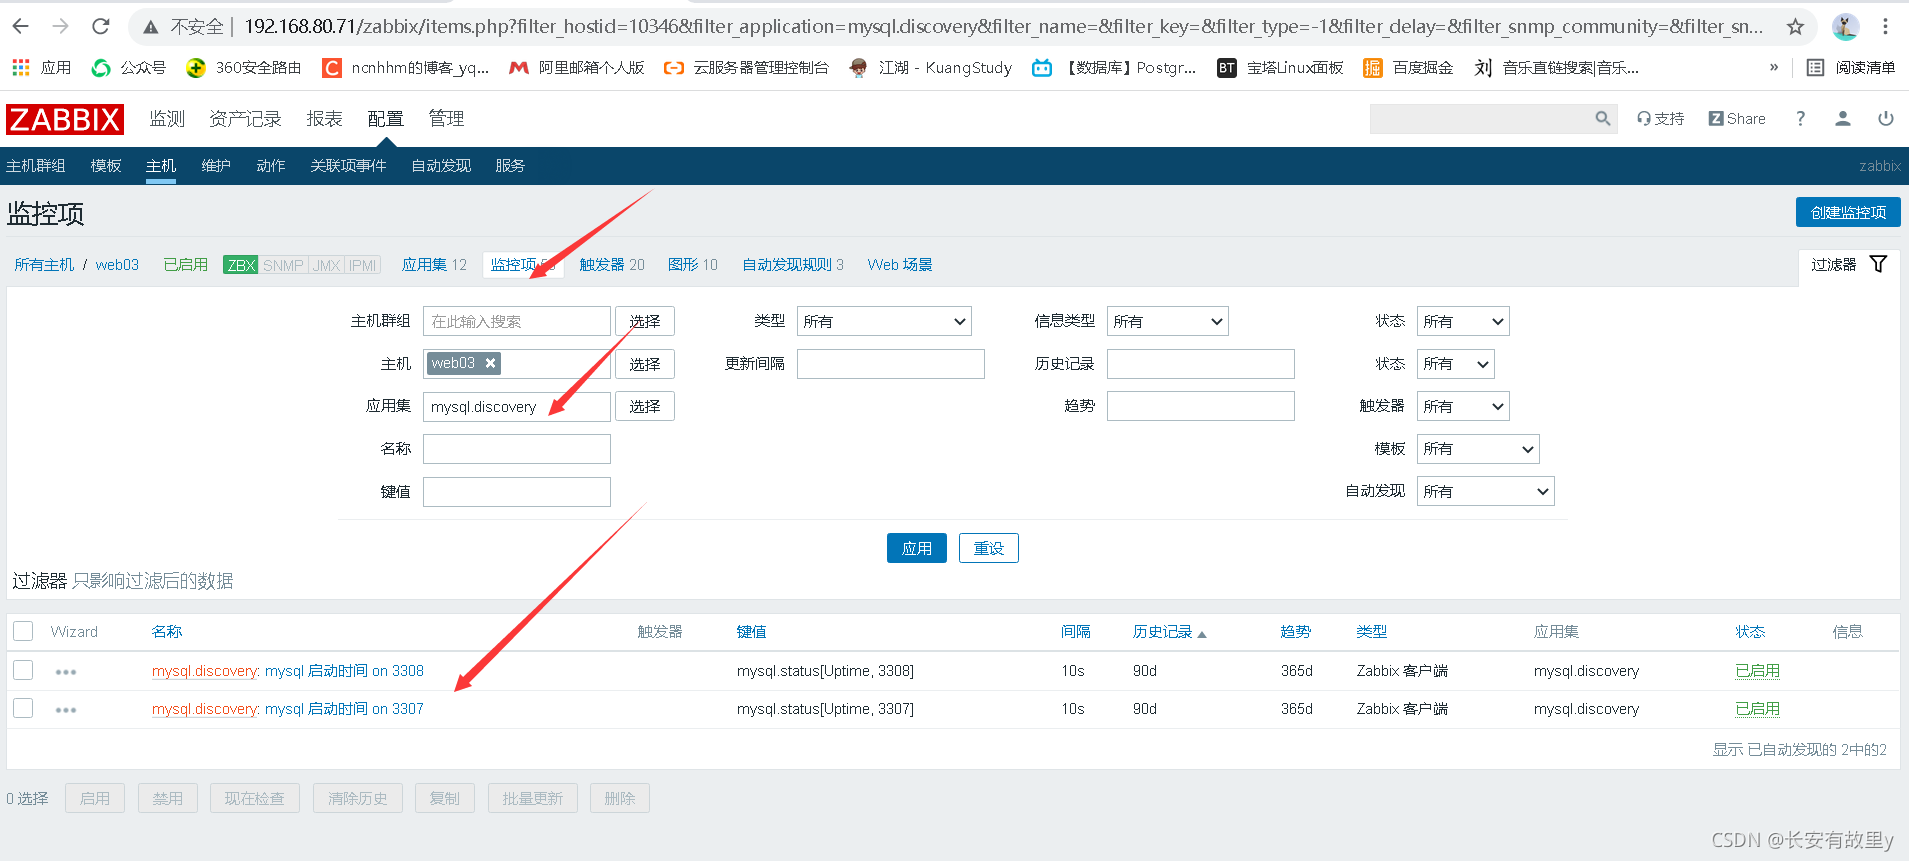
zabbix_get -s 172.16.1.9 -k mysql.status[Uptime,3307]

zabbix_get -s 172.16.1.9 -k mysql.status[Uptime,3308]

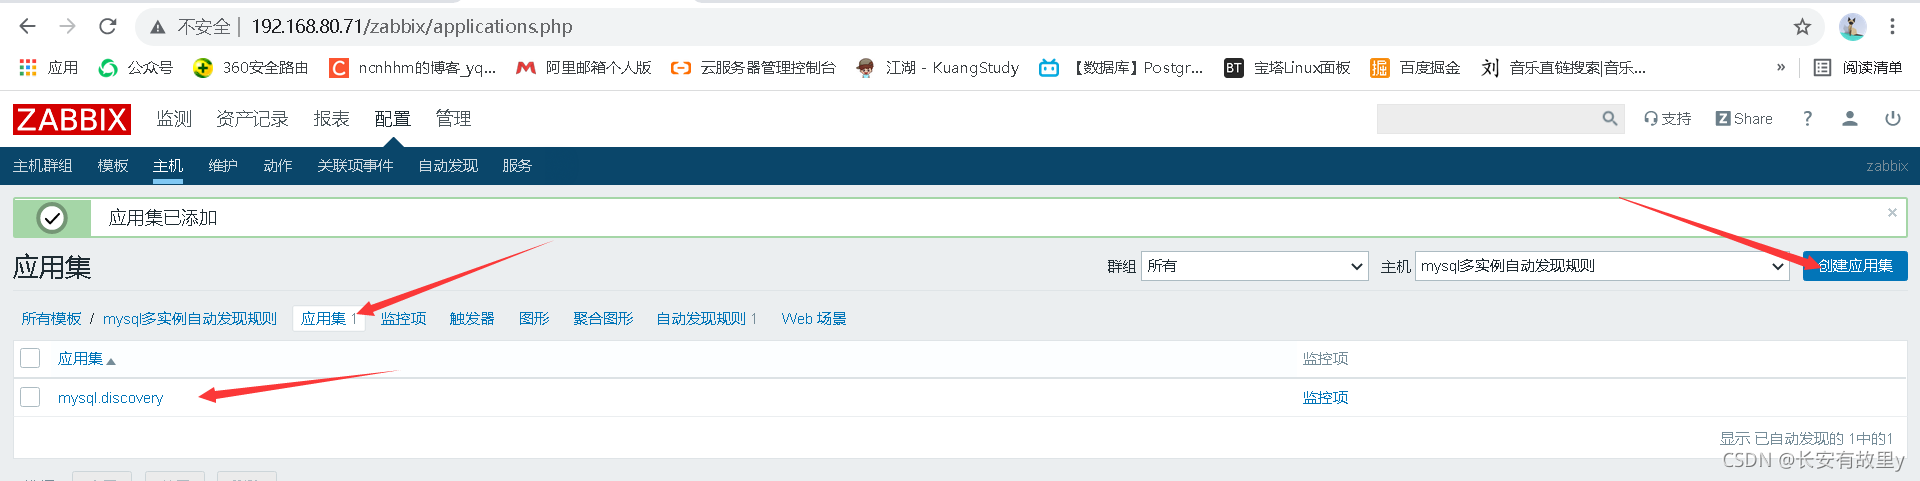
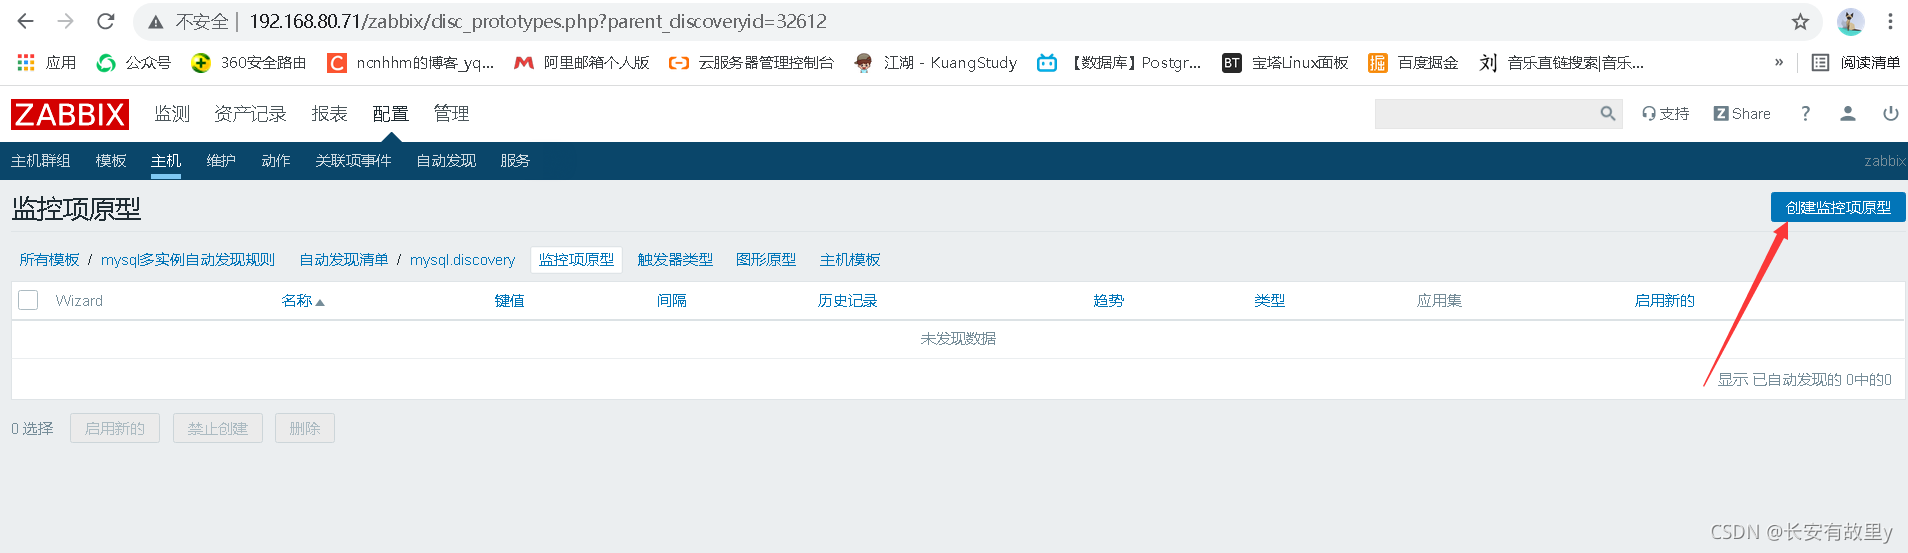
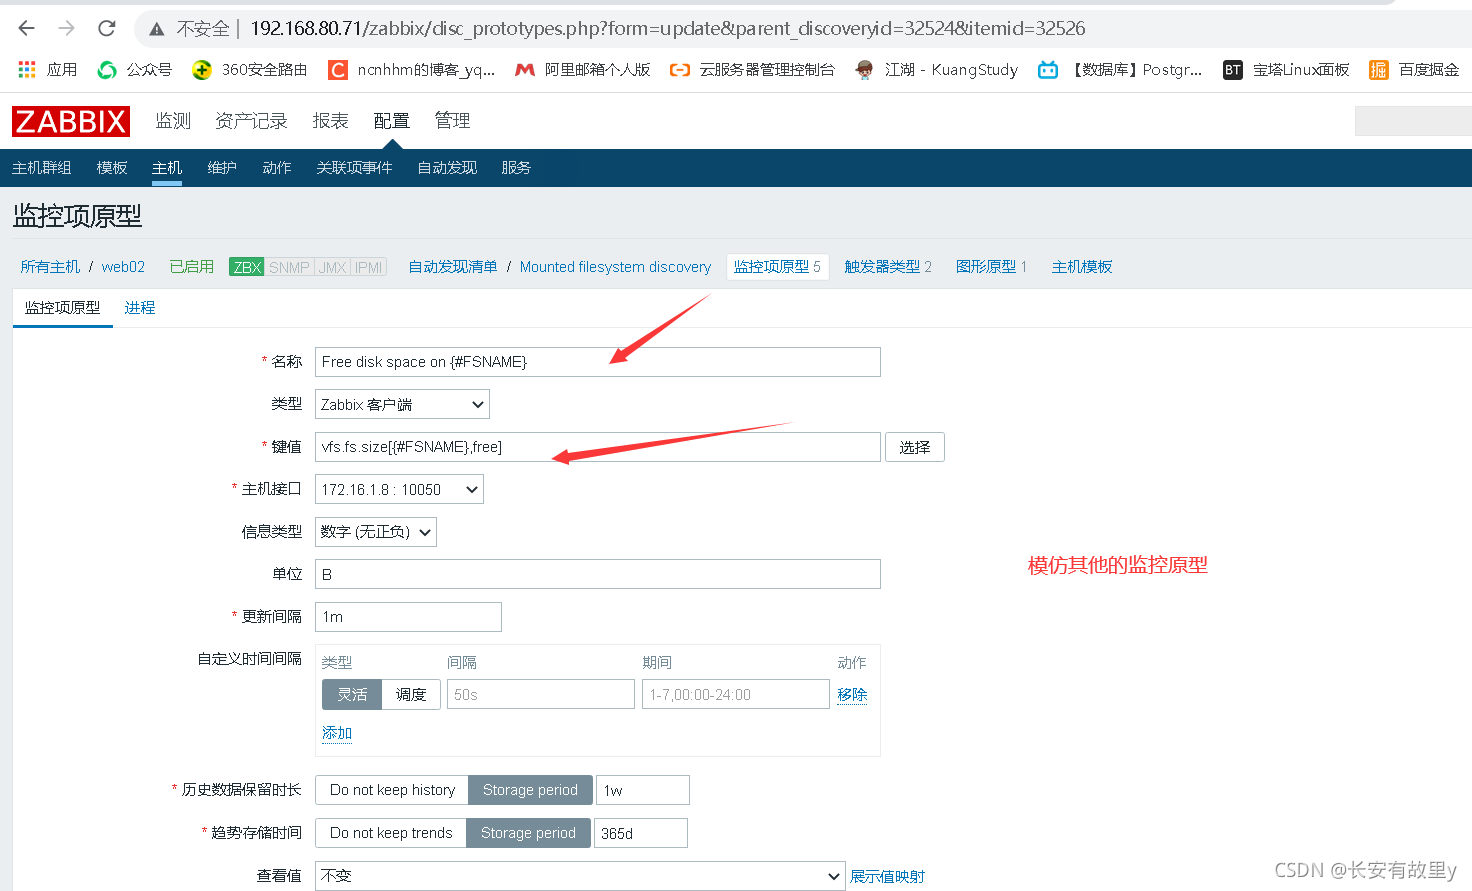
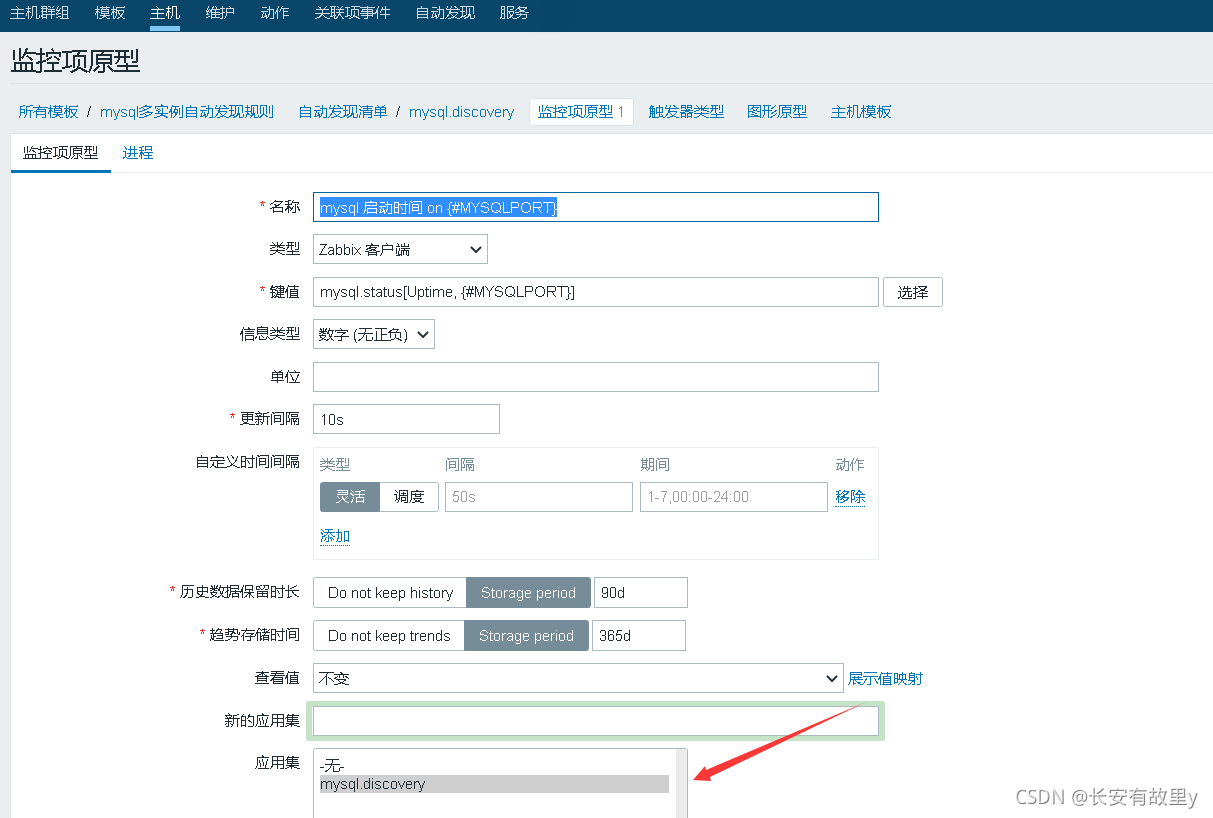
1.5 web页面添加监控项原型
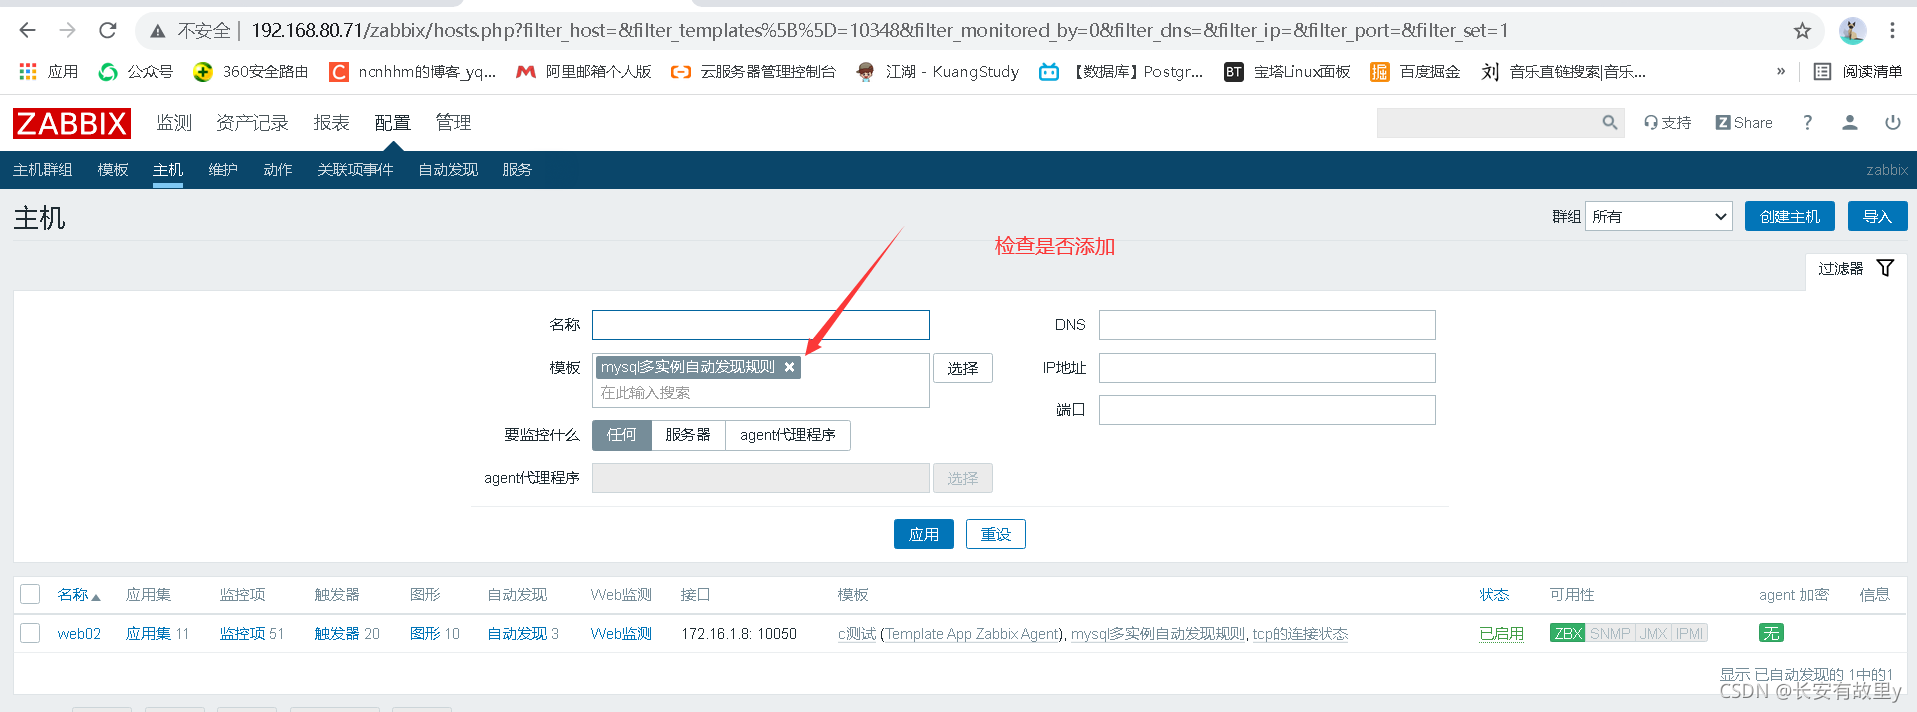
1.6 web页面设置主机关联模版