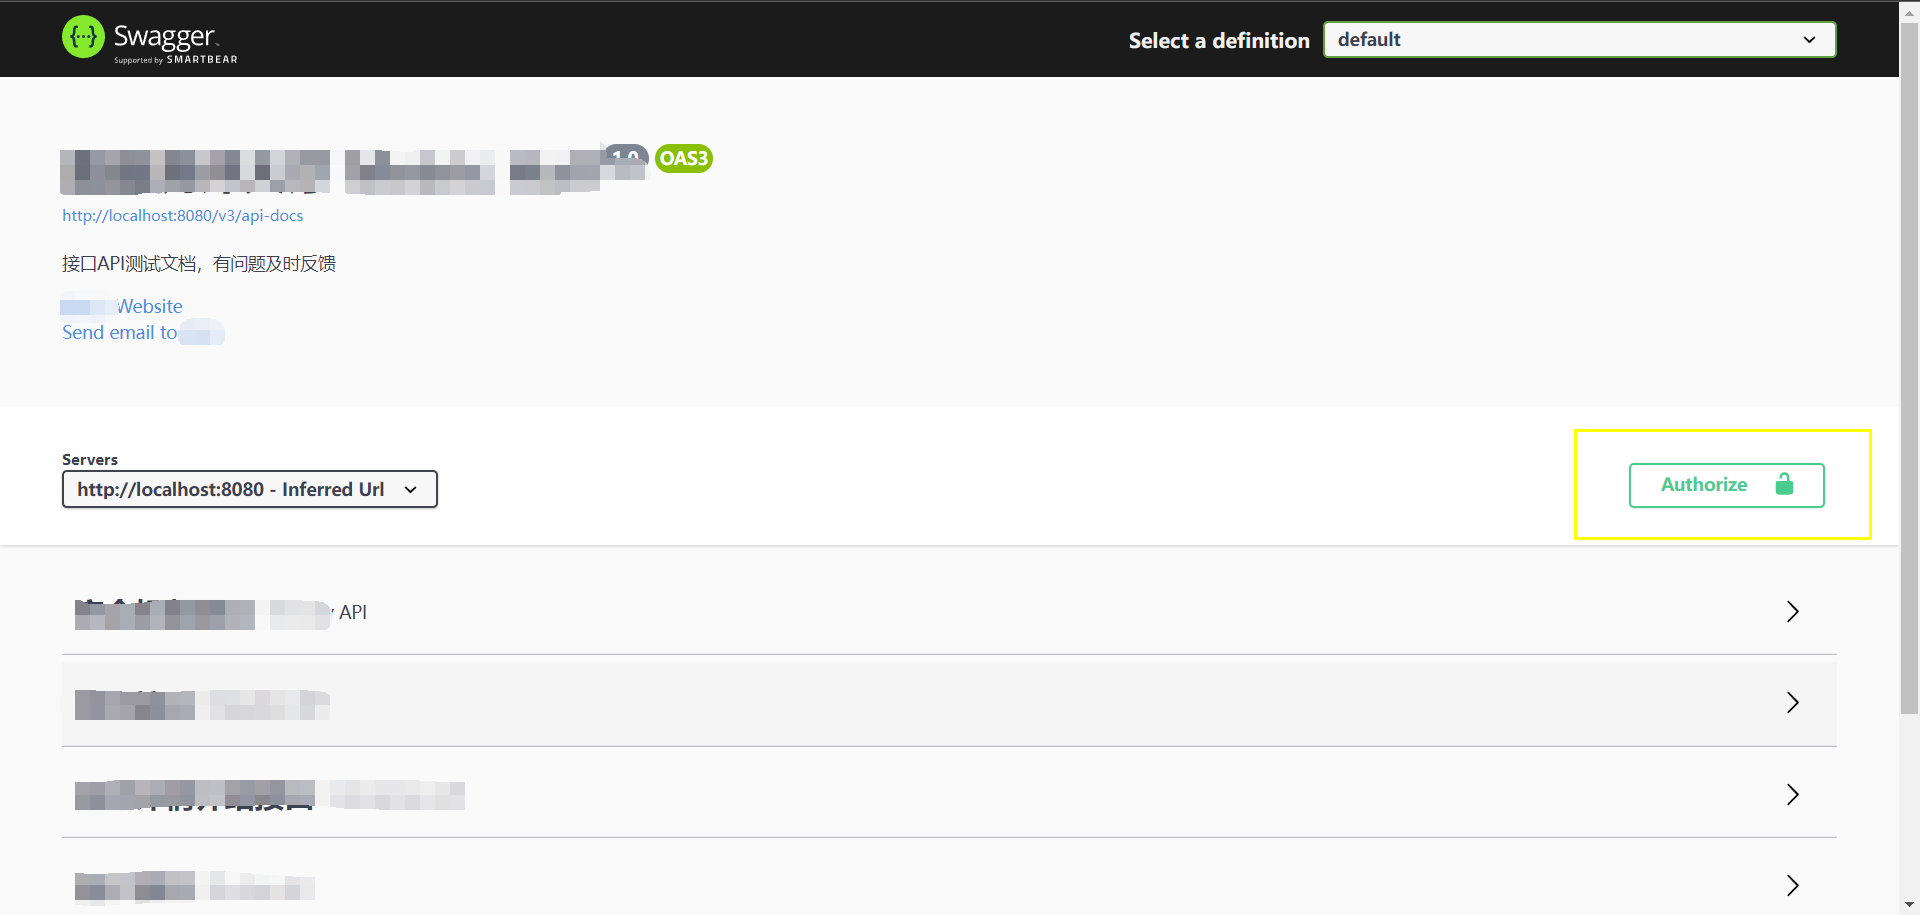
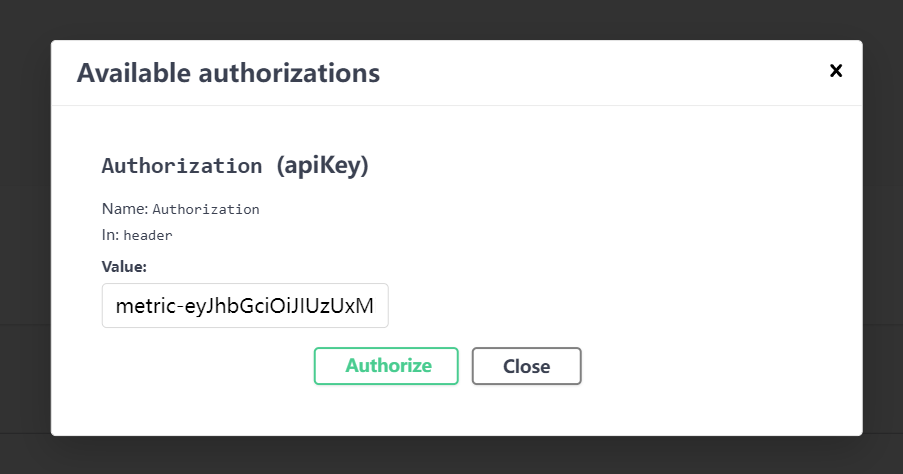
本文针对Swagger3 配置后以便我们调用API时包含JWT(JSON WEB TOKEN)
还没添加依赖的请快添加一下
<dependency>
    <groupId>org.springframework.boot</groupId>
    <artifactId>spring-boot-starter-web</artifactId>
</dependency>
<dependency>
    <groupId>io.springfox</groupId>
    <artifactId>springfox-boot-starter</artifactId>
    <version>3.0.0</version>
</dependency>
自定义ApiKey
	/**
     * 自定义一个Apikey
     * 这是一个包含在header中键名为Authorization的JWT标识
     */
    private ApiKey apiKey() {
        return new ApiKey("Authorization", "Authorization", "header");
    }
配置SecurityContext并全局启用
	/**
     * 配置JWT的SecurityContext 并设置全局生效
     */
    private SecurityContext securityContext() {
        return SecurityContext.builder().securityReferences(defaultAuth()).build();
    }

    private List<SecurityReference> defaultAuth() {
        AuthorizationScope authorizationScope = new AuthorizationScope("global", "accessEverything");
        AuthorizationScope[] authorizationScopes = new AuthorizationScope[1];
        authorizationScopes[0] = authorizationScope;
        return Arrays.asList(new SecurityReference("Authorization", authorizationScopes));
    }
记得在返回的Docket中启用
return new Docket(DocumentationType.OAS_30)
                .enable(true)
                .protocols(newHashSet("https", "http")) //限定通讯协议集合
                .securityContexts(Arrays.asList(securityContext()))
                .securitySchemes(Arrays.asList(apiKey()))
                .apiInfo(apiInfo())
                .select()
                .apis(RequestHandlerSelectors.basePackage("xxx.xxx.xxx.xxx"))
                .build();
效果


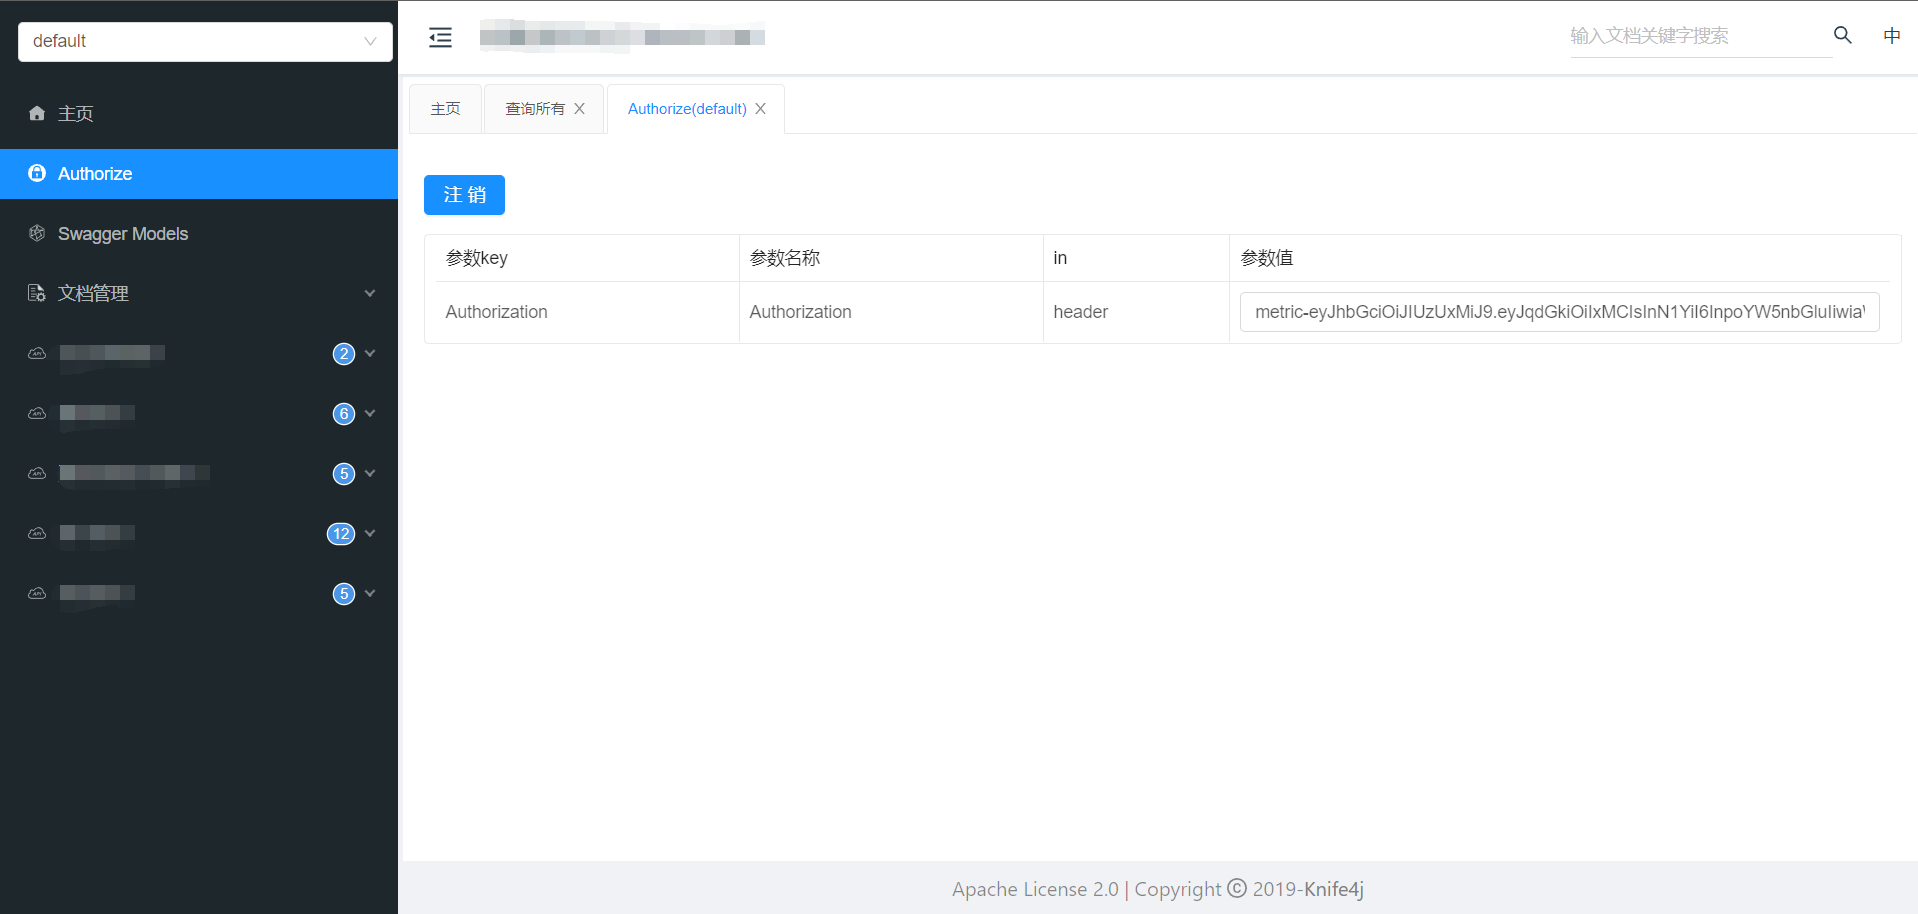
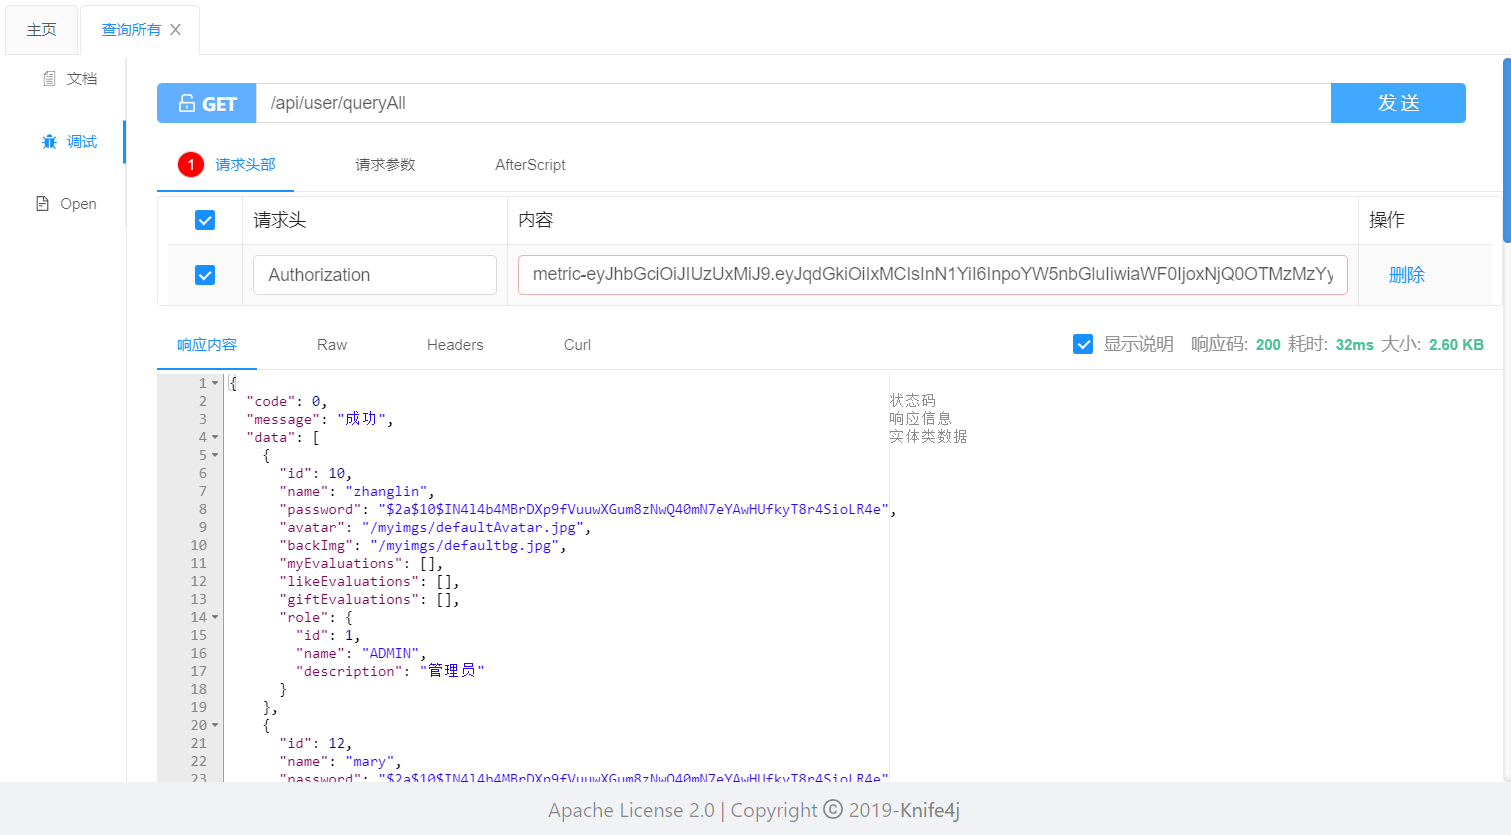
配置后所有接口都会自带JWT
这里建议配置swagger-ui配置教程 使用舒适度提升不止亿点点~~~
有图为证:

