
🍁������ҳ:👉����ѹ���С����
?��ӭ��ע:👉����👍�ղ�?����?
?ϵ��ר��:👉SpringBootר��(ÿ�ո���)
?������ò��������»������Ļ�,������֧��һ�²�����
🔥��ӭ����ָ��,һ�� ѧϰ!һ�����!


Ŀ¼
🍁MongoDB���
-
MongoDB ����C++���Ա�д��,��һ�����ڷֲ�ʽ�ļ��洢�Ŀ�Դ���ݿ�ϵͳ;�ڸ߸��ص������,���Ӹ���Ľڵ�,���Ա�֤����������;MongoDB ּ��ΪWEBӦ���ṩ����չ�ĸ��������ݴ洢�������;MongoDB �����ݴ洢Ϊһ���ĵ�,���ݽṹ�ɼ�ֵ(key=>value)�����;MongoDB �ĵ������� JSON ����
-
MongoDB��һ����Դ�������ܡ���ģʽ���ĵ������ݿ⡣NoSQL���ݿ��Ʒ�е�һ��,�������ϵ�����ݿ�ķǹ�ϵ�����ݿ⡣
🔥Ӧ�ó���
- ��Ϸװ�����ݡ���Ϸ��������
- �洢λ��:���ݿ⡢Mongodb
- ����:�����Դ洢����ʱ�洢���ϡ���Ƶ�Ƚϸ�
- ֱ�����ݡ��������ݡ���˿����
- �洢λ��:���ݿ⡢Mongodb
- ����:�����Դ洢����ʱ�洢����,��Ƶ�ȼ���
- ����������
- �洢λ��:Mongodb
- ����:��ʱ�洢,��Ƶ�ȷ���
🍁MongoDB�����밲װ
- windows��Mongo����👉 �������
- Windows��Mongo��װ
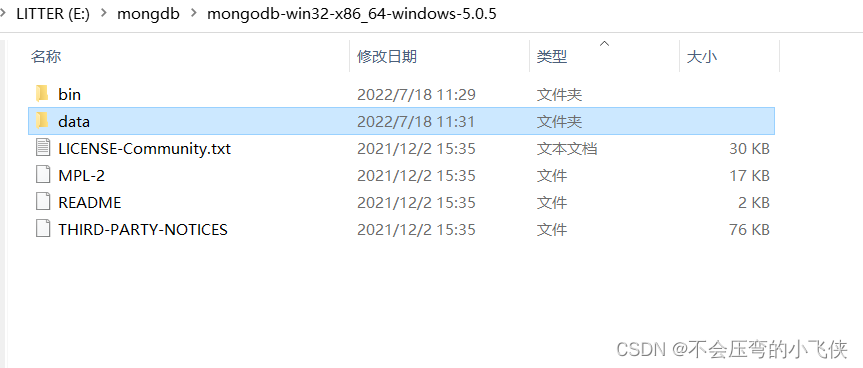
- ��ѹ������������Ŀ¼
- ��bin�ļ��´���һ��data��,��data�ٴ���һ��db��
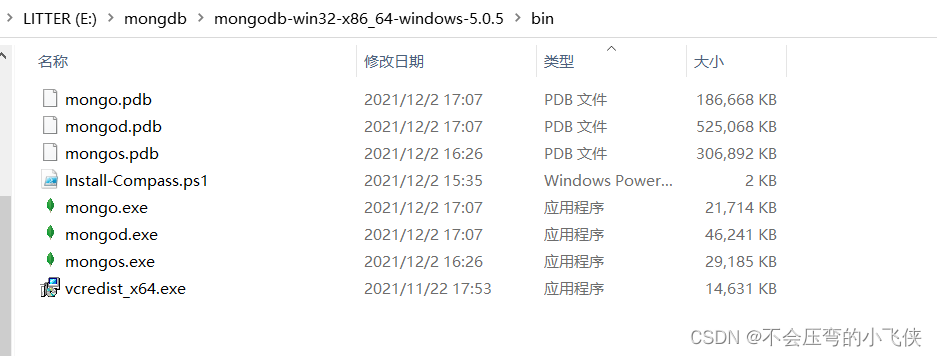
- ��bin�ļ�,������������cmd,������
🍁����MongoDB����
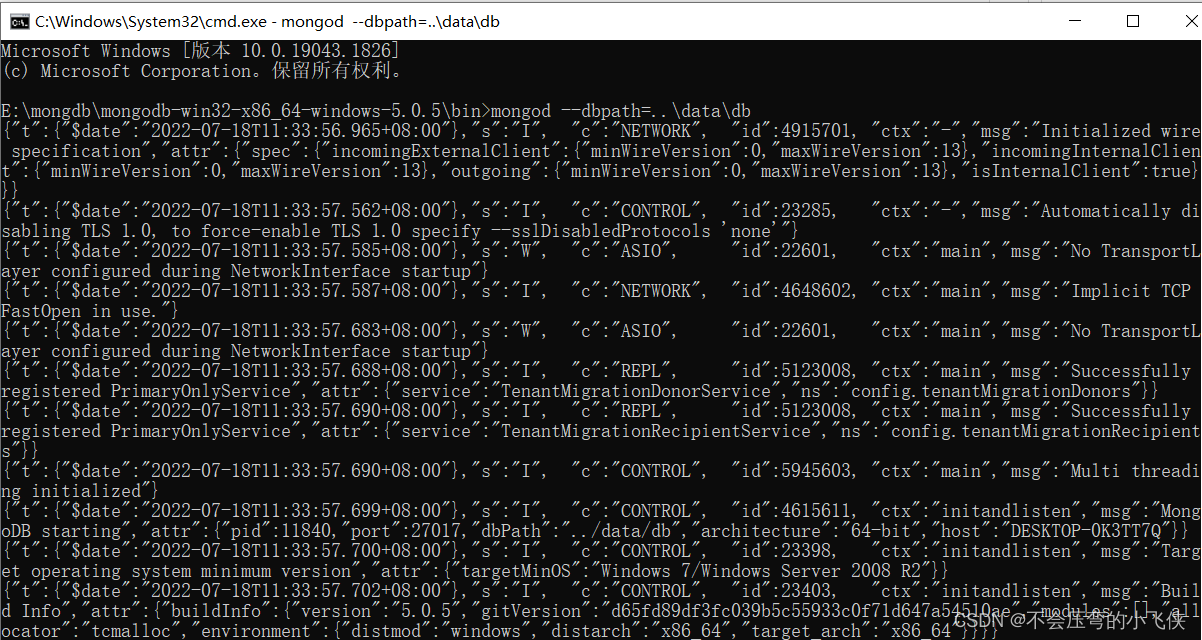
- ��������:
mongod --dbpath=..\data\db
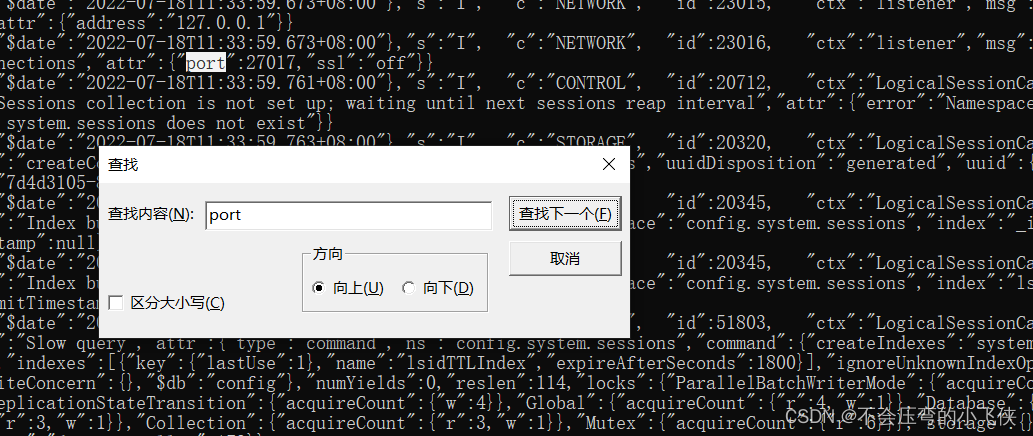
Ctrl+f����port- �˿ں�Ϊ:
27017
- ִ�пͻ���,�ٴδ�cmd����
mongo

🍁Robo 3T���ذ�װ
- Robo 3T����👉�������
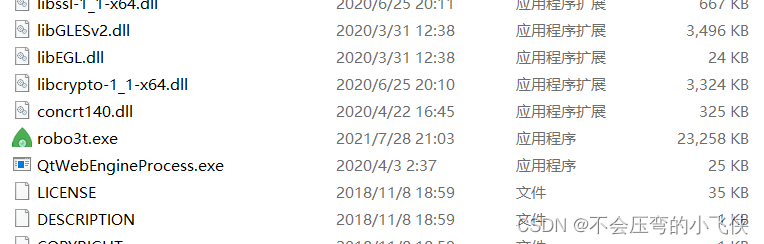
- ��ѹ���ļ����T��,����Ͳ���������
- ���
robot3t.exe
- 🔥Robo 3T�İ�װ
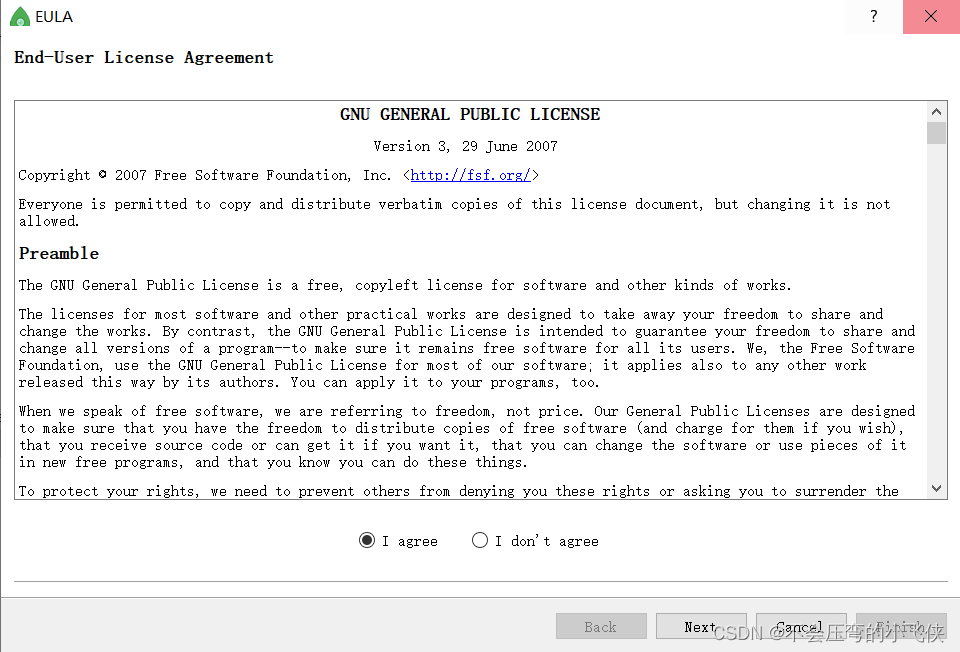
- ���
create
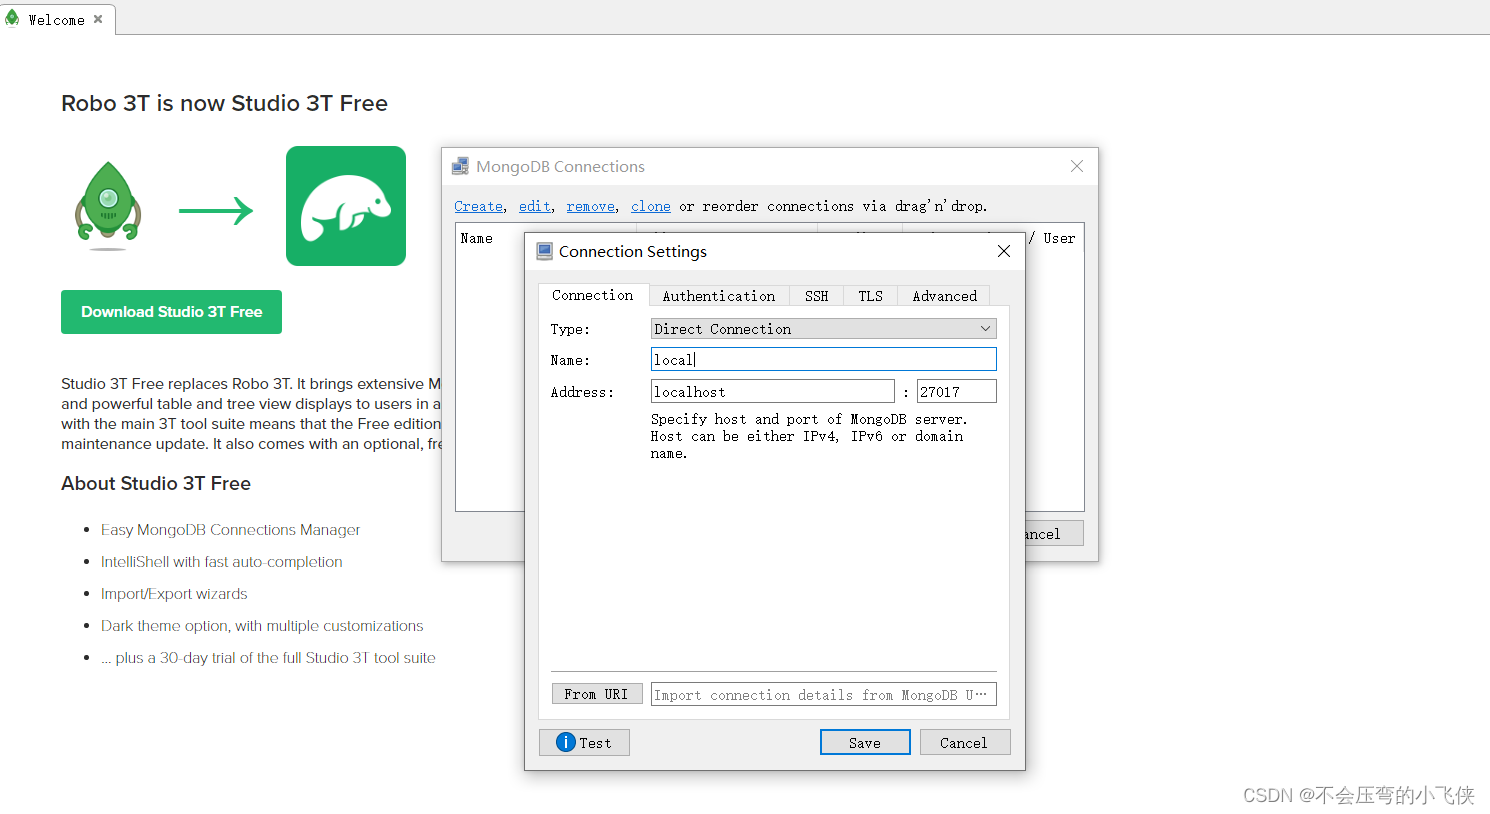
- ���
test����һ�¨C>close�C>save����
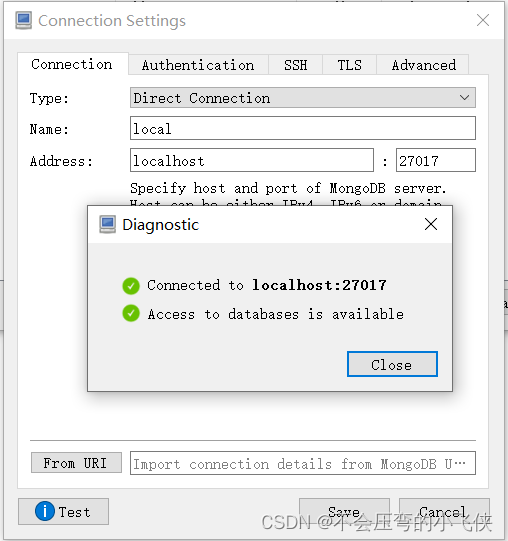
- ���
connection

🔥�������ݿ�ͱ�
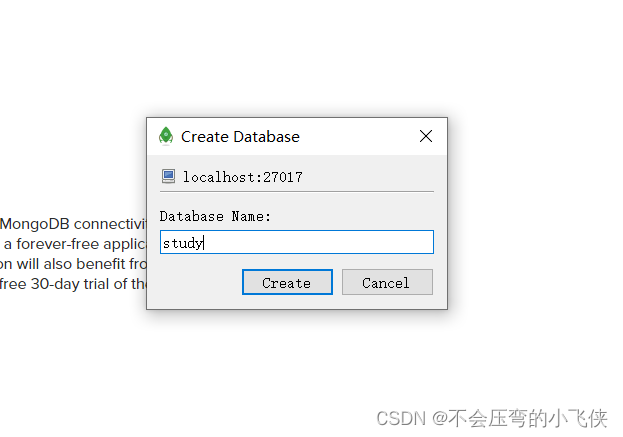
1.�Ҽ�local�C>create DataBase
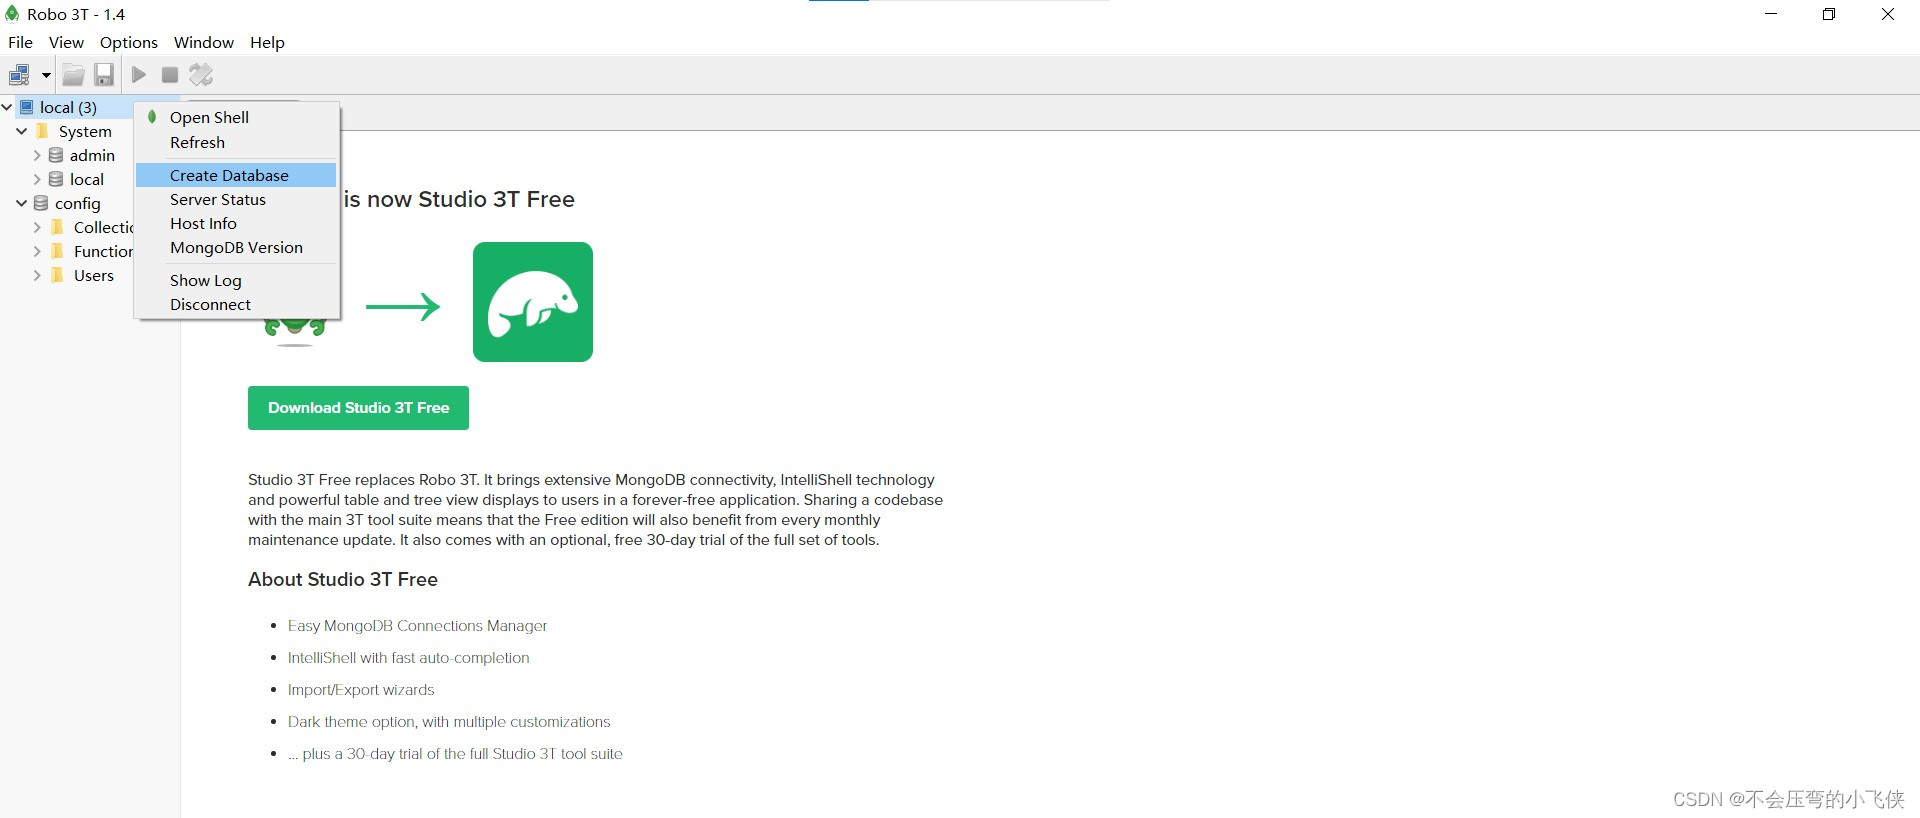
2.���ݿ���Ϊstudy
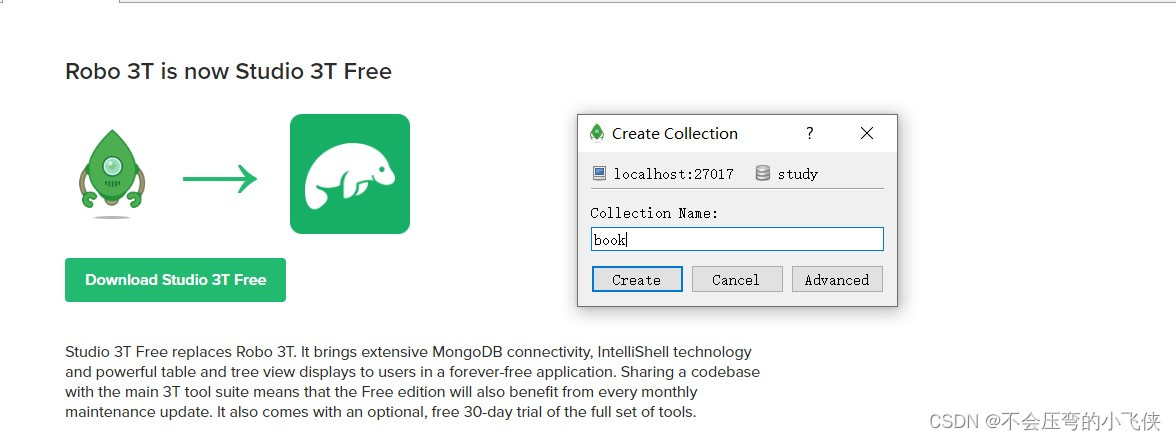
3.���Collections�C>Create Collection...
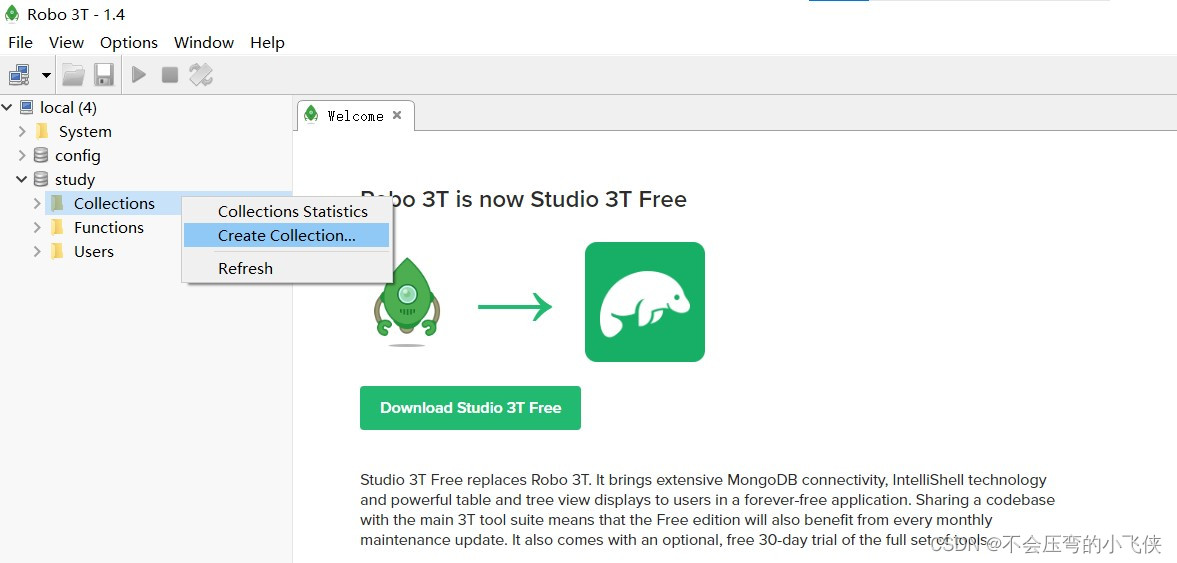
4.����Ϊbook
🍁Mongodb��������
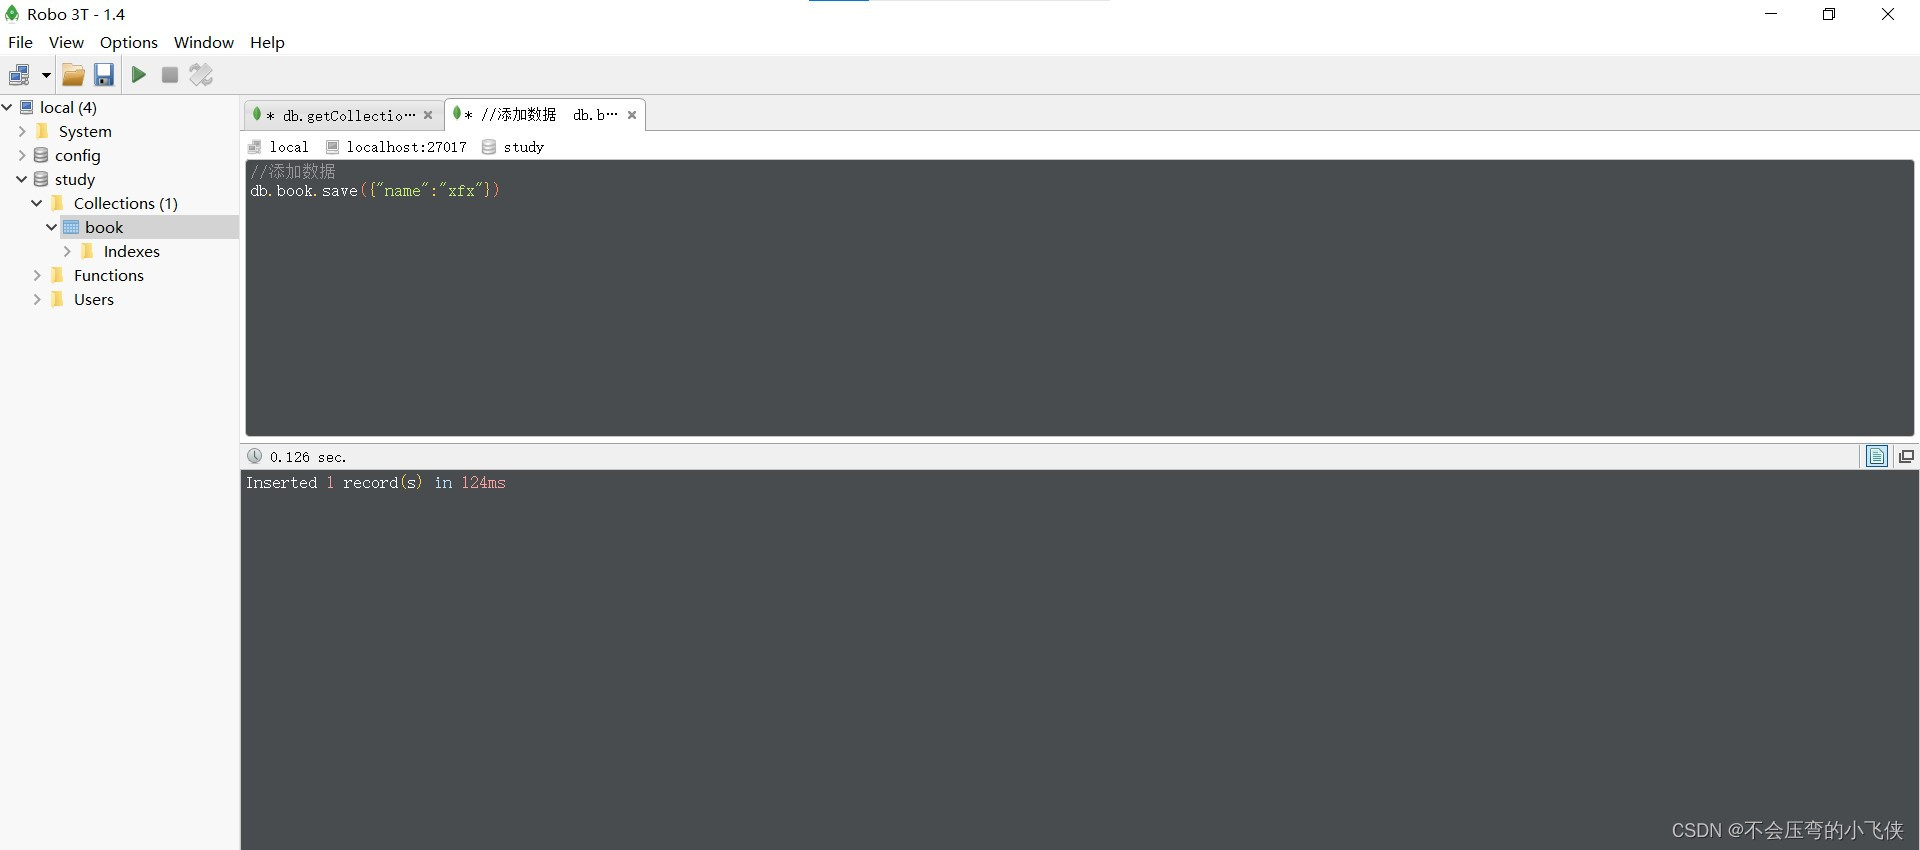
🔥��������
db.book.save({"name":"rc"})
db.book.save({"name":"rc",age:"22"})
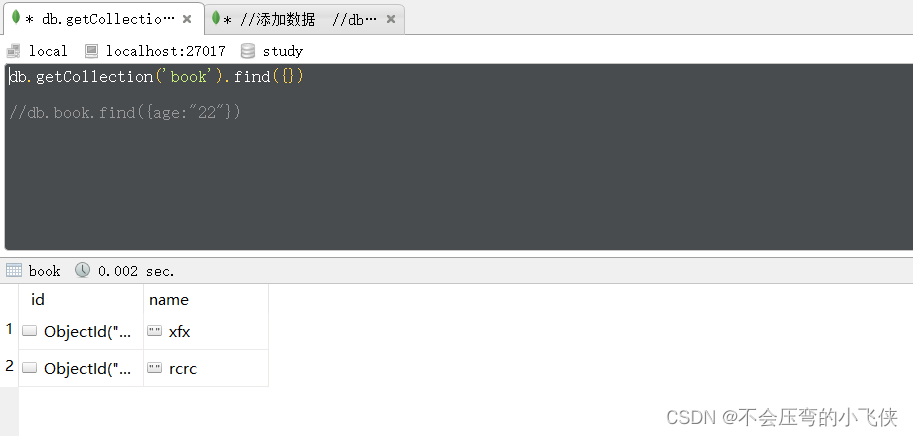
🔥�鿴����
��ѯȫ������
db.getCollection('book').find({})
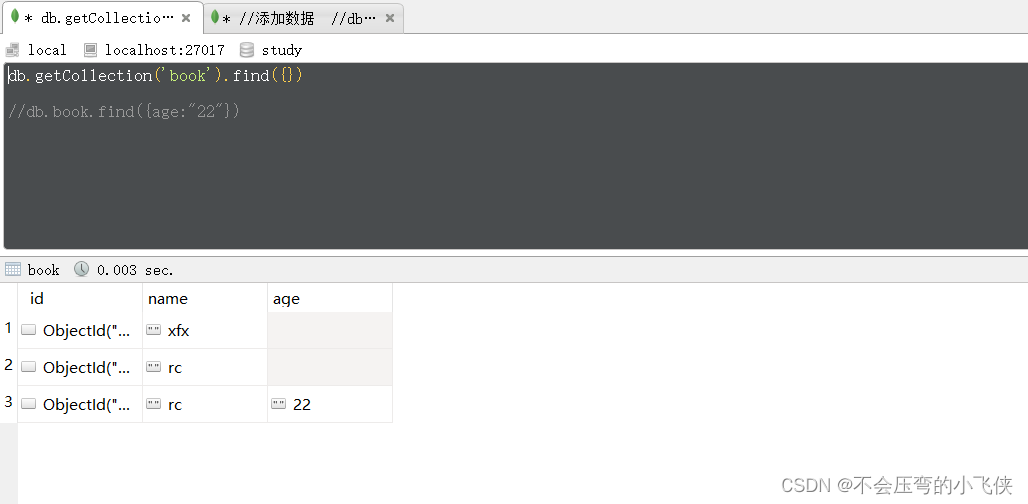
������ѯ
db.book.find({age:"22"})

🔥������
db.book.update({name:"rc"},{$set:{name:"rcrc"}})
- �ĺ��ѯ

🔥ɾ������
db.book.remove({age:"22"})
- ɾ�����ѯ����
ɾ��ȫ������
db.book.remove({})
🍁SpringBoot����Mongodb
- 🔥 �½�һ��Springboot��Ŀ,����Ͳ���������,ר���ﶼ����ϸ�Ľ̡̳�
???ע��:�����������,����֮��,springboot���Զ����������������

Mongodb����:
<dependency>
			<groupId>org.springframework.boot</groupId>
			<artifactId>spring-boot-starter-data-mongodb</artifactId>
		</dependency>
🔥��дyml�ļ�������
spring:
  data:
    mongdb:
      url: mongdb://localhost/study
🔥�ͻ��˶�дMongdb
package com.jkj;

import com.jkj.domain.Book;
import org.junit.jupiter.api.Test;
import org.springframework.beans.factory.annotation.Autowired;
import org.springframework.boot.test.context.SpringBootTest;
import org.springframework.data.mongodb.core.MongoTemplate;

import java.util.List;

@SpringBootTest
class Springboot11MongdbApplicationTests {
	@Autowired
	private MongoTemplate mongoTemplate;

	@Test
	void save() {
		Book book=new Book();
		book.setId(1);
		book.setType("sing");
		book.setName("sing");
		book.setDescription("sing");
		mongoTemplate.save(book);

	}
	@Test
	void findAll(){
		List<Book> all = mongoTemplate.findAll(Book.class);
		System.out.println(all);
	}

}
����:
