mac端使用Androidstudio开发JNI(Cmake版本)
CMake是一个跨平台的安装编译工具
新版方式,主要依赖于CMakeLists.txt进行开发配置
一、首先新建空白AndroidStudio工程
新建AndroidStudio空白工程,在MainActivity中定义jni native方法。
这里GetHell方法会爆红暂时不处理
public class MainActivity extends AppCompatActivity {

    static {
        System.loadLibrary("DemoTest");
    }

    public native String GetHell();

    @Override
    protected void onCreate(Bundle savedInstanceState) {
        super.onCreate(savedInstanceState);
        setContentView(R.layout.activity_main);

        Toast.makeText(this, GetHell(), Toast.LENGTH_SHORT).show();

    }
}
二、配置cmake环境
在app/build.gradle/android下定义CMakeLists.txt配置路径
externalNativeBuild {
        cmake {
            path 'src/main/cpp/CMakeLists.txt'
        }
    }
然后在src/main/cpp/新建CMakeLists.txt
这里我们定义打包出来的so文件为DemoTest,并且定义jni入口文件为JNI.cpp
cmake_minimum_required(VERSION 3.4.1)

set(LOCAL_MODULE    DemoTest) # Specify the name of so that you will generate.

add_library(${LOCAL_MODULE}
             SHARED
             # Following , the same as LOCAL_SRC_FILES in Android.mk
             JNI.cpp )


target_link_libraries(${LOCAL_MODULE}
                       # Link the other so(dll).
                       log )
三、处理native部分
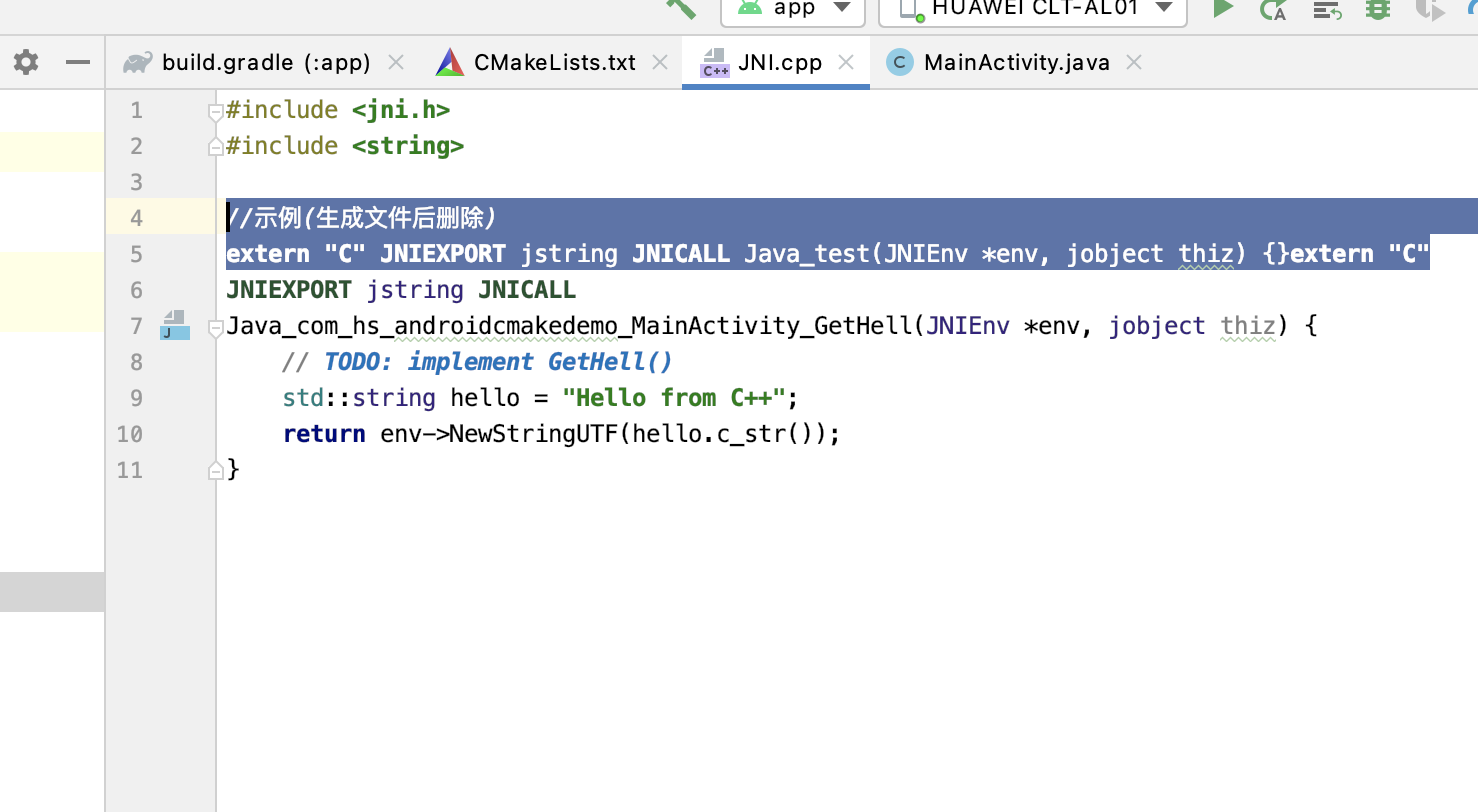
在src/main/cpp/同时新建JNI.cpp
#include <jni.h>
#include <string>

//示例(生成文件后删除)
extern "C" JNIEXPORT jstring JNICALL Java_test(JNIEnv *env, jobject thiz) {}
在MainActivity的native方法上右键生成对应方法

然后上面两行就可以删掉了

至此已经结束,点击运行成功如下

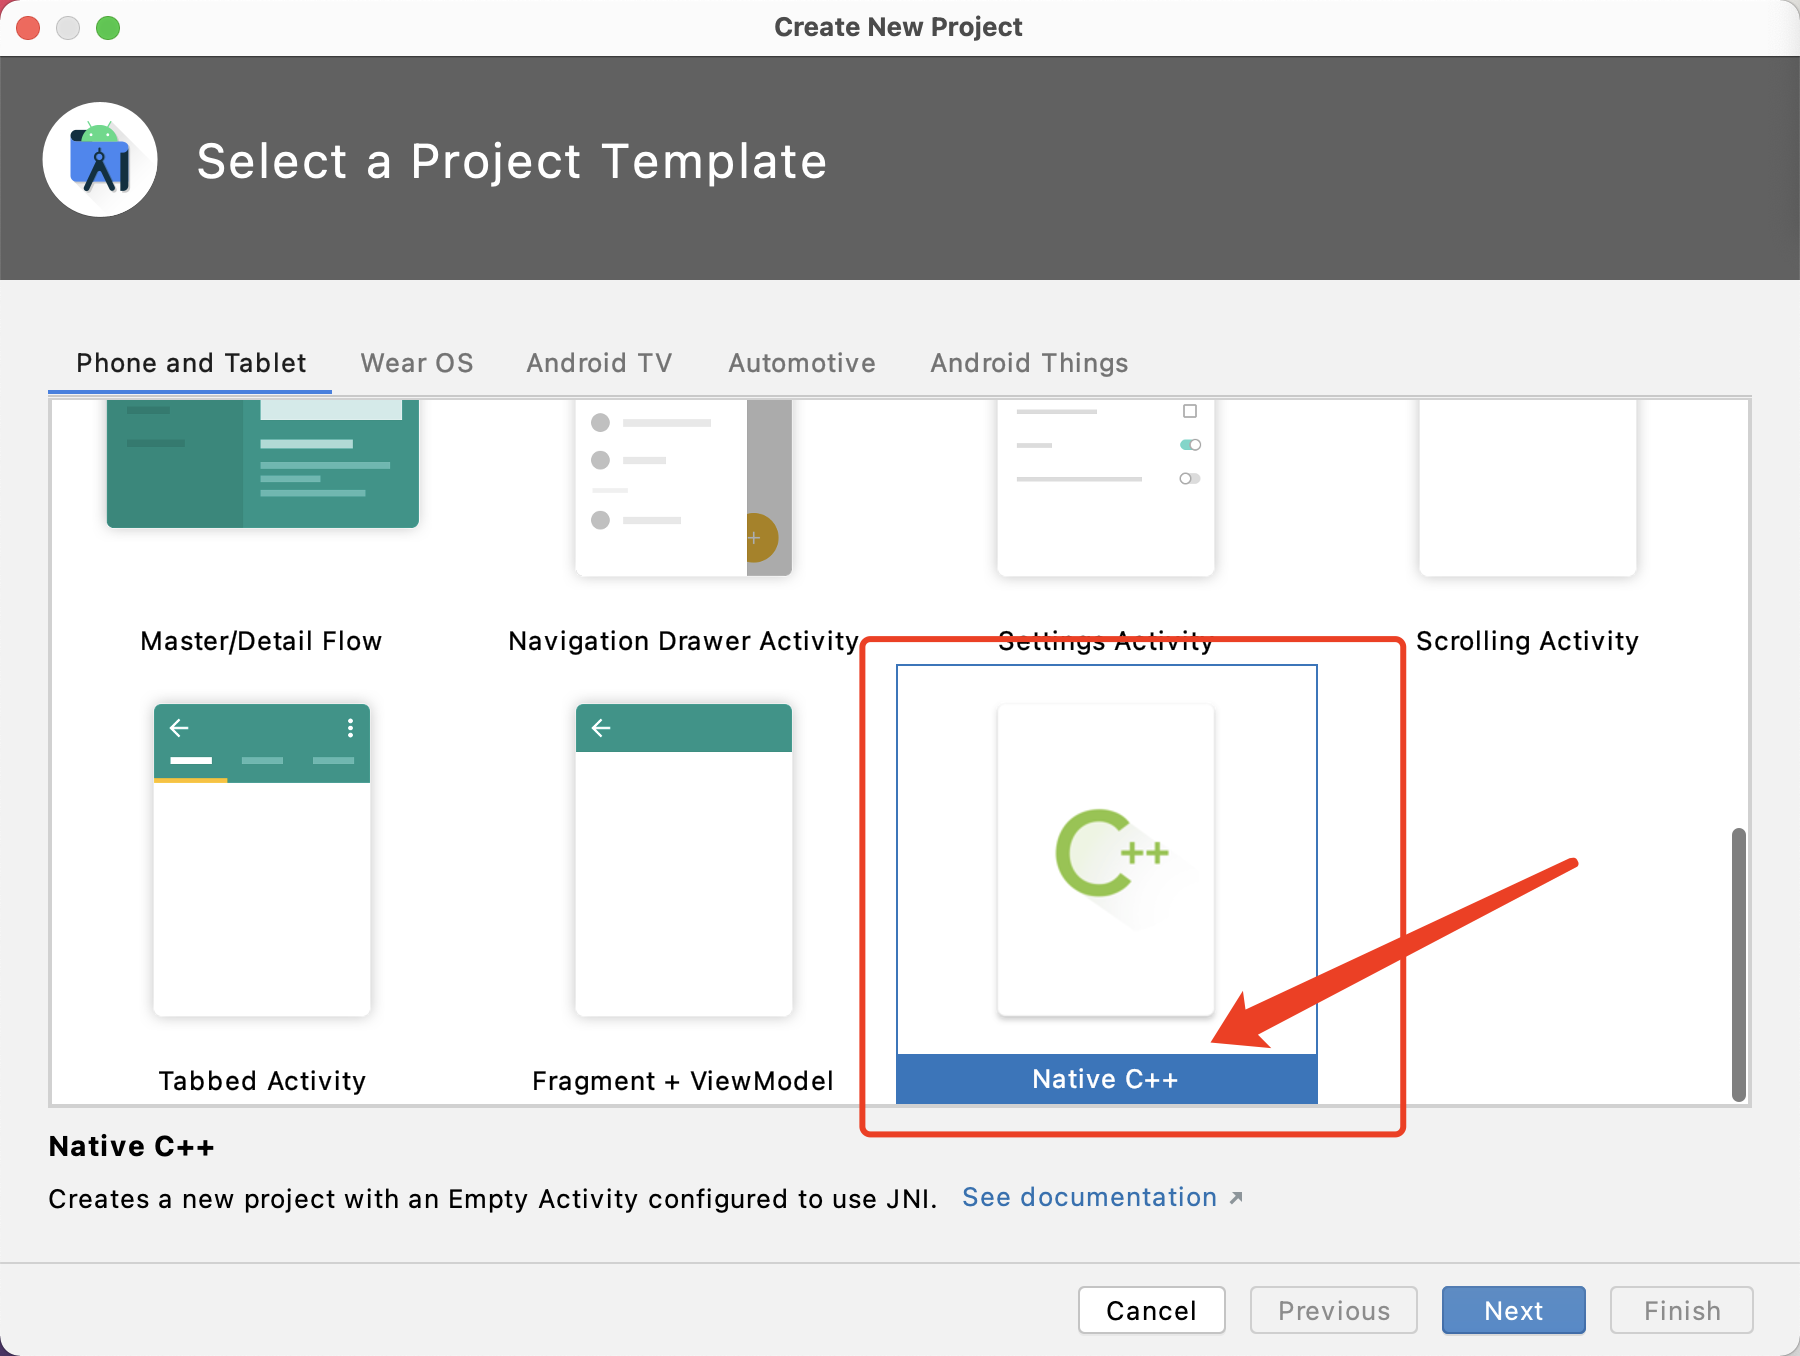
除此之外,我们也可以在新建AndroidStudio工程的时候选择native C++直接运行会更简便
