АДееРЯЪІЕФвЊЧѓзіСЫИіМђТЊЕФЕЧТМНчУц,ЪЕЯжгУЛЇЕЧТМВЂЛёШЁЭЗЯёЕФЙІФмЁЃвђЮЊБОШЫЭъШЋЪЧИіаЁАз,зіЯТРДВШСЫВЛЩйПг,етРяМЧТМвЛЯТ,жЎКѓгіЕНРрЫЦЧщПіЗНБуДІРэЁЃ
етРяжЛЪЕЯжСЫАВзПЕФВПЗж,ЗўЮёЦїЕФЖЋЮїУЛгаЩцМАЁЃ
ВЮПМЕФВПЗжЮФеТ:
ЁЖЕквЛааДњТыЁЗ
https://blog.csdn.net/hxy19971101/article/details/76177408?locationNum=3&fps=1
https://blog.csdn.net/kuankuan199308153614/article/details/103260721
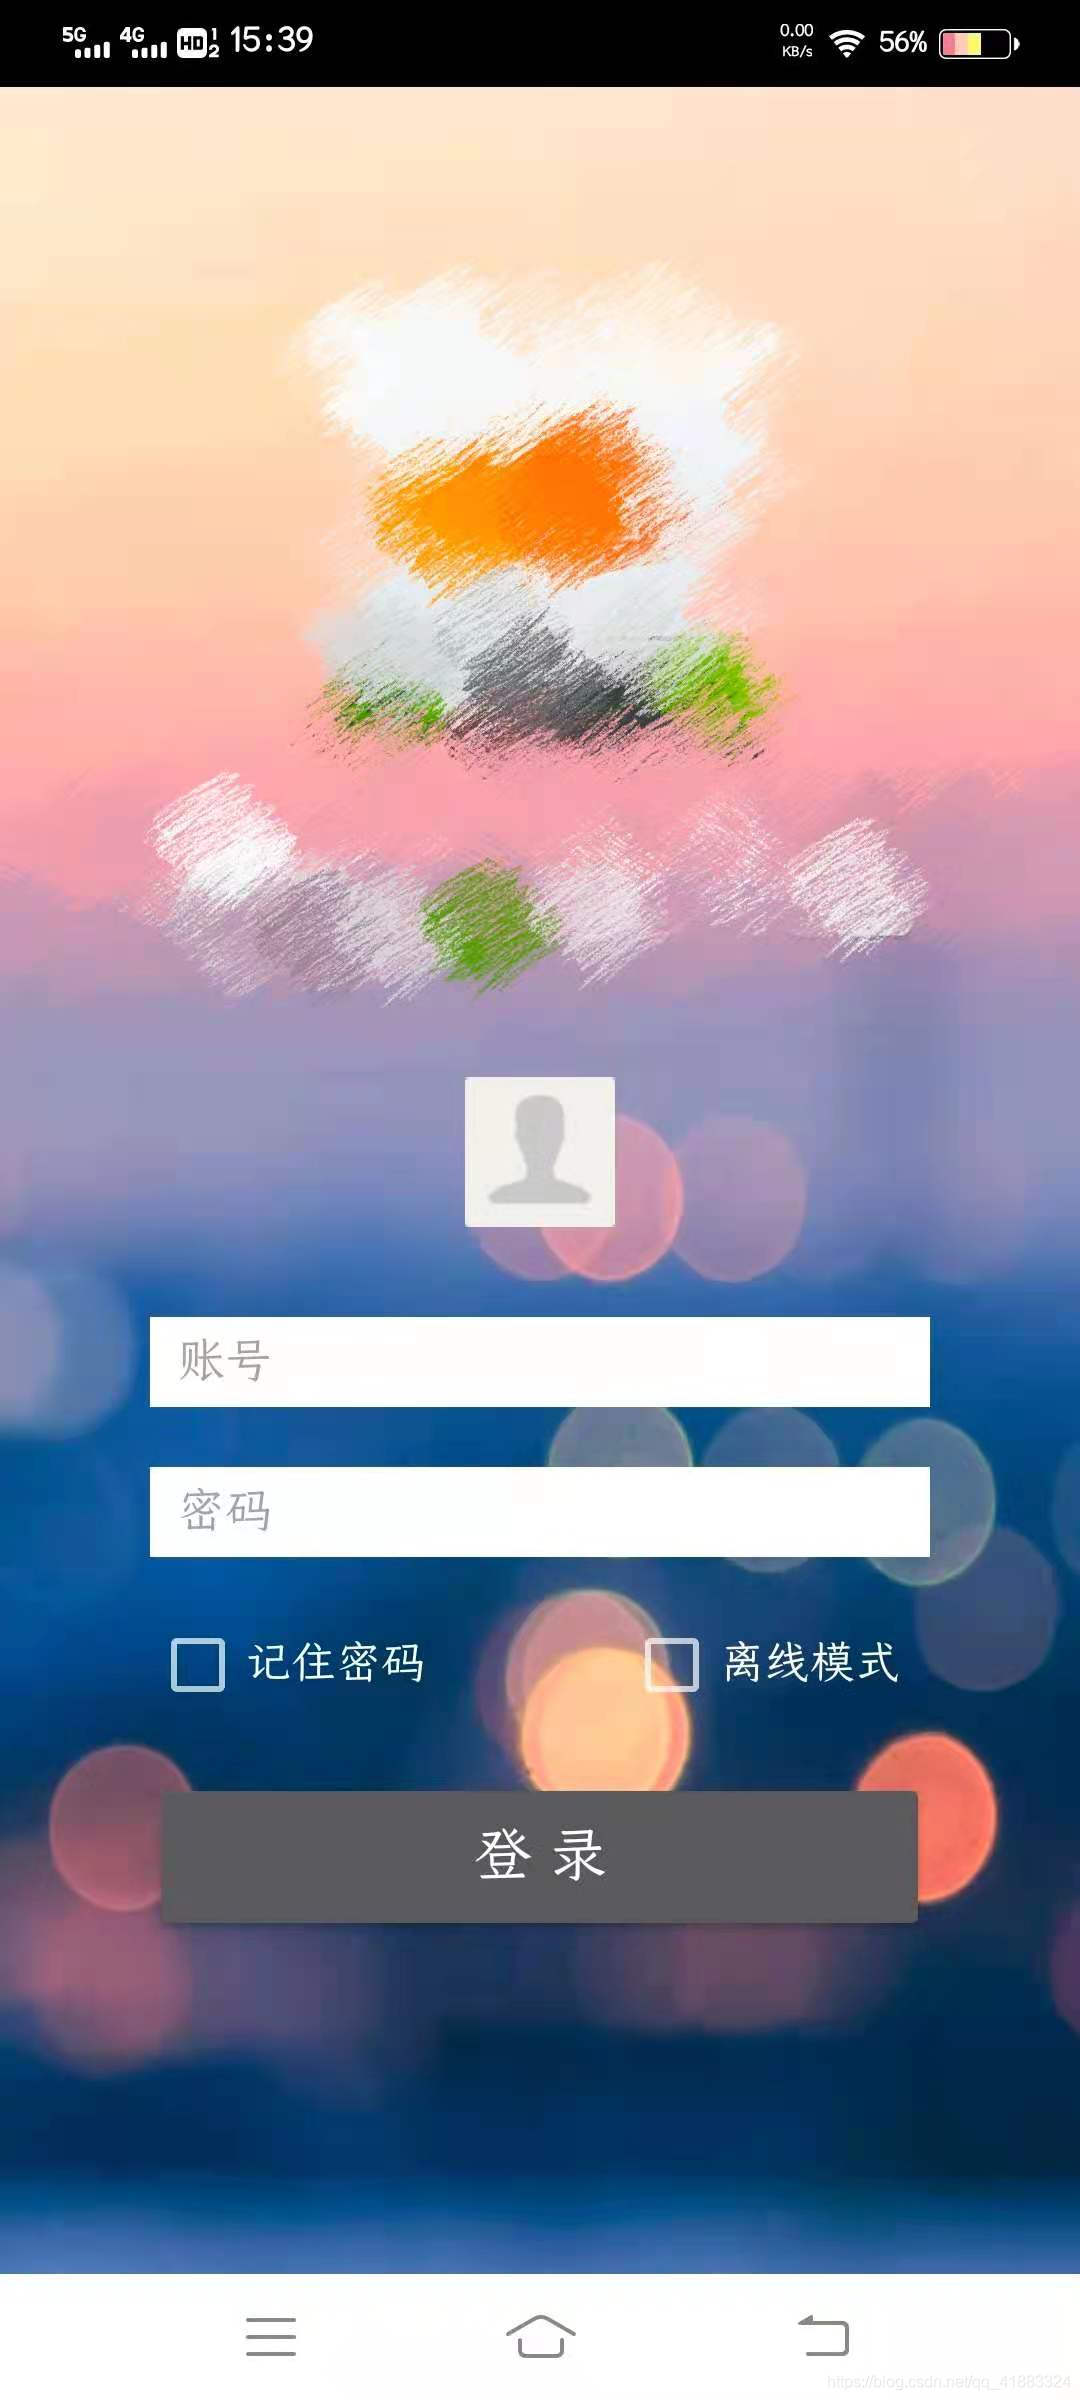
ЯШеЙЪОвЛЯТГЩЦЗ:ЪзЯШЪЧЛљБОЕФЕЧТМНчУц,гаеЫКХКЭУмТыСНИіЪфШыПђКЭвЛИіЕЧТМАДХЅ,ГѕЪМЭЗЯёЯдЪОЛвЩЋ,ЦфЫћЕФзщМўУЛгаХЩЩЯЪВУДгУГЁЁЃдкУЛгаЪфШыгУЛЇУћЛђепУмТыЕФЧщПіЯТЁЂЪфШыЕФгУЛЇУћЛђУмТыВЛе§ШЗЕФЧщПіЯТЕЏДАЬсЪОЁЃШчЙћЪфШые§ШЗЕФгУЛЇУћКЭЭЗЯё,ЯдЪОЕЧТМГЩЙІ,ВЂЗЕЛигУЛЇЕФЭЗЯё:
?
?
?
?
?
?
?
?
?ВМОжжївЊЪЙгУЯрЖдВМОжЁЃФПЧАЮвШЯЮЊЯрЖдВМОжЕФжиЕуОЭЪЧИјУПИізщМўУќУћ,ЗХаТзщМўЕФЪБКђаДЧхГўаТзщМўдкжЎЧАФФИізщМўЕФЩЯЯТзѓгвОЭКУСЫЁЃЕквЛДЮаД,УќУћгаЕуТвЦпАЫду,жЎКѓЛсТ§Т§ИФЙцЗЖЁЃ
<?xml version="1.0" encoding="utf-8"?>
<RelativeLayout xmlns:android="http://schemas.android.com/apk/res/android"
xmlns:app="http://schemas.android.com/apk/res-auto"
xmlns:tools="http://schemas.android.com/tools"
android:layout_width="match_parent"
android:layout_height="match_parent"
android:orientation="vertical"
android:background="@drawable/login_background"
tools:context=".LoginActivity">
<ImageView
android:id="@+id/login_logo"
android:layout_width="match_parent"
android:layout_height="250dp"
android:layout_marginTop="50dp"
android:gravity="center_horizontal"
android:src="@drawable/login_logo"/>
<ImageView
android:id="@+id/login_ima"
android:layout_width="50dp"
android:layout_height="50dp"
android:layout_below="@id/login_logo"
android:layout_marginTop="30dp"
android:layout_centerHorizontal="true"
android:src="@drawable/login_old_ima"/>
<EditText
android:id="@+id/login_account"
android:layout_width="260dp"
android:layout_height="30dp"
android:layout_below="@id/login_ima"
android:layout_marginTop="30dp"
android:layout_centerHorizontal="true"
android:background="@color/white"
android:hint=" еЫКХ"
android:textColorHint="#A4A4A4"
android:textSize="16sp"
android:paddingLeft="5dp"
android:textColor="#2E2E2E"/>
<EditText
android:id="@+id/login_password"
android:layout_width="260dp"
android:layout_height="30dp"
android:layout_below="@id/login_account"
android:layout_marginTop="20dp"
android:layout_centerHorizontal="true"
android:background="@color/white"
android:inputType="textPassword"
android:hint=" УмТы"
android:textColorHint="#A4A4A4"
android:textSize="16sp"
android:paddingLeft="5dp"
android:textColor="#2E2E2E"/>
<CheckBox
android:id="@+id/login_rempwd"
android:layout_width="wrap_content"
android:layout_height="wrap_content"
android:layout_below="@id/login_password"
android:layout_marginTop="20dp"
android:layout_alignLeft="@id/login_account"
android:text="МЧзЁУмТы"
android:textColor="@color/white"
android:textSize="15sp"/>
<CheckBox
android:id="@+id/login_offline"
android:layout_width="wrap_content"
android:layout_height="wrap_content"
android:layout_below="@id/login_password"
android:layout_marginTop="20dp"
android:layout_alignRight="@id/login_account"
android:layout_marginRight="10dp"
android:text="РыЯпФЃЪН"
android:textColor="@color/white"
android:textSize="15sp"/>
<Button
android:id="@+id/login_loginbutton"
android:layout_width="260dp"
android:layout_height="56dp"
android:layout_below="@id/login_rempwd"
android:layout_marginTop="20dp"
android:layout_centerHorizontal="true"
android:text="ЕЧ ТМ"
android:textSize="20sp"/>
</RelativeLayout>?живЊЕФЛЙЪЧТпМВПЗжЁЃжївЊЗжМИВНШЅЪЕЯж:ЂйokhttpЯђЗўЮёЦїЬсНЛгУЛЇУћКЭУмТыНјааЕЧТМ,ВЂБЃДцsession;ЂкЭЈЙ§ЛёШЁгУЛЇЭЗЯёЕФНгПк,гУokhttpЛёШЁЭЗЯёЕижЗЕФКѓАыВПЗжurl;ЂлЦДНгurlВЂЗУЮЪ,НЋЗЕЛиЕФЪ§ОнвдЭМЦЌаЮЪНЯдЪОГіРДЁЃ
дкаДЕФЪБКђИаОѕвЛЖЈвЊЖргУlogАбаХЯЂЯдЪОГіРД,АќРЈДгЗўЮёЦїФЧРяЛёЕУЕФЗЕЛиЕФЪ§Он,вВЖМЯдЪОГіРД,ЗНБуНјааЕїЪдЁЃ
дкbuild.gradle(:app)ЮФМўРяЕФdependenciesЯТЬэМгСЫokhttpЕФвРРЕ,ЛЙгазюКѓУЛгУЩЯЕФglideПтЕФвРРЕЁЃ
implementation 'com.squareup.okhttp:okhttp:2.7.5'
implementation 'com.squareup.okhttp3:okhttp:5.0.0-alpha.2'

implementation 'com.github.bumptech.glide:glide:4.12.0'
annotationProcessor 'com.github.bumptech.glide:compiler:4.12.0'ШчЙћдЫааЕФЪБКђglideПтБЈСЫВЛФмЩњГЩglidemoduleЕФДэЮѓ,ПЩвддкФуаТНЈБ№ЕФjava.classЮФМўЕФЕиЗНаТНЈвЛИіjava.classЮФМў?,УќУћКУЯёЫцБуЪВУДЖМаа,аДШчЯТФкШнЁЃЮвАДетИізіОЭУЛгаБЈДэСЫЁЃ
package com.example.mypractice;
import com.bumptech.glide.annotation.GlideModule;
import com.bumptech.glide.module.AppGlideModule;
@GlideModule
public class ФуЕФУќУћ extends AppGlideModule {
}?дкAndroidManifest.xmlЮФМўРяЩљУїСЊЭјШЈЯо,аДдк<applicationЧАУц:
<?xml version="1.0" encoding="utf-8"?>
<manifest xmlns:android="http://schemas.android.com/apk/res/android"
package="com.example.mypractice">
<uses-permission android:name="android.permission.INTERNET" /> етвЛОфСЊЭј
<application
android:allowBackup="true" етвЛОфвўВиБъЬтРИ
android:icon="@mipmap/ic_launcher"?зМБИЙЄзїОЭаї,ПЊЪМЪЕЯжЕЧТМЙІФмЁЃетРяЕЅЖРНВвЛаЉЕиЗН,ШЛКѓжБНгЬљДњТыКУСЫ:
ЂйЙигкЪфШыПђРяЕФзжЗћДЎЕФЛёШЁ:
ашвЊЯШprivate EditText ed_account;,ШЛКѓed_account=findViewById(R.id.login_account);НЋ
?javaЮФМўетБпЖЈвхЕФЖЋЮїКЭВМОжЮФМўФЧБпЕФСЊЯЕЦ№РД,ШЛКѓedi_account=ed_account.getText().toString().trim();ЛёШЁзжЗћДЎ,trimЪЧЮЊСЫШЅГ§ПЊЪМЕФПеИёЁЃ
ЂкokhttpЬсНЛгУЛЇУћКЭУмТыЕФБэЕЅ:
//ЬсНЛеЫКХУмТыЧыЧѓЕЧТМ
RequestBody requestBody=new FormBody.Builder() //НЈСЂБэЕЅ
.add("account",edi_account)
.add("password",edi_pwd)
.build();
OkHttpClient client=new OkHttpClient();
Request request=new Request.Builder()
.url("http://ЁЁ/post")
.post(requestBody)
.build();
Response response=client.newCall(request).execute();
String responseData=response.body().string();
Log.d("ЪфГіНсЙћ:",responseData);?ЂлЛёШЁsession,ВЛШЛЗўЮёЦїВЛжЊЕРФуЪЧИеВХЕЧТМЕФФЧИі:
ашвЊдкЕквЛДЮЗЂЧыЧѓЕФЪБКђЛёШЁsessionid:
String session=response.headers().get("Set-Cookie");
String sessionid=session.substring(0,session.indexOf(";"));?ШЛКѓдкжЎКѓЗЂЩњЧыЧѓЕФЪБКђ,ЖММгЩЯетИіsessionid:
Request request1=new Request.Builder()
.addHeader("cookie",sessionid)
.url("http://ЁЁ/post")
.post(requestBody1)
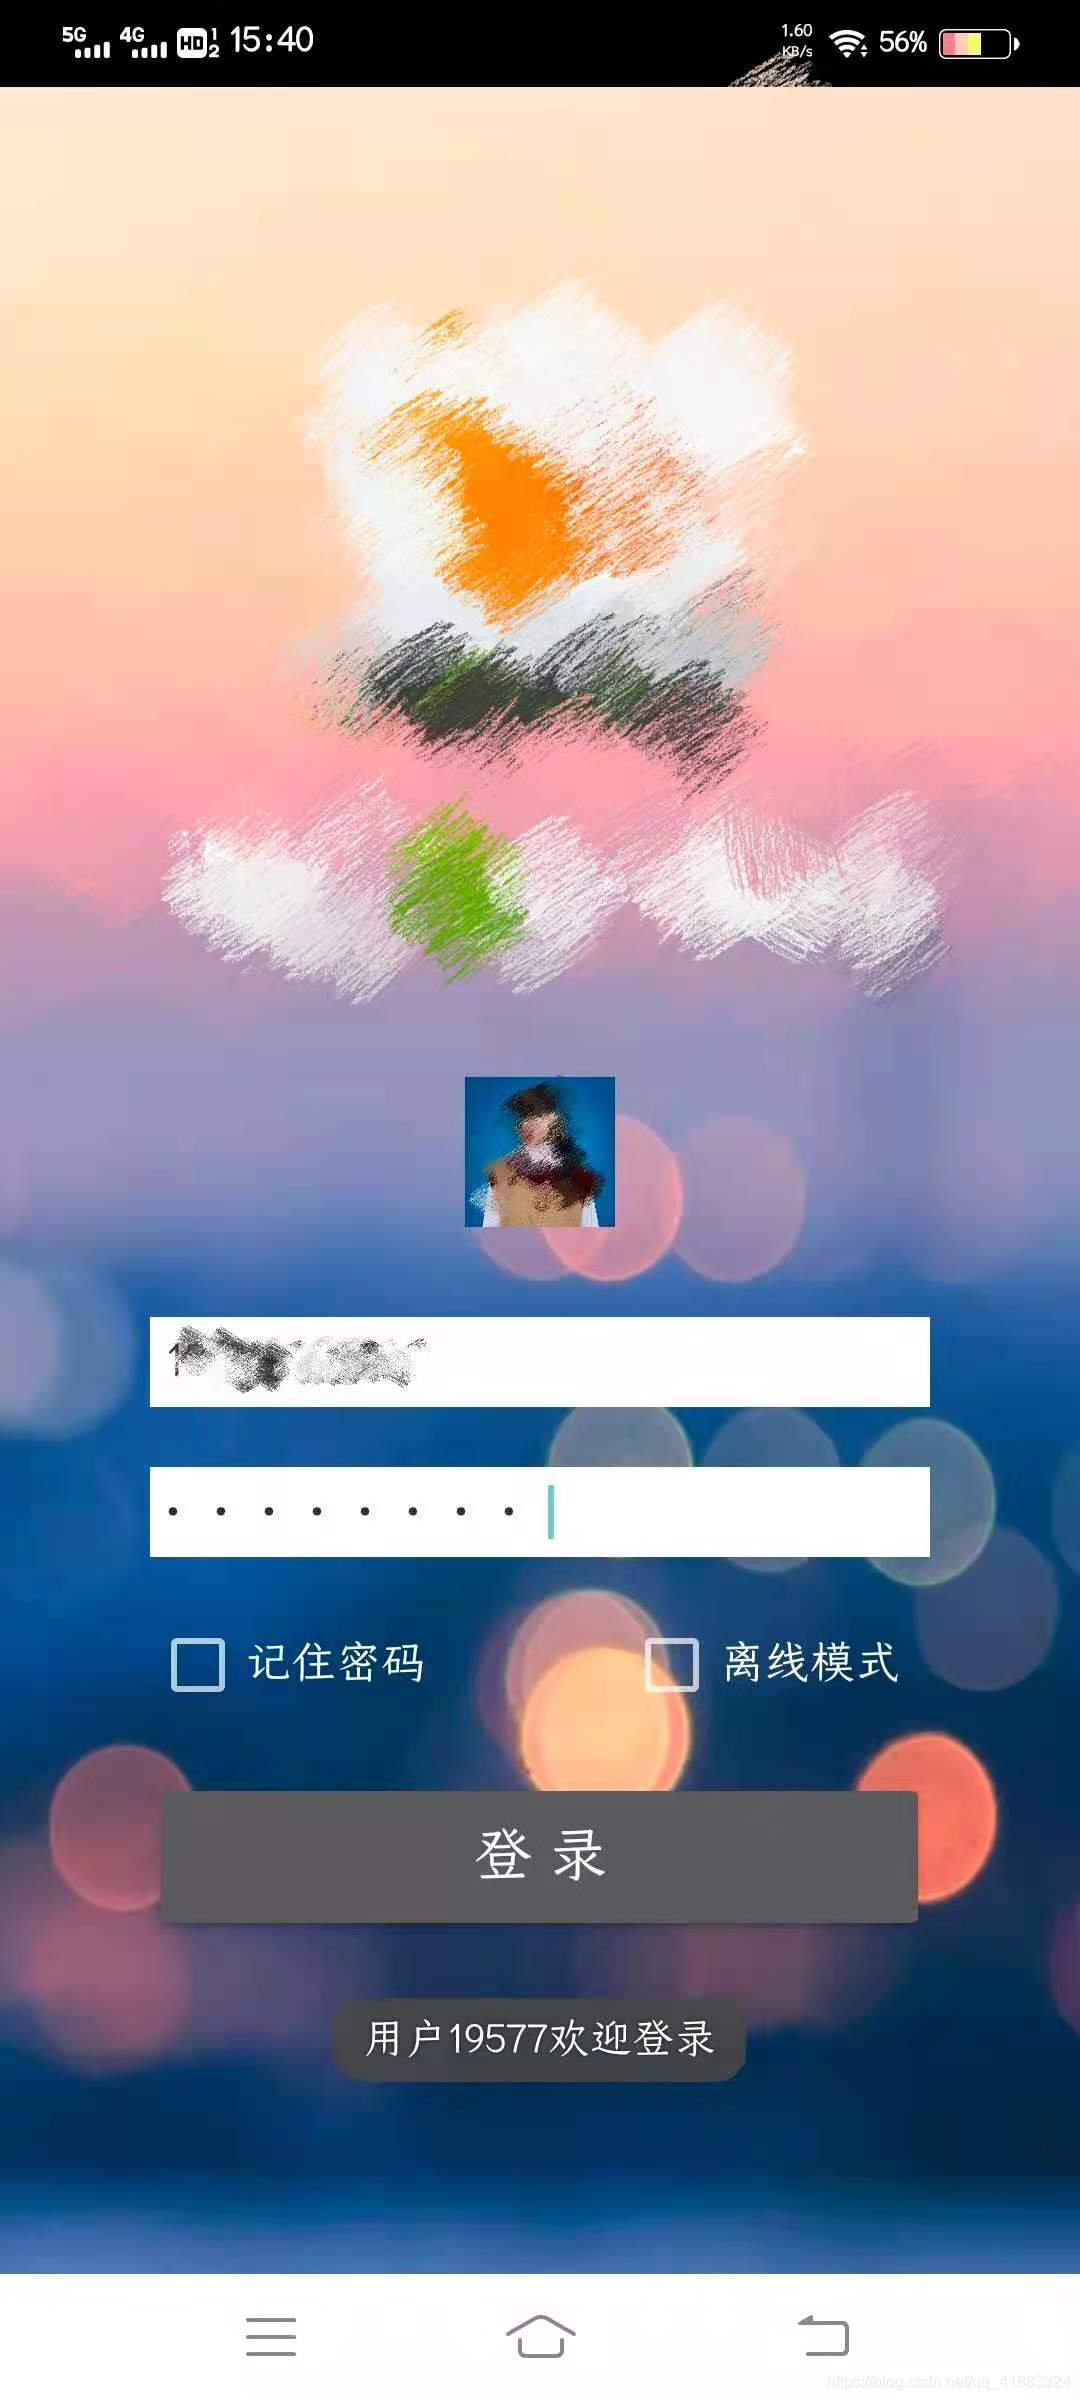
.build();?ЂмНЋЛёЕУЕФЗўЮёЦїЕФЛигІБфГЩЭМЯёЁЃетРяБОРДЪЧгУglideМгдиЕФ,ЕЋЪЧвЛжББЈДэ,вЊЮвдкжїЯпГЬРяУцгУglideЁЃВщСЫвЛЯТЫЕзюКУВЛвЊдкЗЧжїЯпГЬРяУцгУglide,ЮввВЪЕдкВЛжЊЕРдѕУДИФВХФмВЛБЈДэ,ОЭУЛгагУglideСЫЁЃ
InputStream inputStream=response2.body().byteStream();
Bitmap bitmap= BitmapFactory.decodeStream(inputStream);
Message msg=new Message();
msg.obj=bitmap;
handler.sendMessage(msg);ВЛвЊЭќСЫдкЩЯУцжидивЛЯТhandler:
private Handler handler=new Handler(){
    public void handleMessage(Message msg){
        Bitmap bitmap=(Bitmap)msg.obj;
        ge_ima.setImageBitmap(bitmap);
    }
};?ВюВЛЖрОЭЪЧетбљСЫ,гаЕуаДРлСЫ,ЬљвЛЯТЭъећЕФДњТыАЩ:
package com.example.mypractice;
import androidx.appcompat.app.AppCompatActivity;
import android.graphics.Bitmap;
import android.graphics.BitmapFactory;
import android.os.Bundle;
import android.os.Handler;
import android.os.Looper;
import android.os.Message;
import android.text.TextUtils;
import android.util.Log;
import android.view.View;
import android.widget.Button;
import android.widget.EditText;
import android.widget.ImageView;
import android.widget.TextView;
import android.widget.Toast;
import com.bumptech.glide.Glide;
import java.io.InputStream;
import okhttp3.FormBody;
import okhttp3.Headers;
import okhttp3.MediaType;
import okhttp3.OkHttpClient;
import okhttp3.Request;
import okhttp3.RequestBody;
import okhttp3.Response;
public class LoginActivity extends AppCompatActivity {
private EditText ed_account,ed_pwd;
private Button bu_login;
private ImageView ge_ima;
String edi_account,edi_pwd;
private Handler handler=new Handler(){
public void handleMessage(Message msg){
Bitmap bitmap=(Bitmap)msg.obj;
ge_ima.setImageBitmap(bitmap);
}
};
@Override
protected void onCreate(Bundle savedInstanceState) {
super.onCreate(savedInstanceState);
setContentView(R.layout.activity_login);
ed_account=findViewById(R.id.login_account);
ed_pwd=findViewById(R.id.login_password);
bu_login=findViewById(R.id.login_loginbutton);
ge_ima=findViewById(R.id.login_ima);
bu_login.setOnClickListener(new View.OnClickListener() {
@Override
public void onClick(View v) {
edi_account=ed_account.getText().toString().trim();
edi_pwd=ed_pwd.getText().toString().trim();
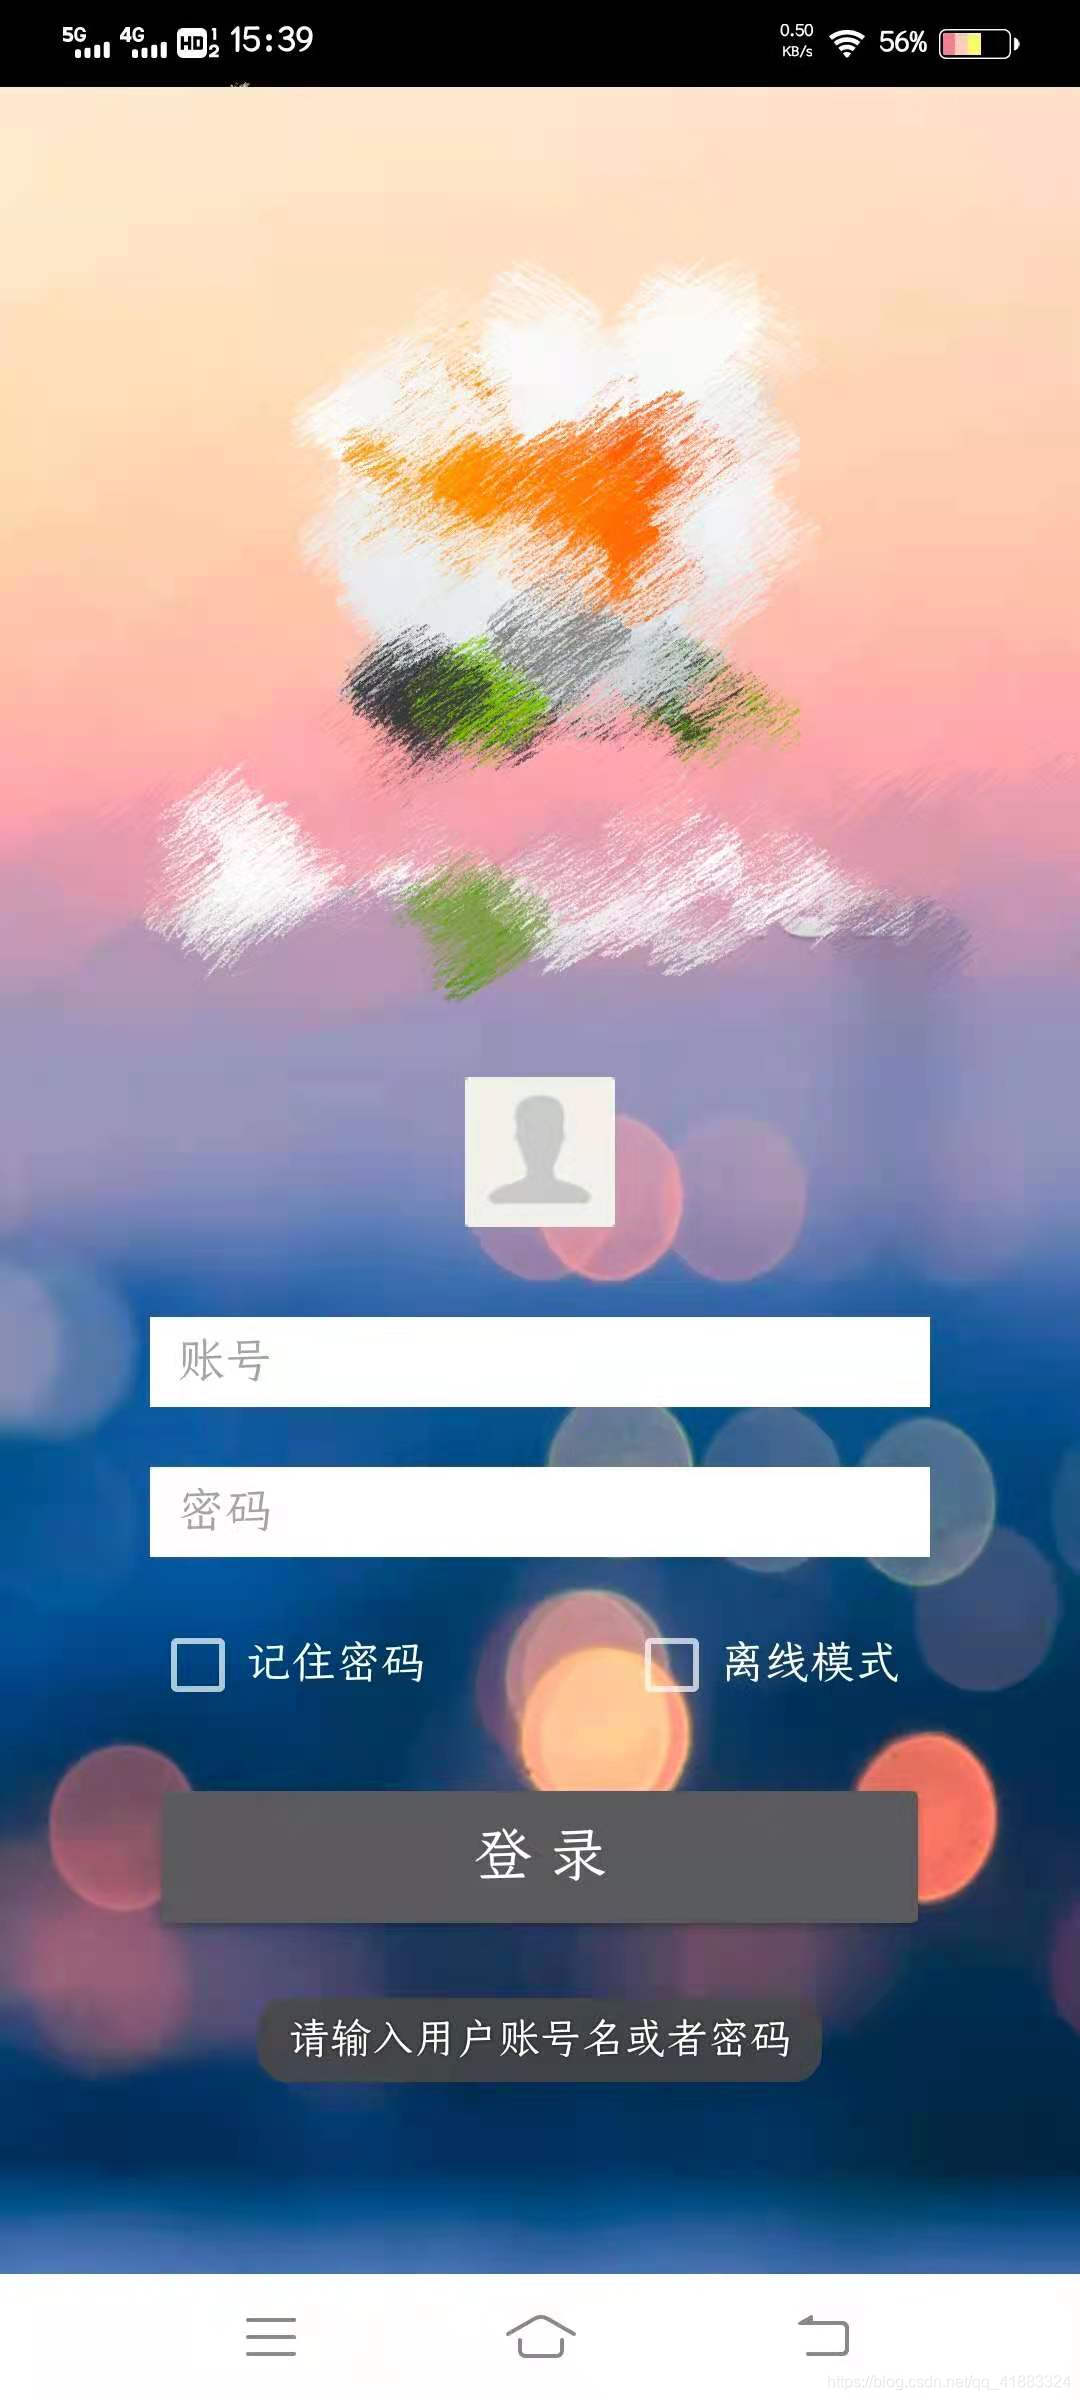
if(TextUtils.isEmpty(edi_account) || TextUtils.isEmpty(edi_pwd))
Toast.makeText(LoginActivity.this,"ЧыЪфШыгУЛЇеЫКХУћЛђепУмТы",Toast.LENGTH_SHORT).show();
else
login(edi_account,edi_pwd);
}
});
}
public void login(String edi_account,String edi_pwd){
new Thread(new Runnable() {
@Override
public void run() {
try{
Looper.prepare(); //ЮЊСЫдкЯпГЬРяЪЙгУToast
Log.d("еЫКХ",edi_account);
Log.d("УмТы",edi_pwd);
//ЬсНЛеЫКХУмТыЧыЧѓЕЧТМ
RequestBody requestBody=new FormBody.Builder()
.add("account",edi_account)
.add("password",edi_pwd)
.build();
OkHttpClient client=new OkHttpClient();
Request request=new Request.Builder()
.url("http://ЁЁ/post")
.post(requestBody)
.build();
Log.d("URL",request+"");
//ЛёШЁЛигІВЂБЃДцsession
Response response=client.newCall(request).execute();
String responseData=response.body().string();
Log.d("ЪфГіНсЙћ:",responseData);
String session=response.headers().get("Set-Cookie");
String sessionid=session.substring(0,session.indexOf(";"));
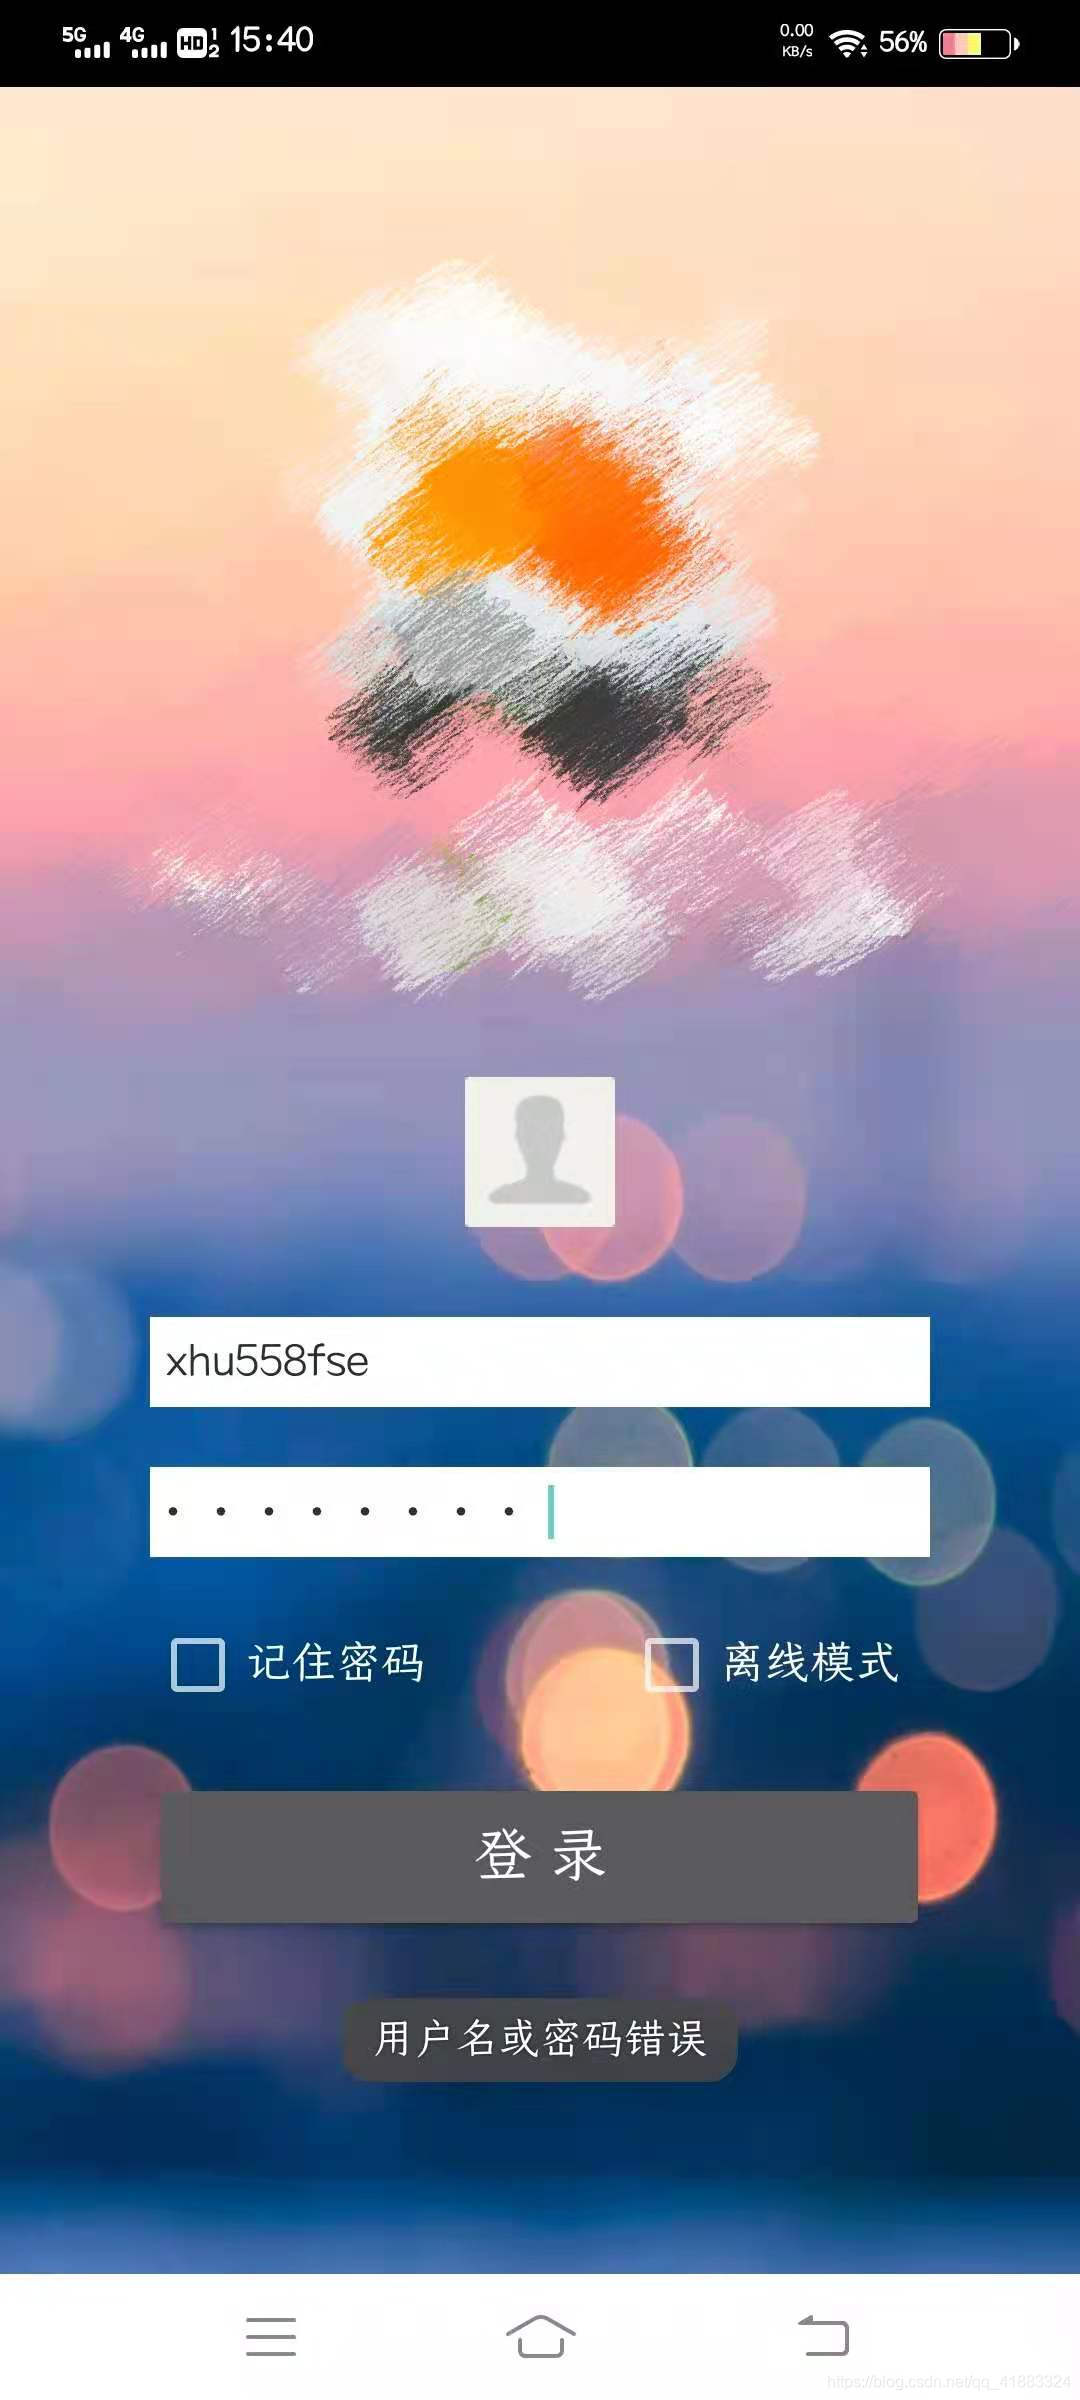
if(!response.isSuccessful()){
Toast.makeText(LoginActivity.this,"гУЛЇУћЛђУмТыДэЮѓ",Toast.LENGTH_SHORT).show();
}
else{
Toast.makeText(LoginActivity.this,"гУЛЇ"+responseData.substring(18,23)+"ЛЖгЕЧТМ",Toast.LENGTH_SHORT).show();
//ЛёШЁЭЗЯёЕФurl
RequestBody requestBody1=new FormBody.Builder()
.add("account",edi_account)
.build();
Request request1=new Request.Builder()
.addHeader("cookie",sessionid)
.url("http://ЁЁ/post")
.post(requestBody1)
.build();
Response response1=client.newCall(request1).execute();
String responseData1=response1.body().string();
Log.d("ЪфГіНсЙћ:",responseData1);
if(!response1.isSuccessful()){
Toast.makeText(LoginActivity.this,"ЛёШЁгУЛЇЭЗЯёЕижЗЪЇАм",Toast.LENGTH_SHORT).show();
}
else{
int len=responseData1.length();
String picUrl=responseData1.substring(51,len-4);//ВЛЛсНтЮі,днЪБЯШетУДаД
Log.d("picUrl:",picUrl);
//ЦДНгUrl
String url1="http://ЁЁ"+picUrl;
Log.d("picUrl:",url1);
//МгдиЭЗЯё
Request request2=new Request.Builder()
.addHeader("cookie",sessionid)
.url(url1)
.build();
Response response2=client.newCall(request2).execute();
InputStream inputStream=response2.body().byteStream();
Bitmap bitmap= BitmapFactory.decodeStream(inputStream);
Message msg=new Message();
msg.obj=bitmap;
handler.sendMessage(msg);
//Glide.with(getApplicationContext()).load(url1).into(ge_ima);
}
}
Looper.loop(); //КЭЩЯУцЕФlooperЪЧвЛЖдЕФ
}catch (Exception e){
e.printStackTrace();
runOnUiThread(new Runnable() {
@Override
public void run() {
Toast.makeText(LoginActivity.this,"ЭјТчСЌНгЪЇАм!",Toast.LENGTH_SHORT).show();
}
});
}
}
}).start();
}
}