一.私有库制作与使用
准备条件
- github账号
- 设置好SSH
- 电脑有安装好Cocoapods环境
1. 创建远程索引库
在github上, new Repository 一个空的项目,项目如下: 下载项目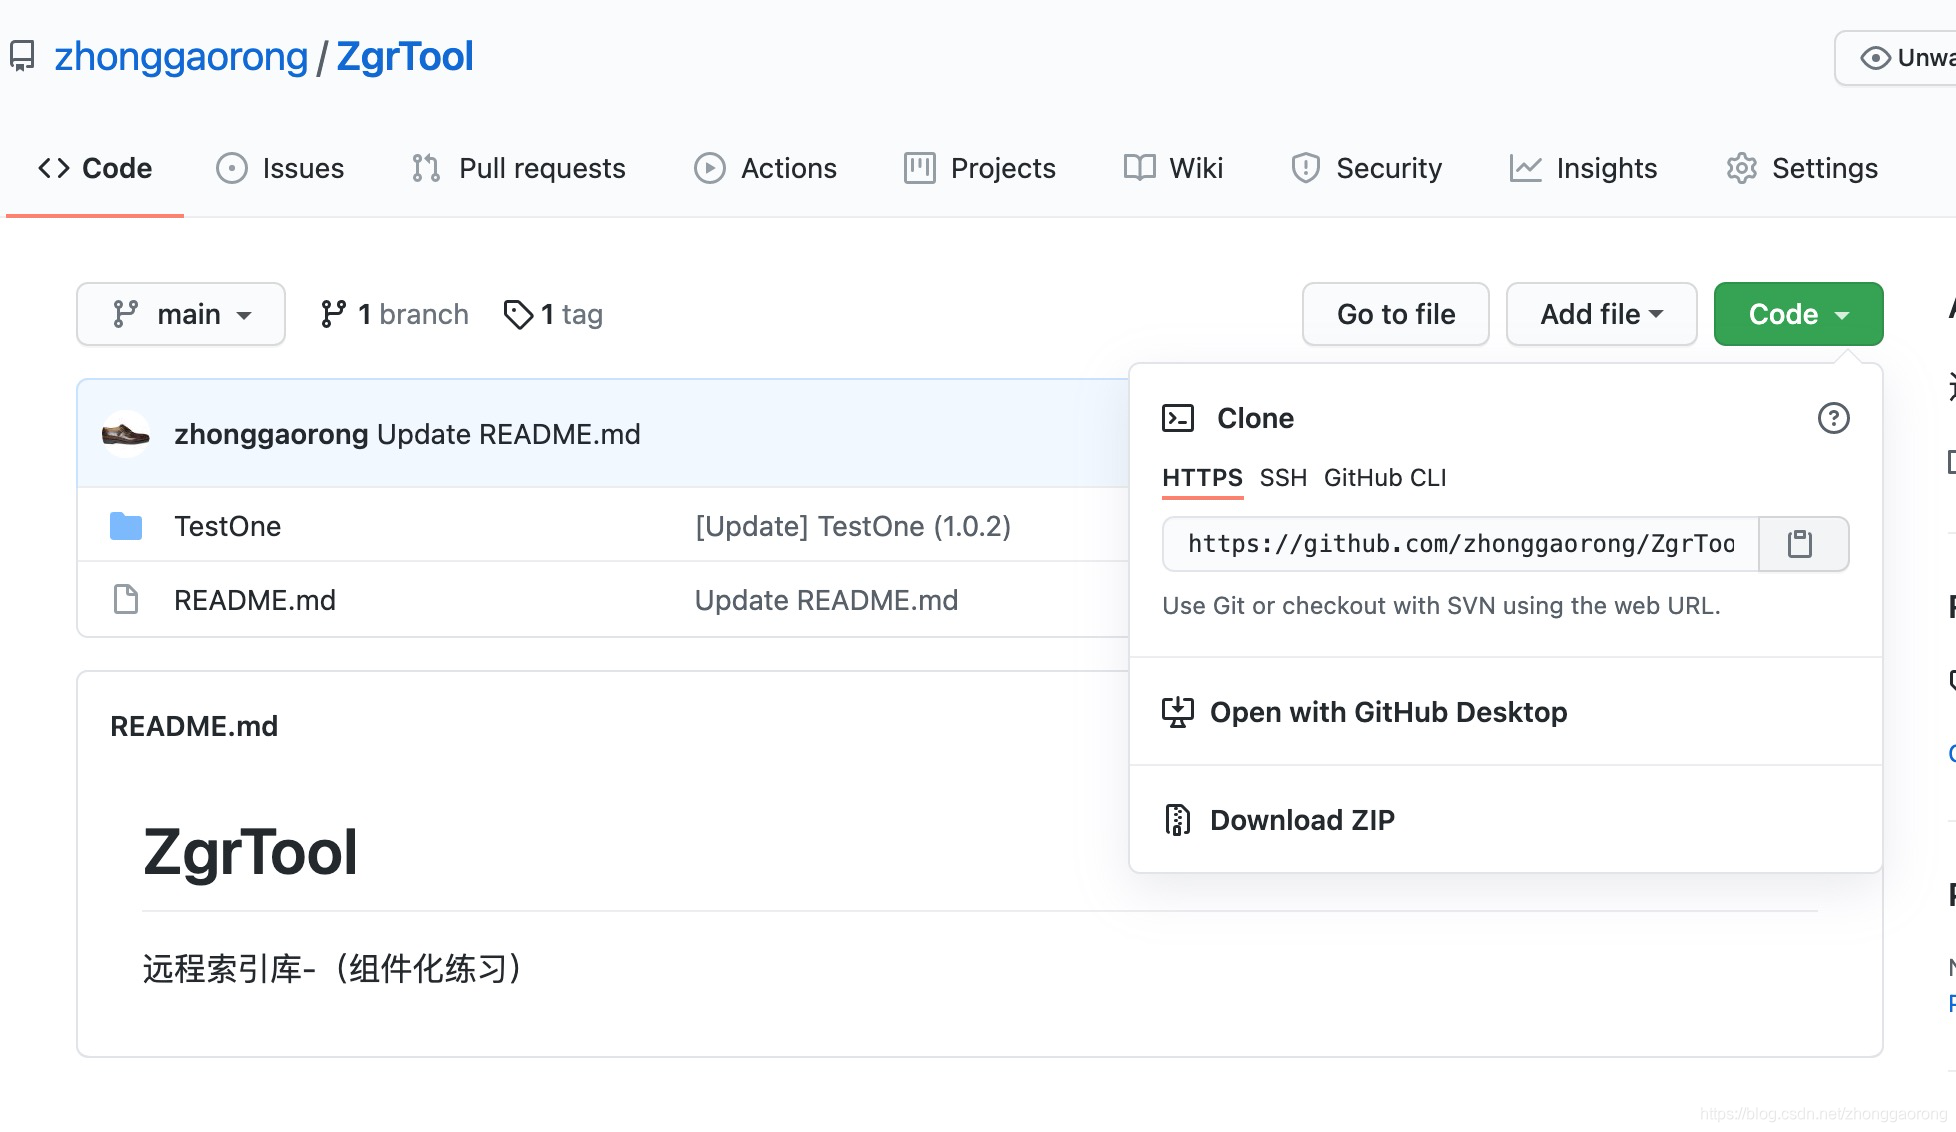
2. 创建本地索引库
注意: 名称最好和远程索引库保持一致
- 打开终端, 进入cocoapods配置目录下:
cd /Users/hh/.cocoapods/repos - 创建本地索引库,并与远程索引库关联
格式:pod repo add 本地索引库名字 远程索引库的地址
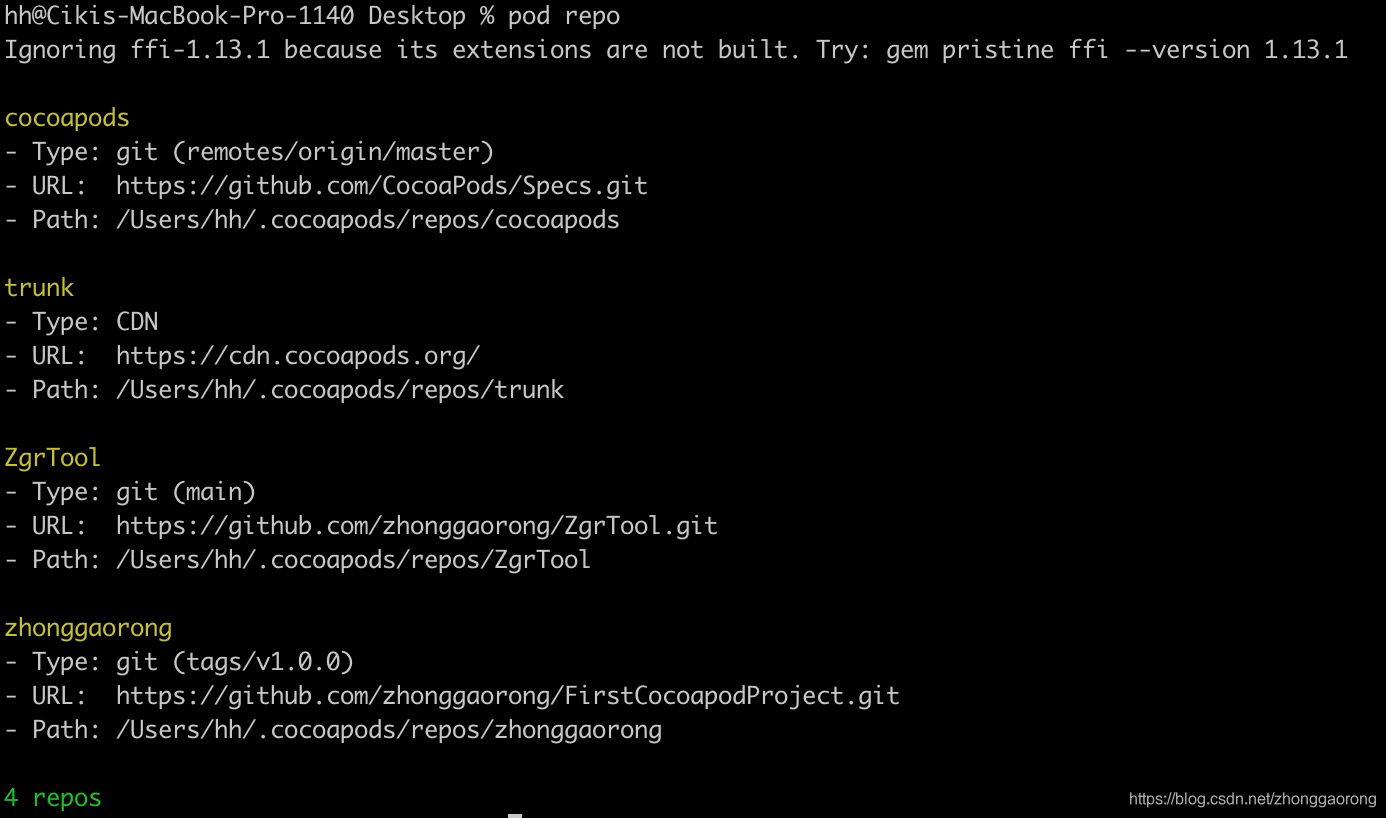
pod repo add ZgrTool https://github.com/zhonggaorong/ZgrTool.git - 打开终端查看是否添加成功。输入
pod repo,如图
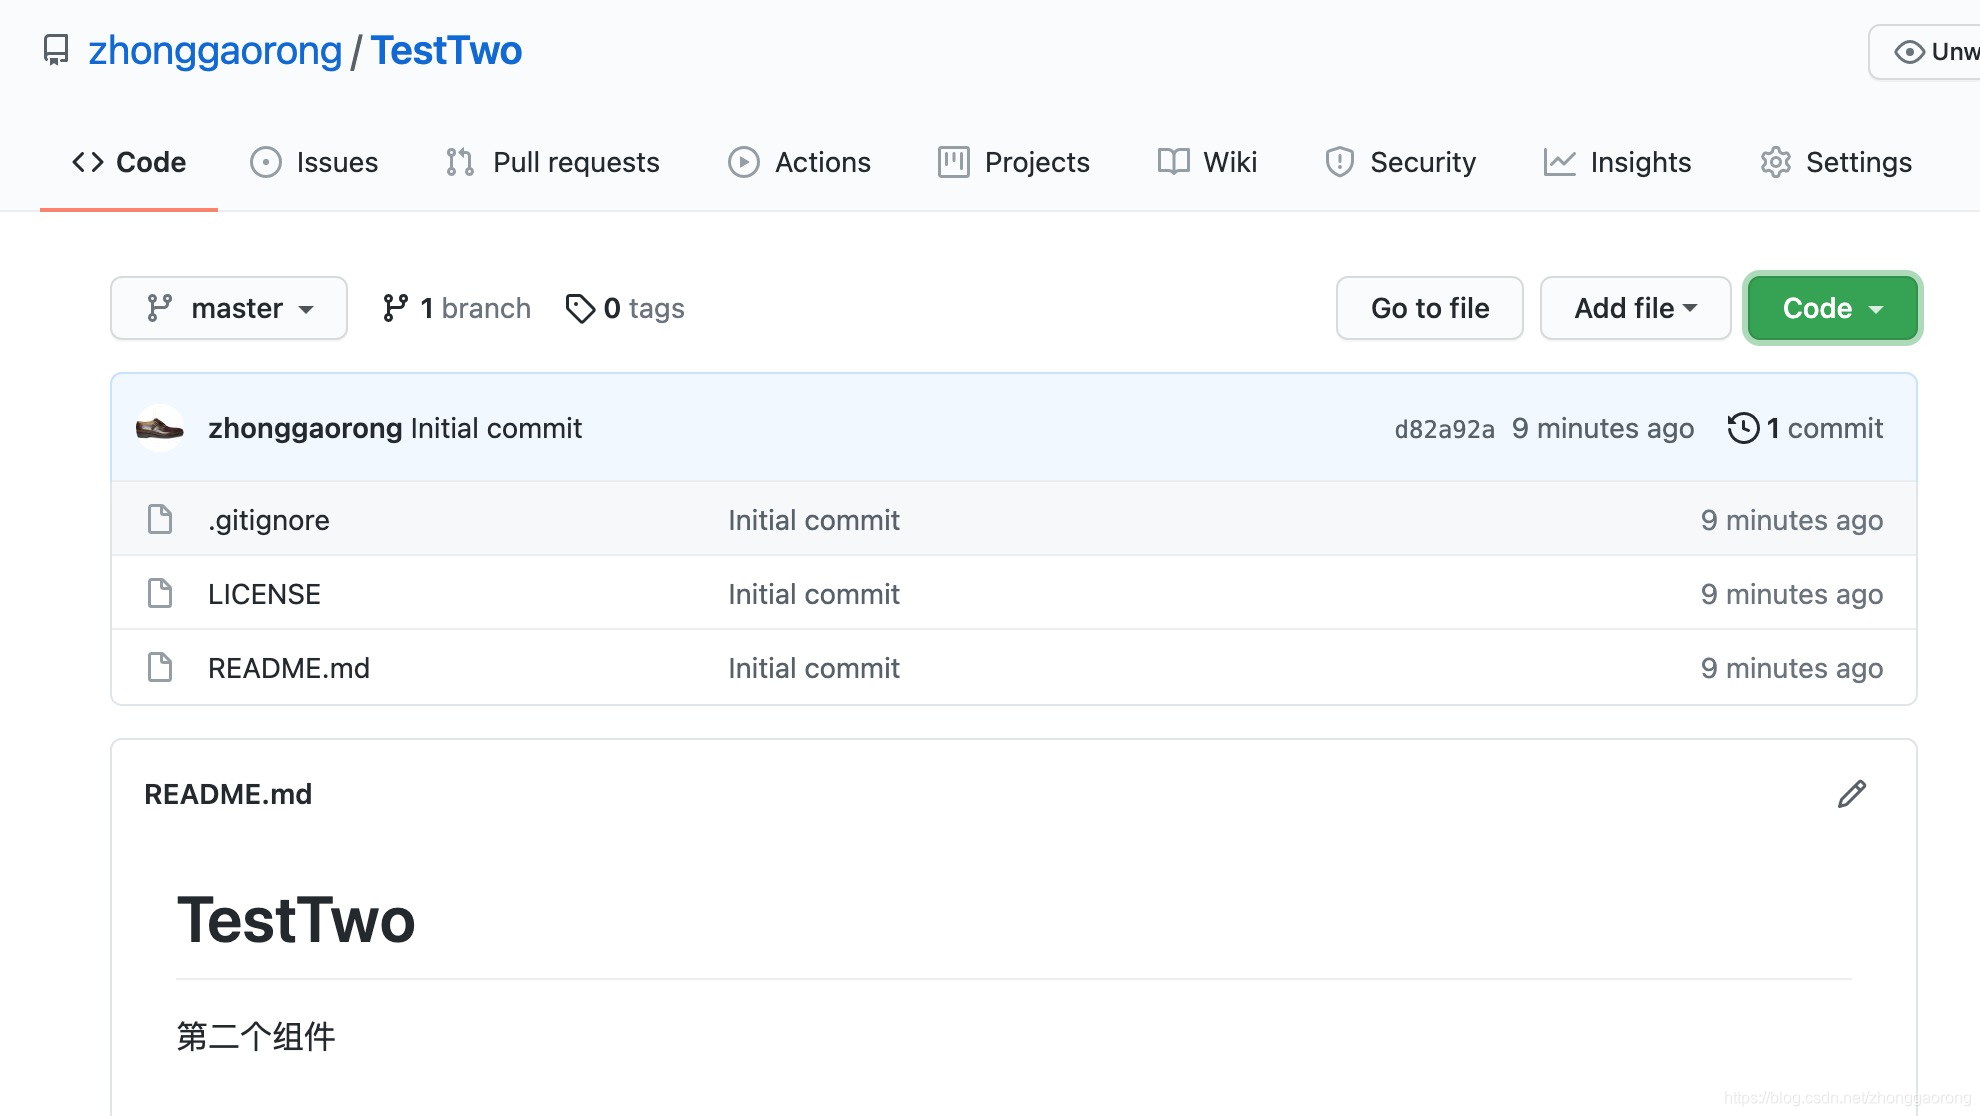
3. 创建远程代码库
在github上, new Repository 一个空的项目,项目如下: 下载项目
4. 创建本地代码库
- 通过终端 CD进入创建本地工程的目录。
- 终端操作。
pod lib create TestTwo
//开始配置
What platform do you want to use?? [ iOS / macOS ]  什么平台?
 > ios
What language do you want to use?? [ Swift / ObjC ] 用什么语言?
 > ObjC
Would you like to include a demo application with your library? [ Yes / No ] 创建自己的库的同时创造demo工程
 > Yes
Which testing frameworks will you use? [ Specta / Kiwi / None ]  是否集成测试框架
 > None

Would you like to do view based testing? [ Yes / No ]是否基于View做测试
 > NO

What is your class prefix? 工程前缀
 > Zgr
- 创建成功后,会自动打开工程。 项目结构如下。
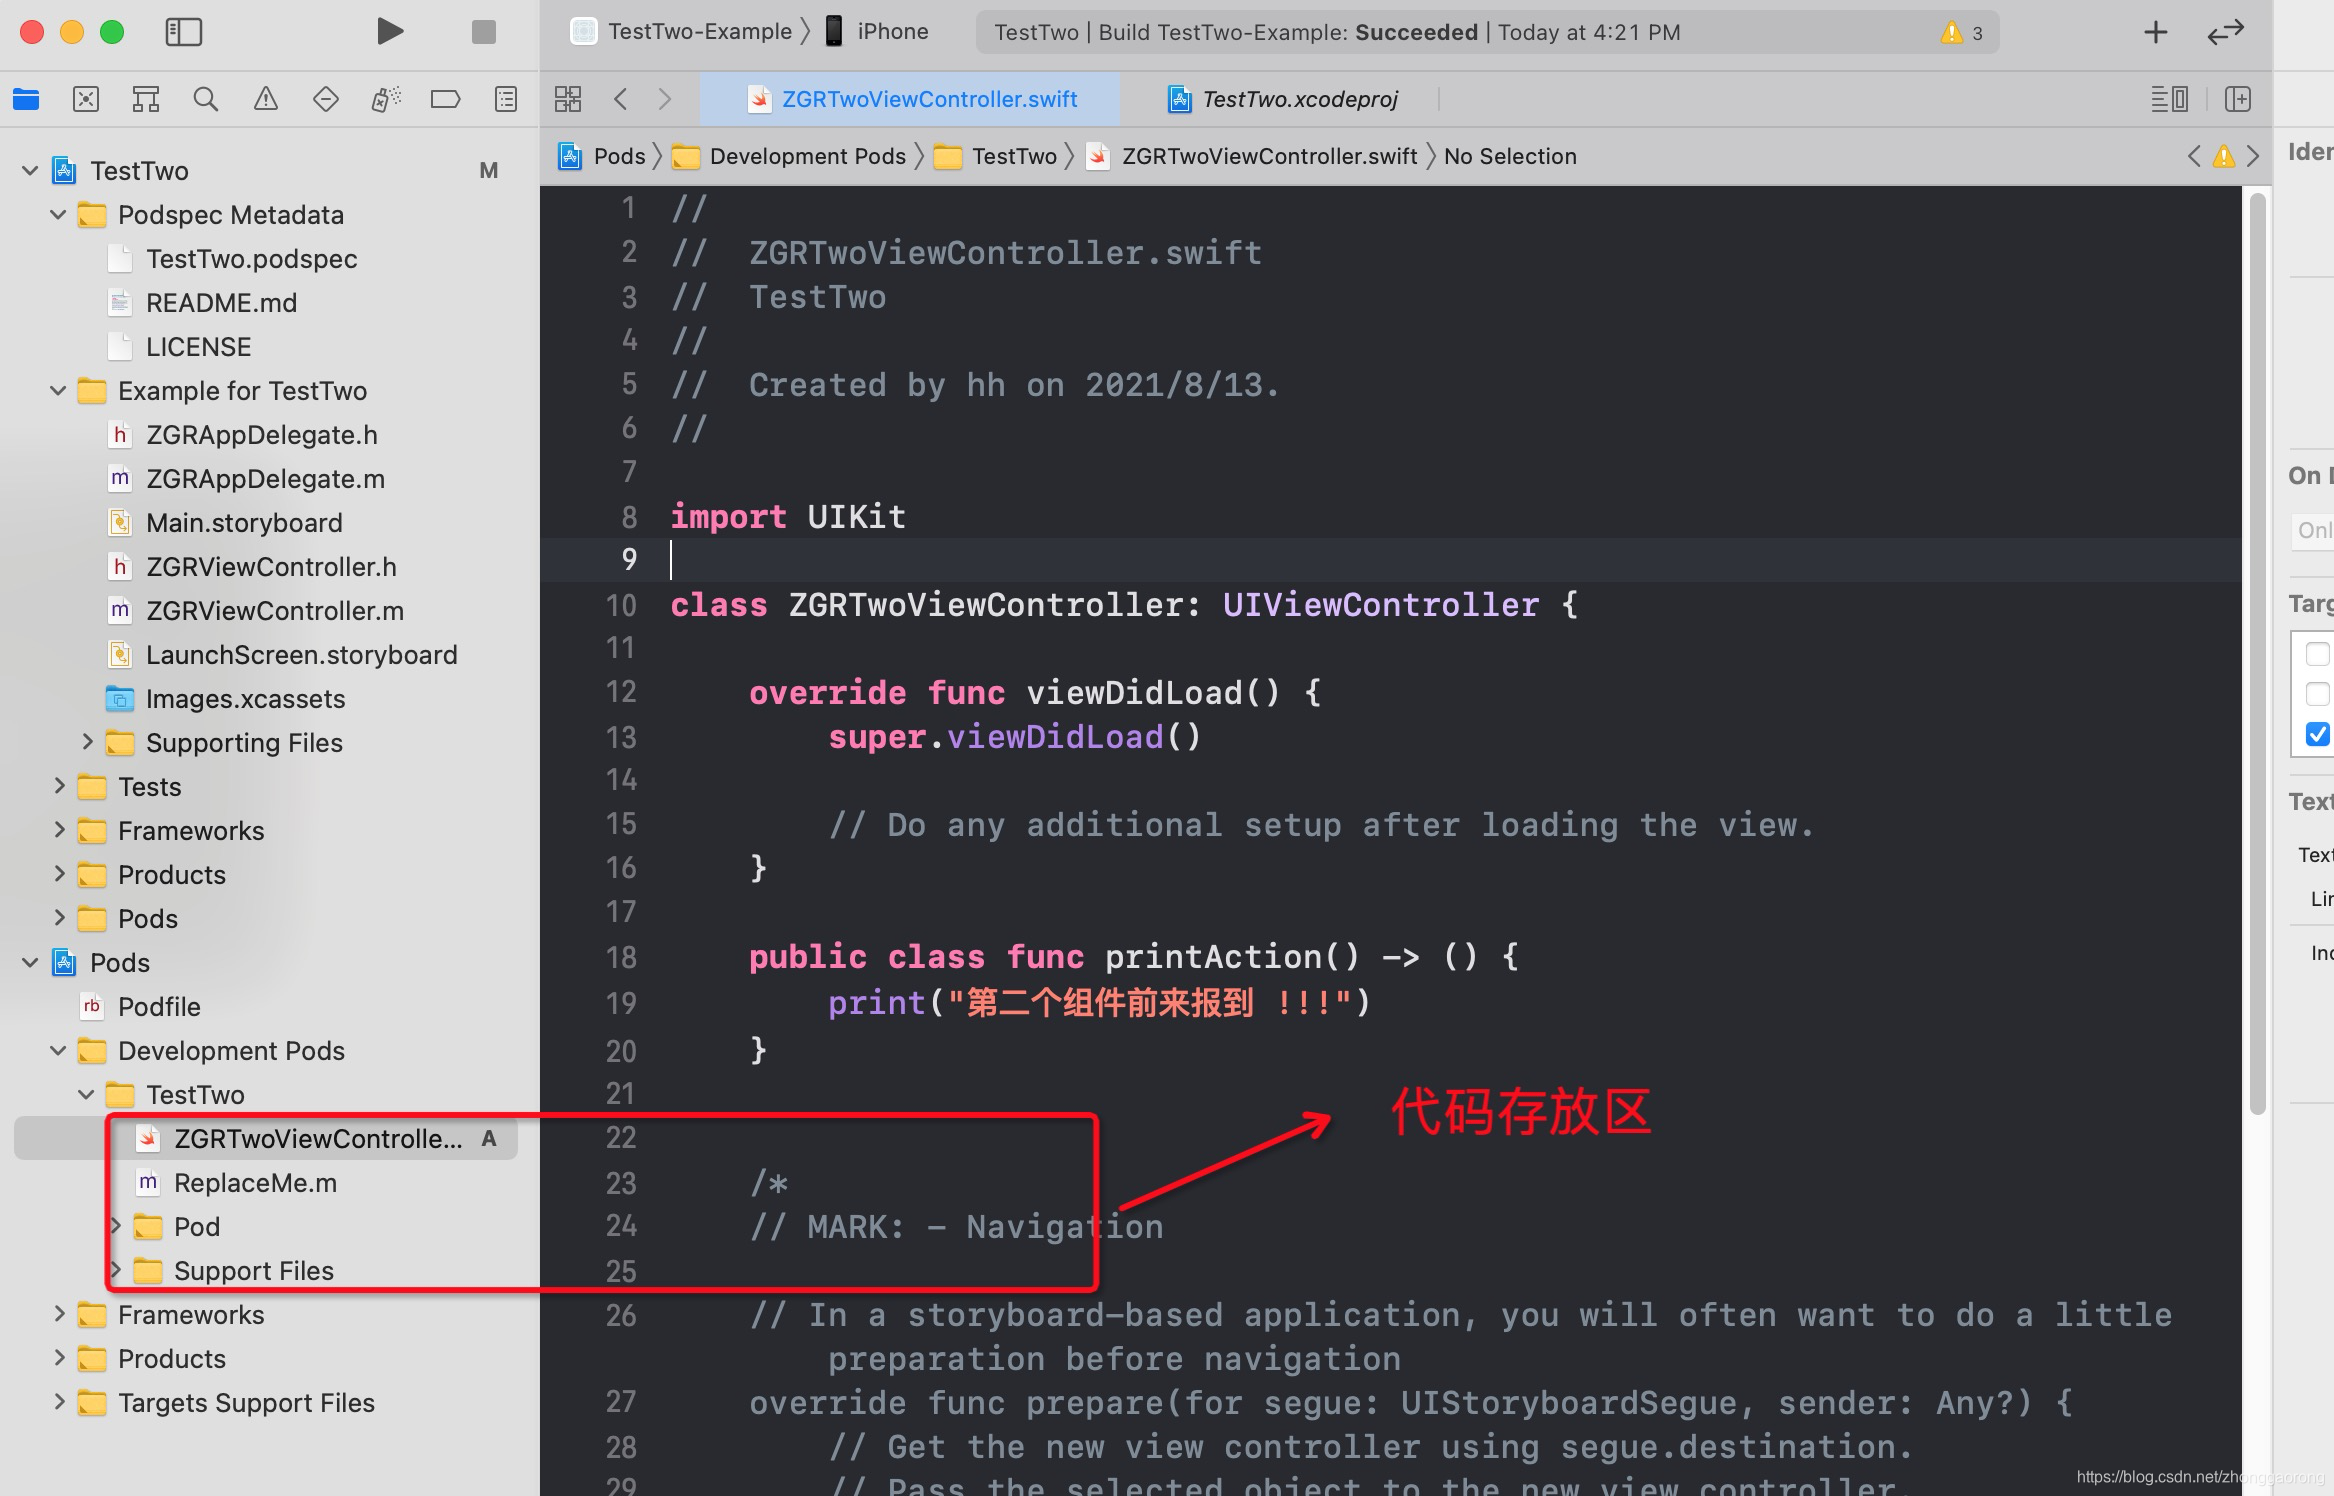
- 代码存放区
把相关代码全部放在这个目录,如果是不想暴露代码,就制作成动态库。
5. 修改本地代码的 podSpec文件 重点
下面表明== 需要修改 ==的地方都要看看。
Pod::Spec.new do |s|
  s.name             = 'TestTwo'
  #需要修改,版本号: 与后面上传远程代码库的tag保持一致
  s.version          = '1.0.0'
  #需要修改,库标题
  s.summary          = '我是第二个组件.'

  #需要修改,库描述,一定是这种格式
  s.description      = <<-DESC
                        我是第二个组件的描述文件,需要比标题长
                       DESC

  #可不用修改
  s.homepage         = 'https://github.com/zhonggaorong/TestTwo'
  # s.screenshots     = 'www.example.com/screenshots_1', 'www.example.com/screenshots_2'
  s.license          = { :type => 'MIT', :file => 'LICENSE' }
  #需要修改,作者信息
  s.author           = { 'zhonggaorong' => 'zhonggaorong@qishihuandian.com' }
  #需要修改,github远程代码库的下载链接,文章开始创建的
  s.source           = { :git => 'https://github.com/zhonggaorong/TestTwo.git', :tag => s.version.to_s }
  # s.social_media_url = 'https://twitter.com/<TWITTER_USERNAME>'

#需要修改,能使用的最低的iOS版本
  s.ios.deployment_target = '9.0'

#需要修改,代码文件的目录
  s.source_files = 'TestTwo/**/*'

  #需要修改,资源文件: 图片目录
  # s.resource_bundles = {
  #   'TestTwo' => ['TestTwo/Assets/*.png']
  # }

  # s.public_header_files = 'Pod/Classes/**/*.h'
  #需要修改,依赖的framework
  # s.frameworks = 'UIKit', 'MapKit'
  #需要修改,依赖的第三方库
  # s.dependency 'AFNetworking', '~> 2.3'
end
5.1 存放代码的目录,一定要放在这个地方 Classes文件下

5.2 编译项目, 从根目录执行 cd Example,然后执行 pod install ,进行关联。
6. 编译通过后,通过终端命令上传代码至远端代码库。
//1:代码加入缓冲区
git add .
//2:把代码提交到本地库
git commit -m “xxx"
//3:本地源与远程源进行连接
git remote add origin 远程代码仓库地址
//4:代码推送到远端
git push origin master (第一次push失败,就用强制push命令 git push -f origin master )
//5:本地代码库打上版本号
git tag 版本号 (注:这里的版本号必须和podspec里写的版本号一致)
//6: push到远端代码库
git push --tags

//备注 查看tag
git tag
// 备注 删除这个tag
git tag -d 1.0.0
7. 验证podspec文件是否合理。终端命令:先进入本地项目的根目录。
pod spec lint --verbose --allow-warnings --use-modular-headers --sources='https://github.com/CocoaPods/Specs.git'

//注释:
/*
--verbose:  打印详细信息
--allow-warnings:  无关紧要的警告可以通过检查
--use-modular-headers: 使用了oc与swift混编
--sources : 依赖了第三方库,需要指定源
*/
出现下面这个图:说明验证通过。

8. 最后一步:添加到远端索引库。 执行命令
格式: $ pod repo push 远端索引库名 当前库工程的podspec

如:
pod repo push ZgrTool TestTwo.podspec
问题总结:
问题一:
fatal: unable to access ‘https://github.com/zhonggaorong/ZgrTool.git/’: LibreSSL SSL_connect: SSL_ERROR_SYSCALL in connection to github.com:443
解决办法:
先执行: git config --global --add remote.origin.proxy “”
在执行: pod repo push ZgrTool TestTwo.podspec
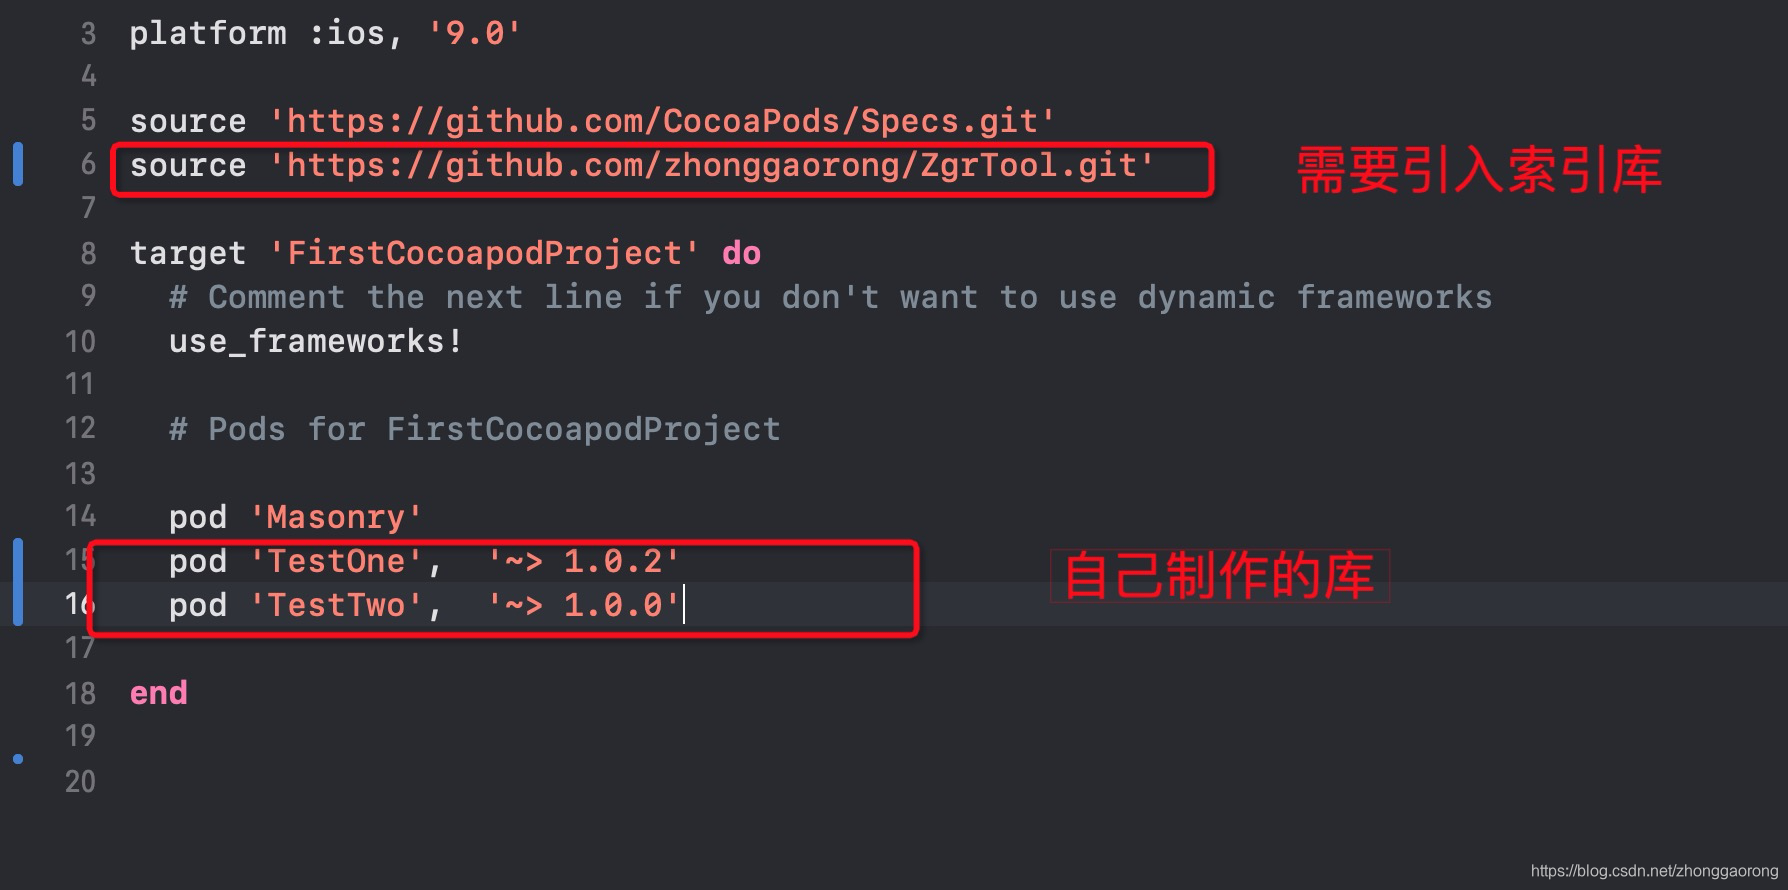
9. 最后一步:开始使用。
在使用工程中的Podfile中
如下进行使用: