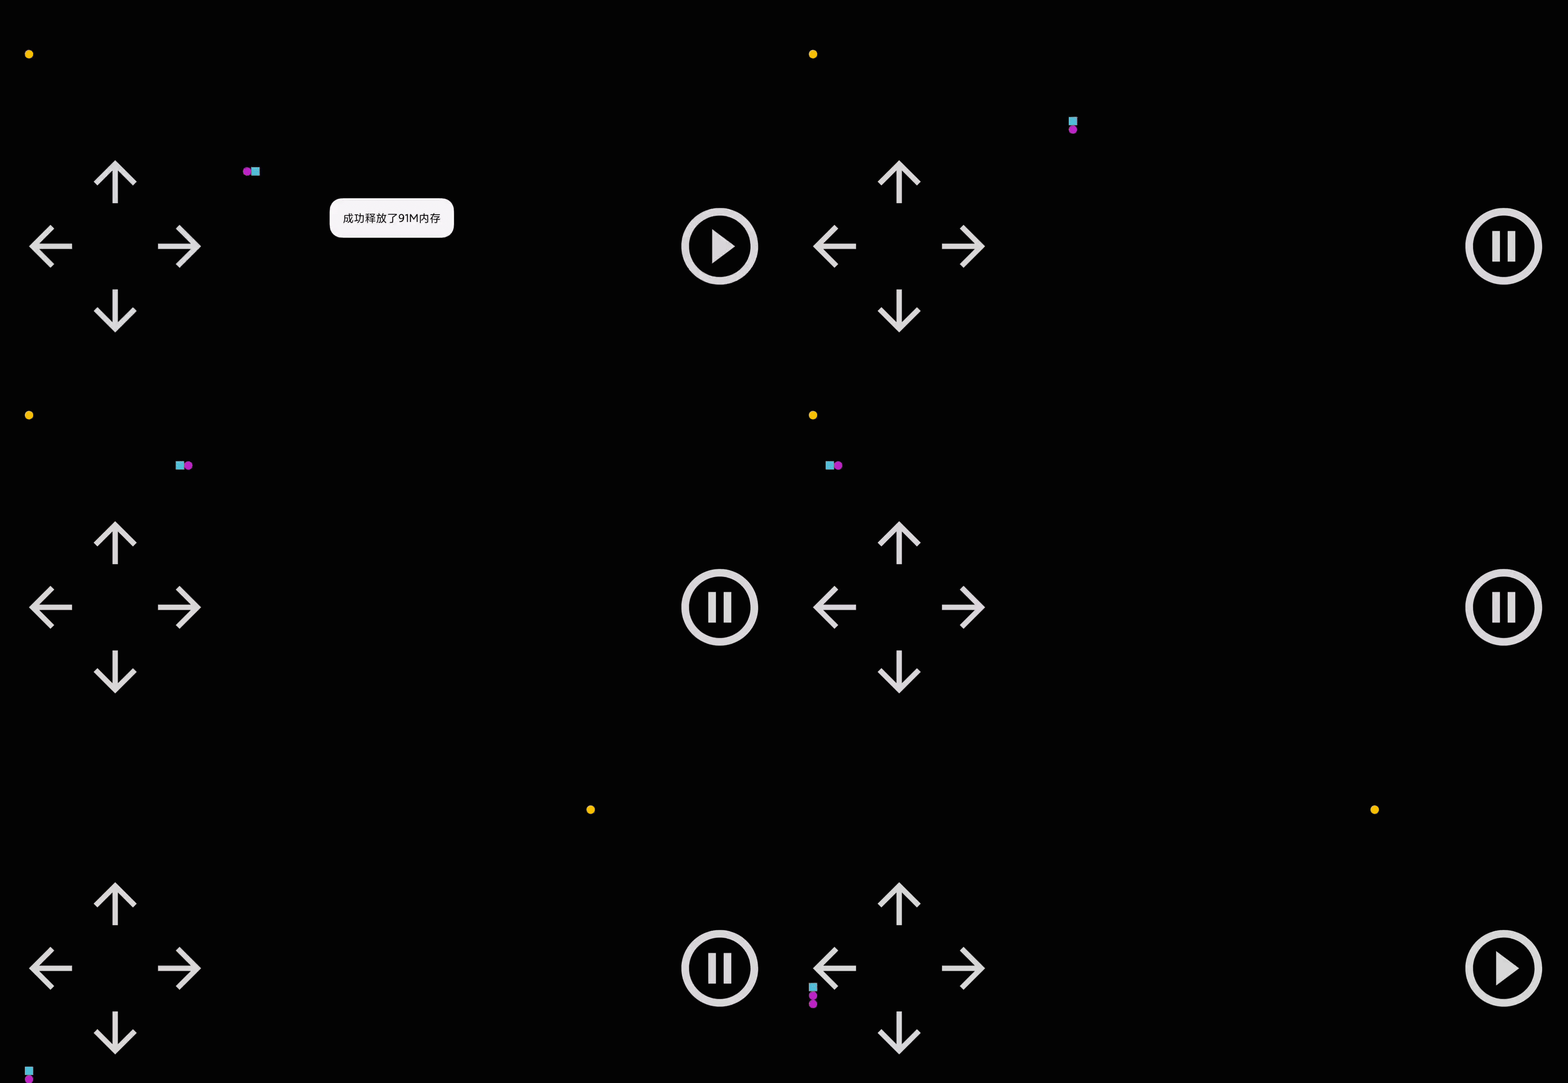
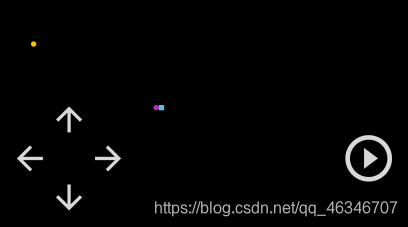
先上个最后完成品的效果图

一、绘制页面
最终视图
界面绘制
activity_main.xml中的控件一共分为两个,我将按键单独提取出复合成一个控件,背景、蛇、食物自定义成一个 view
<?xml version="1.0" encoding="utf-8"?>
<androidx.constraintlayout.widget.ConstraintLayout xmlns:android="http://schemas.android.com/apk/res/android"
    xmlns:app="http://schemas.android.com/apk/res-auto"
    xmlns:tools="http://schemas.android.com/tools"
    android:layout_width="match_parent"
    android:layout_height="match_parent"
    tools:context=".MainActivity">

    <com.yunyan.snake.widget.BackgroundView
        android:id="@+id/backgroundView"
        android:layout_width="match_parent"
        android:layout_height="match_parent"
        android:background="@color/black"
        app:layout_constraintBottom_toBottomOf="parent"
        app:layout_constraintEnd_toEndOf="parent"
        app:layout_constraintStart_toStartOf="parent"
        app:layout_constraintTop_toTopOf="parent" />

    <com.yunyan.snake.widget.KeyView
        android:id="@+id/controlView"
        android:layout_width="match_parent"
        android:layout_height="210dp"
        android:layout_margin="20dp"
        app:layout_constraintBottom_toBottomOf="parent"
        app:layout_constraintStart_toStartOf="parent" />

</androidx.constraintlayout.widget.ConstraintLayout>
- 先来看一下 按键 的复合控件
view_key.xml视图
用 Button 按钮来当 上下左右 与 开始 / 暂停 按键
<androidx.constraintlayout.widget.ConstraintLayout xmlns:android="http://schemas.android.com/apk/res/android"
    xmlns:app="http://schemas.android.com/apk/res-auto"
    android:layout_width="match_parent"
    android:layout_gravity="center_vertical"
    android:layout_height="210dp">

    <androidx.constraintlayout.widget.ConstraintLayout
        android:layout_width="210dp"
        android:layout_height="210dp"
        app:layout_constraintBottom_toBottomOf="parent"
        app:layout_constraintStart_toStartOf="parent"
        app:layout_constraintTop_toTopOf="parent">

        <Button
            android:id="@+id/keyView_btn_up"
            android:layout_width="70dp"
            android:layout_height="70dp"
            android:background="@drawable/select_up"
            app:layout_constraintEnd_toEndOf="parent"
            app:layout_constraintStart_toStartOf="parent"
            app:layout_constraintTop_toTopOf="parent" />

        <Button
            android:id="@+id/keyView_btn_left"
            android:layout_width="70dp"
            android:layout_height="70dp"
            android:background="@drawable/select_left"
            app:layout_constraintStart_toStartOf="parent"
            app:layout_constraintTop_toBottomOf="@+id/keyView_btn_up" />

        <Button
            android:id="@+id/keyView_btn_right"
            android:layout_width="70dp"
            android:layout_height="70dp"
            android:background="@drawable/select_right"
            app:layout_constraintEnd_toEndOf="parent"
            app:layout_constraintTop_toBottomOf="@+id/keyView_btn_up" />

        <Button
            android:id="@+id/keyView_btn_down"
            android:layout_width="70dp"
            android:layout_height="70dp"
            android:background="@drawable/select_down"
            app:layout_constraintEnd_toEndOf="parent"
            app:layout_constraintStart_toStartOf="parent"
            app:layout_constraintTop_toBottomOf="@+id/keyView_btn_left" />

    </androidx.constraintlayout.widget.ConstraintLayout>

    <Button
        android:id="@+id/keyView_btn_switch"
        android:layout_width="100dp"
        android:layout_height="100dp"
        android:background="@drawable/select_pause"
        app:layout_constraintBottom_toBottomOf="parent"
        app:layout_constraintEnd_toEndOf="parent"
        app:layout_constraintTop_toTopOf="parent" />

</androidx.constraintlayout.widget.ConstraintLayout>
- 为了让按键视觉效果更好 定义
selector设置 每个按钮图片的state_pressed以实现按压效果
这里用按键 上 的文件来举例
<?xml version="1.0" encoding="utf-8"?>
<selector xmlns:android="http://schemas.android.com/apk/res/android">

    <item android:state_pressed="true" android:drawable="@drawable/ic_up_pressed_white"/>

    <item android:state_pressed="false" android:drawable="@drawable/ic_up_white"/>

</selector>
- 定义
KeyView继承FrameLayout并实现View.OnClickListener接口
初始化相关的代码这里就不贴了,详细的可以点击文章尾部的 Github 源码
class KeyView(context: Context, attributeSet: AttributeSet) :

	private lateinit var mBtnUp: Button
	......
	private lateinit var mBtnSwitch: Button

	init {
        init()
    }
     private fun init() {
        val inflate = inflate(context, R.layout.view_key, this)
        mBtnUp = inflate.findViewById(R.id.keyView_btn_up)
        ......
        mBtnUp.setOnClickListener(this)
        ......
    }
    FrameLayout(context, attributeSet), View.OnClickListener {
       override fun onClick(v: View?) {
       }
    }
静态蛇绘制
- 按键视图完成现在来进行 蛇、食物的绘制
新建
BackgroundView继承 View
class BackgroundView(context: Context, attributeSet: AttributeSet) : View(context, attributeSet) {
}
- 既然要绘制肯定需要画笔
定义三个全局变量画笔,进行延迟初始化
private lateinit var mPaintHead: Paint
private lateinit var mPaintBody: Paint
private lateinit var mPaintFood: Paint
- 蛇的身体可以看做是一个数组
所以我们定义两个数组存储 蛇 的x,y坐标,在定义一个变量蛇的默认长度
随机食物使用 float 类型变量存储坐标
private val mSnakeX = FloatArray(800)
private val mSnakeY = FloatArray(800)

private var mFoodX = 0f
private var mFoodY = 0f

private var mSnakeLength = 2
- 变量设置完成还需要进行初始化
	init {
        init()
	}

    private fun init() {
        mPaintHead = Paint()
        mPaintHead.isAntiAlias = true
        mPaintHead.color = resources.getColor(R.color.head, null)
        ......
        mSnakeX[0] = 750f
        mSnakeY[0] = 500f
        mFoodX = 25 * Random().nextInt(15).toFloat()
        mFoodY = 25 * Random().nextInt(15).toFloat()
    }
- 开始绘制蛇身与食物,蛇的每一截长宽为 25,食物也为25
//  绘制蛇身
 for (i in mSnakeLength downTo 1) {
     mSnakeX[i] = mSnakeX[i - 1]
     mSnakeY[i] = mSnakeY[i - 1]
     canvas?.drawOval(mSnakeX[i],mSnakeY[i],mSnakeX[i] + 25,mSnakeY[i] + 25,mPaintBody)
}
//  绘制蛇头
canvas?.drawRect(mSnakeX[0], mSnakeY[0], mSnakeX[0] + 25, mSnakeY[0] + 25, mPaintHead)
//  绘制食物
canvas?.drawOval(mFoodX, mFoodY, mFoodX + 25, mFoodY + 25, mPaintFood)
二、让蛇动起来
- 定义枚举
DirectionStateEnum用来记录方向
GameStateEnum用来记录游戏状态
enum class DirectionStateEnum {
    UP,
    DOWN,
    LEFT,
    RIGHT
}
enum class GameStateEnum {
    START,
    PAUSE,
    STOP
}
- 在
BackgroundView中设置方向变量默认向右 ,游戏状态为停止
private var mDirectionEnum = DirectionStateEnum.RIGHT
private var mGameState = GameStateEnum.STOP
- 定义一个 定时器 与 handler
定时器每个 0.1s 向 handler 发送消息并调用
invalidate()重新绘制
    private val mTimer = Timer().schedule(object : TimerTask() {
        override fun run() {
            val message = Message()
            message.what = 99
            mHandler.sendMessage(message)
        }

    }, 0, 100)
object : Handler() {
        override fun handleMessage(msg: Message) {
            if (msg.what == 99 && mGameState == GameStateEnum.START) {
                judgmentDirection()
                invalidate()
            }
        }

    }
	/**
     * 判断蛇头方向
     */
    private fun judgmentDirection() {
        when (mDirectionEnum) {
            DirectionStateEnum.UP -> {
                mSnakeY[0] = mSnakeY[0] - 25
                if (mSnakeY[0] < 25) mSnakeY[0] = measuredHeight.toFloat()
            }
            DirectionStateEnum.DOWN -> {
                mSnakeY[0] = mSnakeY[0] + 25
                if (mSnakeY[0] > measuredHeight) mSnakeY[0] = 25f
            }
            DirectionStateEnum.LEFT -> {
                mSnakeX[0] = mSnakeX[0] - 25
                if (mSnakeX[0] < 25) mSnakeX[0] = measuredWidth.toFloat()
            }
            DirectionStateEnum.RIGHT -> {
                mSnakeX[0] = mSnakeX[0] + 25
                if (mSnakeX[0] > measuredWidth) mSnakeX[0] = 25f
            }
        }
    }
三、按键控制蛇的方向与游戏状态
- 新建
IKeyData接口用作数据传递,并在MainActivity中实现接口
interface IKeyData {

    /**
     * 获取游戏状态
     */
    fun gameState(gameState: GameStateEnum)

    /**
     * 获取蛇头方向
     */
    fun direction(directionState: DirectionStateEnum)

}
	override fun gameState(gameState: GameStateEnum) {
        if (gameState == GameStateEnum.STOP) {
            mKeyView.gameOver()
        } else {
            mBackgroundView.setGameState(gameState)
        }
    }

    override fun direction(directionState: DirectionStateEnum) {
        mBackgroundView.setDirection(directionState)
    }
- 在
BackgroundView中新建方法用作获取游戏状态与蛇头方向并判断蛇头方向是否与上一次方向相反
	 fun setGameState(gameStateEnum: GameStateEnum) {
        this.mGameState = gameStateEnum
    }

	/**
     * 设置蛇头方向
     */
    fun setDirection(directionState: DirectionStateEnum) {
        if (isDirectionContrary(directionState)) {
            mGameState = GameStateEnum.STOP
            gameOver()
            Toast.makeText(context, "方向相反,游戏失败!", Toast.LENGTH_SHORT).show()
        }
        if (mGameState == GameStateEnum.START) {
            this.mDirectionEnum = directionState
        }
    }
	/**
     * 判断按键方向是否与所前进方向相反
     */
    private fun isDirectionContrary(directionState: DirectionStateEnum): Boolean {
        when (directionState) {
            DirectionStateEnum.UP -> {
                if (this.mDirectionEnum == DirectionStateEnum.DOWN) return true
            }
            DirectionStateEnum.DOWN -> {
                if (this.mDirectionEnum == DirectionStateEnum.UP) return true
            }
            DirectionStateEnum.LEFT -> {
                if (this.mDirectionEnum == DirectionStateEnum.RIGHT) return true
            }
            DirectionStateEnum.RIGHT -> {
                if (this.mDirectionEnum == DirectionStateEnum.LEFT) return true
            }
        }
        return false
    }
- 在
KeyView中实现了View.OnClickListener接口用作点击监听,
并将游戏状态与方向传递出去
 override fun onClick(v: View?) {
        val id = v?.id
        if (mGameState == GameStateEnum.START) {
            when (id) {
                R.id.keyView_btn_up -> {
                    mDirection = DirectionStateEnum.UP
                }
                R.id.keyView_btn_down -> {
                    mDirection = DirectionStateEnum.DOWN
                }
                R.id.keyView_btn_left -> {
                    mDirection = DirectionStateEnum.LEFT
                }
                R.id.keyView_btn_right -> {
                    mDirection = DirectionStateEnum.RIGHT
                }
            }
        }
        if (id == R.id.keyView_btn_switch) {
            if (mGameState == GameStateEnum.STOP || mGameState == GameStateEnum.PAUSE) {
                mGameState = GameStateEnum.START
                mBtnSwitch.setBackgroundResource(R.drawable.select_start)
            } else {
                mBtnSwitch.setBackgroundResource(R.drawable.select_pause)
                mGameState = GameStateEnum.PAUSE
            }
            //  更新游戏状态
            mIKeyData.gameState(mGameState)
        }
        //  将方向传到背景视图中
        mIKeyData.direction(mDirection)
    }
四、蛇吃食物长大
- 在
BackgroundView中的onDraw方法中判断是否吃到食物,吃到食物蛇身+1,食物坐标随机
			//  判断是否吃到食物
            if (mSnakeX[0] == mFoodX && mSnakeY[0] == mFoodY) {
                mFoodX = 25 * Random().nextInt(measuredWidth / 25).toFloat()
                mFoodY = 25 * Random().nextInt(measuredHeight / 25).toFloat()
                mSnakeLength++
            }
五、游戏失败
- 游戏失败蛇头坐标重新赋值,游戏状态设置 停止,蛇身长度设回默认长度,将游戏状态传递出去通知按键视图更改
	/**
     * 游戏失败
     */
    private fun gameOver() {
        mGameState = GameStateEnum.STOP
        mIKeyData.gameState(mGameState)
        mSnakeLength = 2
        mSnakeX[0] = 750f
        mSnakeY[0] = 500f
    }
小问题
代码写的比较菜,目前还有两个小问题
- 当蛇头与食物碰撞时食物不消失但多碰撞几次就消失
- 当蛇头超过屏幕边界时偶尔不会从正对方向出现
源码
完整代码:Github 源码
