|
final int score;
final int time;
final String title;
final String type;
final String url;
Data({this.by, this.descendants, this.id, this.kids, this.score, this.time,
this.title, this.type, this.url});
}
我们在这里使用了dart语法糖创建了构造函数。具体请参考([www.dartlang.org/guides/lang…]( ))。

第四步:关联实体类文件
-----------

我们需要在我们的实体类中关联生成文件。
import ‘package:json_annotation/json_annotation.dart’;
part ‘data.g.dart’;
@JsonSerializable()
class Data {
final String by;
final int descendants;
final int id;
final List kids;
final int score;
final int time;
final String title;
final String type;
@JsonKey(nullable: false)
final String url;
Data({this.by, this.descendants, this.id, this.kids, this.score, this.time,
this.title, this.type, this.url});
**刚写完data.g.dart的会报错,这是正常的!因为我们还没生成解析文件**

*   为了使实体类文件找到生成文件,我们需要 part 'data.g.dart'。

第五步:生成Json解析文件
--------------

**当当当...!这里开始就是重头戏了!!**

我们要使用JsonSerializable生成代码的话必须要在需要生成代码的实体类前添加注解@JsonSerializable(),而要使用这个注解我们必须引入json\_annotation/json\_annotation.dart这个包。
import ‘package:json_annotation/json_annotation.dart’;
@JsonSerializable()
class Data{
final String by;
final int descendants;
final int id;
final List kids;
final int score;
final int time;
final String title;
final String type;
final String url;
Data({this.by, this.descendants, this.id, this.kids, this.score, this.time,
this.title, this.type, this.url});
}
这里需要注意,flutter编码规范dart文件名统一小写,这样可以避免很多问题。ok这样实体类就创建完成啦。
**那么问题来了,应该如何生成代码呢?**
还记得我们刚才添加的build\_runner的依赖吗,这时候我们就需要它来帮忙咯。
### build\_runner
build\_runner是dart团队提供的一个生成dart代码文件的外部包。
我们在当前项目的目录下运行`flutter packages pub run build_runner build`

运行成功后我们应该能在这个实体类的下面发现一个新的文件

这个data.g.dart就是build\_runner根据JsonSerializable生成的json解析文件。 我们来看看这个生成的dart文件
// GENERATED CODE - DO NOT MODIFY BY HAND
part of ‘data.dart’;
// **************************************************************************
// JsonSerializableGenerator
// **************************************************************************
Data _$DataFromJson(Map<String, dynamic> json) {
return Data(
by: json[‘by’] as String,
descendants: json[‘descendants’] as int,
id: json[‘id’] as int,
kids: (json[‘kids’] as List)?.map((e) => e as int)?.toList(),
score: json[‘score’] as int,
time: json[‘time’] as int,
title: json[‘title’] as String,
type: json[‘type’] as String,
url: json[‘url’] as String);
}
Map<String, dynamic> _$DataToJson(Data instance) => <String, dynamic>{
‘by’: instance.by,
‘descendants’: instance.descendants,
‘id’: instance.id,
‘kids’: instance.kids,
‘score’: instance.score,
‘time’: instance.time,
‘title’: instance.title,
‘type’: instance.type,
‘url’: instance.url
};
同志们请注意这段代码最上面的注释"// GENERATED CODE - DO NOT MODIFY BY HAND"。你可千万别手写生成文件啊哈哈哈哈。

这段代码生成实体类库的一个part,在老版本part中有一个抽象实体类的mixin,dart中使用基于mixin的继承来解决单继承的局限性。

新版本中声称了两个方法,fromJson和toJson方法,它们能干什么相信大家从名字上就能猜到了。

【对part感兴趣的同学可以参考https://juejin.im/post/6844903649617936392#heading-8 Dart | 浅析dart中库的导入与拆分。

对mixin感兴趣的同学可以在([www.dartlang.org/guides/lang…]( ))了解更多关于mixin的知识。】

*   \_$DataFromJson:它接收了一个map:Map<String, dynamic>,并将这个Map里的值映射为我们所需要的实体类对象。我们就可以使用这个方法,将存有json数据的map转化为我们需要的实体类对象。
*   \_$DataToJson:将调用此方法的对象直接根据字段映射成Map。

而这两个都是私有方法,part让两个文件共享作用域与命名空间,所以我们需要将生成的方法暴露给外部。

然后我们再回到实体类中将 添加fromJson 和 toJson方法。
import ‘package:json_annotation/json_annotation.dart’;
@JsonSerializable()
class Data{
final String by;
final int descendants;
final int id;
final List kids;
final int score;
final int time;
final String title;
final String type;
final String url;
Data({this.by, this.descendants, this.id, this.kids, this.score, this.time,
this.title, this.type, this.url});
//反序列化
factory Data.fromJson(Map<String, dynamic> json) => _KaTeX parse error: Expected group after '_' at position 62: …c> toJson() => _?DataToJson(this);
}
*   提供一个工厂构造方法Data.fromJson,该方法实际调用生成文件的DataFromJson方法。
*   提供一个toJson()序列化对象的方法,实际调用生成文件的\_$DataToJson()方法,并将调用对象解析生成Map<String ,dynamic>。

**这样Json反序列化的工作就完成啦!**

第六步:JSON反序列化
------------

我们刚才实现了Map to Dart,可是我们需要的是json to dart。这时候就需要dart自带的 **dart:convert** 来帮助我们了。

### dart:convert

dart:convert是dart提供用于在不同数据表示之间进行转换的编码器和解码器,能够解析JSON和UTF-8。

也就是说我们需要先将json数据使用dart:convert转成Map,我们就能通过Map转为dart对象了。

**使用方法**
Map<String ,dynamic> map = json.decode(“jsondata”);
知道了如何将jsonString解析成map以后我们就能直接将json转化为实体对象啦。

**转化方法**
Data data = Data.fromJson(json.decode(‘jsondata’));
第七步:编写单元测试
----------

flutter给我们提供了单元测试,它的好处在于,我们想要验证代码的正确性不用跑整个程序,每次只用跑一个单元测试文件。而且养成习惯编写单元测试以后,能够保证以后在开发过程中快速精确定位错误,避免新加入的代码破坏老的代码引起项目崩溃。每次应用启动前都会跑一遍单元测试以确保项目能够正确运行。在实际开发中我们应该使用的mock数据来作为测试数据来源。

**使用方法**: 右键run这个测试文件
import ‘dart:convert’;
import ‘package:flutter_test/flutter_test.dart’;
import ‘package:wmkids/data/mockdata.dart’;
import ‘package:wmkids/data/data.dart’;
void main(){
group(‘jsonparse test’, (){
test(‘mockdata test’, (){
Data data1 = Data.fromJson(json.decode(JsonString.mockdata));
expect(data1.url, ‘http://www.getdropbox.com/u/2/screencast.html’);
});
});
}
我们使用到了第一步创建的mock数据,并验证了该json的url,假如我们解析正确这个单元测试将会通过。
[外链图片转存失败,源站可能有防盗链机制,建议将图片保存下来直接上传(img-WAbfuy0g-1630571915231)(https://user-gold-cdn.xitu.io/2018/7/30/164eb859f14c695a?imageView2/0/w/1280/h/960/ignore-error/1)]
这里的group是一组测试,一个group中可以有多个test验证我们的代码是否正确。
expect(data1,data2);会check我们的data1与data2的值是否相等,假如一样的话就会通过测试。假如不一样的话会告诉我们哪里不一样。
[外链图片转存失败,源站可能有防盗链机制,建议将图片保存下来直接上传(img-EDd1uQ9V-1630571915233)(https://user-gold-cdn.xitu.io/2018/7/30/164eb8b89cba6385?imageView2/0/w/1280/h/960/ignore-error/1)]
常用场景特殊处理办法
==========
对象嵌套场景下的json解析
--------------
在json中经常会使用嵌套信息,我们在解析成dart文件的时候需要解析成对象嵌套。在这种场景下需要将编写步骤做一个调整。 我们需要在编写实体类的时候就带上工厂方法,因为对象存在依赖关系,先要保证子对象是serializable的才能保证父对象成功解析。
[外链图片转存失败,源站可能有防盗链机制,建议将图片保存下来直接上传(img-ypUNHd5q-1630571915234)(https://user-gold-cdn.xitu.io/2018/7/31/164ec1fdd72ad4e2?imageView2/0/w/1280/h/960/ignore-error/1)]
**这里提示有错误时正常的**,然后再生成文件。
自定义字段
-----
我们可以通过JsonKey自定义参数进行注释并自定义参数来自定义各个字段。例如:是否允许字段为空等。**注意,这里不加任何JsonKey默认允许空json字段。**
**例如:**
### 资源分享


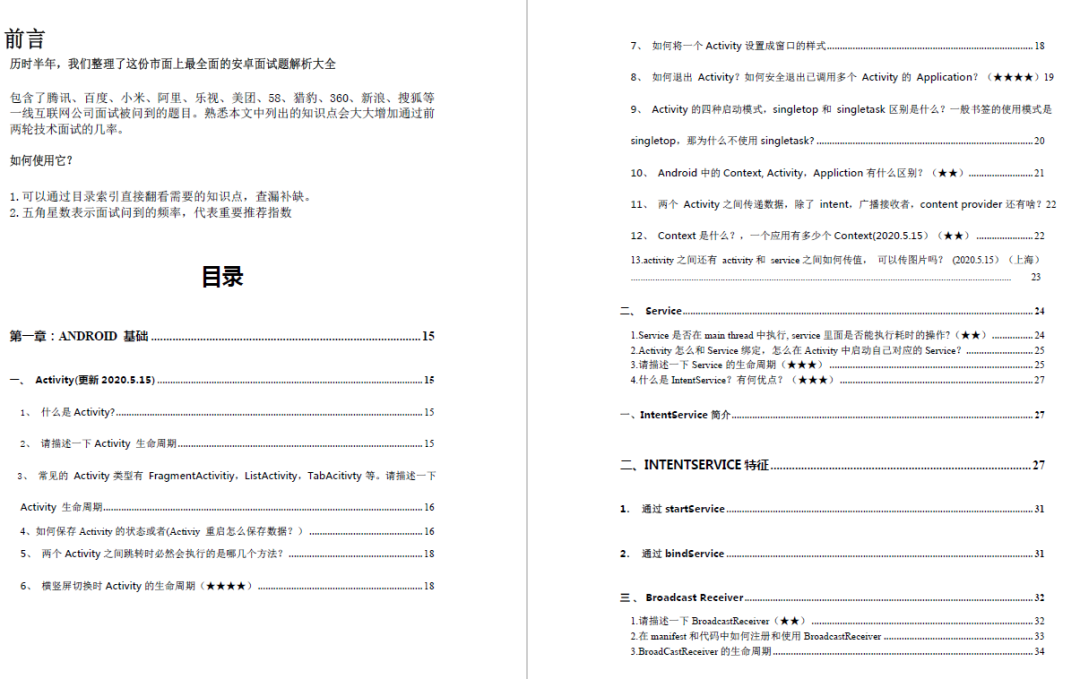
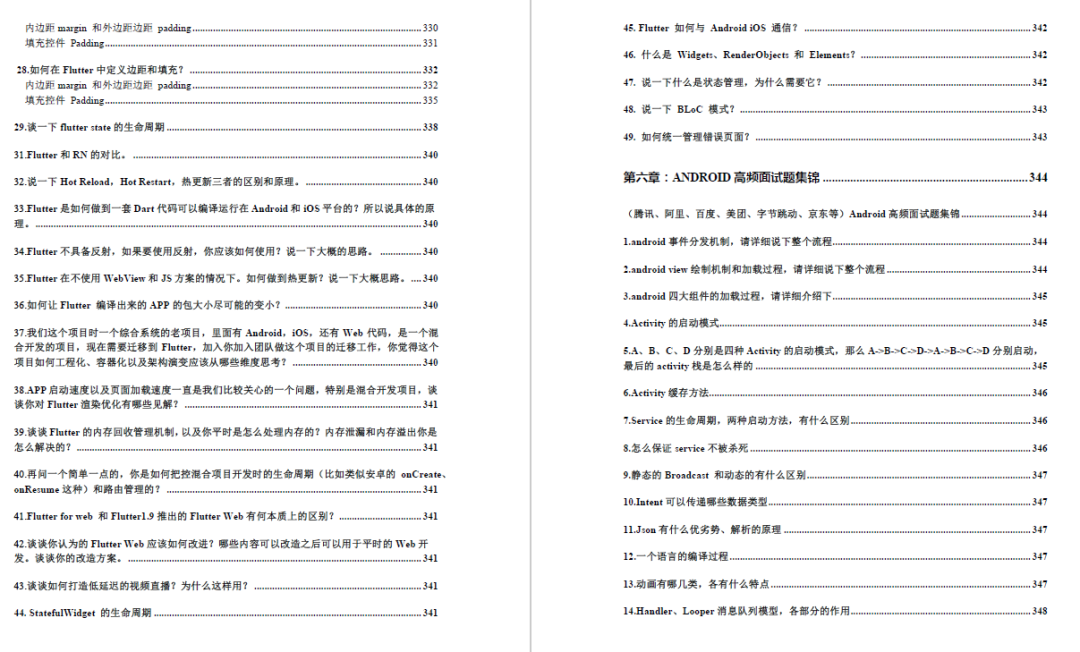
**[CodeChina开源项目:《Android学习笔记总结+移动架构视频+大厂面试真题+项目实战源码》](https://codechina.csdn.net/m0_60958482/android_p7)**
网上学习 Android的资料一大堆,但如果学到的知识不成体系,遇到问题时只是浅尝辄止,不再深入研究,那么很难做到真正的技术提升。希望这份系统化的技术体系对大家有一个方向参考。
571915238)]
[外链图片转存中...(img-HE6uMpUd-1630571915239)]
**[CodeChina开源项目:《Android学习笔记总结+移动架构视频+大厂面试真题+项目实战源码》](https://codechina.csdn.net/m0_60958482/android_p7)**
网上学习 Android的资料一大堆,但如果学到的知识不成体系,遇到问题时只是浅尝辄止,不再深入研究,那么很难做到真正的技术提升。希望这份系统化的技术体系对大家有一个方向参考。
> 2020年虽然路途坎坷,都在说Android要没落,但是,不要慌,做自己的计划,学自己的习,竞争无处不在,每个行业都是如此。相信自己,没有做不到的,只有想不到的。祝大家2021年万事大吉。
|