1.2 NSTextView
NSTextView是OS X中一种可以展现大容量文本的控件,但其文本内容超出控件本身时,会出现滚动条以供滑动。NSTextView的创建与使用与NSTextField类似,下面是其详细介绍。
1.2.1 基本声明
    var textView: NSTextView!

    private func initView(){
        mView = NSView(frame: NSRect(x: 0, y: 0, width: self.view.frame.width, height: self.view.frame.height))

        textView = NSTextView()
        textView.delegate = self
        textView.enabledTextCheckingTypes = .min
        textView.string = "Intent intent = new Intent(this);\n startActivity(intent);"
        textView.isContinuousSpellCheckingEnabled = true
        self.view.addSubview(textView)

        textView.snp.makeConstraints{ make in
            make.width.equalTo(self.view.frame.width - 80)
            make.height.equalTo(self.view.frame.height - 150)
            make.centerX.equalToSuperview()
            make.top.equalTo(self.view.snp.top).offset(15)
        }
    }
说明:NSTextView与NSTextField相比,其文本输入与查看是其优势,那么Cocoa也相应地提供了有利文本编辑的属性。isContinuousSpellCheckingEnabled该方法就是是否开启自动拼写检查,对于Java或Swift这种对类名或方法名拼写较为严格的语言而言,该功能是个非常有利的特性。另外,NSTextView的文本设置或读取采用string属性进行读写。
1.2.2 常见代理
func textShouldBeginEditing(_ textObject: NSText) -> Bool {
} // 文本应该被编辑前回调,返布尔回值系决定用户能否输入的条件
func textDidBeginEditing(_ notification: Notification) {
} // 参数对象为Notification类型,需要转型操作。文本内容已经开始编辑时回调
func textDidEndEditing(_ notification: Notification) {
} // 失去焦点时回调
func textDidChange(_ notification: Notification) {
} // 内容变化时回调
func textShouldEndEditing(_ textObject: NSText) -> Bool {
} // 布尔返回值决定能否结束编辑状态
本节代码:
//
//  NSTextViewController.swift
//  Versatile
//
//  Created by Eldest's MacBook on 2021/10/4.
//

import Cocoa
import SnapKit

class NSTextViewController: NSViewController, NSTextViewDelegate {

    var mView: NSView!
    var textView: NSTextView!

    override func loadView() {
        self.view = NSView(frame: NSRect(x: 0, y: 0, width: 500, height: 300))
    }

    private func initView(){
        mView = NSView(frame: NSRect(x: 0, y: 0, width: self.view.frame.width, height: self.view.frame.height))

        textView = NSTextView()
        textView.delegate = self
        textView.enabledTextCheckingTypes = .min
        textView.string = "Intent intent = new Intent(this);\n startActivity(intent);"
        textView.isContinuousSpellCheckingEnabled = true
        self.view.addSubview(textView)

        textView.snp.makeConstraints{ make in
            make.width.equalTo(self.view.frame.width - 80)
            make.height.equalTo(self.view.frame.height - 150)
            make.centerX.equalToSuperview()
            make.top.equalTo(self.view.snp.top).offset(15)
        }
    }

    private func initConfig(){
        self.title = "NSTextView"
    }

    override func viewDidLoad() {
        super.viewDidLoad()
        // Do view setup here.

        initView()
        initConfig()
    }

    // MARK: - Delegate.
    func textShouldBeginEditing(_ textObject: NSText) -> Bool {
        print("------> textShouldBeginEditing: \(textObject.string)")
        return true
    }

    func textDidBeginEditing(_ notification: Notification) {
        let tempTextView = notification.object as! NSTextView
        print("------> textDidBeginEditing: \(tempTextView.string)")
    }

    func textDidEndEditing(_ notification: Notification) {
        let tempTextView = notification.object as! NSTextView
        print("------> textDidEndEditing: \(tempTextView.string)")
    }

    func textDidChange(_ notification: Notification) {
        let tempTextView = notification.object as! NSTextView
        print("------> textDidChange: \(tempTextView.string)")
    }

    func textShouldEndEditing(_ textObject: NSText) -> Bool {
        print("------> textShouldEndEditing: \(textObject.string)")
        return true
    }
}
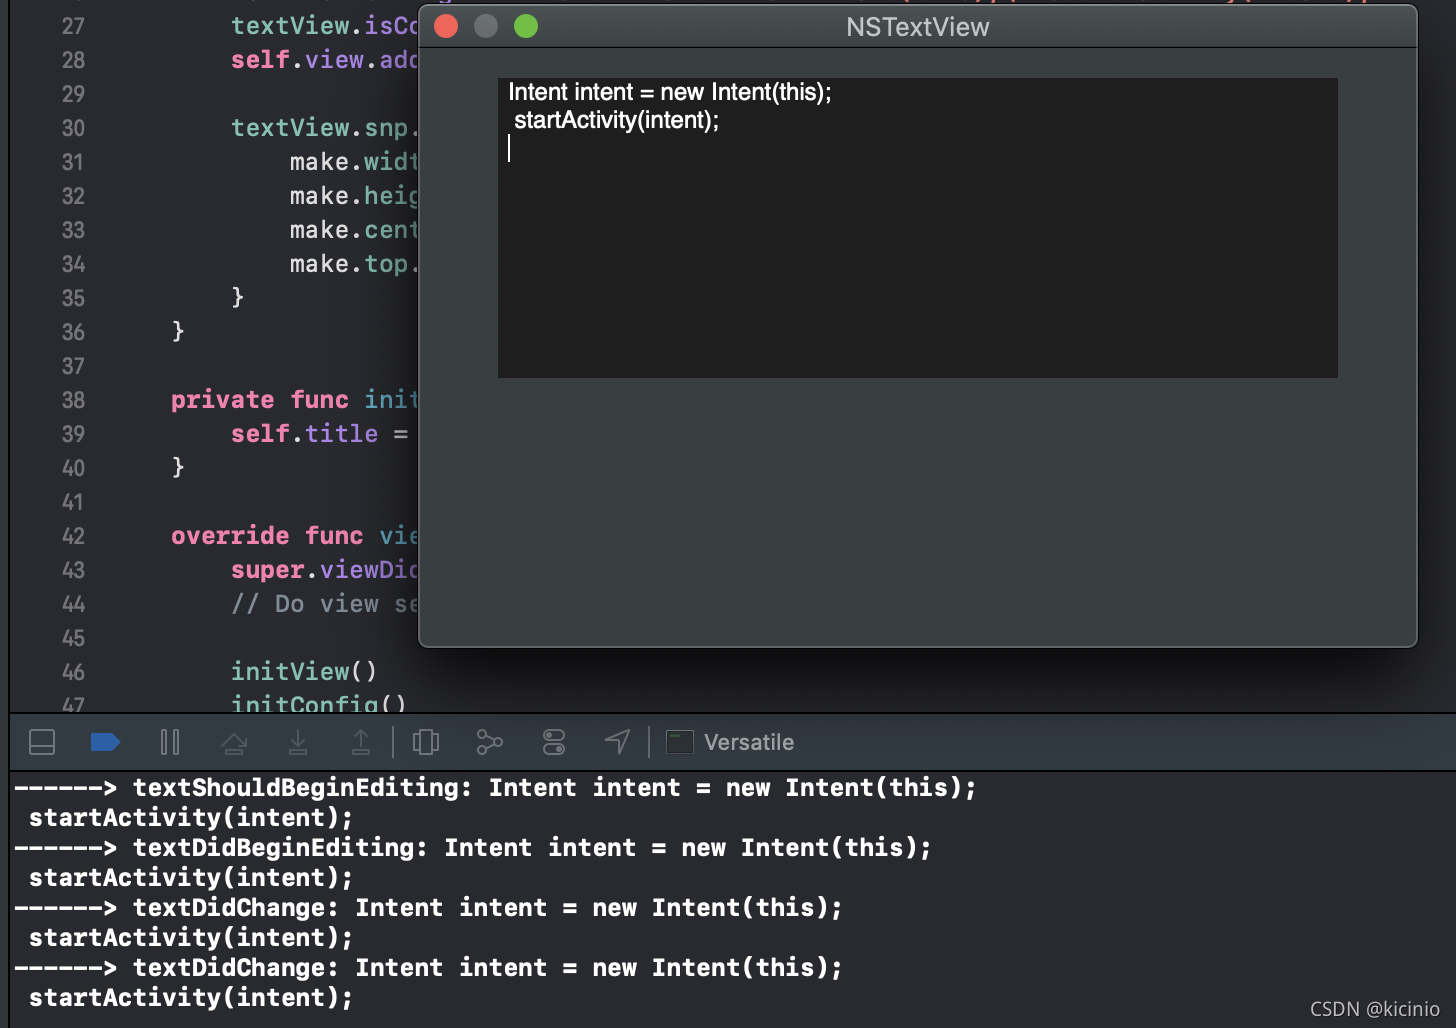
(注意:本节由于新建了一个NSViewController,故在本ViewController内进行了loadView()重写方法的操作)
运行截图:
