安卓网络请求
先看一下今天的大纲
- 导入okhttp和okio依赖
- 禁用掉明文流量请求的检查
- 添加访问权限
- 布局及代码实现
- 运行结果

下面是具体步骤
一、导入okhttp和okio的依赖
1.打开File-Project Structure-Dependencies,
2.选择自己的程序文件,点击加号,选择Library Dependency

3.搜索okhttp,选择Com.squareup.okhttp3,点击ok按钮,此时可能需要较长时间

5.okio同上

6.应用,确认

7.此时我们可以看到Gradle Scripts-build.gradle (Module: My_Application.app)多了两个依赖
Module: My_Application.app是自己对应的app

二、禁用掉明文流量请求的检查
1.在res目录下新建xml文件夹,在xml文件夹下新建nettools.xml
nettools.xml
<?xml version="1.0" encoding="utf-8"?>
<network-security-config>
    <!--禁用掉明文流量请求的检查-->
    <base-config cleartextTrafficPermitted="true" />
</network-security-config>

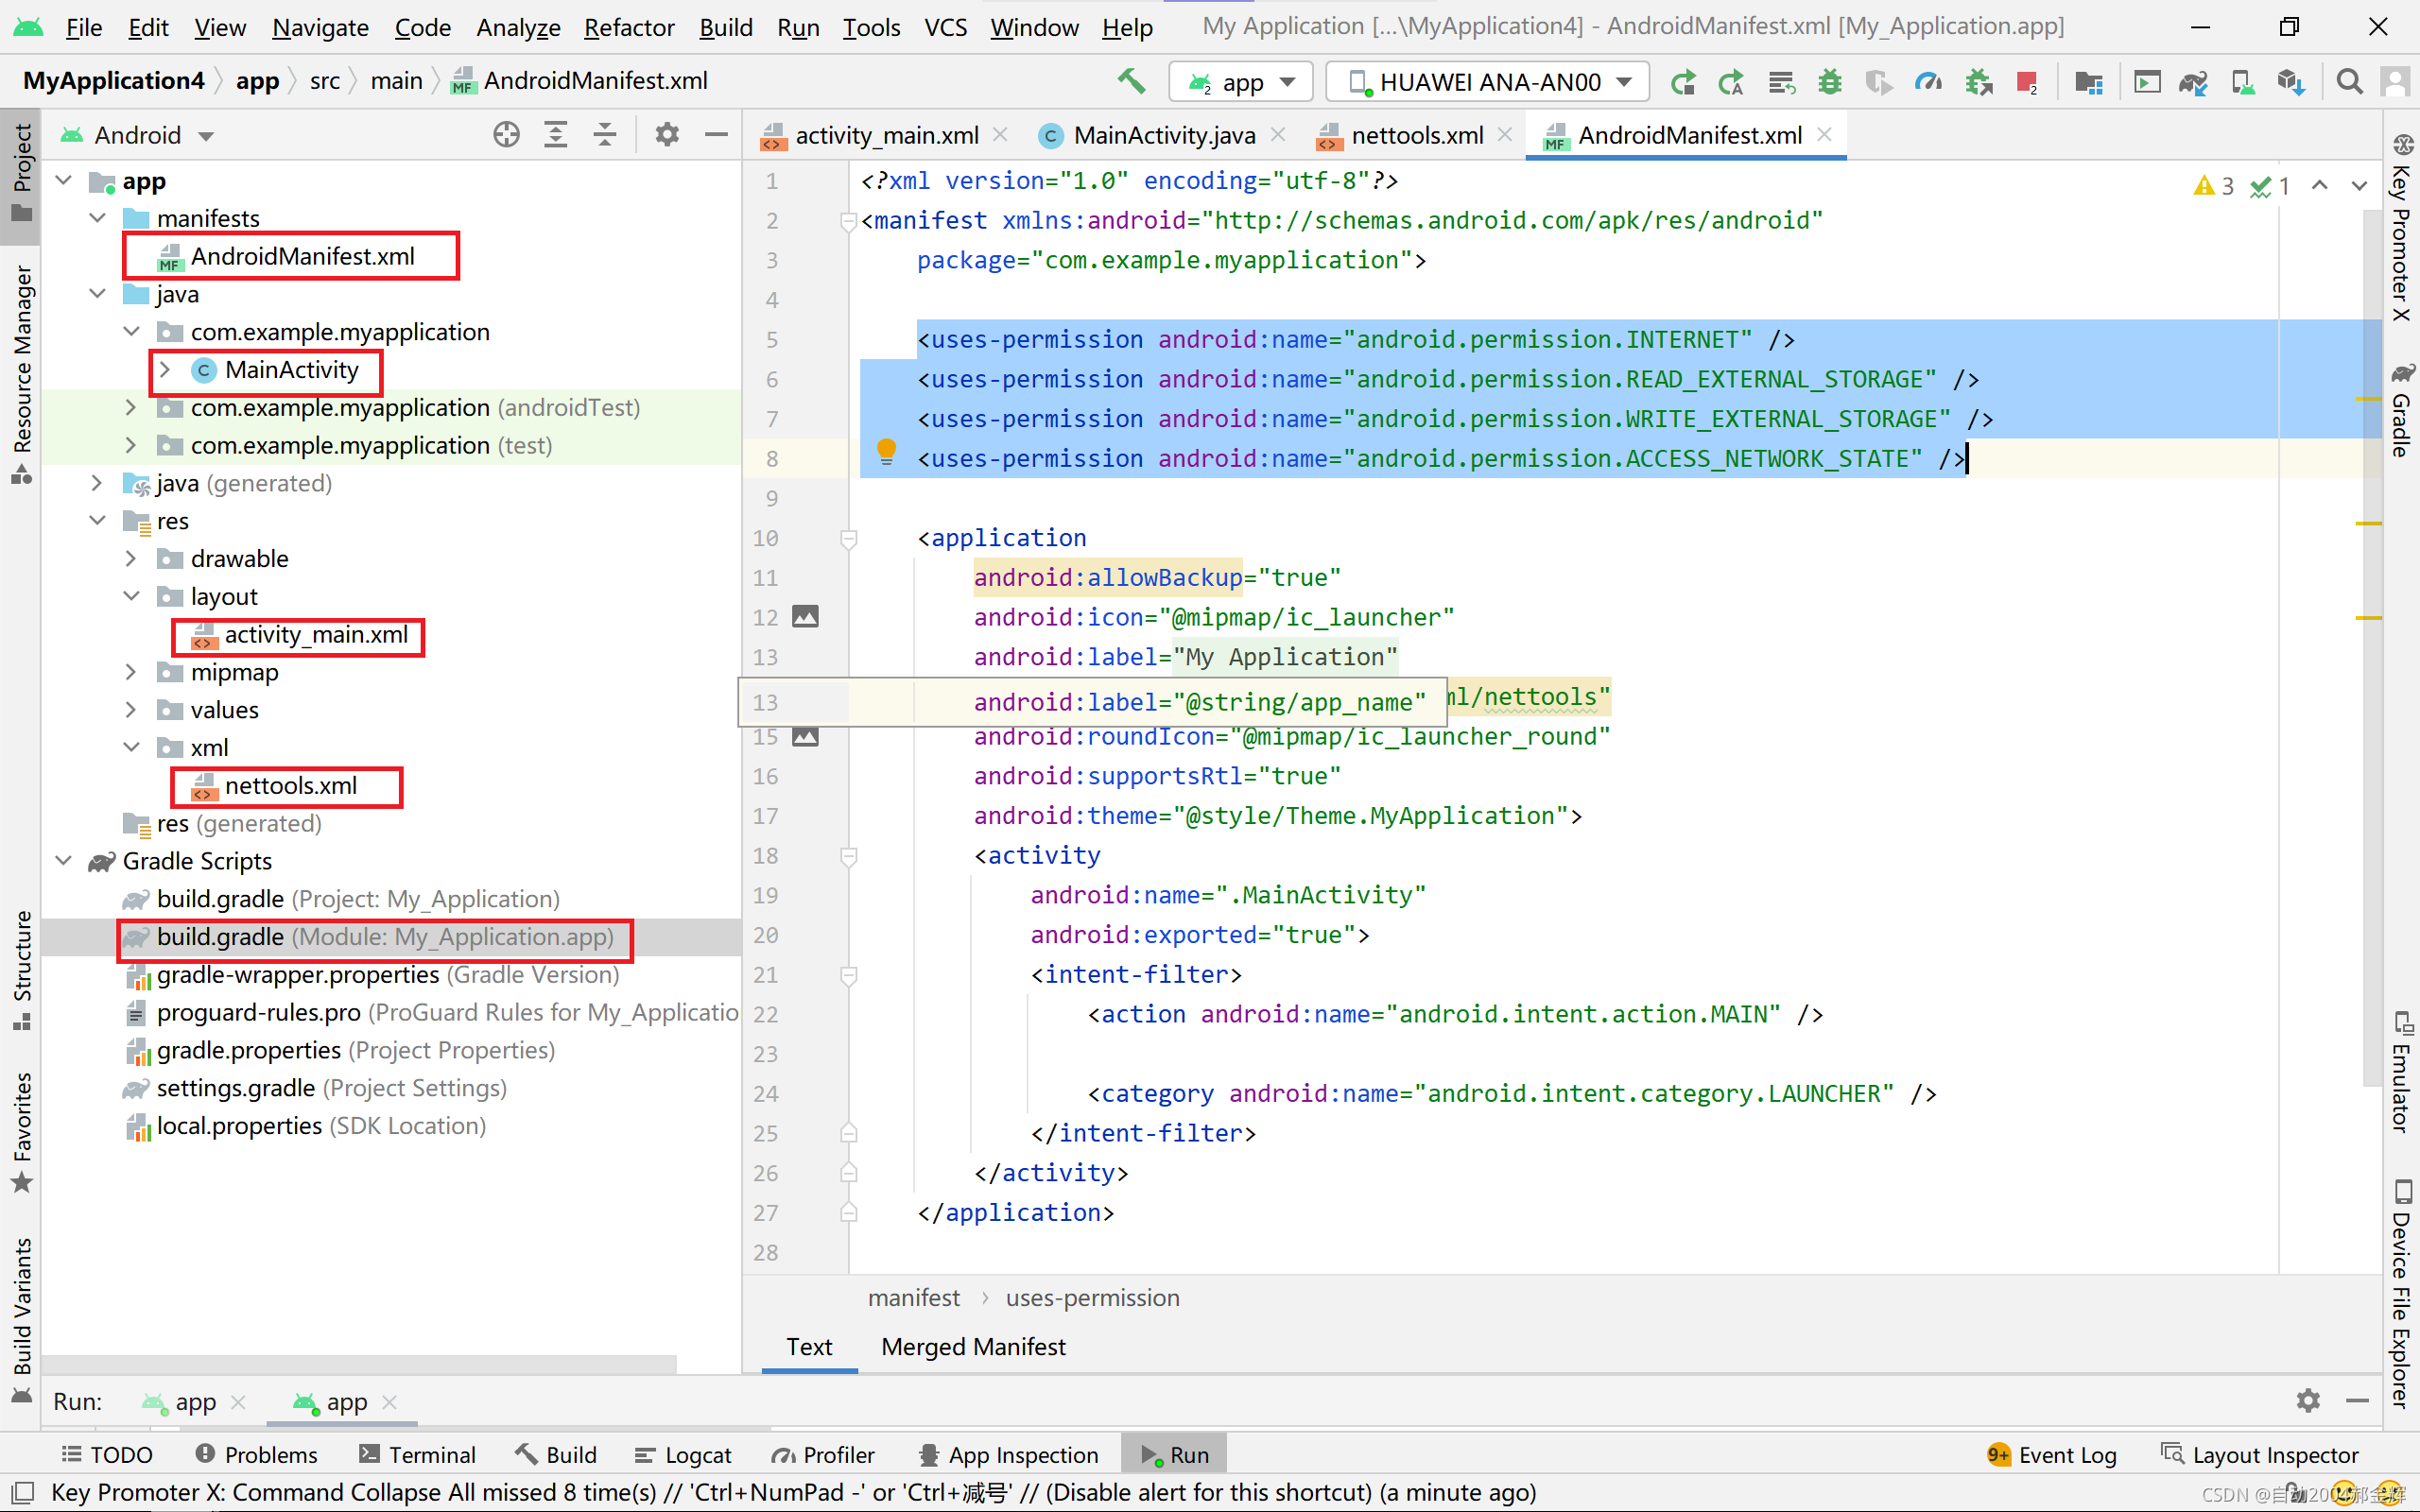
2.在manifests-AndroidManifest.xml中添加刚才创建的nettools.xml
android:networkSecurityConfig="@xml/nettools"

三、添加网络请求权限
在manifests-AndroidManifest.xml中添加
<uses-permission android:name="android.permission.INTERNET" />
    <uses-permission android:name="android.permission.READ_EXTERNAL_STORAGE" />
    <uses-permission android:name="android.permission.WRITE_EXTERNAL_STORAGE" />
    <uses-permission android:name="android.permission.ACCESS_NETWORK_STATE" />```

四、代码实现
1.主代码的实现
MainActivity.java
import androidx.annotation.UiThread;
import androidx.appcompat.app.AppCompatActivity;

import android.os.Bundle;
import android.util.Log;
import android.view.View;
import android.widget.Button;
import android.widget.TextView;

import java.io.IOException;

import okhttp3.OkHttpClient;
import okhttp3.Request;
import okhttp3.Response;

public class MainActivity extends AppCompatActivity {
    private Button btn;
    private TextView txt;

    @Override
    protected void onCreate(Bundle savedInstanceState) {
        super.onCreate(savedInstanceState);
        setContentView(R.layout.activity_main);
        initView();
    }

    private void initView() {
        btn = findViewById(R.id.btn);
        txt = findViewById(R.id.txt);
        btn.setOnClickListener(new View.OnClickListener() {
            @Override
            public void onClick(View view) {
                request();
            }
        });
    }

    protected void request() {
        new Thread(new Runnable() {
            @Override
            public void run() {
                OkHttpClient client = new OkHttpClient();
                Request request = new Request.Builder()
                        .url("https://www.baidu.com")
                        .build();

                Response response = null;
                String string = null;
                try {
                    response = client.newCall(request).execute();
                    string = response.body().string();
                } catch (
                        IOException e) {
                    e.printStackTrace();
                }

                String finalString = string;
                runOnUiThread(new Runnable() {
                    @Override
                    public void run() {
                        txt.setText(finalString);
                    }
                });
            }
        }).start();
    }
}
2.主布局的实现
activity_main.xml
<?xml version="1.0" encoding="utf-8"?>
<LinearLayout xmlns:android="http://schemas.android.com/apk/res/android"
    android:layout_width="match_parent"
    android:layout_height="match_parent"
    android:orientation="vertical">

    <Button
        android:id="@+id/btn"
        android:layout_width="match_parent"
        android:layout_height="wrap_content" />

    <ScrollView
        android:layout_width="match_parent"
        android:layout_height="match_parent">

        <TextView
            android:id="@+id/txt"
            android:textSize="20sp"
            android:layout_width="match_parent"
            android:layout_height="wrap_content" />

    </ScrollView>

</LinearLayout>
五、运行结果
如果运行失败可能是模拟器的问题,建议换模拟器或直接用真机
