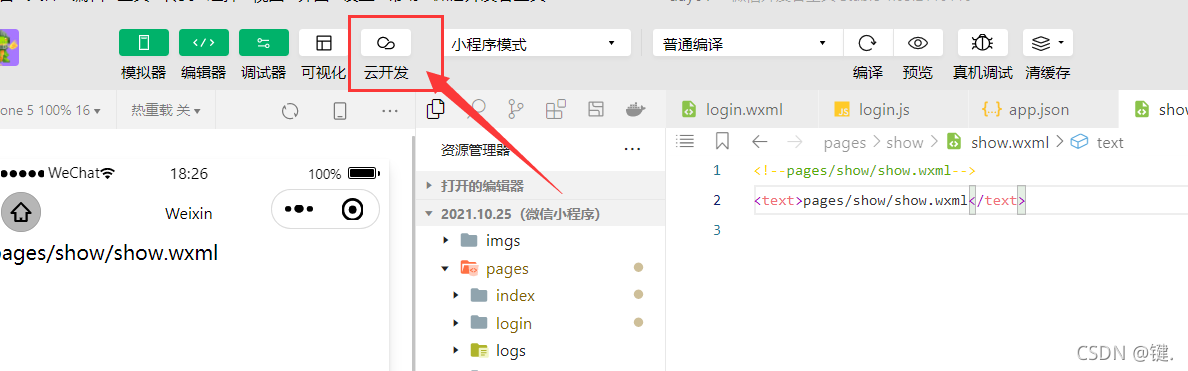
1.配置云开发
打开云开发
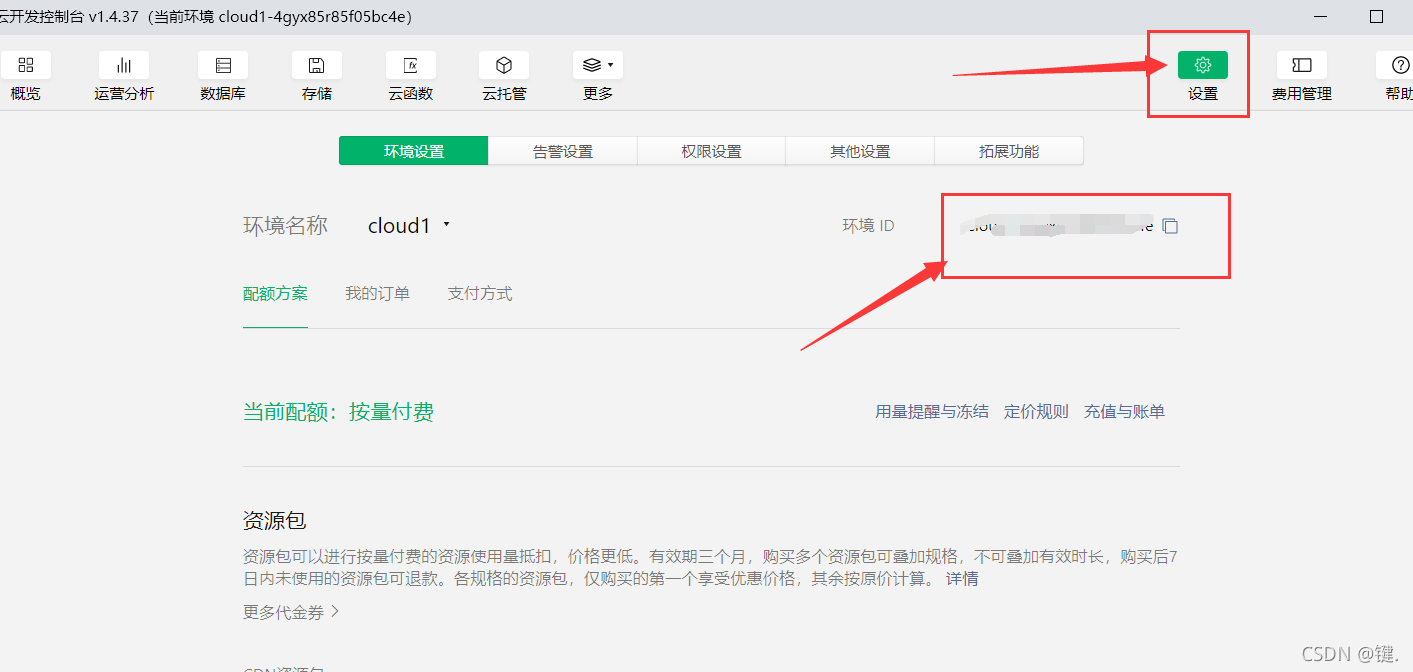
拷贝环境ID
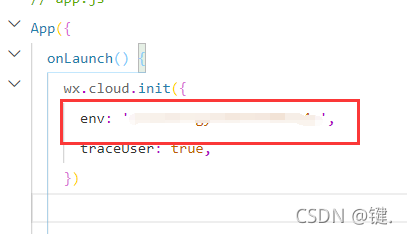
在全局app.js中配置
2.界面编写
编写一个前端界面
<view>
    <button type="primary" bindtap="uploadimg">点我上传</button>
</view>
绑定事件函数
uploadimg(){
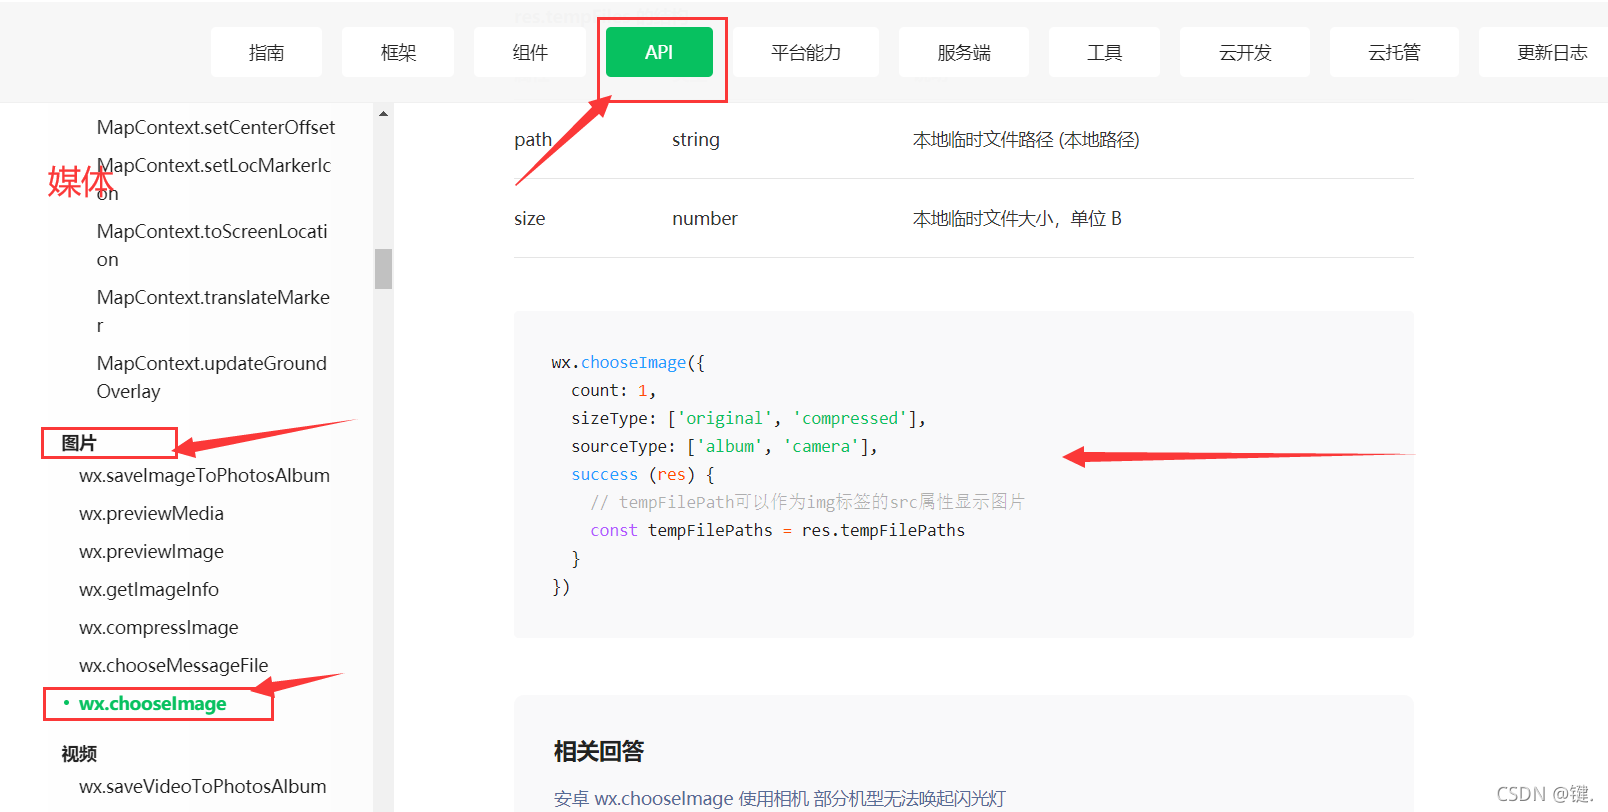
wx.chooseImage({
count: 1,
success (res) {
// tempFilePath可以作为img标签的src属性显示图片
const tempFilePaths = res.tempFilePaths
console.log(tempFilePaths)
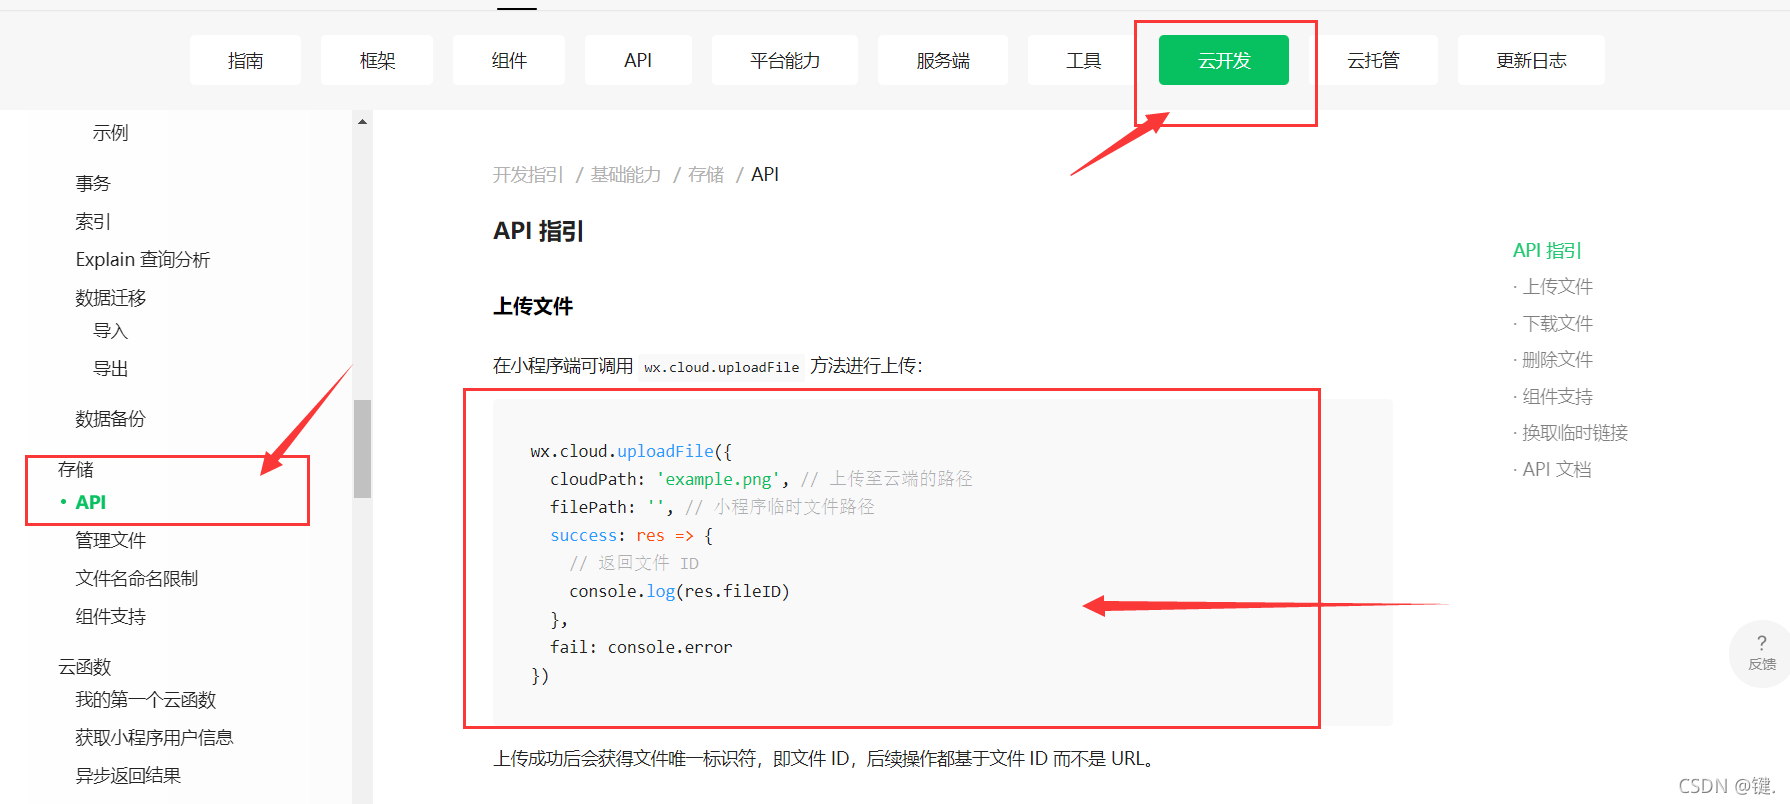
wx.cloud.uploadFile({
cloudPath: 'img/example.png', // 上传至云端的路径
filePath: tempFilePaths[0], // 小程序临时文件路径
success: res => {
// 返回文件 ID
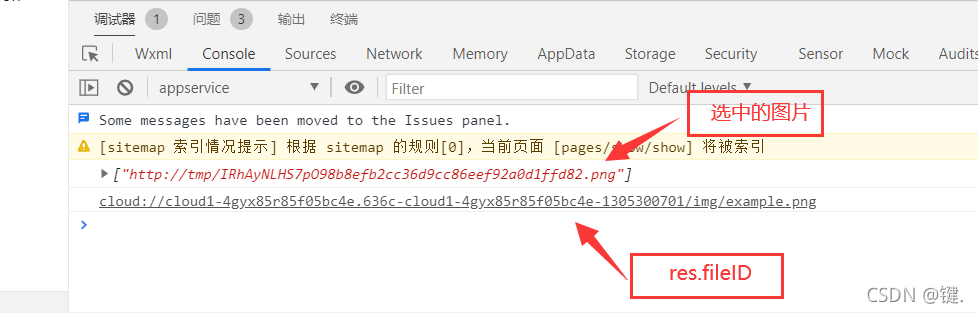
console.log(res.fileID)
},
fail: console.error
})
}
})
},
注:这里面用到了两个API,wx.chooseImage用来选择一张或几张图片,wx.cloud.uploadFile用来上传选中的文件
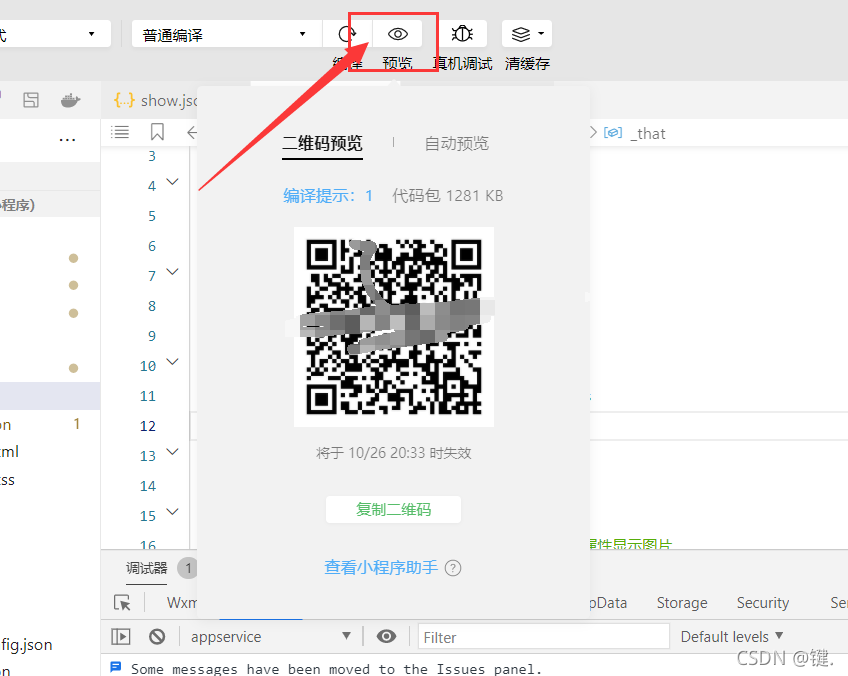
测试:
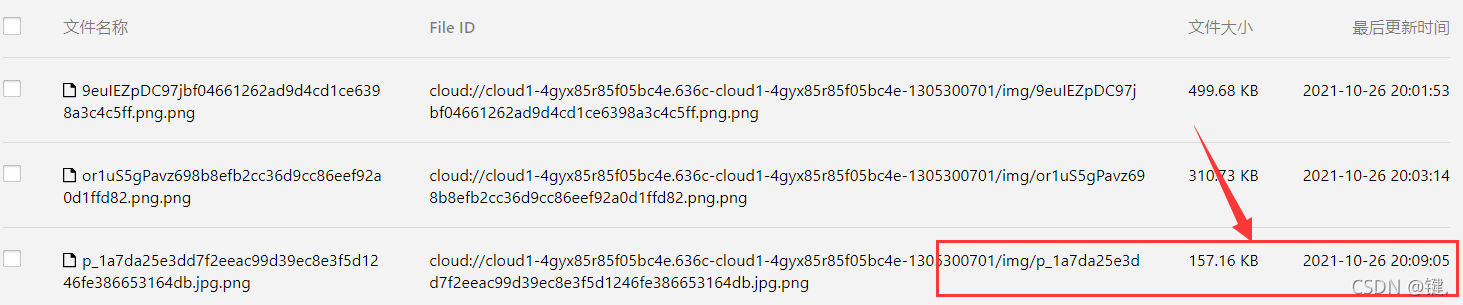
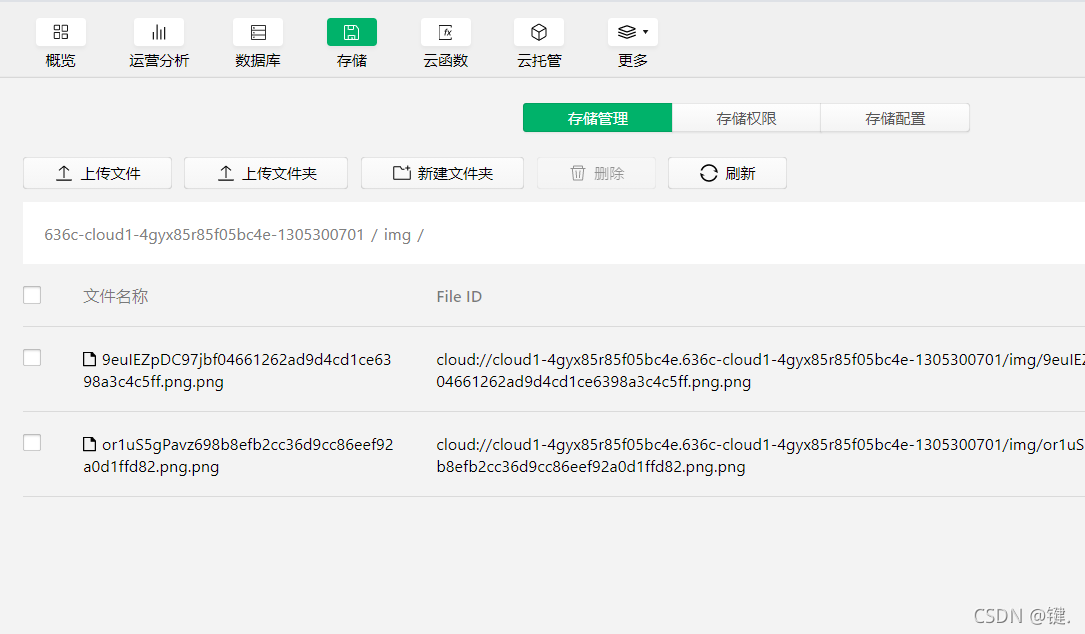
此时我们选中一张图片后就可以上传到云存储的对应文件夹内了
在存储里面点击刷新就出现了我配置的img文件夹了
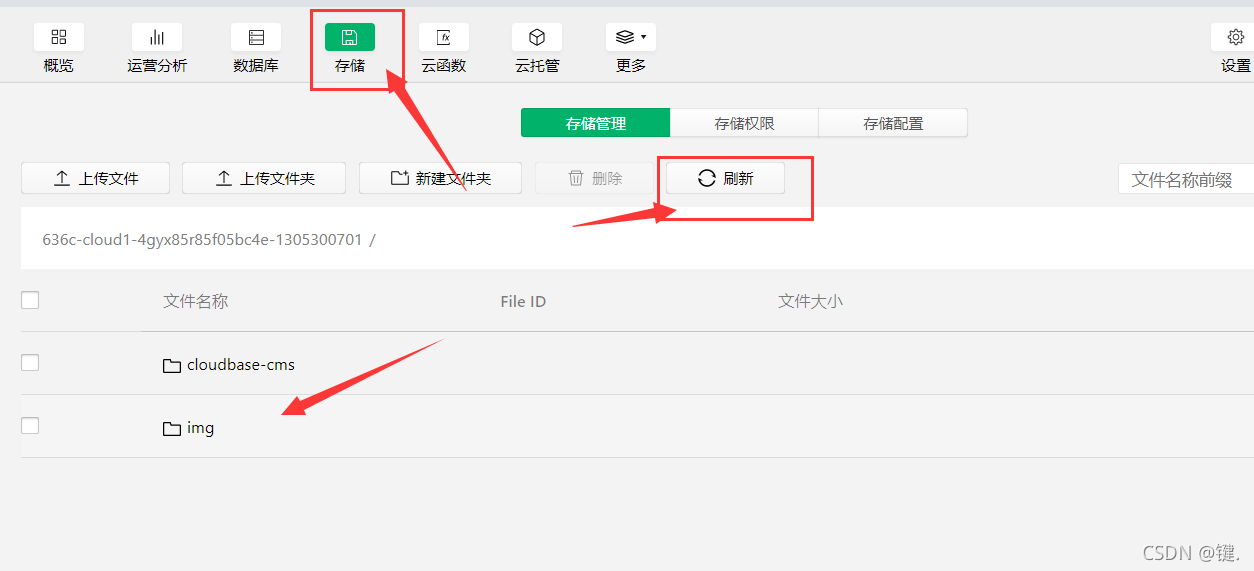
里面正是我刚刚上传的图片

接下来要做的就是把选择后的图片显示在界面上
3.把选中的图片显示在界面上
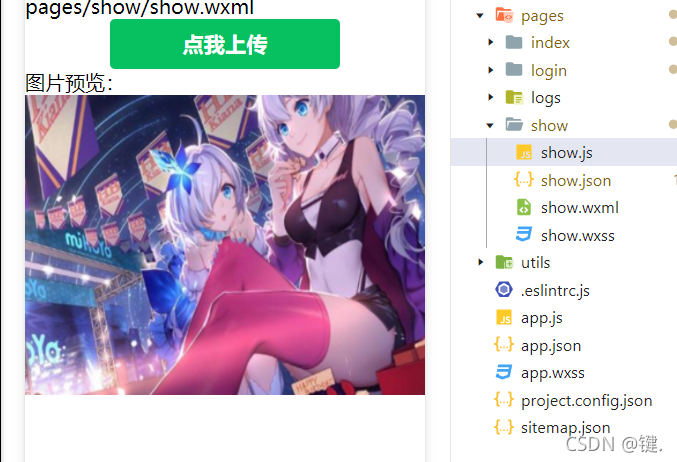
前端页面优化
<view>
    <button type="primary" bindtap="uploadimg">点我上传</button>
    <text>图片预览:</text>
    <image src="{{selctedimg}}"></image>
</view>
js代码优化
data: {
        selctedimg:'',
    },
    uploadimg(){
        //声明this,这里面嵌套的太多,里面拿不到this
        let _that=this

        wx.chooseImage({
            count: 1,
            success (res) {
              // tempFilePath可以作为img标签的src属性显示图片
              const tempFilePaths = res.tempFilePaths
              //获取到每张图片的名字
              const fileName=res.tempFilePaths[0].slice(11)
           // console.log(res.tempFilePaths[0])
            //console.log(res.tempFilePaths[0].slice(11))

        wx.cloud.uploadFile({
        //这里拼接的字符串也可以使用模板字面量
        //cloudPath: `img/${fileName}.png`,
            cloudPath: 'img/'+fileName+'.png', // 上传至云端的路径
            filePath: tempFilePaths[0], // 小程序临时文件路径
            success: res => {
              // 返回文件 ID
              console.log(res.fileID)

              _that.setData({
                  selctedimg:res.fileID
              })
            },
            fail: console.error
          })
            }
          })
    },
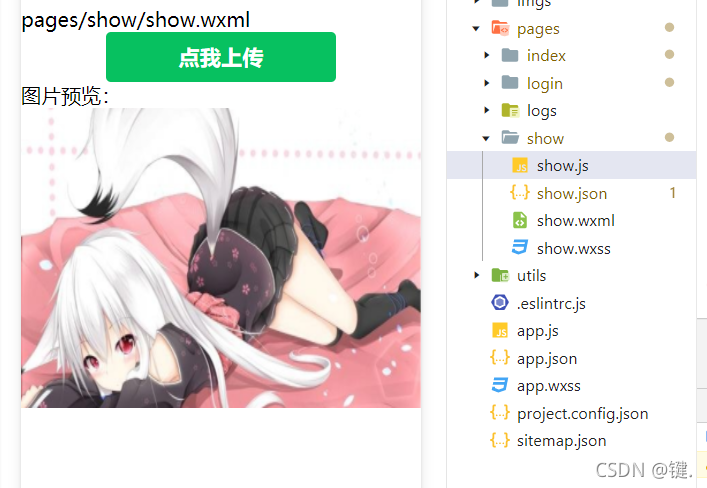
测试:
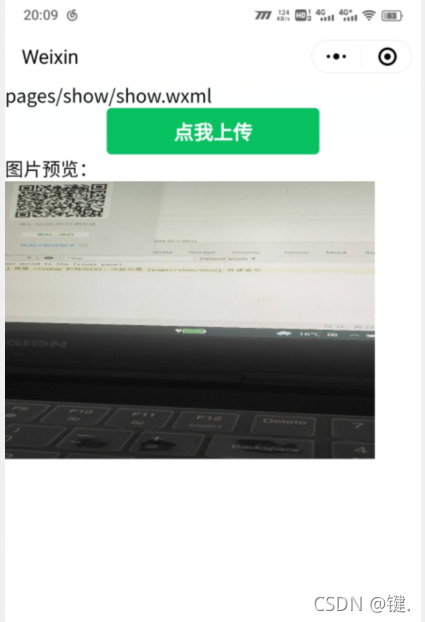
现在就实现了上传那张图片就可以实时预览那张图片了!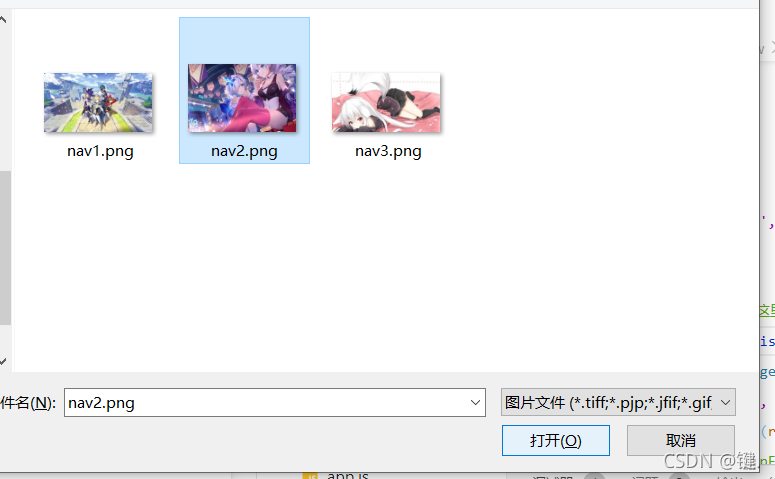
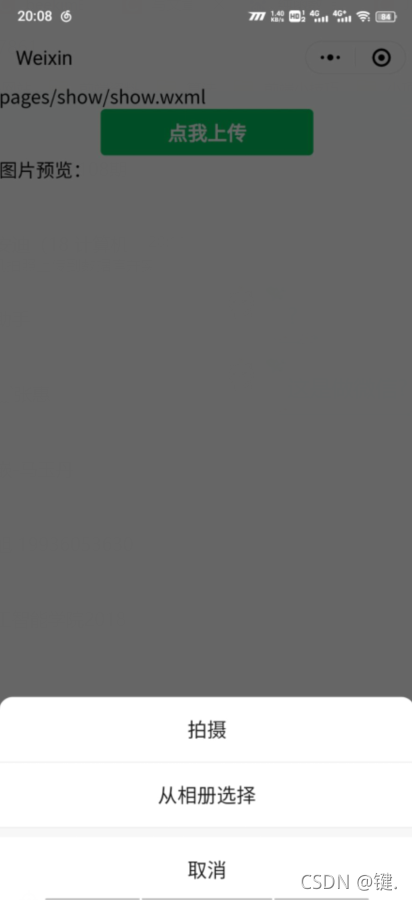
4.手机上测试
当然也可以在手机上测试该上传功能