目录
一、创建一个Fragment项目
二、在项目中创建一个左碎片布局
三、创建一个类来控制布局
四、创建另一个右碎片布局
五、创建布局对应的类
六、创建第二个右布局
七、创建对应的类
八、更改主布局
九、在主活动中注册功能
Fragmen 主要用于平板电脑或手机横屏
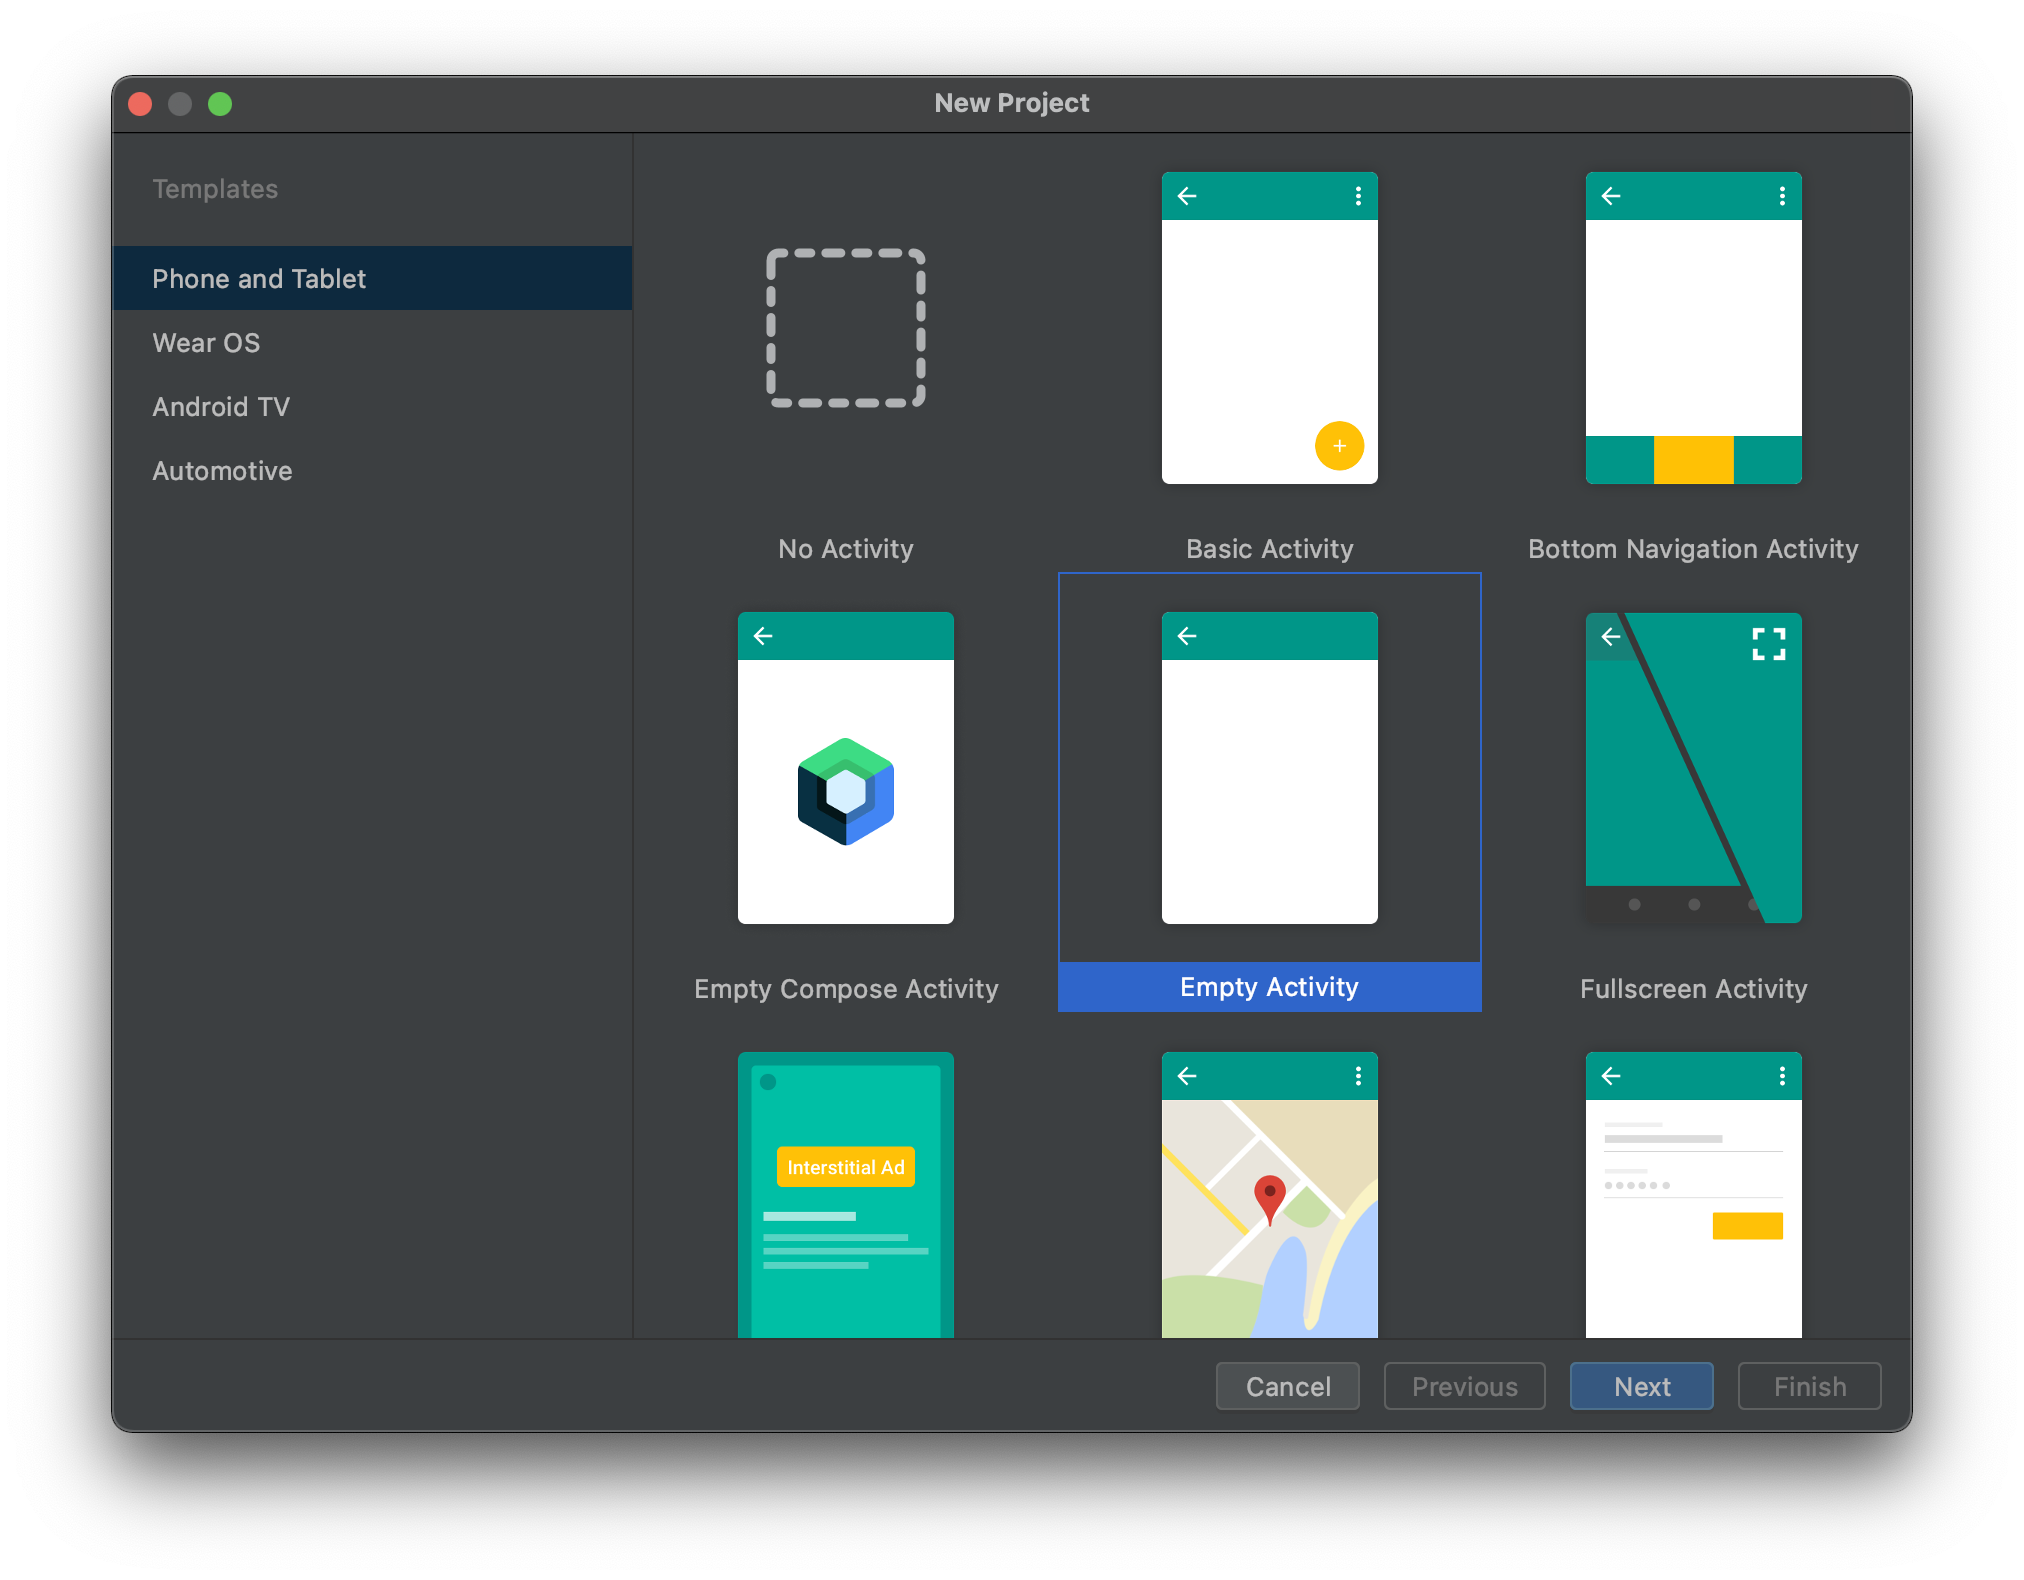
一、创建项目
创建一个新项目项目名为Fragment

?
?二、创建第一个碎片布局
在layout下创建一个布局
右击 layout / New / Layout Resource File
取名为 left_frag ?并使用 LinearLayout 布局
?

左碎片布局设置成按钮栏
<?xml version="1.0" encoding="utf-8"?>
<LinearLayout xmlns:android="http://schemas.android.com/apk/res/android"
    android:orientation="vertical"
    android:layout_width="match_parent"
    android:layout_height="match_parent">

    <Button
        android:layout_width="match_parent"
        android:layout_height="wrap_content"
        android:id="@+id/btn_1"
        android:text="碎片1"/>

    <Button
        android:layout_width="match_parent"
        android:layout_height="wrap_content"
        android:id="@+id/btn_2"
        android:text="碎片2"/>


</LinearLayout>
?
三、创建一个类来控制布局
在 java / 右击?com.example.fragment / New / Java Class
类名取为 LeftFrag?

?LeftFrag 类中的代码如下
package com.example.fragment;

import android.os.Bundle;
import android.view.LayoutInflater;
import android.view.View;
import android.view.ViewGroup;

import androidx.annotation.NonNull;
import androidx.annotation.Nullable;
import androidx.fragment.app.Fragment;

public class LeftFrag extends Fragment {
    /**
     * Called to have the fragment instantiate its user interface view.
     * This is optional, and non-graphical fragments can return null. This will be called between
     * {@link #onCreate(Bundle)} and {@link #onActivityCreated(Bundle)}.
     * <p>A default View can be returned by calling  in your
     * constructor. Otherwise, this method returns null.
     *
     * <p>It is recommended to <strong>only</strong> inflate the layout in this method and move
     * logic that operates on the returned View to {@link #onViewCreated(View, Bundle)}.
     *
     * <p>If you return a View from here, you will later be called in
     * {@link #onDestroyView} when the view is being released.
     *
     * @param inflater           The LayoutInflater object that can be used to inflate
     *                           any views in the fragment,
     * @param container          If non-null, this is the parent view that the fragment's
     *                           UI should be attached to.  The fragment should not add the view itself,
     *                           but this can be used to generate the LayoutParams of the view.
     * @param savedInstanceState If non-null, this fragment is being re-constructed
     *                           from a previous saved state as given here.
     * @return Return the View for the fragment's UI, or null.
     */
    @Nullable
    @Override
    public View onCreateView(@NonNull LayoutInflater inflater,
                             @Nullable ViewGroup container,
                             @Nullable Bundle savedInstanceState) {
        View view = inflater.inflate(R.layout.left_frag,container,false);
        return view;
    }
}
四、创建第一个右布局
同样的方法创建一个右布局
取名为:righr_frag1
?右布局设置成显示栏
righr_frag1 中的代码为:
<?xml version="1.0" encoding="utf-8"?>
<LinearLayout xmlns:android="http://schemas.android.com/apk/res/android"
    android:orientation="vertical"
    android:layout_width="match_parent"
    android:layout_height="match_parent"
    android:background="#ffccff">

    <TextView
        android:layout_width="wrap_content"
        android:layout_height="wrap_content"
        android:layout_gravity="center_horizontal"
        android:textSize="30sp"
        android:text="第一个碎片内容"/>


</LinearLayout>
五、创建右碎片布局对应的类
同样的方法创建一个类
取名为:RightFrag1

?RightFrag1类中的代码为:
package com.example.fragment;

import android.os.Bundle;
import android.view.LayoutInflater;
import android.view.View;
import android.view.ViewGroup;

import androidx.annotation.NonNull;
import androidx.annotation.Nullable;
import androidx.fragment.app.Fragment;

public class RightFrag1 extends Fragment {
    /**
     * Called to have the fragment instantiate its user interface view.
     * This is optional, and non-graphical fragments can return null. This will be called between
     * {@link #onCreate(Bundle)} and {@link #onActivityCreated(Bundle)}.
     * <p>A default View can be returned by calling  in your
     * constructor. Otherwise, this method returns null.
     *
     * <p>It is recommended to <strong>only</strong> inflate the layout in this method and move
     * logic that operates on the returned View to {@link #onViewCreated(View, Bundle)}.
     *
     * <p>If you return a View from here, you will later be called in
     * {@link #onDestroyView} when the view is being released.
     *
     * @param inflater           The LayoutInflater object that can be used to inflate
     *                           any views in the fragment,
     * @param container          If non-null, this is the parent view that the fragment's
     *                           UI should be attached to.  The fragment should not add the view itself,
     *                           but this can be used to generate the LayoutParams of the view.
     * @param savedInstanceState If non-null, this fragment is being re-constructed
     *                           from a previous saved state as given here.
     * @return Return the View for the fragment's UI, or null.
     */
    @Nullable
    @Override
    public View onCreateView(@NonNull LayoutInflater inflater,
                             @Nullable ViewGroup container,
                             @Nullable Bundle savedInstanceState) {
        View view = inflater.inflate(R.layout.right_frag1,container,false);
        return view;
    }
}
六、创建第二个右布局
同样的方法创建第二个右布局
取名为:
right_frag2?

right_frag2 中的代码为:
<?xml version="1.0" encoding="utf-8"?>
<LinearLayout xmlns:android="http://schemas.android.com/apk/res/android"
    android:orientation="vertical"
    android:layout_width="match_parent"
    android:layout_height="match_parent"
    android:background="#550099">

    <TextView
        android:layout_width="match_parent"
        android:layout_height="wrap_content"
        android:layout_gravity="center_horizontal"
        android:textSize="30sp"
        android:text="第二个碎片内容"/>

</LinearLayout>
?
七、创建第二个右布局对应的类
同样的方法
想必你已经猜到它的名称了
没错就是:RightFrag2?

RightFrag2 中的代码为:
?
package com.example.fragment;

import android.os.Bundle;
import android.view.LayoutInflater;
import android.view.View;
import android.view.ViewGroup;

import androidx.annotation.NonNull;
import androidx.annotation.Nullable;
import androidx.fragment.app.Fragment;

public class RightFrag2 extends Fragment {
    /**
     * Called to have the fragment instantiate its user interface view.
     * This is optional, and non-graphical fragments can return null. This will be called between
     * {@link #onCreate(Bundle)} and {@link #onActivityCreated(Bundle)}.
     * <p>A default View can be returned by calling  in your
     * constructor. Otherwise, this method returns null.
     *
     * <p>It is recommended to <strong>only</strong> inflate the layout in this method and move
     * logic that operates on the returned View to {@link #onViewCreated(View, Bundle)}.
     *
     * <p>If you return a View from here, you will later be called in
     * {@link #onDestroyView} when the view is being released.
     *
     * @param inflater           The LayoutInflater object that can be used to inflate
     *                           any views in the fragment,
     * @param container          If non-null, this is the parent view that the fragment's
     *                           UI should be attached to.  The fragment should not add the view itself,
     *                           but this can be used to generate the LayoutParams of the view.
     * @param savedInstanceState If non-null, this fragment is being re-constructed
     *                           from a previous saved state as given here.
     * @return Return the View for the fragment's UI, or null.
     */
    @Nullable
    @Override
    public View onCreateView(@NonNull LayoutInflater inflater,
                             @Nullable ViewGroup container,
                             @Nullable Bundle savedInstanceState) {
        View view = inflater.inflate(R.layout.right_frag2,container,false);
        return view;
    }
}
八、修改主布局
把activity_main 中的代码改为:
<?xml version="1.0" encoding="utf-8"?>
<LinearLayout xmlns:android="http://schemas.android.com/apk/res/android"
    xmlns:app="http://schemas.android.com/apk/res-auto"
    xmlns:tools="http://schemas.android.com/tools"
    android:layout_width="match_parent"
    android:layout_height="match_parent"
    tools:context=".MainActivity"
    android:orientation="horizontal">

    //左布局设置为静态
    <fragment
        android:layout_width="0dp"
        android:layout_height="match_parent"
        android:layout_weight="1"
        android:id="@+id/left_layout"
        android:name="com.example.fragment.LeftFrag"/>

    //右布局设置为动态
    <FrameLayout
        android:layout_width="0dp"
        android:layout_height="match_parent"
        android:layout_weight="2"
        android:id="@+id/right_layout"/>

</LinearLayout>
九、在主活动中注册功能
MainActivity 中的代码为:
package com.example.fragment;

import androidx.appcompat.app.AppCompatActivity;
import androidx.fragment.app.Fragment;
import androidx.fragment.app.FragmentManager;
import androidx.fragment.app.FragmentTransaction;

import android.os.Bundle;
import android.view.View;
import android.widget.Button;

public class MainActivity extends AppCompatActivity {

    @Override
    protected void onCreate(Bundle savedInstanceState) {
        super.onCreate(savedInstanceState);
        setContentView(R.layout.activity_main);
        Button btn_1 = (Button) findViewById(R.id.btn_1);
        btn_1.setOnClickListener(new View.OnClickListener() {
            @Override
            public void onClick(View view) {
                replaceFragment(new RightFrag1());
            }
        });

        Button btn_2 = (Button) findViewById(R.id.btn_2);
        btn_2.setOnClickListener(new View.OnClickListener() {
            @Override
            public void onClick(View view) {
                replaceFragment(new RightFrag2());
            }
        });
    }

    private void replaceFragment(Fragment fragment) {
        FragmentManager fragmentManager = getSupportFragmentManager();
        FragmentTransaction transaction = fragmentManager.beginTransaction();
        transaction.replace(R.id.right_layout,fragment);
        transaction.commit();
    }


}
到这里你对Fragment应该有个印象了试着自己做一个新闻页面吧
谢谢阅读,你的关注是我创作的最大动力😘