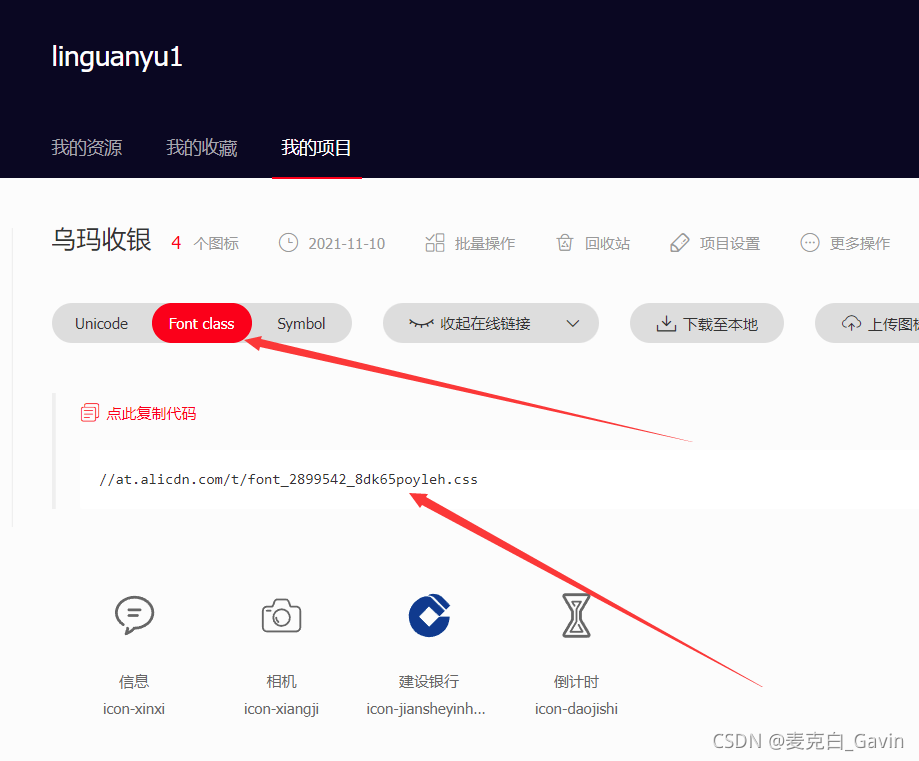
1 在阿里图标库中添加图标至自己的项目 点击复制代码 (黑色部分)

2 在小程序项目目录新建公共样式文件 将复制的代码粘贴到公共样式中 如下图

3 在app.wxss 中引入该公共样式
@import './common/style/umfont.wxss';
4 在components 中新建 um-icon(名字随便取)自定义组件。
wxml代码如下:
<text class="umfont icon-{{type}}" style="color:{{color}};font-size:{{size}}px">
    <text class="icon-text" wx:if="{{text}}">{{text}}</text>
</text>
js 的 Component 代码
Component({
    /**
     * 组件的属性列表
     */
    properties: {
      type: {
        type: String,
        value: ''
      },
      color: {
        type: String,
        value: '#333'
      },
      text: String,
      size: {
        type: Number,
        value: 14
      }
    },
  })
json 代码
{
    "component": true,
    "usingComponents": {},
    "styleIsolation": "apply-shared"
  }
这里需要注意的是 “styleIsolation”: “apply-shared”
styleIsolation 默认值为 isolated
4.1 isolated 表示启用样式隔离,在自定义组件内外,使用 class 指定的样式将不会相互影响(默认值);
4.2 shared:互相影响;
4.3 apply-shared 页面 wxss 样式不会影响到其他自定义组件,但外部页面 wxss 样式将影响到自定义组件;
5 在外部的 app.json 中引入该组件 这样就不用在使用的时候每次都引入了
  "usingComponents": {
    "um-icon": "/components/um-icon/um-icon"
},
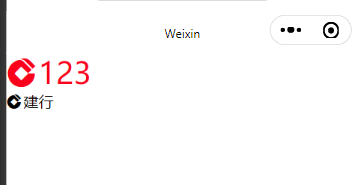
6 封装过后就可以自定义大小 颜色 文字了
<view>
<um-icon type="jiansheyinhang" size="32" color="red" text="123"></um-icon>
</view>
<view>
  <um-icon type="jiansheyinhang" size="16" color="black" text="建行"></um-icon>
</view>
