ios15之把自己编写的框架上传到CocoaPods里面
最近有个需求,把自己的写的框架上传到CocoaPods里面。使用
pod 安装到本地项目里面。
首先github新建一个仓库名,协议MIT,公开的,readme文件,都要勾选。gitignore可以不勾选,忽略文件。
切换到自己的文件夹,
git init
git remote add origin xxx xxx是项目地址
二,生成.spec文件
pod spec create [你的框架名]
编辑一下,把里面全部删除,添加我的
Pod::Spec.new do |s|
    s.name         = 'HYLabel'
    s.version      = '1.0.1'
    s.summary      = '用于识别Label中的@用户-话题##-链接'
    s.homepage     = 'https://github.com/coderwhy/HYLabel'
    s.license      = 'MIT'
    s.authors      = {'coderwhy' => '12312312324234@qq.com'}
    s.platform     = :ios, '15.0'
    s.source       = {:git => 'https://github.com/coderwhy/HYLabel.git', :tag => s.version}
    s.source_files = 'HYLabel/Source/*.swift'
    s.framework    = 'UIKit'
    s.requires_arc = true
end
仿照上面写,但是source_files 是你对外发布的源码文件。
oc项目仿照下面
s.source_files = “HYLabel”, “HYLabel/**/*.{h,m}”,name就是你的框架名,
再推送项目到github
git pull --rebase origin main 把远程端的README.md下载下来
git add .
git commit -m “xxx”
git push -u origin main .
最近github升级,把master默认干掉了,搞成main为主分支。
git branch master
git checkout master
再git push -u origin master
git branch -D main ,把main分支删掉。
项目上传好。
三 push tag一下
a. git tag
b. git tag “0.0.1” 和之前的.spec描述文件保持一致
c. git push --tags
四 验证我们的之前生成的.spec描述文件注册并发布
- 本地验证
pod lib lint --allow-warnings
–allow-warnings是选填参数,严格执行就是 不要加。
2 . 网络验证
pod spec lint LJLabel.podspec --allow-warnings
–allow-warnings是选填参数,严格执行就是 不要加。
有错误,会有提示。按照提示排查错误。
3. trunk注册
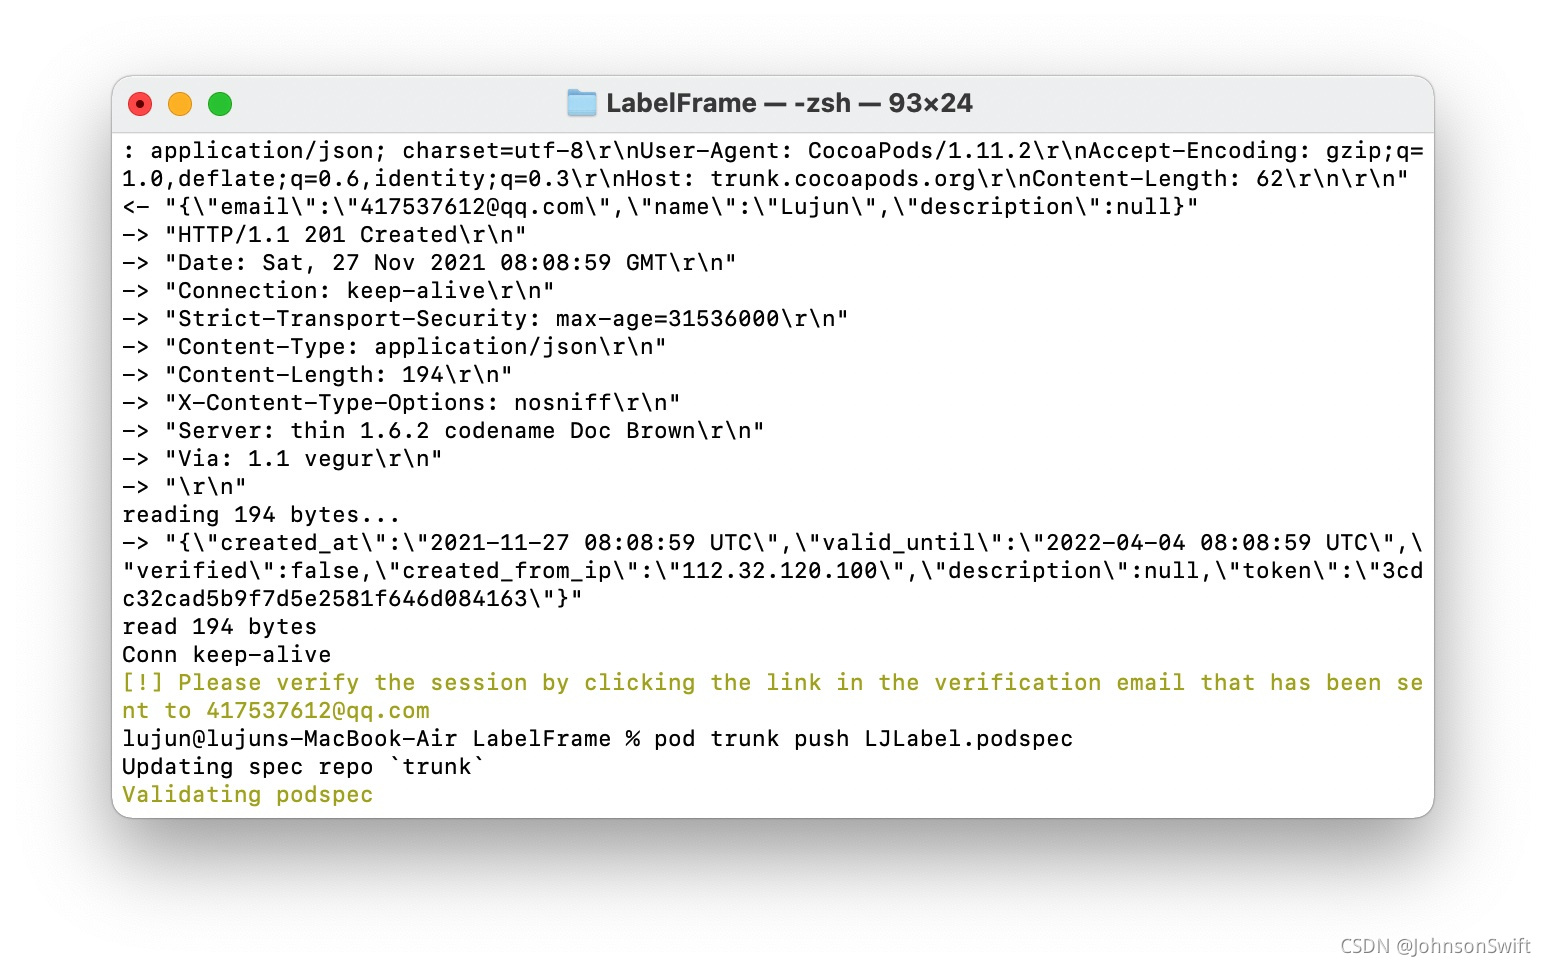
pod trunk register xxxxxxxxxx@qq.com ‘lujun’ --verbose
注册 会受到一份邮件,必须单击电子邮件中的链接,通过pod trunk me查看验证
注册成功提示

再去点击邮件里面的超链接

五 执行一下
pod trunk push LJLabel.podspec --allow-warnings
如果框架名称相同,则被显示占用,自己更改其他名字,重写弄一下。
成功的打印如下。

六 更新一下本地
- pod setup 安装pod
- rm -rf ~/Library/Caches/CocoaPods/search_index.json。
- 或者把上述步骤颠倒一下。
pod search ‘xxx’ 搜索你的框架。看看能不能搜索到。