本文地址:https://blog.csdn.net/qq_40785165/article/details/122746461,转载需附上此链接
每一个闪闪发光的人都在背后熬过了一个又一个不为人知的黑夜
大家好,我是小黑,一个还没秃头的程序员~~~
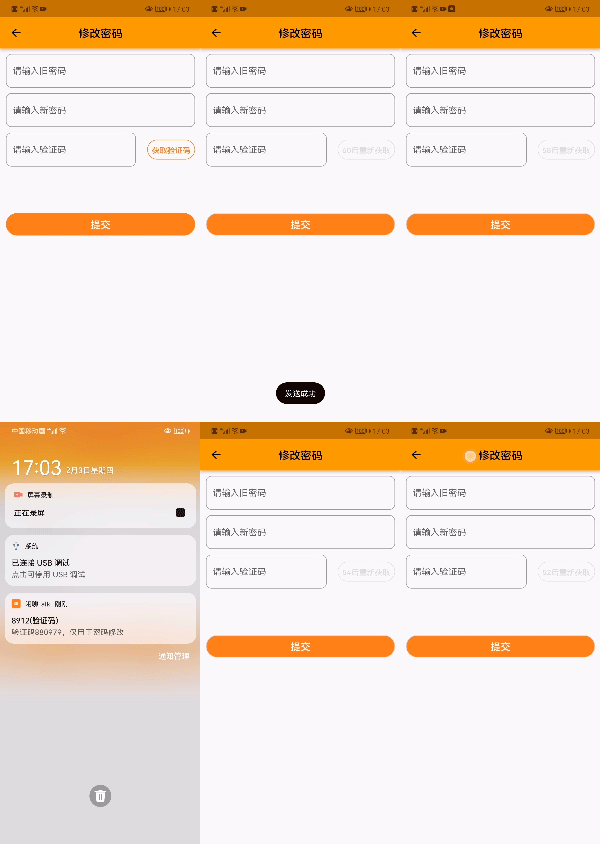
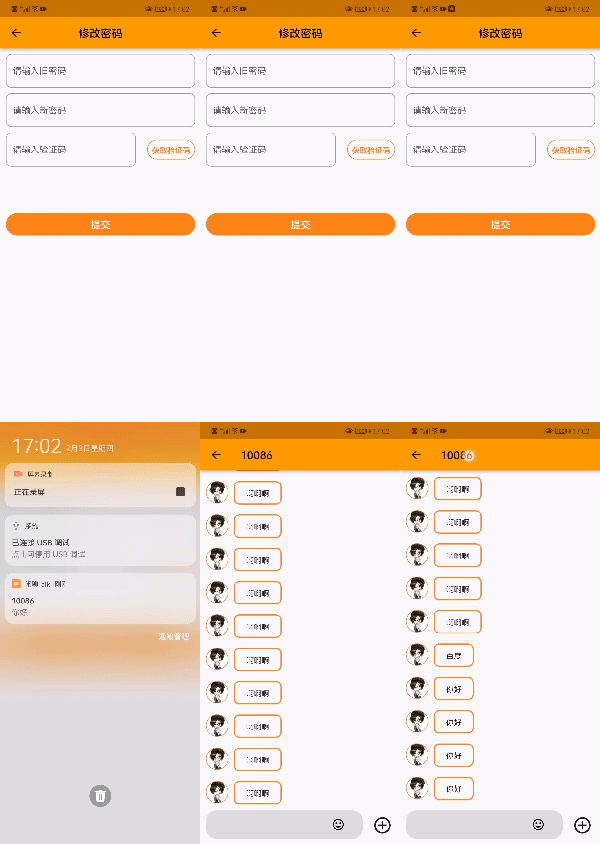
本次介绍的是在Flutter中集成极光推送,用于实现通知栏/自定义消息推送,我这里使用极光推送实现聊天消息推送功能以及使用本地推送功能模拟发送验证码功能
效果如下:


(一)申请AppKey和AppSecret
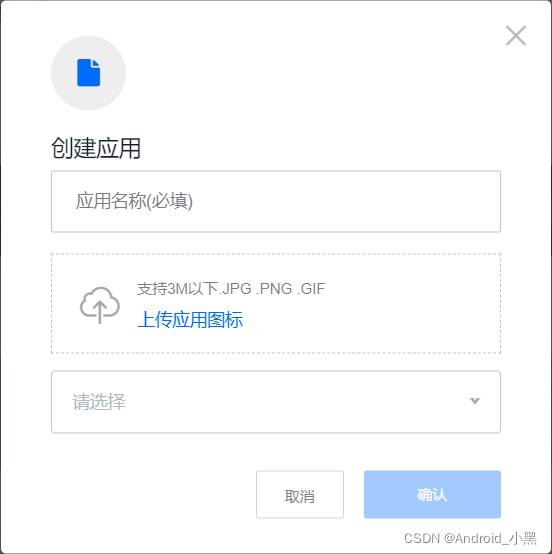
登录极光推送官网,进行创建应用


后续需要点击下一步,填写包名,包名为android模块中的包名
点击完成后前往【应用设置】可查看应用的key和Secret,填写到下面步骤中的相应代码出即可

(二)添加依赖
//github  集成
dependencies:
  jpush_flutter:
    git:
      url: git://github.com/jpush/jpush-flutter-plugin.git
      ref: master

// pub 集成
dependencies:
  jpush_flutter: 2.1.4
在需要使用的组件中导入
import 'package:jpush_flutter/jpush_flutter.dart';
(三)使用
1.初始化
可以在MyApp的initState中进行初始化,后面的页面中只需new出一个Jpush组件就可以进行操作了,由于回调在各个页面的使用不一定相同,我这里的初始化只进行了key的设置以及IOS中相关设置的申请授权,代码如下:
 final JPush jpush = new JPush();
 jpush.setup(
      appKey: "ed9b55a015c2d03e171139fa", //你自己应用的 AppKey
      channel: "developer-default",
      production: false,
      debug: true,
    );
    jpush.applyPushAuthority(
        new NotificationSettingsIOS(sound: true, alert: true, badge: true));
2.设置别名
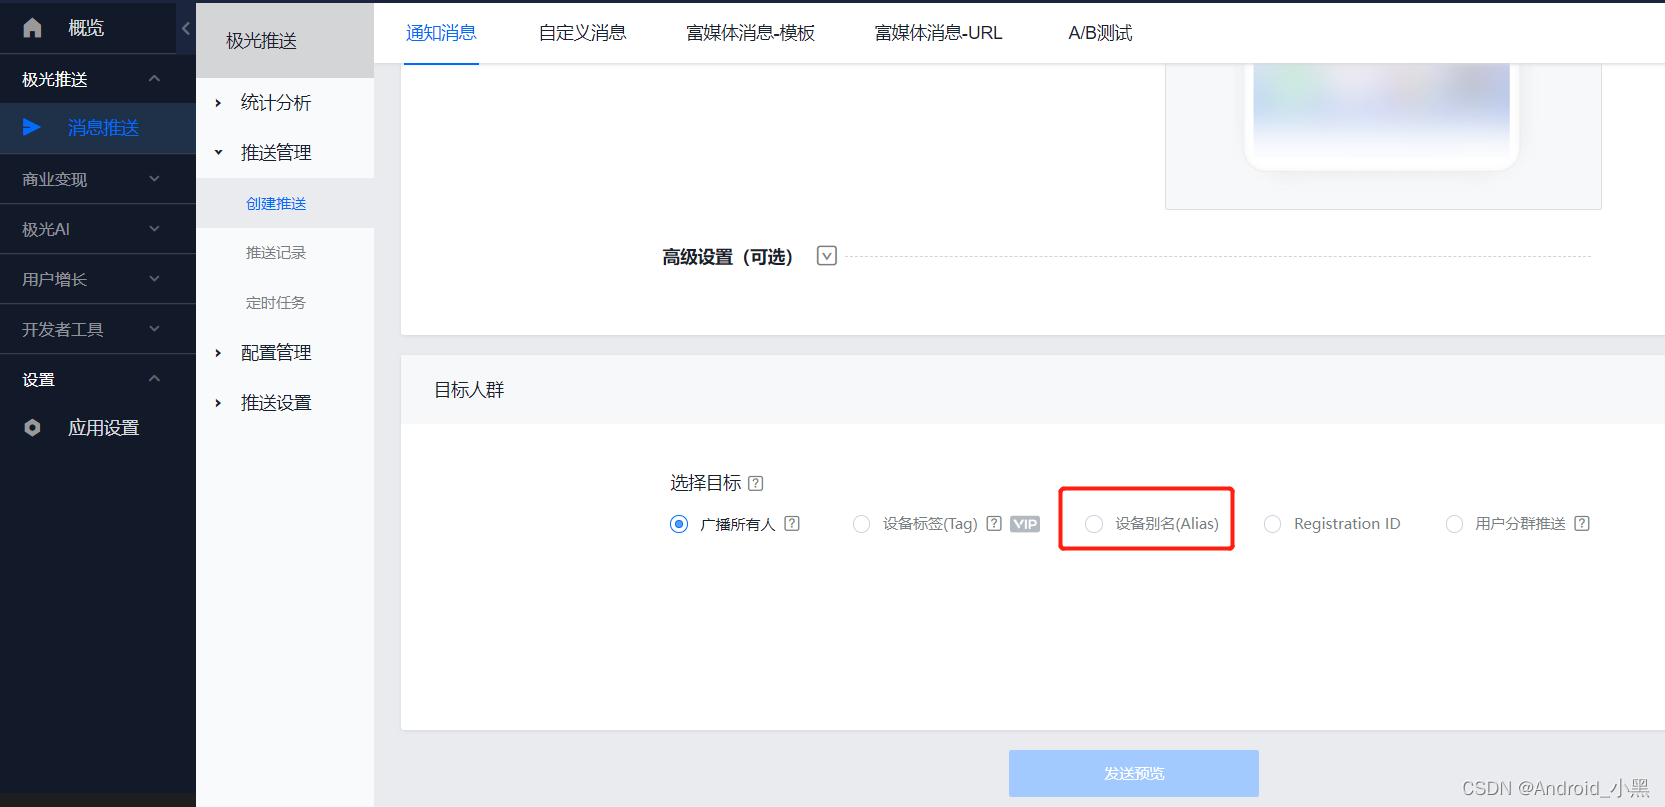
设置别名,一个 App 应用只有一个别名,一般用来存储用户 id。极光后台可以通过别名来推送,在设置完别名后,如果没有多余终端进行测试,可以使用极光官网进行测试如下图:

3.删除别名
可以通过 deleteAlias 方法来删除已经设置的 alias。
代码如下:
JPush jpush = new JPush();
jpush.deleteAlias().then((map) {})
4.本地推送
指定触发时间,添加本地推送通知。这里模拟2秒后收到验证码,效果可见开头获取验证码功能GIF
代码如下:
 var fireDate = DateTime.fromMillisecondsSinceEpoch(
            DateTime.now().millisecondsSinceEpoch + 2000);
        var randomId = new Random().nextInt(10000);
        setState(() {
          code = _randomBit(6);
        });
        var localNotification = LocalNotification(
            id: randomId,
            title: '$randomId(验证码)',
            buildId: 1,
            content: '验证码$code,仅用于密码修改',
            fireTime: fireDate,
            subtitle: '验证码',
            badge: 5,
            extra: {"": ""});
        jpush.sendLocalNotification(localNotification).then((value) {
          print(value);
        });
5.清除通知
清楚通知栏上所有通知,代码如下:
JPush jpush = new JPush();
jpush.clearAllNotifications();
6.设置推送的一些回调
设置Jpush收到消息或者点击推送时的一些操作
      _jPush.addEventHandler(
          onReceiveNotification: (Map<String, dynamic> message) async {
            print("flutter onReceiveNotification: $message");
          }, onOpenNotification: (Map<String, dynamic> message) async {
        Map<String, dynamic> map=  jsonDecode("${message["extras"]["cn.jpush.android.EXTRA"]}");
        String type=map['type'];
        print("flutter onOpenNotification: $type");
        if(type=="normal"){
          Navigator.pushNamed(context, "/ChatPage", arguments: {
            "user_name": map["userNickname"],
            "user_id": map["userId"],
          });
        }
      }, onReceiveMessage: (Map<String, dynamic> message) async {
        print("flutter onReceiveMessage: $message");
      }, onReceiveNotificationAuthorization:
          (Map<String, dynamic> message) async {
        print("flutter onReceiveNotificationAuthorization: $message");
      });
在极光推送官网中,还有其他几种推送方式,如Tag、Registration ID等,由于我这里暂时用不到,就不详细讲解了,感兴趣的可以自己去JPush的github上了解一下!感谢大家的支持与阅读,祝大家新年快乐!