文章目录
1. 创建Fragment
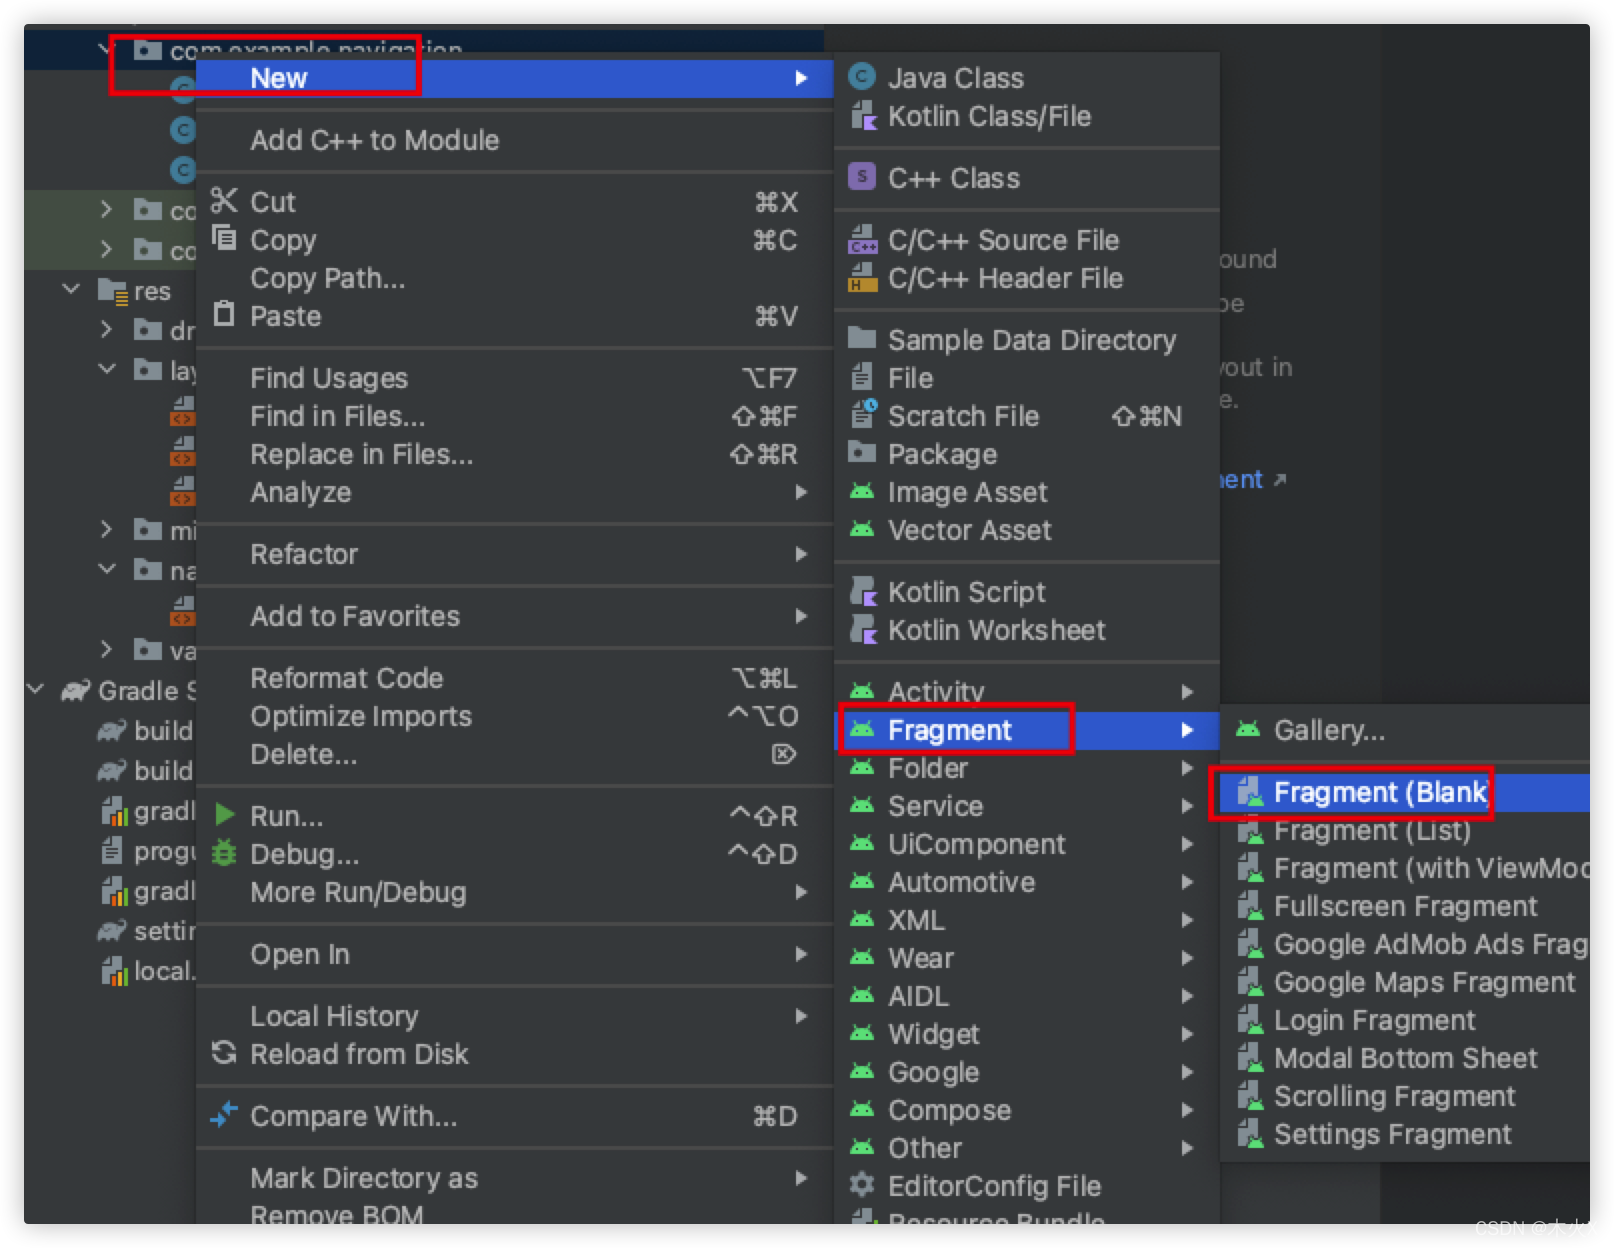
新建一个工程,添加两个Fragment,分别为 FirstFragment、SecondFragment


fragment_first.xml、fragment_second.xml分别添加一个按钮:
fragment_first.xml:
<?xml version="1.0" encoding="utf-8"?>
<FrameLayout xmlns:android="http://schemas.android.com/apk/res/android"
    xmlns:tools="http://schemas.android.com/tools"
    android:layout_width="match_parent"
    android:layout_height="match_parent"
    tools:context=".FirstFragment">

    <!-- TODO: Update blank fragment layout -->
    <Button
        android:id="@+id/btn_go_to_second"
        android:layout_width="wrap_content"
        android:layout_height="wrap_content"
        android:layout_gravity="center"
        android:text="go to Second Fragment" />

</FrameLayout>
fragment_second.xml:
<?xml version="1.0" encoding="utf-8"?>
<FrameLayout xmlns:android="http://schemas.android.com/apk/res/android"
    xmlns:tools="http://schemas.android.com/tools"
    android:layout_width="match_parent"
    android:layout_height="match_parent"
    tools:context=".SecondFragment">

    <!-- TODO: Update blank fragment layout -->
    <Button
        android:id="@+id/btn_back_to_first"
        android:layout_width="wrap_content"
        android:layout_height="wrap_content"
        android:layout_gravity="center"
        android:text="Back to First Fragment" />

</FrameLayout>
2. 添加Navigation
- 在res右键,new -> Android Resource File,添加Navigation


- 添加Navigation,会提示 Add Project Dependency,点击 OK, 等待一会儿

- 把前面添加的两个Fragment添加到Navigation中:

- 拖拽确定Fragment的跳转关系


查看Code能看出这两个箭头的意思:

3. activity_main中添加NavHostFragment容器
activity_main.xml的Design模式下,选择containers -> NavHostFragment拖到activity_main的页面中

会弹出选择Navigation,选择我们之前创建的my_navigation_graph

或者直接在activity_main.xml用代码添加NavHostFragment
<?xml version="1.0" encoding="utf-8"?>
<androidx.constraintlayout.widget.ConstraintLayout xmlns:android="http://schemas.android.com/apk/res/android"
    xmlns:app="http://schemas.android.com/apk/res-auto"
    xmlns:tools="http://schemas.android.com/tools"
    android:layout_width="match_parent"
    android:layout_height="match_parent"
    tools:context=".MainActivity">

    <androidx.fragment.app.FragmentContainerView
        android:id="@+id/fragmentContainerView"
        android:name="androidx.navigation.fragment.NavHostFragment"
        android:layout_width="match_parent"
        android:layout_height="match_parent"
        app:defaultNavHost="true"
        app:layout_constraintBottom_toBottomOf="parent"
        app:layout_constraintEnd_toEndOf="parent"
        app:layout_constraintStart_toStartOf="parent"
        app:layout_constraintTop_toTopOf="parent"
        app:navGraph="@navigation/my_navigation_graph" />
</androidx.constraintlayout.widget.ConstraintLayout>
4. MainActivity.java
public class MainActivity extends AppCompatActivity {

    @Override
    protected void onCreate(Bundle savedInstanceState) {
        super.onCreate(savedInstanceState);
        setContentView(R.layout.activity_main);

        NavHostFragment navHostFragment = (NavHostFragment) getSupportFragmentManager().findFragmentById(R.id.fragmentContainerView);
        NavController navController = navHostFragment.getNavController();
    }
}
5. 两个Fragment之间的跳转
FirstFragment.java:
public class FirstFragment extends Fragment {

    private View mFragmentView;
    private Button mBtnGoToSecondFragment;

    public FirstFragment() {
        // Required empty public constructor
    }


    @Override
    public View onCreateView(LayoutInflater inflater, ViewGroup container,
                             Bundle savedInstanceState) {
        if (mFragmentView == null){
            mFragmentView = inflater.inflate(R.layout.fragment_first, container, false);

            mBtnGoToSecondFragment = mFragmentView.findViewById(R.id.btn_go_to_second);
            mBtnGoToSecondFragment.setOnClickListener((view) -> {
                NavController navController = Navigation.findNavController(view);
                navController.navigate(R.id.action_firstFragment_to_secondFragment);
            });
        }

        return mFragmentView;
    }

}
SecondFragment.java:
public class SecondFragment extends Fragment {

    private View mFragmentView;
    private Button mBtnBackToFirstFragment;

    public SecondFragment() {
        // Required empty public constructor
    }


    @Override
    public View onCreateView(LayoutInflater inflater, ViewGroup container,
                             Bundle savedInstanceState) {
        if (mFragmentView == null){
            mFragmentView = inflater.inflate(R.layout.fragment_second, container, false);

            mBtnBackToFirstFragment = mFragmentView.findViewById(R.id.btn_back_to_first);
            mBtnBackToFirstFragment.setOnClickListener((view) -> {
                NavController navController = Navigation.findNavController(view);
                navController.navigate(R.id.action_secondFragment_to_firstFragment);
            });
        }

        return mFragmentView;
    }

}

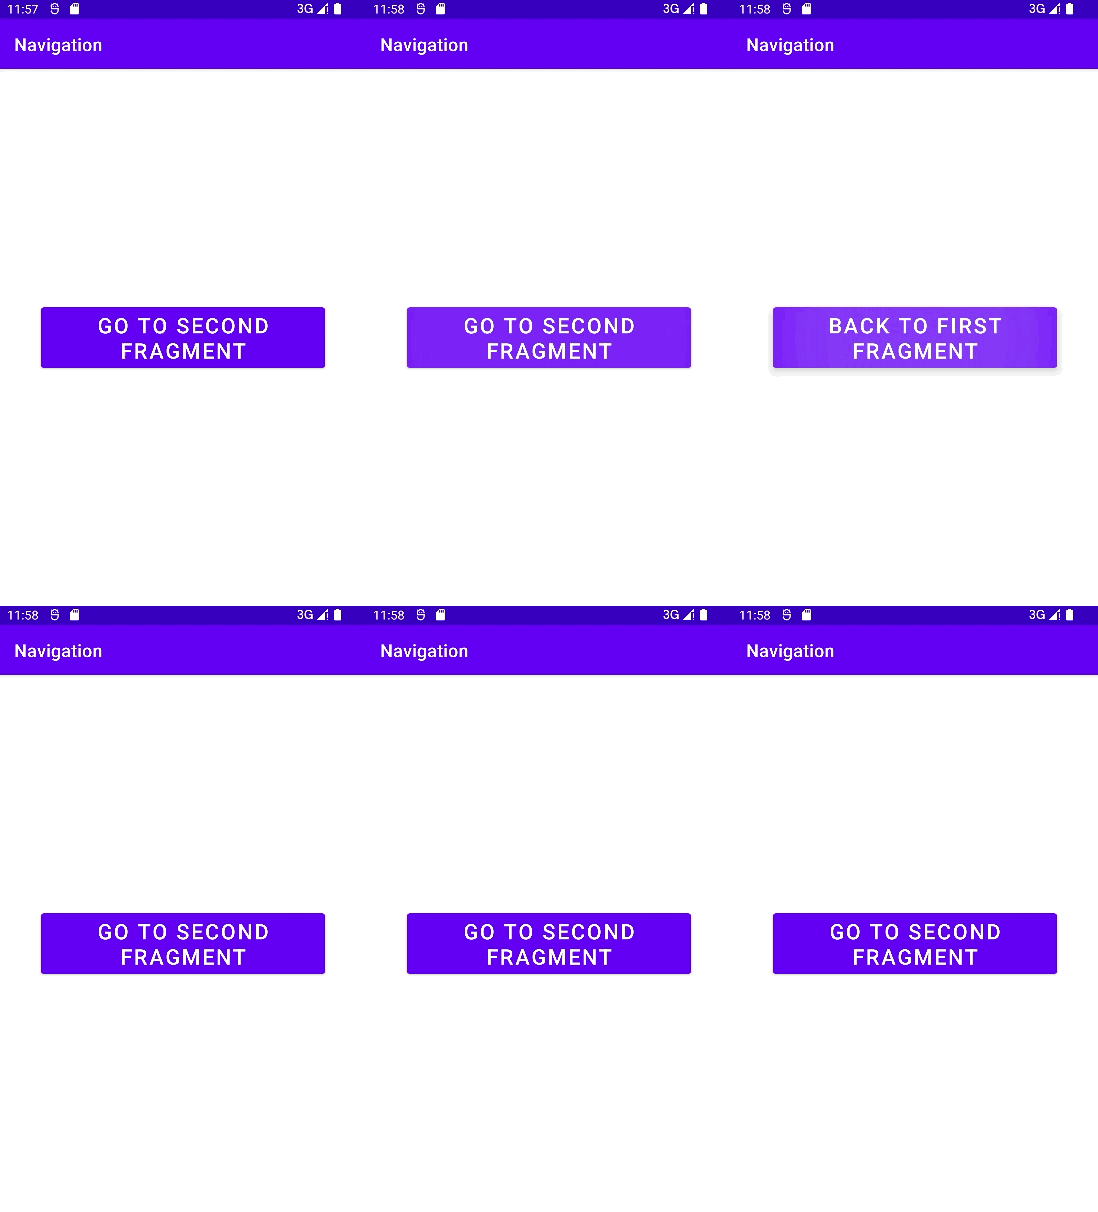
6. 效果

7. 示例代码
https://gitee.com/jie-xio/android_samples/tree/master/Navigation/Navigation
关于Navigation更详细的说明,参考Android官方文档:https://developer.android.google.cn/guide/navigation?hl=zh-cn
