Paging3 分页库的使用及踩坑经历
简介
Paging 库可帮助您加载和显示来自本地存储或网络中更大的数据集中的数据页面。此方法可让您的应用更高效地利用网络带宽和系统资源。
Paging库分为Paging2和Paging3,因为Paging2使用不太友好,这里着重介绍Paging3。
使用Paging3的优势
- 分页数据的内存中缓存。该功能可确保您的应用在处理分页数据时高效利用系统资源。
- 内置的请求重复信息删除功能,可确保您的应用高效利用网络带宽和系统资源。
- 可配置的 RecyclerView 适配器,会在用户滚动到已加载数据的末尾时自动请求数据。
- 对 Kotlin 协程和 Flow 以及 LiveData 和 RxJava 的一流支持。
- 内置对错误处理功能的支持,包括刷新和重试功能。
Paging库的架构

使用
添加依赖
我这边使用kotlin的,直接添加一个依赖就可以了。
implementation 'androidx.paging:paging-runtime-ktx:3.1.1'
Google提供的Java和compose依赖库的支持。
dependencies {
  def paging_version = "3.1.1"

  implementation "androidx.paging:paging-runtime:$paging_version"

  // alternatively - without Android dependencies for tests
  testImplementation "androidx.paging:paging-common:$paging_version"

  // optional - RxJava2 support
  implementation "androidx.paging:paging-rxjava2:$paging_version"

  // optional - RxJava3 support
  implementation "androidx.paging:paging-rxjava3:$paging_version"

  // optional - Guava ListenableFuture support
  implementation "androidx.paging:paging-guava:$paging_version"

  // optional - Jetpack Compose integration
  implementation "androidx.paging:paging-compose:1.0.0-alpha14"
}
根据自己需要添加依赖。
例子:开发应用商店,应用商店中有很多分类的应用,要分页加载游戏分类的应用,一次加载10条数据。
定义数据源
新建ClassifyNetPagingSource类继承PagingSource类,重写load()方法,在该方法中加载数据。
class ClassifyNetPagingSource(
    private val appStoreRepository: AppStoreRepository,
    private val classifyId: Int
) :
    PagingSource<Int, ApplicationInfoBean>() {
    override fun getRefreshKey(state: PagingState<Int, ApplicationInfoBean>): Int? {
        return null
    }

    override suspend fun load(params: LoadParams<Int>): LoadResult<Int, ApplicationInfoBean> {
        return try {
            val page = params.key ?: 1  //当前页码,若为空则设为1
            val limit = params.loadSize  //每次加载的数目
            val response = appStoreRepository.getAppClassify(classifyId, (page - 1) * limit, limit)  //网络请求数据
            val prevKey = if (page > 1) page - 1 else null   //计算上一页的页码
            val nextKey =
                if (response.data.hasNext && response.data.apps != null) page + 1 else null //计算下一页的页码
            val responseData = if (response.data.apps != null) response.data.apps else emptyList()  //获取请求返回的数据
            //将数据和页码设置到LoadResult中
            LoadResult.Page(
                data = responseData,
                prevKey = prevKey,
                nextKey = nextKey
            )
        } catch (e: Exception) {
            LoadResult.Error(e)
        }
    }
}
appStoreRepository:请求数据的类,你可以在该类中请求http数据并返回;
classifyId:分类的id(可有可无,根据实际接口决定);
prevKey:上一页的页码,如果当前为第一页则上一页设置为null。
nextKey:下一页的页码,如果当前为最后一页则设置为null。
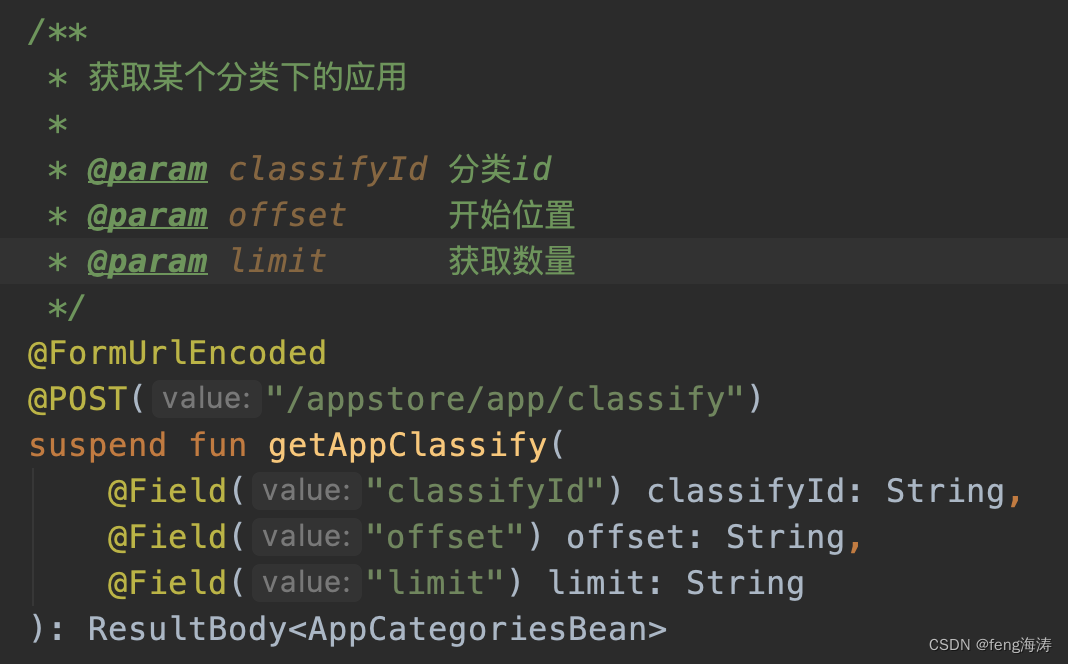
我的接口是这样的,需要根据接口计算相应的参数。

主要把页码算清楚,最后调用LoadResult.Page()函数,构建一个LoadResult对象并返回。如果接口请求抛异常,可以通过LoadResult.Error(e)返回异常结果。
定义适配器
比较特殊,需要集成特定的适配器PagingDataAdapter。新建AppStorePagingAdapter继承PagingDataAdapter,写法跟平常适配器差不多。
class AppStorePagingAdapter @Inject constructor() :
    PagingDataAdapter<ApplicationInfoBean, AppStorePagingAdapter.VH>(
        DataDifferntiator
    ) {

    class VH(itemView: View) : RecyclerView.ViewHolder(itemView) {
        val appName = itemView.findViewById<TextView>(R.id.tv_app_name)
        val appSize = itemView.findViewById<TextView>(R.id.tv_app_size)
    }

    override fun onBindViewHolder(holder: VH, position: Int) {
        val bean = getItem(position)
        holder.appName.text = bean?.appName
        holder.appSize.text = bean?.appSize.toString()
    }

    override fun onCreateViewHolder(parent: ViewGroup, viewType: Int): VH {
        val view =
            LayoutInflater.from(parent.context).inflate(R.layout.item_appstore_list, parent, false)
        return VH(view)
    }

    object DataDifferntiator : DiffUtil.ItemCallback<ApplicationInfoBean>() {

        override fun areItemsTheSame(
            oldItem: ApplicationInfoBean,
            newItem: ApplicationInfoBean
        ): Boolean {
            return oldItem == newItem
        }

        override fun areContentsTheSame(
            oldItem: ApplicationInfoBean,
            newItem: ApplicationInfoBean
        ): Boolean {
            return oldItem.appName == newItem.appName
        }
    }
}
不需要传入数据源,但是需要定义DiffUtil.ItemCallback的回调,将DataDifferntiator传入构造函数中。
使用: 在Activity或fragment中给recycleview设置适配器。
lateinit var mAppStorePagingAdapter: AppStorePagingAdapter
fun initView() {
        mAppStorePagingAdapter = AppStorePagingAdapter()
        binding.recycleView.adapter = mAppStorePagingAdapter
        binding.recycleView.layoutManager = LinearLayoutManager(requireContext())
    }
触发数据加载
上面我们定义了数据源和适配器,适配器我们已经初始化并赋值,但是数据源还没有初始化,也没有触发加载。
如何初始化呢?给页面定义ViewModel,在ViewModel中进行初始化,在Activity或fragment中触发,或者直接在viewmodel中直接触发。
fun getClassifyData(classifyId: Int): Flow<PagingData<ApplicationInfoBean>> {
        return Pager(PagingConfig(pageSize = pageSize, initialLoadSize = initialLoadSize)) {
            ClassifyNetPagingSource(appStoreRepository, classifyId)
        }.flow.cachedIn(viewModelScope)
    }
新建Pager对象,传入配置PagingConfig和数据源ClassifyNetPagingSource,然后将Pager对象通过.flow转化为Flow对象。
基本到这里完成了,但还需要调用cachedIn()方法将数据放到viewModelScope这个作用域内进行缓存,这样横竖屏切换时就不会重新加载数据,而是从缓存中读取。
PagingConfig字段说明:
pageSize:每页加载数据的条数
initialLoadSize:第一次加载多少条数据,默认是pageSize * 3
把数据提交到AppStorePagingAdapter适配器中:在Activity或fragment初始化数据时调用。
fun initData() {
    lifecycleScope.launchWhenCreated {
        viewModel.getClassifyData(classifyId).collect {
            mAppStorePagingAdapter.submitData(it)
        }
    }
}
转换数据
过滤数据
可以根据用户条件来过滤数据;如果根据其他条件应该隐藏数据,也可以移除相应数据。
需要将这些过滤操作放入 map() 调用中,因为该过滤条件适用于 PagingData 对象。数据从 PagingData 中过滤掉后,系统会将新的 PagingData 实例传递到界面层进行显示。
	/**
     * 根据输入的文字进行过滤
     */
    fun filterDataByName(
        name: String,
        classifyId: Int
    ): Flow<PagingData<ApplicationInfoBean>> {
        return Pager(PagingConfig(pageSize = pageSize, initialLoadSize = initialLoadSize)) {
            ClassifyNetPagingSource(appStoreRepository, classifyId)
        }.flow.map { pagingData ->
            pagingData.filter { bean ->
                bean.appName.contains(name, true)
            }
        }.cachedIn(viewModelScope)
    }
页面上调用:
binding.etFilter.addTextChangedListener(object : TextWatcherAdapter() {
     override fun afterTextChanged(s: Editable) {
         s.toString().let {
             lifecycleScope.launchWhenCreated {
                 viewModel.filterDataByName(it, classifyId).collect {
                     mAppStorePagingAdapter.submitData(it)
                 }
             }
         }
     }
 })
修改数据
要修改返回数据中某个字段的值。
fun changeData():Flow<PagingData<ApplicationInfoBean>> {
     return Pager(PagingConfig(pageSize = pageSize, initialLoadSize = initialLoadSize)) {
         ClassifyNetPagingSource(appStoreRepository, classifyId)
     }.flow.map { pagingData ->
         pagingData.map { bean ->
             bean.appName = "修改后的应用名称"
             bean
         }
     }.cachedIn(viewModelScope)
 }
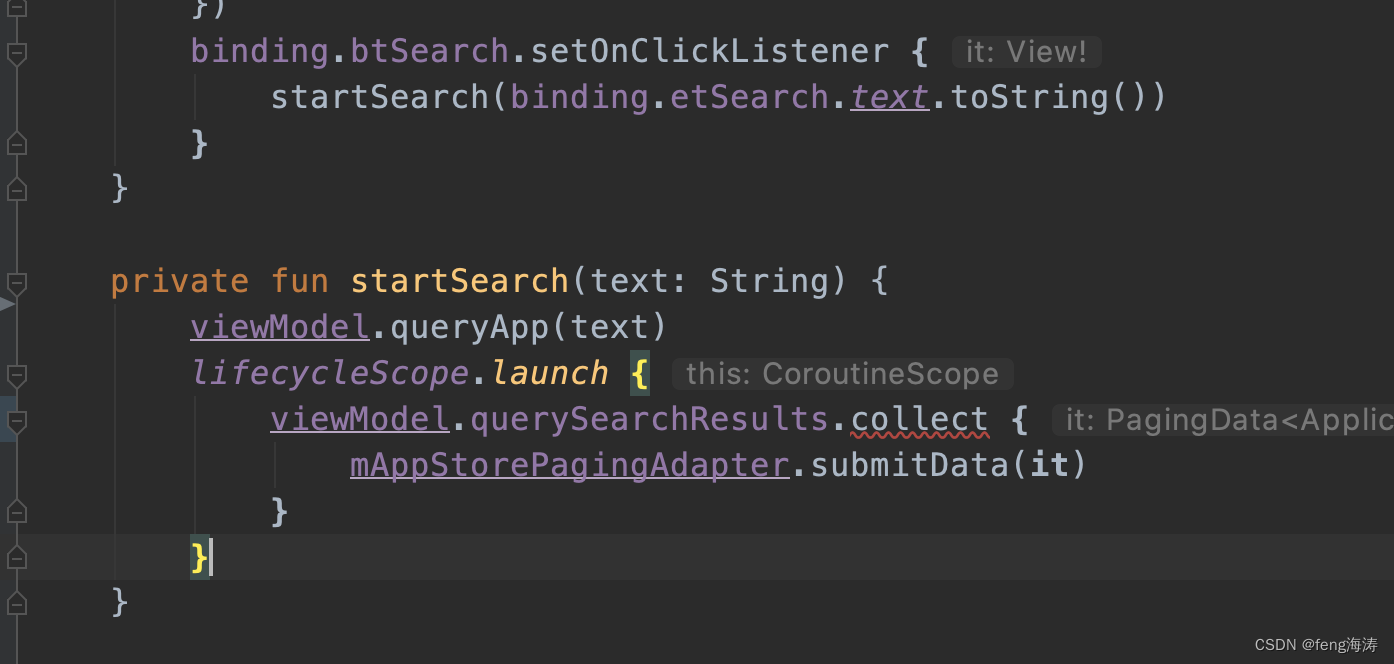
另一种常见的数据转换是获取用户输入(例如查询字符串),然后将其转换为要显示的请求输出。若要设置该数据转换,您需要监听并捕获用户查询输入、执行相应请求并将查询结果推送回界面。
您可以使用数据流 API 来监听查询输入。将数据流引用保留在 ViewModel 中。界面层不应直接访问该类;相反,应该定义一个函数来通知 ViewModel 相关用户查询。
ViewModel 中实现:
val querySearchResults: Flow<PagingData<ApplicationInfoBean>> = queryFlow.flatMapLatest {
    getSearchResult(it)
}.cachedIn(viewModelScope)

fun queryApp(queryString: String) {
    queryFlow.value = queryString
}

fun getSearchResult(query: String): Flow<PagingData<ApplicationInfoBean>> {
    return Pager(
        config = PagingConfig(
            pageSize = 10,
            initialLoadSize = 10
        ),
        pagingSourceFactory = { QueryNetPagingSource(appStoreRepository, query) }
    ).flow
}
Activity或fragment中调用:

当queryFlow数据流中的查询值发生更改时,会自动触发flatMapLatest方法,您可以执行操作将查询值转换为所需的数据类型,并将结果返回到界面层。具体的转换函数取决于所使用的语言和框架,但它们都可提供相似的功能。
问题来了
如何监听数据的加载状态呢?
添加监听:
mAppStorePagingAdapter.addLoadStateListener { it ->
    when (it.refresh) {
        is LoadState.NotLoading -> {
            //不再加载或加载完成
        }
        is LoadState.Loading -> {
            //数据加载中
        }
        is LoadState.Error -> {
            //加载失败
        }
    }
}
监听数据状态时无法确认数据是否加载完成?
在页脚的适配器PostsLoadStateAdapter中重写displayLoadStateAsItem()方法:
override fun displayLoadStateAsItem(loadState: LoadState): Boolean {
     return loadState is LoadState.Loading || loadState is LoadState.Error ||
             (loadState is LoadState.NotLoading && loadState.endOfPaginationReached)
 }
然后通过loadState is LoadState.NotLoading && loadState.endOfPaginationReached判断是否加载完成。
如何添加页脚、页眉呢?
如:上拉加载更多数据时,我要显示一个loading的动画,或者没有数据时提示用户"我是有底线的!"。下拉显示loading动画。
调用withLoadStateFooter()添加页脚:
lateinit var mAppStorePagingAdapter: AppStorePagingAdapter
fun initView() {
        mAppStorePagingAdapter = AppStorePagingAdapter()
        binding.recycleView.adapter = mAppStorePagingAdapter.withLoadStateFooter(PostsLoadStateAdapter(mAppStorePagingAdapter))
        binding.recycleView.layoutManager = LinearLayoutManager(requireContext())
    }
或者直接调用withLoadStateHeaderAndFooter()同时添加页眉和页脚。
PostsLoadStateAdapter.java的代码,继承的是LoadStateAdapter。
class PostsLoadStateAdapter(
    private val adapter: AppStorePagingAdapter
) : LoadStateAdapter<PostsLoadStateAdapter.ViewHolder>() {
    override fun onBindViewHolder(holder: ViewHolder, loadState: LoadState) {
        holder.bindTo(loadState)
    }

    override fun onCreateViewHolder(
        parent: ViewGroup,
        loadState: LoadState
    ): ViewHolder {
        return ViewHolder(parent) { adapter.retry() }
    }

/**
     * 前面三个条件解决:加载状态没有数据已全部加载 问题
     * loadState.endOfPaginationReached 条件解决:首次加载完数据,列表会自动滚动到最后一行
     */
    override fun displayLoadStateAsItem(loadState: LoadState): Boolean {
        return loadState is LoadState.Loading || loadState is LoadState.Error ||
                (loadState is LoadState.NotLoading && loadState.endOfPaginationReached)
    }

    class ViewHolder(
        parent: ViewGroup,
        private val retryCallback: () -> Unit
    ) : RecyclerView.ViewHolder(
        LayoutInflater.from(parent.context).inflate(R.layout.network_state_item, parent, false)
    ) {
        private val binding = NetworkStateItemBinding.bind(itemView)
        private val progressBar = binding.progressBar
        private val noMore = binding.noMore
        private val errorMsg = binding.errorMsg
        private val retry = binding.retryButton
            .also {
                it.setOnClickListener { retryCallback() }
            }

        fun bindTo(loadState: LoadState) {
            progressBar.isVisible = loadState is LoadState.Loading
            noMore.isVisible = loadState is LoadState.NotLoading && loadState.endOfPaginationReached
            retry.isVisible = loadState is LoadState.Error
            errorMsg.isVisible = !(loadState as? LoadState.Error)?.error?.message.isNullOrBlank()
            errorMsg.text = (loadState as? LoadState.Error)?.error?.message
        }
    }
}
布局network_state_item.xml的代码:
<?xml version="1.0" encoding="utf-8"?>
<LinearLayout xmlns:android="http://schemas.android.com/apk/res/android"
              android:layout_width="match_parent"
              android:layout_height="wrap_content"
              android:orientation="vertical"
              android:padding="8dp">
    <TextView
        android:id="@+id/no_more"
        android:layout_width="wrap_content"
        android:layout_height="wrap_content"
        android:text="@string/no_more"
        android:visibility="gone"
        android:gravity="center"
        android:layout_gravity="center_horizontal"/>
    <TextView
        android:id="@+id/error_msg"
        android:layout_width="wrap_content"
        android:layout_height="wrap_content"
        android:layout_gravity="center_horizontal"/>
    <ProgressBar
        android:id="@+id/progress_bar"
        style="?android:attr/progressBarStyle"
        android:layout_width="32dp"
        android:layout_height="32dp"
        android:layout_gravity="center"/>
    <Button
        android:id="@+id/retry_button"
        android:layout_width="wrap_content"
        android:layout_height="wrap_content"
        android:layout_gravity="center"
       android:background="@drawable/shape_open_app"
        android:text="retry"/>
</LinearLayout>
如何过滤数据的同时改变数据?
分开处理:
val tempList = pager.map {
    it.filter {
        // it.appName.contains(name, true)
    }
}
tempList.map {
    it.map b@{ bean ->
        bean.appName = "修改数据"
        bean
    }
}.cachedIn(viewModelScope)
