课程链接:https://www.bilibili.com/video/BV1q64y1d7x5?p=8
课程项目仓库:https://github.com/cnatom/MemorizeSwiftUI
这节课老师全程在写代码,无法按照课程从头到尾总结。
因此从其中精炼出最主要的几个知识点,各自以实例说明
自定义翻转卡片:插值动画Animatable & 三维旋转.rotation3DEffect
插值动画可以精准调控View在动画过程中每一帧的表现,只需要继承Animatable并实现其中的animatableData变量即可。
我们通过自定义一个能点击翻转的卡片View来说明其作用。
- 如下代码,我们定义了一个CardView,接受一个参数show,当show变化时,卡片会在正面与反面之间翻转。
struct ContentView: View {
    @State var show = false
    var body: some View {
        // 翻转卡片
        CardView(show: show)
            .onTapGesture {
                withAnimation(.linear(duration: 3)) {
                    self.show = !self.show

                }
            }
    }
}
- 我们先实现一个没有翻转动画的CardView
struct CardView: View{

    var show: Bool // true:显示正面 false:反面

    let shape = RoundedRectangle(cornerRadius: 16) // 圆角

    var body: some View {
        ZStack{
            if show {
                // 正面
                shape.fill().foregroundColor(.white)
                shape.strokeBorder(lineWidth: 5)
                Text("😀")
            } else {
                // 反面
                shape.fill()
            }
        }
        .foregroundColor(.blue)
        .frame(width: 100, height: 150)

    }
}
点击效果如下:
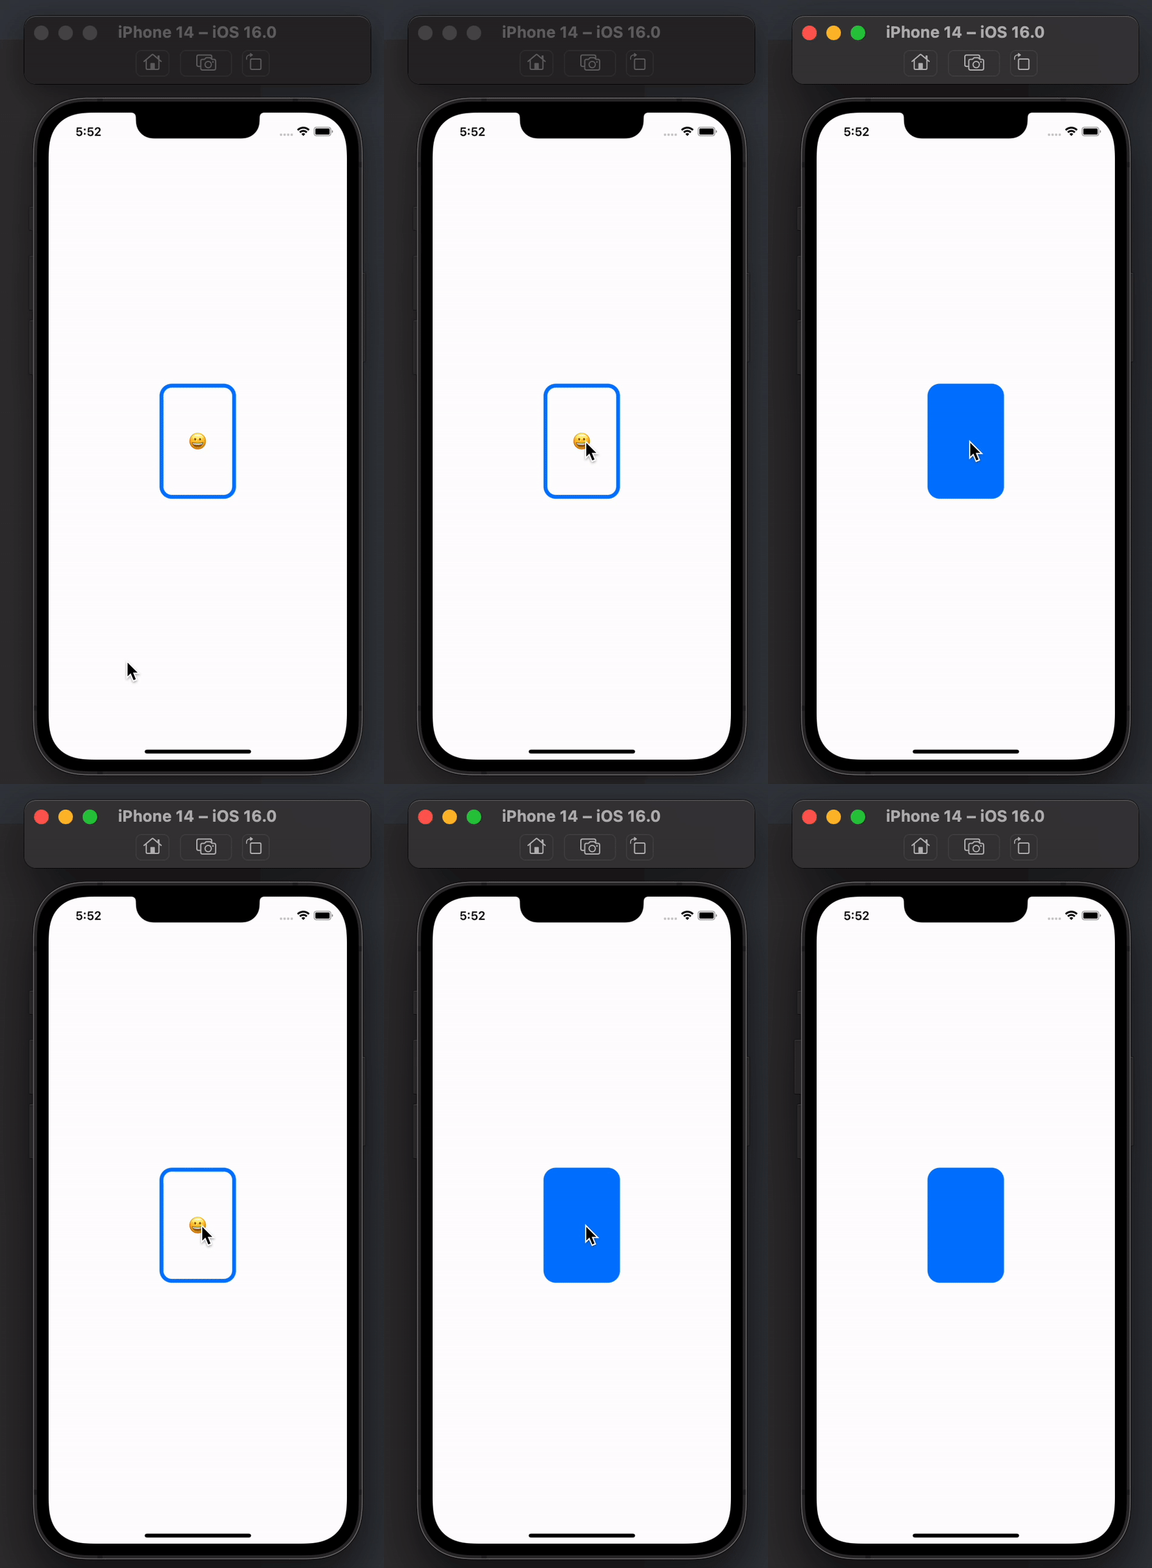
此处的渐变效果来自于
withAnimation显式动画。
- 之后,我们为
CardView添加3D翻转效果rotation3DEffect,让卡片在0度到180度之间绕着Y轴翻转
此处 axis: (0,1,0) 代表绕Y轴旋转
同样的,绕X轴:axis:(1,0,0),绕Z轴:axis:(0,0,1)
struct CardView: View{
  	...
    var body: some View {
        ZStack{
          ...
        }
      	...
        .rotation3DEffect(Angle(degrees: show ? 0 :180), axis: (0,1,0))
    }
}
效果如下:
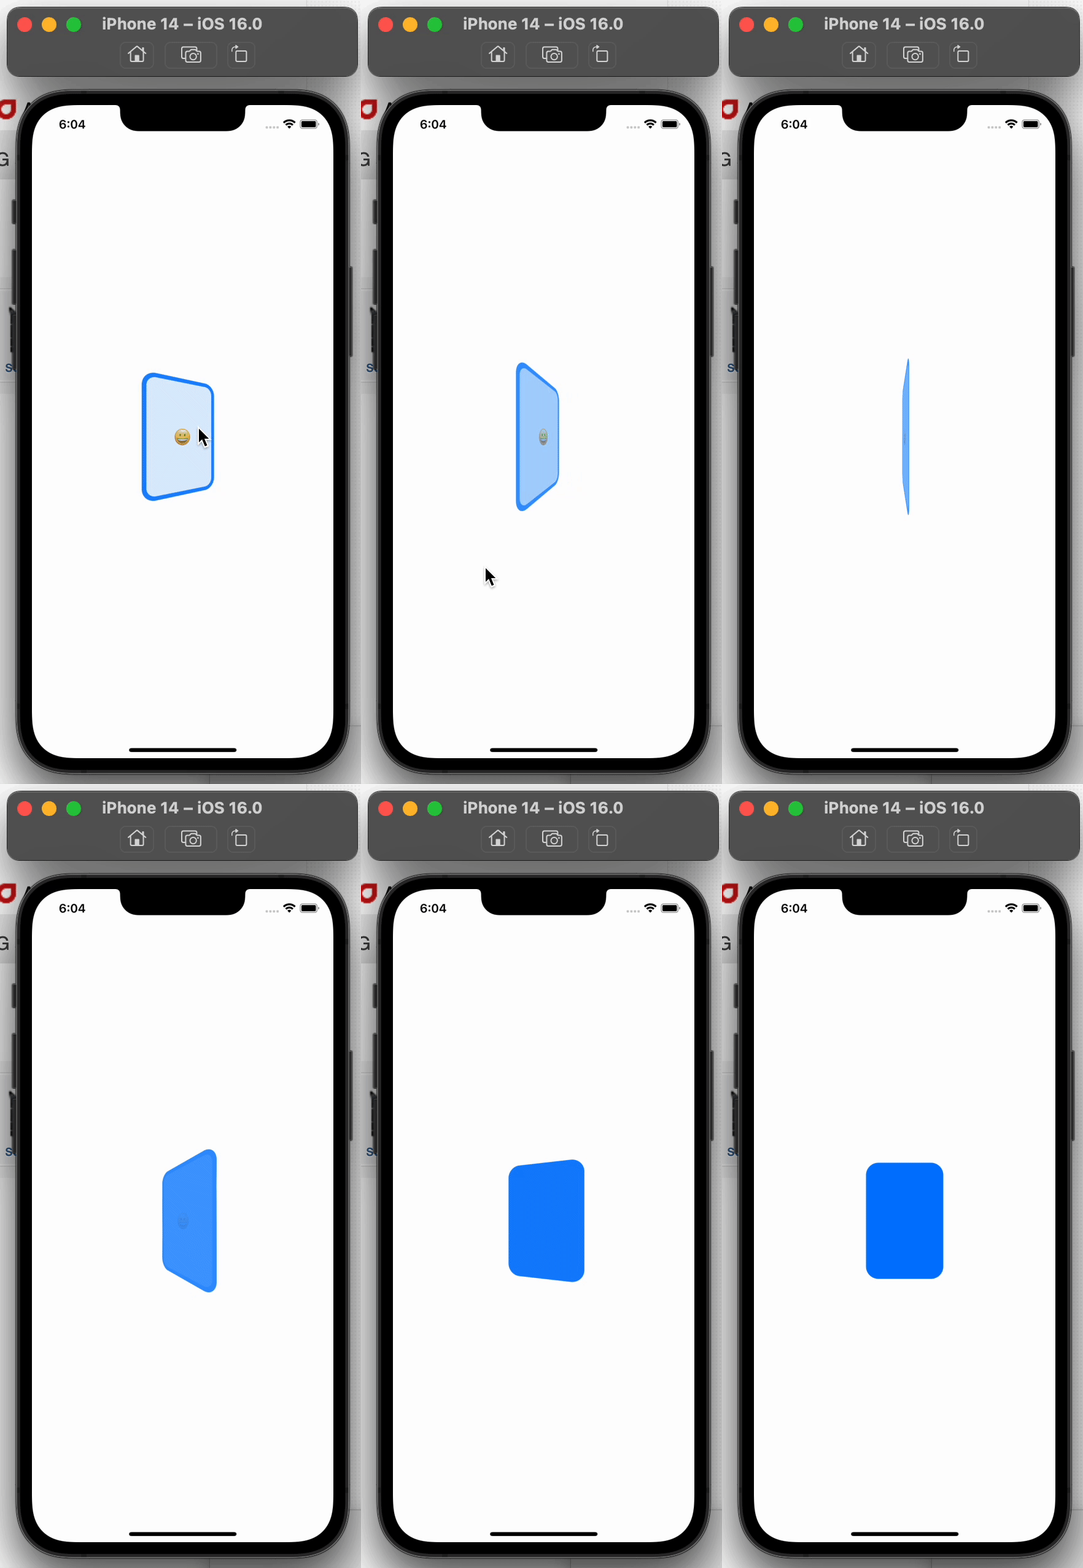
emmm,虽然翻转了,但是卡片内容是渐变过去的,而不是在90度的时候突然从正面切换到反面。
所以,我们可以设置一个角度变量。
- 当0->90度时,显示卡片正面
- 当90->180度时,显示卡片反面
要完成这种精细的操作,就需要借助SwiftUI提供的协议:Animatable
- 优化翻转动画,使翻转角度为90时让View“突变”
首先,声明要实现Animatable协议
struct CardView: View, Animatable{
  ...
}
然后,设置一个变量,用来记录当前旋转的角度。并将var show: Bool替换为构造函数,传入true时为0度,false时为180度
struct CardView: View, Animatable{

  	// var show: Bool
    init(show: Bool){
        rotation = show ? 0 : 180
    }

    var rotation: Double
  	...
}
再实现Animatable协议中的animatableData变量,并将其与rotation关联。
这里说明一下原理,
- 如果不实现
animatableData,那么从正面翻转时,rotation的值是“突变”的,从0->180,就无法在90度的时候让卡片突变。 - 实现
animatableData并将其与rotation关联,那么rotation的值是渐变的,0->1->2->3->…->180,从而实现对每一角度的调整。
struct CardView: View, Animatable{
    ...
    var rotation: Double

    var animatableData: Double{
        get { rotation }
        set { rotation = newValue }
    }
  	...
}
最后,在body中添加if rotation < 90,以实现在90度时的“突变”
struct CardView: View, Animatable{
  	...

    var body: some View {
        ZStack{
          	// 当小于90度时,显示正面。反之则反
            if rotation < 90 {
                // 正面
              	...
            } else {
                // 反面
              	...
            }
        }
      	...
        .rotation3DEffect(Angle(degrees: rotation), axis: (0,1,0)) // degrees由rotation控制
    }
}
最终效果如下:
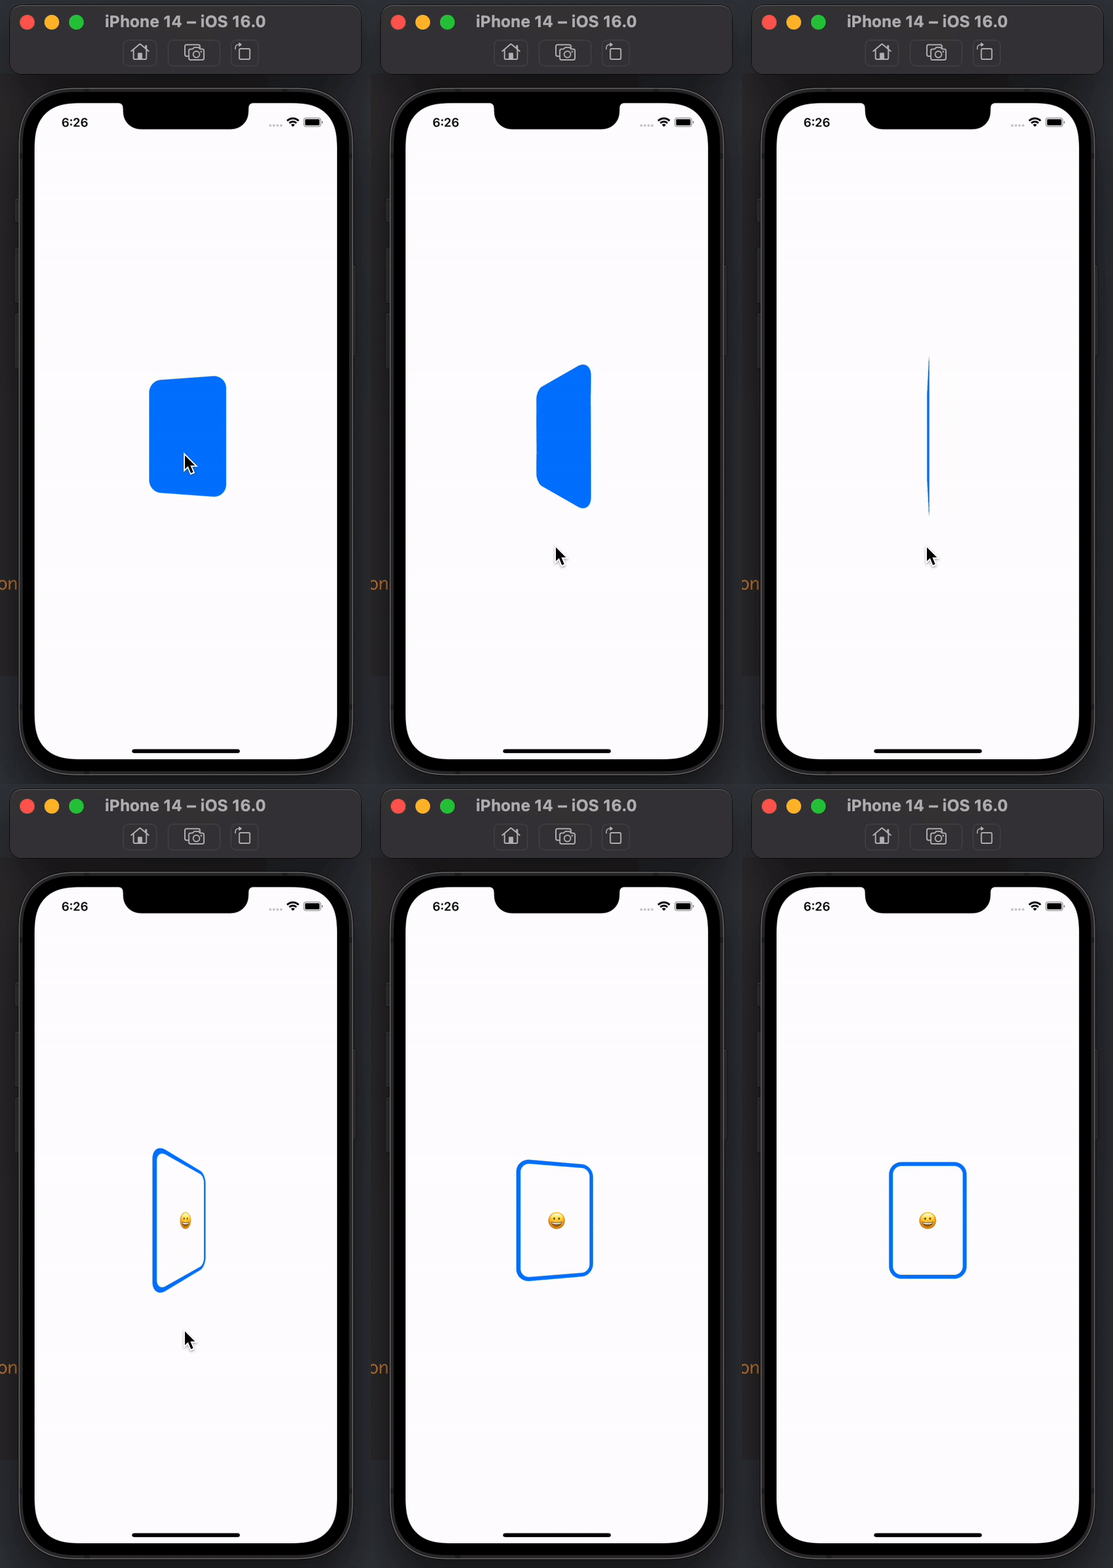
🎉🎉🎉🎉🎉🎉🎉干得漂亮
以下为全部代码:
struct ContentView: View {
    @State var show = false
    var body: some View {
        // 翻转卡片
        CardView(show: show)
            .onTapGesture {
                withAnimation(.linear(duration: 4)) {
                    self.show = !self.show
                }
            }
    }
}

struct CardView: View, Animatable{

    init(show: Bool){
        rotation = show ? 0 : 180
    }

    var rotation: Double

    var animatableData: Double{
        get { rotation }
        set { rotation = newValue }
    }

    let shape = RoundedRectangle(cornerRadius: 16) // 圆角

    var body: some View {
        ZStack{
            if rotation < 90 {
                // 正面
                shape.fill().foregroundColor(.white)
                shape.strokeBorder(lineWidth: 5)
                Text("😀")
            } else {
                // 反面
                shape.fill()
            }
        }
        .foregroundColor(.blue)
        .frame(width: 100, height: 150)
        .rotation3DEffect(Angle(degrees: rotation), axis: (0,1,0))
    }
}
几何匹配.matchedGeometryEffect
使用.matchedGeometryEffect可以实现View位置的移动。
我们通过一个样例来说明
struct ContentView: View {
    @State var go = false
    var body: some View {
        Group {
            if go {
                /// 顶部卡片
                VStack {
                    CardView()
                    Spacer()
                }
            } else {
                /// 底部卡片
                VStack {
                    Spacer()
                    CardView()
                }
            }
        }
        .onTapGesture {
            withAnimation {
                go.toggle() // 相当于go = !go
            }
        }
    }
}
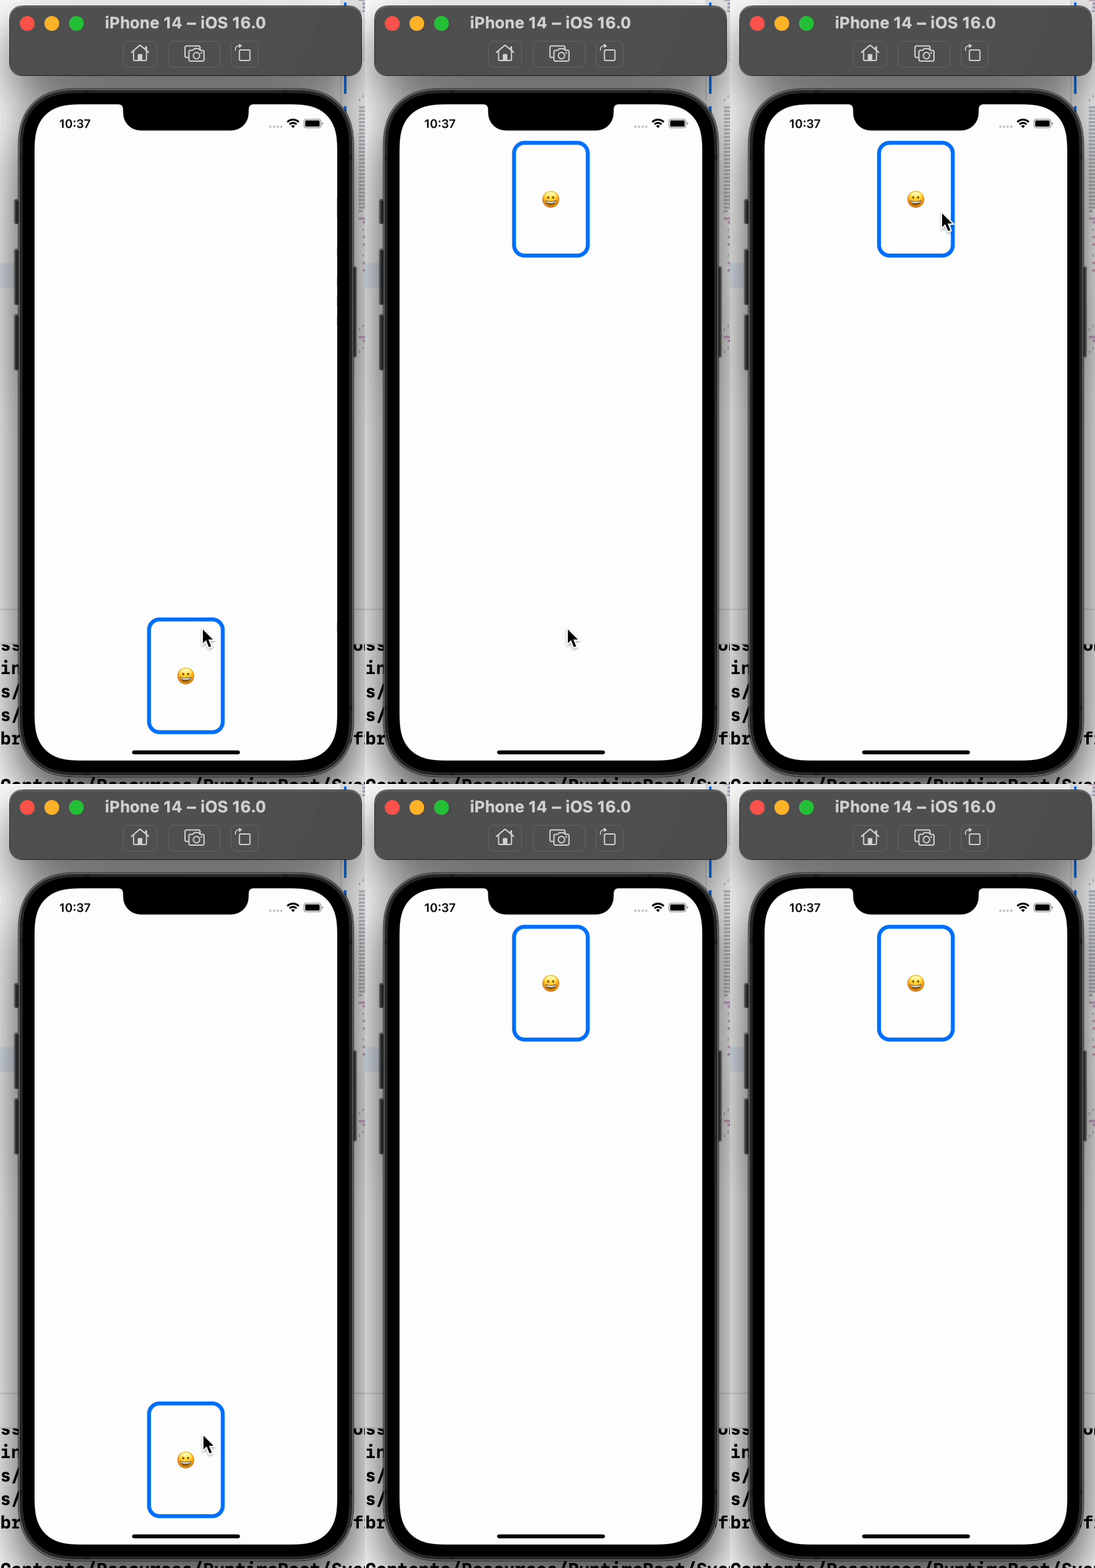
效果如下:
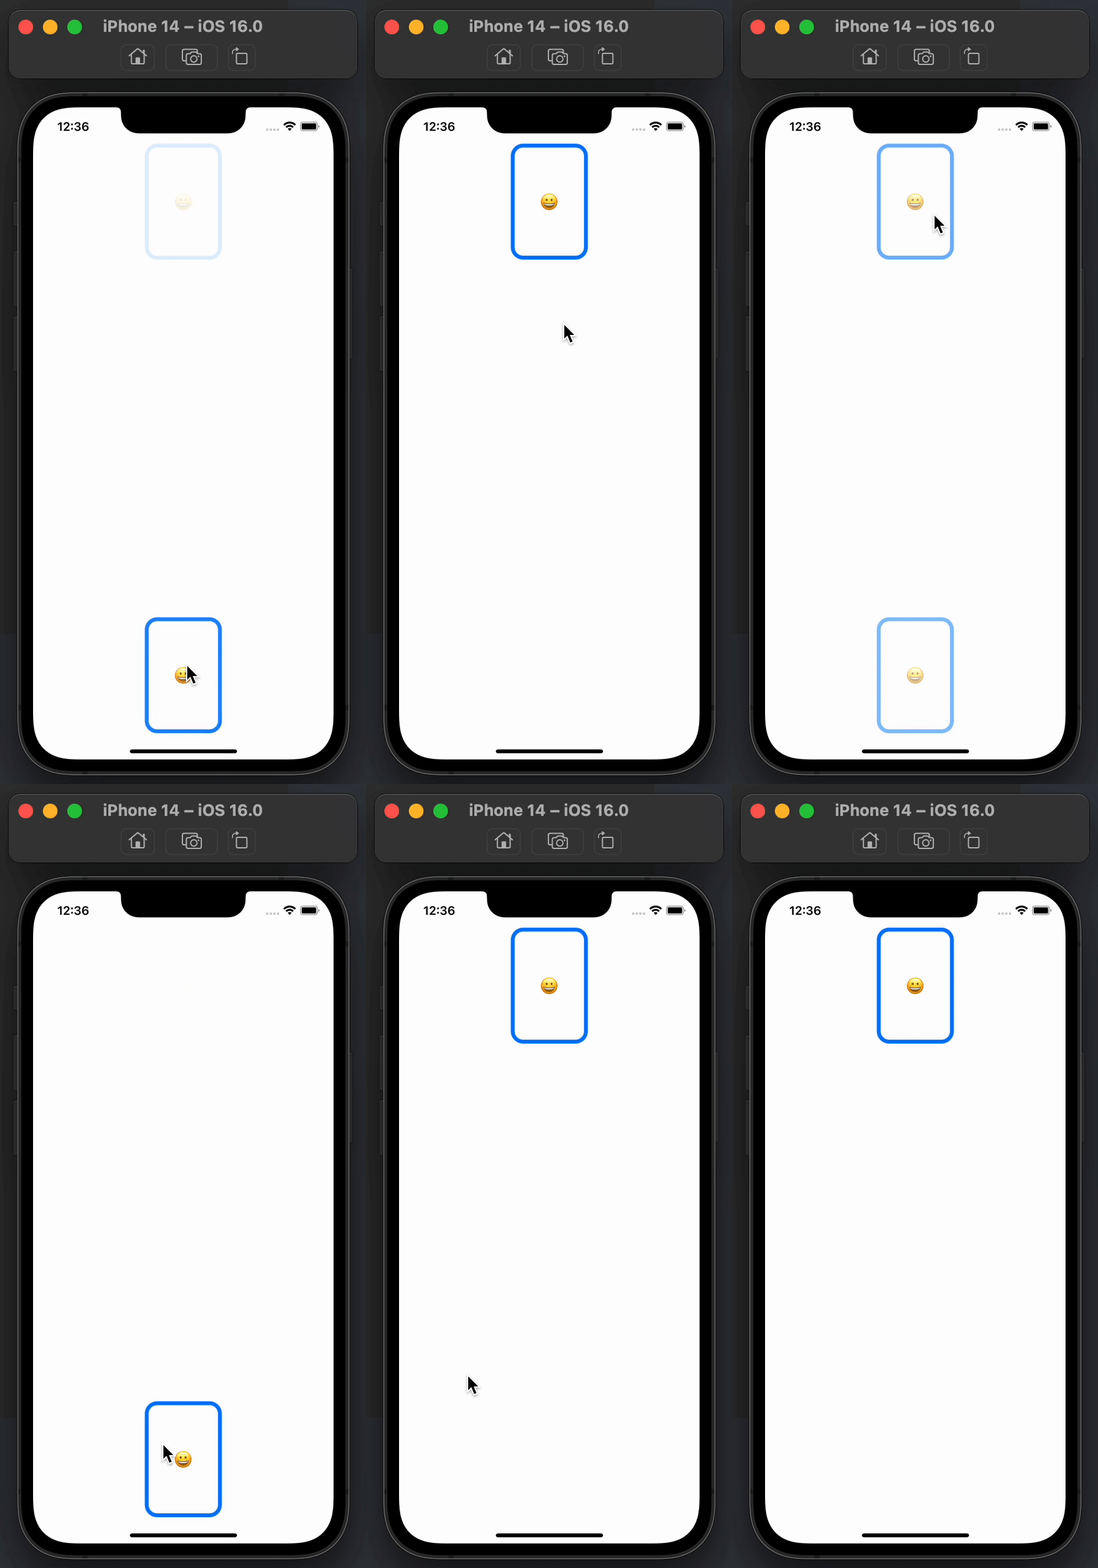
之后给两个CardView添加.matchedGeometryEffect即可。
struct ContentView: View {
    @State var go = false
    @Namespace var cardNameSpace
    var body: some View {
        Group {
            if go {
                /// 顶部卡片
                VStack {
                    CardView()
                        .matchedGeometryEffect(id: "mycard", in: cardNameSpace)
                    Spacer()
                }
            } else {
                /// 底部卡片
                VStack {
                    Spacer()
                    CardView()
                        .matchedGeometryEffect(id: "mycard", in: cardNameSpace)
                }
            }
        }
        .onTapGesture {
            withAnimation {
                go.toggle() // 相当于go = !go
            }
        }
    }
}
只有两个id相同才会有位置移动效果
效果如下:
