工具
工欲善其事,必先利其器。下面我们介绍一下工具来发现我们的accessibility问题。感谢这篇文章的分享:https://www.kodeco.com/240-android-accessibility-tutorial-getting-started
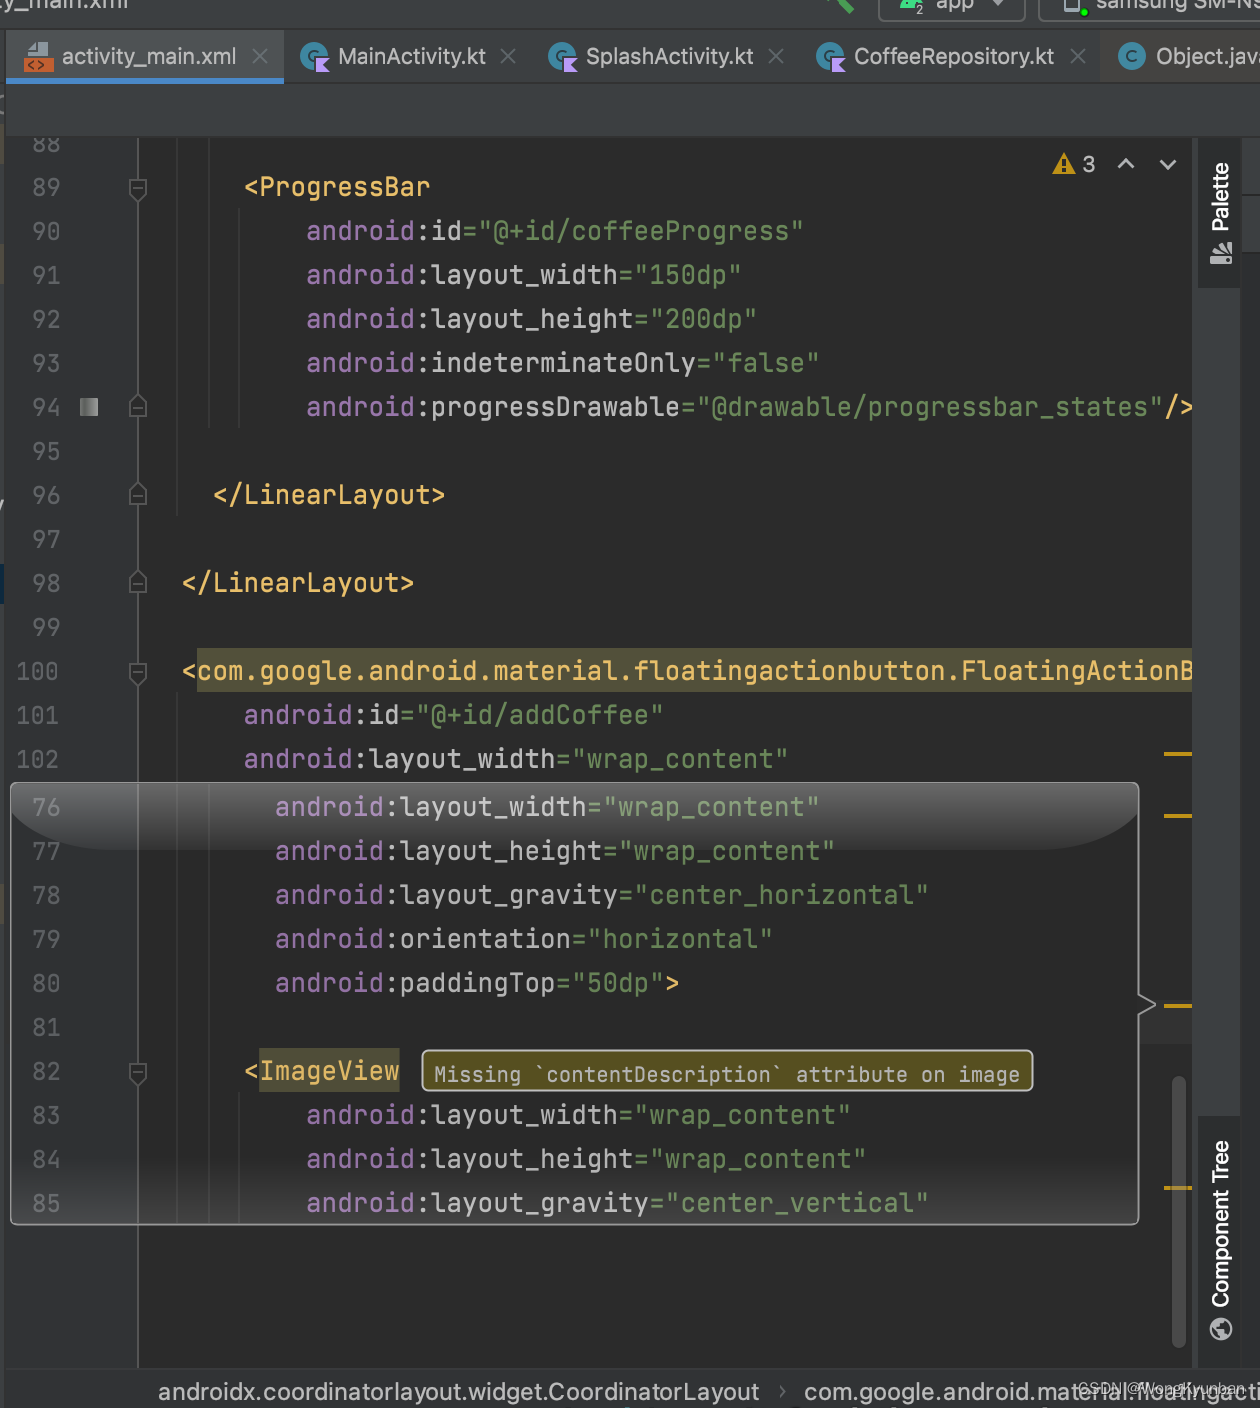
- Lint:这个工具是google提供的,在android studio上直接可以使用。默认是启用的。

它的使用也相当简单,当你在编辑你的布局文件时,它就起作用了。如:

- Accessibility Scanner 扫描器
这是google提供给开发者的一个accessibility扫描器。大家可以去网上搜索这个app,然后把它下载下来,或者去在这个地方下载。
安装好后,可以按Settings/Accessibility/Accessibility Scanner,打开扫描器:

打开扫描器后,打开我们的app,此时会有一个蓝色按钮,点击它,扫描器就会扫描我们的app,然后就会给出结果,还要修改的建议。
Accessibility问题修复指导
android:contentDescription
用这个属性来描述我们的视图,如果我们的组件是继承或是Button类型,那么我们的screen reader会识别出它是按钮,并且告诉用户可以点击去激活它。所以我们只需要在这个属性提供关于视图的描述即可。
如果我们想screen reader跳过这个元素,移动到下一个,那么我们就可以将其android:contentDescription设置为@null ,或者添加一个属性android:isImportantForAccessibility并设置为 ”no”
组合内容
    <LinearLayout
        android:id="@+id/consumedContainer"
        android:layout_width="match_parent"
        android:layout_height="wrap_content"
        android:orientation="horizontal"
        android:focusable="true"
        android:focusableInTouchMode="false">

      <TextView
          android:layout_width="wrap_content"
          android:layout_height="wrap_content"
          android:layout_weight="1"
          android:text="@string/amount_consumed"
          android:textAppearance="@style/TextAppearance.AppCompat.Title"/>

      <TextView
          android:id="@+id/amountConsumed"
          android:layout_width="wrap_content"
          android:layout_height="wrap_content"
          android:layout_gravity="end"
          android:layout_weight="1"
          android:textAlignment="textEnd"
          android:textAppearance="@style/TextAppearance.AppCompat.Title"
          tools:text="3 of 5"/>
    </LinearLayout>

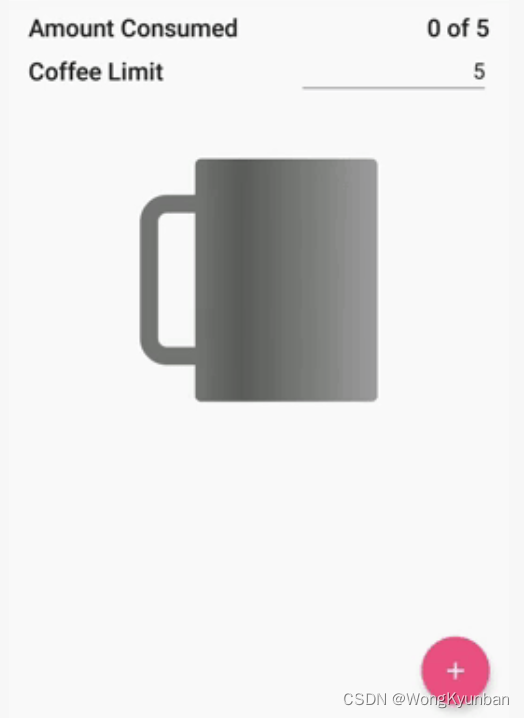
如果我们的screen reader先读“Amount Consumed”,等到划到下一个,才读"3 of 5",那么这个体验就真得很差.

如果能够让screen reader将两个元素一起读的话,也就是让它们同时获得焦点,体验就会很好,如下图:

我们可以采用组合的方式来实现:在它们的父元素LinearLayout加上android:focusable,设置值为true,再加上android:focusableInTouchMode,并设置值为false,因为我们只想让screen reader获得焦点。
<LinearLayout
android:id="@+id/consumedContainer"
...
android:focusable="true"
android:focusableInTouchMode="false">
...
</LinearLayout>
Labels
上面因为是只读的,所以组合在一起会比较合理,但是如果是下面这种情况呢?
    <LinearLayout
        android:layout_width="match_parent"
        android:layout_height="wrap_content"
        android:orientation="horizontal">

      <TextView
          android:id="@+id/coffeeLimitLabel"
          android:layout_width="wrap_content"
          android:layout_height="wrap_content"
          android:layout_gravity="start|center_vertical"
          android:layout_weight="1"
          android:text="Coffee Limit"
          android:textAppearance="@style/TextAppearance.AppCompat.Title"/>

      <EditText
          android:id="@+id/coffeeLimitValue"
          android:layout_width="wrap_content"
          android:layout_height="wrap_content"
          android:layout_gravity="end"
          android:layout_weight="1"
          android:hint="Limit"
          android:inputType="number"
          android:text="@string/default_coffee_limit"
          android:textAlignment="textEnd"/>
    </LinearLayout>

右边是一个输入框,也就是说在这里,我们其实想告诉我们的用户这里要请他/她输入Coffee Limit的数量。但是目前的实现就是先读了左边,再读右边,那么如果用户是连续的滑动,那或许还能听懂5的意思,那万一是隔了好一会才滑过去的,只听到5的话,就不知所谓了。所以分开他们不是很好,最好的实践应该是,当焦点在输入框上时,我们就要告诉用户这里是用来干什么的。具体我们可以这样做,在Coffee Limit的组件上使用android:labelFor属性,它的值设置成输入框的id值。
    <LinearLayout
        android:layout_width="match_parent"
        android:layout_height="wrap_content"
        android:orientation="horizontal">

      <TextView
          android:id="@+id/coffeeLimitLabel"
          ...
          android:labelFor="@id/coffeeLimitValue"/>

      <EditText
          android:id="@+id/coffeeLimitValue"
          .../>
    </LinearLayout>
这样设置过后,当焦点在输入框时,screen reader就会读:limit for “Coffee Limit”。
改变遍历次序

比如说,我们现在要让右下角的“+”按钮先于“Amount Consumed 0 of 5”先被screen reader读到,我们可以在“+”按钮加上一个属性android:accessibilityTraversalBefore,将其值设置成@+id/consumedContainer. 类似的属性还有android:accessibilityTraversalAfter
announceForAccessibility()
如果我们的用户完成了一些操作,我们想通知他/她结果。那么就可以在某个view上调用announceForAccessibility()播报给用户听。
    binding?.addCoffee?.setOnClickListener {
      coffeeRepo.increment()
      showCount()
      binding?.amountConsumed?.announceForAccessibility("Limit is increased to 8")
    }
上述例子,就是在用户点击“+”按钮时,通知用户:“Limit is increased to 8”
根据本文中的链接,Google推荐任务可点击的组件大小至少是48dp。这与iOS的不一样。