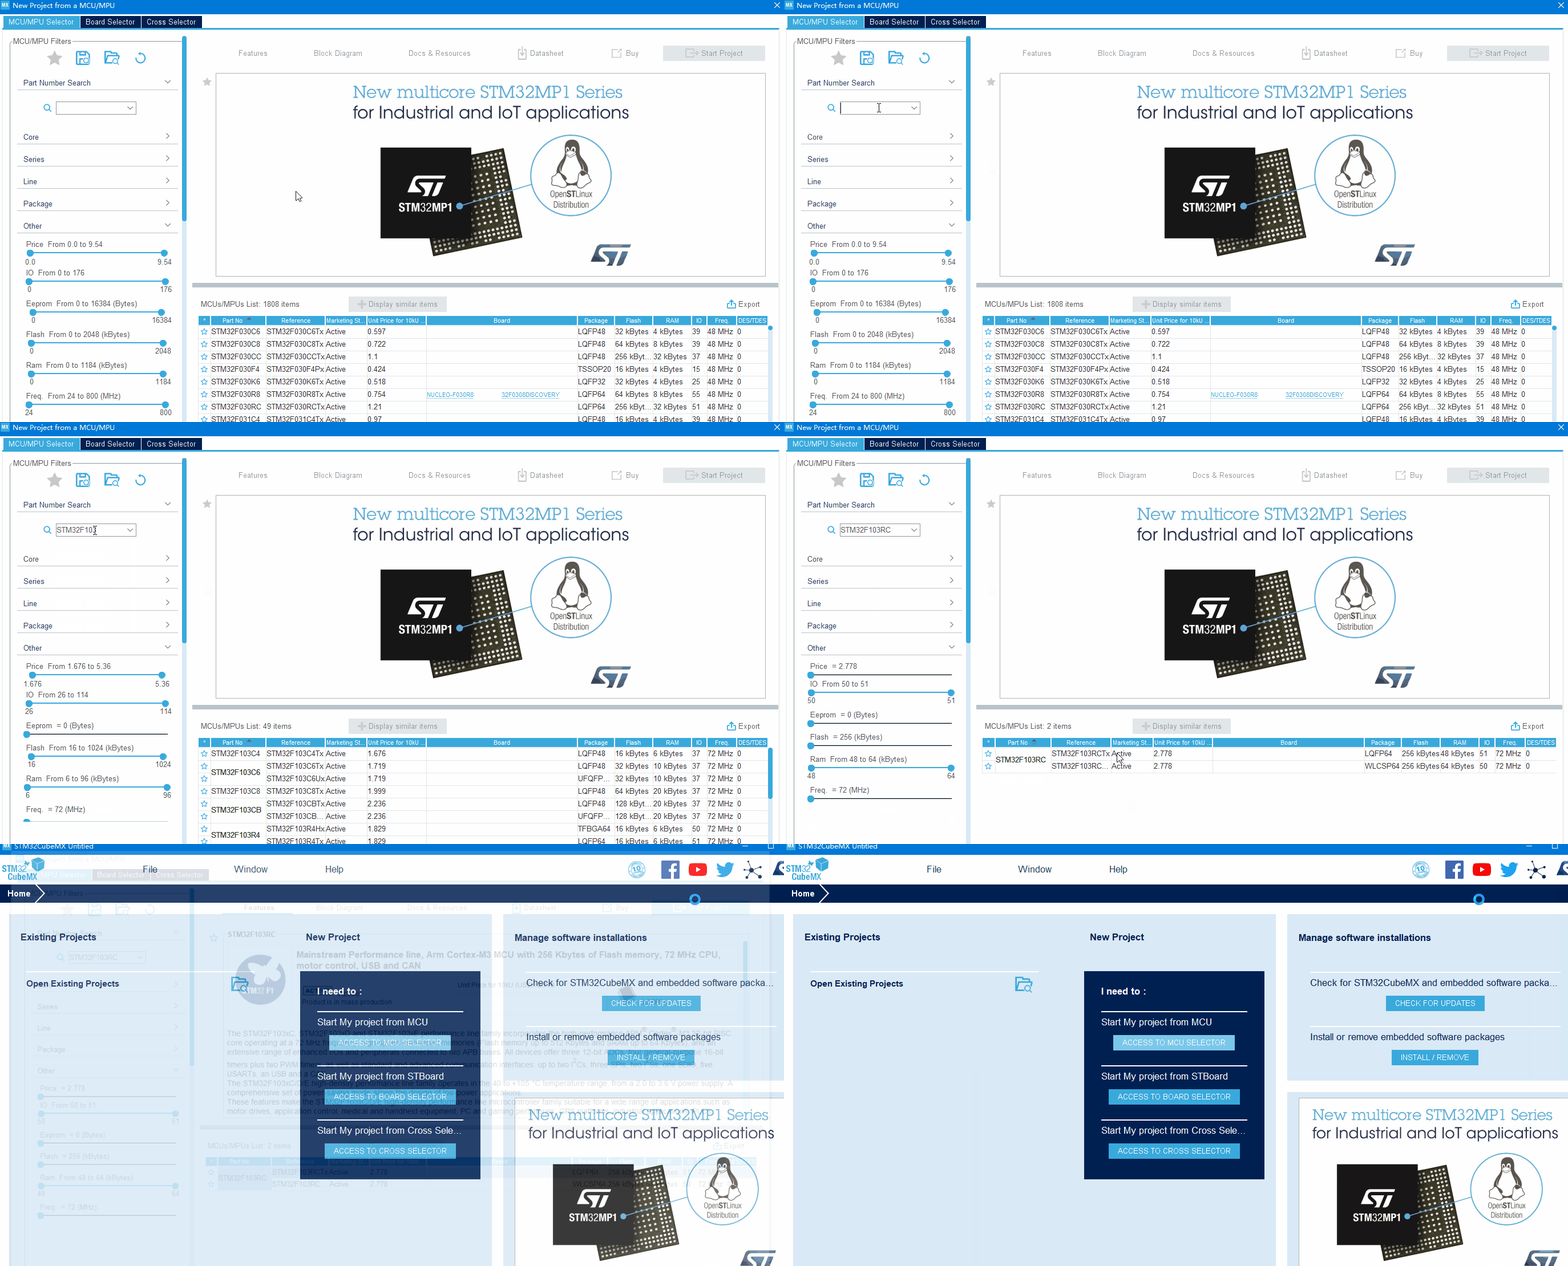
1、打开 STM32CubeMX,点击File栏目,点击New Project:

或者在主界面New Project中点击ACCESS TO MCU SELECTOR:

2、搜索并选择要使用的 stm32 芯片型号,点击Start Project:

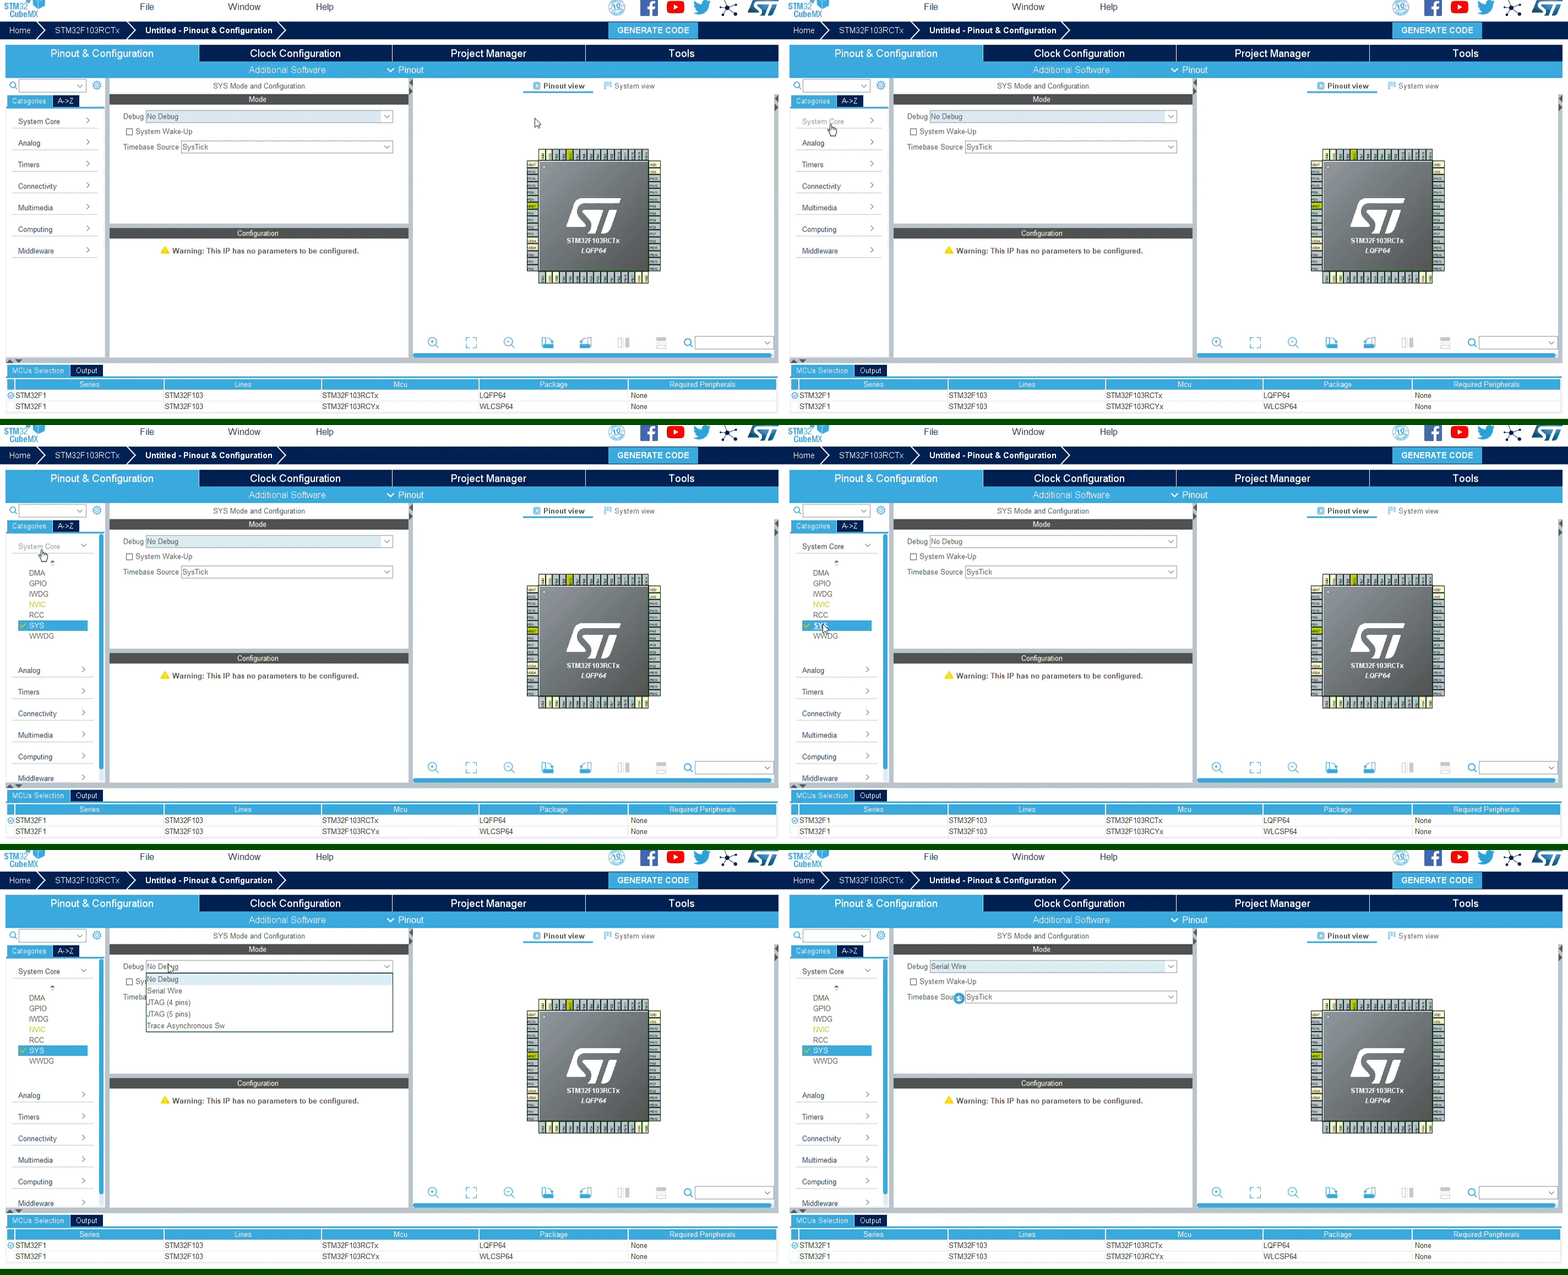
3、点击System Core,点击SYS选择仿真方式,此处我使用ST-Link仿真,选择如下:

4、配置时钟源:这里使用外部晶振(外部时钟源):

可以看到图中芯片相应的引脚变为绿色
5、配置时钟:选择Clock Configuration栏目:
此处我使用的是STM32F10X系列的芯片,推荐最高主频是72MHZ。此处我们配置时钟树,把外设时钟配置到72MHZ(部分外设时钟最大频率不达到72MHZ,需作出相应更改),如:

6、引脚配置:
我的开发板是STM32F103RCT6,LED 对应的引脚为PA8和PD2,先定义引脚,选择引脚为GPIO_Output:

配置引脚,此处我们选择默认输出低电平、推挽输出模式、既不上拉电阻也不下拉电阻、低速:

7、配置工程属性:

勾选generate peripheral initialization as a pair of ".c/.h" files per peripheral:

作用: 外围设备的初始化将会为每个外围设备生成一对“.c/.h”文件
8、生成工程代码
点击GENERATE CODE:

9、打开工程:
