使用 Visual Studio 编译 ARM64 架构程序指南
1. Visual Studio 安装 ARM64 开发组件
首先安装 Visual Studio 2019,在安装过程中勾选 ARM64 开发组件,如下图:

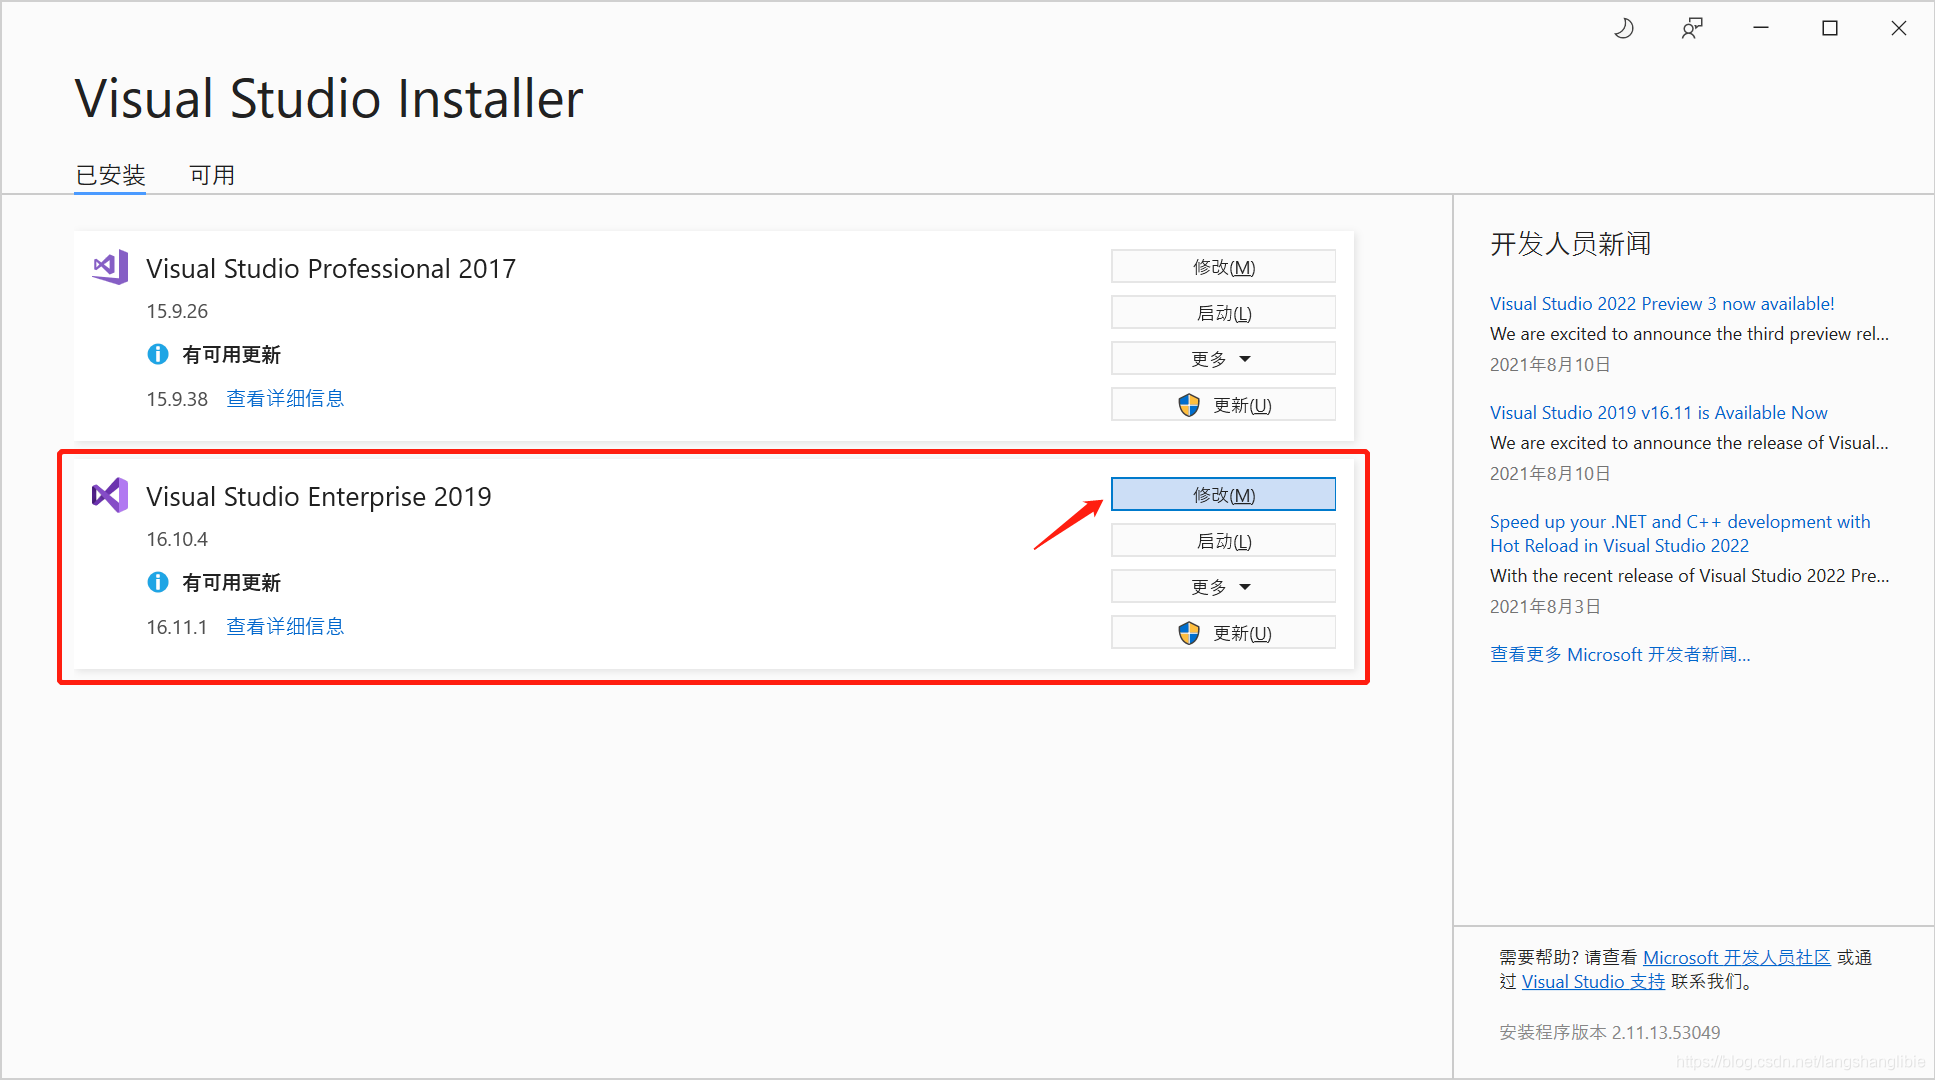
如果已经安装过 Visual Studio 2019,则打开 Visual Studio Installer 单独安装 ARM64 开发组件。Visual Studio Installer 可在开始菜单中找到,位置如下:

打开后,点击 Visual Studio 2019 右侧的【修改】按钮,然后跟上面一样勾选 ARM64 开发组件,进行安装即可。

2. 工程配置 ARM64
打开 Visual Studio 2019 创建的项目,添加 ARM64 配置。步骤如下:
先在【生成】菜单中,打开【配置管理器】菜单项。

然后点击【新建】,
在新平台下拉框中选择 ARM64,其他设置不用改。点击【确定】即完成 ARM64 配置的添加。

3. 编译工程
将解决方案平台选为 ARM64,然后编译,看目标文件是否生成成功。


至此,编译支持 ARM64 架构的程序的整个步骤已经结束。
TIPS:
ARM64 架构的程序不支持在 X86 架构的 Windows 上运行,只能在 ARM64 上运行。
4. 验证程序是否为 ARM64 架构
可以通过运行 dumpbin.exe 工具,来验证一个程序是否为 ARM64 架构。
使用方式为:
dumpbin.exe /headers “EXE文件全路径”
dumpbin.exe 路径为 C:\Program Files (x86)\Microsoft Visual Studio\2019\Enterprise\VC\Tools\MSVC\14.29.30037\bin\Hostx86\x86\dumpbin.exe
此路径需要根据自己机器上 Visual Studio 2019 的安装路径适当调整。
运行结果中出现 AA64 machine (ARM64) 即代表为 ARM64 架构。

