从标题看对于小白来说似乎信息量很大,ESP8266是什么?MicroPython是什么?MQTT又是什么?
ESP8266
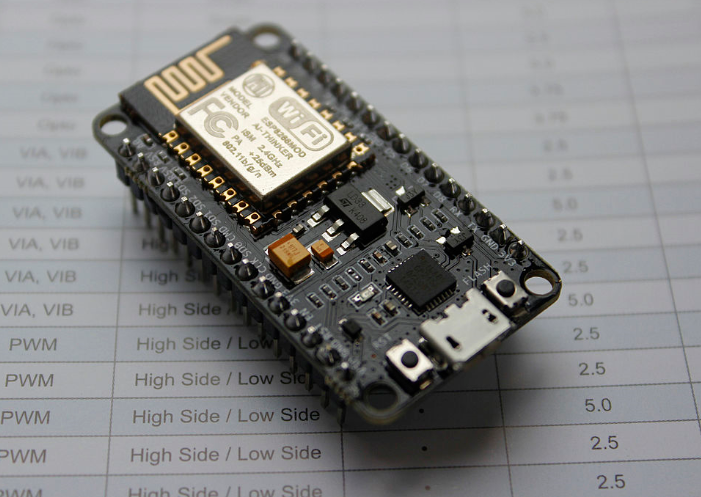
ESP8266?是一款由上海乐鑫信息科技开发的可以作为微控制器使用的成本极低且具有完整TCP/IP协议栈的Wi-Fi?IoT控制芯片。由Ai-Thinker生产的ESP-01芯片于2014年8月首次引起了西方的创客们的注意,这个小模块允许微控制器通过海斯命令集使用TCP / IP协议栈连接到Wi-Fi网络。然而,在最初的芯片上几乎没有使用英文的文档及可接受的命令。由于模块上外部组件非常少的原因,导致了其价格十分便宜,并吸引了许多创客来研究和使用该模块、开发配套该芯片使用的软件以及对其使用中文的使用指南进行多语言翻译。原厂有ESP8266-01,-07,-12E,和-13四款主打,价格在2.3?2.3?3.8之间。3.3V的电压可以直接用LiPo电池供电,比5V功耗要省。我最喜欢的是ESP8266-12E款,GPIO口多,可作为独立的计算原价。ESP8285即是内置了1MiB闪存的ESP8266,其允许单芯片设备能够直接连接到Wi-Fi进行使用。其后续产品是2016年所发布的ESP32。本人是在淘宝购买的NodeMCU Lua 的ESP8266开发板。
MicroPython
MicroPython,是Python?3编程语言的一个完整软件实现,用C语言编写,被优化于运行在微控制器?Microcontrollers之上。MicroPython是运行在微控制器硬件之上的完全的Python编译器和运行时系统。提供给用户一个交互式提示符(REPL)来立即执行所支持的命令。除了包括选定的核心Python库,MicroPython还包括了给予编程者访问低层硬件的模块。MicroPython是澳大利亚程序员和物理学家Damien George,在2013年一次成功的Kickstarter众筹活动之后最初建立的[5]。尽管最初的Kickstart众筹活动将MicroPython与pyboard微控制器一起发行,MicroPython支持大量的基于ARM的体系结构[6]。MicroPython已经运行于Arduino、ESP8266、ESP32、和物联网(WiPy、pyboard、pyboard D-series、?STM32F4 Discovery、?NUCLEO-F401RE、?NUCLEO-F767ZI)硬件。在2016年,Python软件基金会建立了MicroPython的BBC?Micro Bit版本,作为其BBC Micro Bit合作伙伴贡献的一部分。这个项目的源代码托管于GitHub。
Micropython的由来:
这得益于Damien George这位伟大的计算机工程师,Damien George每天都会使用Python工作,他有一天冒出一个大胆的想法:能否用Python来控制单片机,从而实现对机器人的操作呢?Python语言本身就是一款简单上手的脚本语言,一些非计算机专业的爱好者都选Python语言作为入门语言,但是美中不足(中国跟美国为什么不参加世界杯),它不能实现对一些底层的操作,在硬件领域毫不起眼。所以,Damien George利用6个月时间打造了MicroPython,这就是MicroPyhton的由来。
MQTT
MQTT消息队列遥测传输(Message Queuing Telemetry Transport)?一种基于发布/订阅(publish/subscribe)模式的"轻量级"通讯协议。?该协议构建于TCP/IP协议上,由IBM在1999年发布,目前已成为 IoT 通信的标准。MQTT最大优点在于,可以以极少的代码和有限的带宽,为连接远程设备提供实时可靠的消息服务。作为一种低开销、低带宽占用的即时通讯协议,使其在物联网、小型设备、移动应用等方面有较广泛的应用。IBM公司的安迪·斯坦福-克拉克及Arcom公司的阿兰·尼普于1999年撰写了该协议的第一个版本。该协议的可用性取决于该协议的使用环境。IBM公司在2013年就向结构化资讯标准促进组织提交了 MQTT 3.1 版规范,并附有相关章程,以确保只能对规范进行少量更改。?MQTT是一个基于客户端-服务器的消息发布/订阅传输协议。MQTT协议是轻量、简单、开放和易于实现的,这些特点使它适用范围非常广泛。在很多情况下,包括受限的环境中,如:机器与机器(M2M)通信和物联网(IoT)。其在,通过卫星链路通信传感器、偶尔拨号的医疗设备、智能家居、及一些小型化设备中已广泛使用。

开发环境
- Windows 10 x64
- NodeMCU开发板
- Python 3.7.4
- uPyLoader
- teraterm-4.96
- MicroPython 1.8.7
- esp8266 firmware
下载和配置环境
本人使用的是搭载Windows 10 X64 laptop.所有工具都是基于Windows 10操作系统。首先我们需要准备下面几个工具(python-3.7.4 esptool 和 uPyLoader)方便我们下载和调试NOdeMCU开发板。
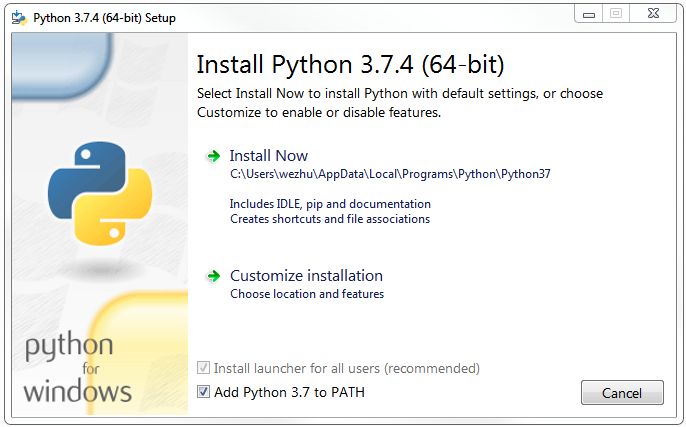
首先到python官网下载?python-3.7.4-amd64.exe,并按照如下选项安装。
然后到Github上下载uPyLoader。由于没有打包成可执行文件,所以需要使用Python启动。uPyLoader基于Python 3,并且需要这两个包:PyQt5和pyserial,pyserial版本要大于等于3.1.1。通过cmd shell 命令对NodeMCU firmware进行下载,我们需要esptool。
进入windows cmd
python -m pip install --upgrade pip
pip install PyQt5
pip install esptool
pip install pyserial>=3.1.1
使用esptool.py你能下面的命令擦除flash。
esptool.py --port COM3 erase_flash

#########################################
esptool.py v2.7
Serial port COM3
Connecting....
Detecting chip type... ESP8266
Chip is ESP8266EX
Features: WiFi
Crystal is 26MHz
MAC: 2c:3a:e8:43:c1:c6
Uploading stub...
Running stub...
Stub running...
Erasing flash (this may take a while)...
Chip erase completed successfully in 6.5s
Hard resetting via RTS pin...
##########################################
使用下面的命令烧写firmware。你可以 到www.micropython.org官网下载NodeMCU最新的firmware。我在写这个文档是最新是esp8266-20190529-v1.11.bin。
esptool.py --port COM3 --baud 460800 write_flash --flash_size=detect 0 esp8266-20190529-v1.11.bin

#################################################################################################
esptool.py v2.7
Serial port COM64
Connecting....
Detecting chip type... ESP8266
Chip is ESP8266EX
Features: WiFi
Crystal is 26MHz
MAC: 2c:3a:e8:43:c1:c6
Uploading stub...
Running stub...
Stub running...
Changing baud rate to 460800
Changed.
Configuring flash size...
Auto-detected Flash size: 4MB
Flash params set to 0x0040
Compressed 617880 bytes to 402086...
Wrote 617880 bytes (402086 compressed) at 0x00000000 in 9.6 seconds (effective 512.9 kbit/s)...
Hash of data verified.

Leaving...
Hard resetting via RTS pin...

#################################################################################################进入到uPyLoader-master目录,在命令行输入python .\main.py启动uPyLoader。
注意如果之前用串口连接了8266,要关闭之前的连接。这样uPyLoader才能找到对应的串口。
点击最右边的「Connect」即可连接。接下来,菜单栏->「File」->「Init transfer files」。初始化传输文件,初始化成功后在MCU端会新增__upload.py和__download.py两个文件。另外,在菜单栏->「View」下面可以打开终端(Terminal)和编辑器(Code Editor),方便调试和代码编写。
因为uPyLoader似乎无法跳转到工作目录以外的目录,所以可以在该目录下创建一个project文件夹,然后把自己的工程代码(main.py等)放进去,方便管理。
需要传输文件过去的话,只需要双击对应的py文件,然后点击「MCU name」后面的「Transfer」,等待弹窗结束后,文件就下载过去了。
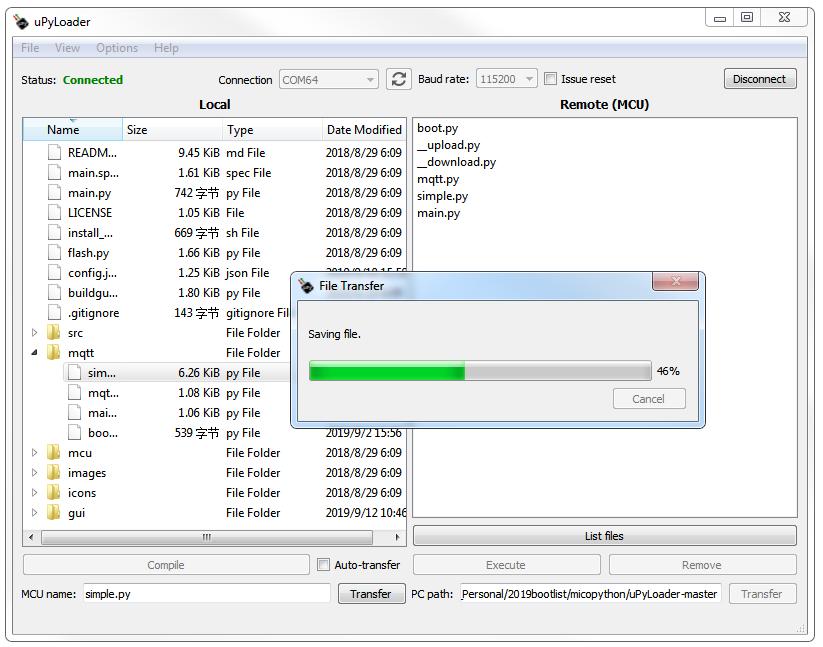
uPyLoader 容易crash。建议还是使用MicroPython File Uploader.exe 会比较稳定点。大家可以百度或者google搜索这个工具。大家给去下载?TPYBoard v202资料?资料包里有相应的测试代码和MicroPython File Uploader 工具。
打开MicroPython File Uploader 工具,Open连上开发板。选择要传送的程序文件。点击Send即可。注意把“Autorun“勾选去掉。如果不去掉,每次发送完文件后会自动复位。
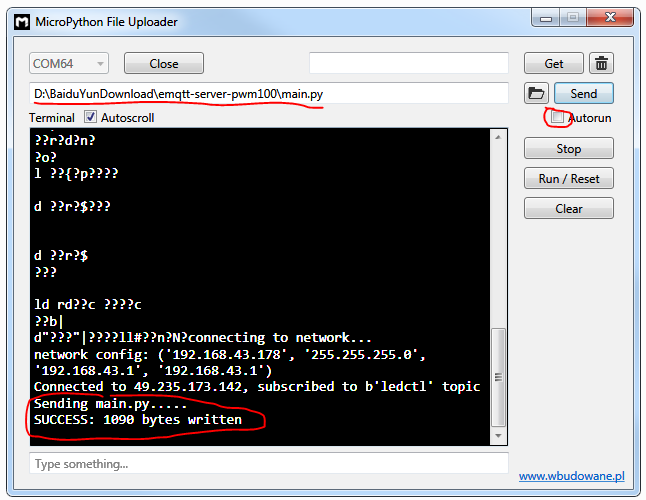
接下来可以通过在工具命令行框里敲命令查询文件列表
import os
os.listdir()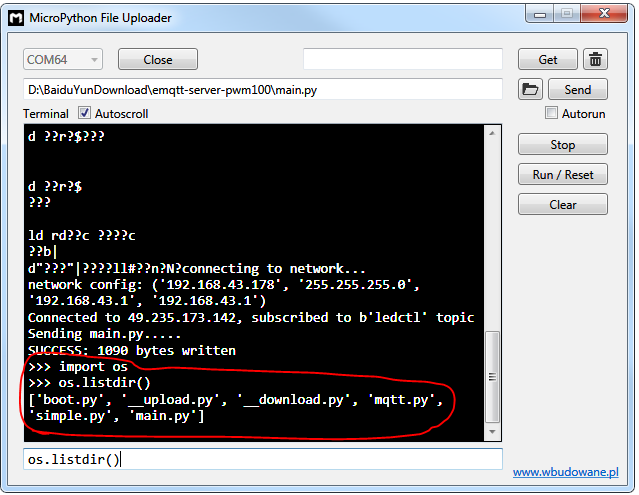
之外你还能使用调试串口工具teraterm-4.96?。直接发命令调试
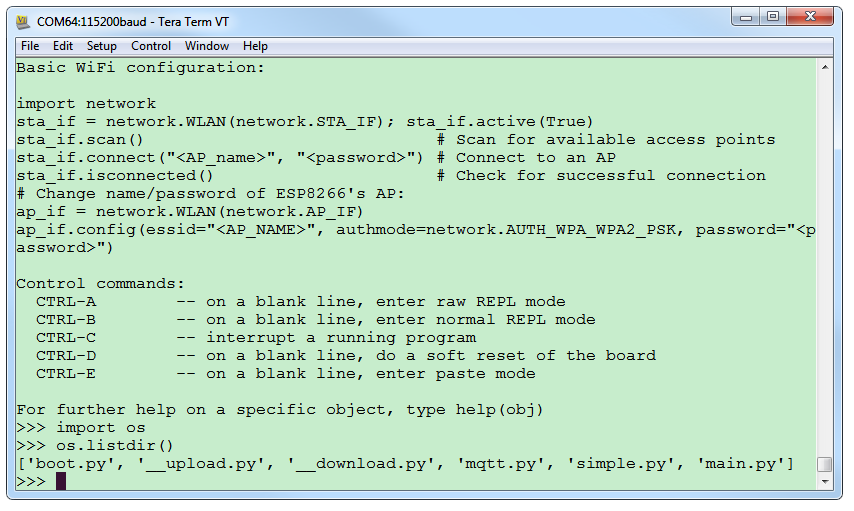
MQTT服务器搭建
这里我使用了云服务器。阿里云百度云腾讯云都可以。我这里使用的是花了99元/年的腾讯云服务器。点击链接?腾讯云服务器?选择好配置购买就可以了。
我的主机配置是

系统是centos 7.6 64位的。
yum -y install unzip
mkdir -p /root/mqtt-server && cd /root/mqtt-server
wget https://www.emqx.io/downloads/broker/v2.3.11/emqttd-centos7-v2.3.11.zip
unzip emqttd-centos7-v2.3.11.zip
配置系统环境变量
> vim /etc/profile

# emqtt
export EMQPATH=/root/mqtt-server/emqttd
export PATH=$EMQPATH/bin:$PATH

> source /etc/profile
检查emq是否正常
> emqttd console
## 如下输出代表正常
starting emqttd on node 'emq@127.0.0.1'
emqttd ctl is starting...[ok]
emqttd hook is starting...[ok]
emqttd router is starting...[ok]
emqttd pubsub is starting...[ok]
emqttd stats is starting...[ok]
emqttd metrics is starting...[ok]
emqttd pooler is starting...[ok]
emqttd trace is starting...[ok]
emqttd client manager is starting...[ok]
emqttd session manager is starting...[ok]
emqttd session supervisor is starting...[ok]
emqttd wsclient supervisor is starting...[ok]
emqttd broker is starting...[ok]
emqttd alarm is starting...[ok]
emqttd mod supervisor is starting...[ok]
emqttd bridge supervisor is starting...[ok]
emqttd access control is starting...[ok]
emqttd system monitor is starting...[ok]
emqttd 2.3.11 is running now
Eshell V9.0  (abort with ^G)
(emq@127.0.0.1)1> Load emq_mod_presence module successfully.
dashboard:http listen on 0.0.0.0:18083 with 4 acceptors.
mqtt:tcp listen on 127.0.0.1:11883 with 4 acceptors.
mqtt:tcp listen on 0.0.0.0:1883 with 64 acceptors.
mqtt:ws listen on 0.0.0.0:8083 with 4 acceptors.
mqtt:ssl listen on 0.0.0.0:8883 with 16 acceptors.
mqtt:wss listen on 0.0.0.0:8084 with 4 acceptors.
mqtt:api listen on 0.0.0.0:8080 with 4 acceptors.
启动EMQ服务
> emqttd start
emqttd 2.3.11 is started successfully!

> emqttd_ctl status
Node 'emq@127.0.0.1' is started
emqttd 2.3.11 is running
当我们启动了EMQ之后就可以使用客户端进链接了,端口如下
- 1883 MQTT 协议端口
- 8883 MQTT/SSL 端口
- 8083 MQTT/WebSocket 端口
- 8080 HTTP API 端口
- 18083 Dashboard 管理控制台端口
通过IP访问18083端口可以通过Dashboard在线观察EMQ的运行状态等参数
默认用户: admin,密码:public (可在平台中配置用户)
MicroPython的MQTT
MicroPython是支持MQTT客户端的,在Github的micropython-lib中,找到umqtt.simple文件夹,里面就有使用MQTT接口的例程。在ESP8266的MicroPython官方API文档中,并没有给出这个接口的介绍,所以需要到搜索下相关资料。
进入umqtt.simple目录,把umqtt文件夹中的simple.py文件下载到ESP8266。
增加代码如下:
mqtt.py

from simple import MQTTClient
from machine import Pin
import machine,time, math
import micropython
#选择G4引脚
led_blue = machine.PWM(machine.Pin(2), freq=1000)  # 设置 GPIO2 为输出
led_blue.duty(1024)
# MQTT服务器地址域名为:49.235.173.142,不变
SERVER = "49.235.173.142"
#设备ID
CLIENT_ID = "umqtt_client"
#随便起个名字
TOPIC = b"ledctl"
TOPIC2 = b"pwmled"
TOPIC3 = b"ledstatus"
username="123123"
password="321321"
pwm_old = 0
pwmval = 0
c=None

def delay(t):
    for i in range(t):
    k=0;

def sub_cb(topic, msg):
    global pwm_old,pwmval
    if topic == b"ledctl":
        print((topic, msg))
        if msg == b"on":
                pwmval = 0

        elif msg == b"off":
                led_blue.duty(1024)
                pwmval = 1024;

    if topic == b"pwmled":
        pwmval = int(((100-int(msg))/100)*1024)
        print((topic, pwmval))


def main(server=SERVER):
    #端口号为:6002
    c = MQTTClient(CLIENT_ID, server)
    c.set_callback(sub_cb)
    c.connect()
    c.subscribe(TOPIC)
    c.subscribe(TOPIC2)
    print("Connected to %s, subscribed to %s topic" % (server, TOPIC))
    try:
        while 1:
            c.wait_msg()
            global pwm_old,pwmval

            if pwmval == 1024 :
                c.publish(TOPIC3,'ledoff')
            elif pwmval < 1024 :
                c.publish(TOPIC3,'ledon');

            if pwmval > pwm_old :
                for i in range(pwm_old,pwmval,1):
                    led_blue.duty(i)
                    delay(30)
            elif pwmval < pwm_old :
                for i in range(pwm_old,pwmval,-1):
                    led_blue.duty(i)
                    delay(30)
            pwm_old = pwmval

    finally:
            c.disconnect()
main.py
from machine import Timer,Pin,I2C,SPI
import machine,mqtt
import dht,ssd1306,math,time
def f(t):
d=dht.DHT11(machine.Pin(0))
d.measure()
a=d.temperature()
b=d.humidity()
display.fill(0)
display.text('TPYBoard V202',1,1)
display.text('Hi, TurnipSmart',1,16)
temp = 'Temp '+str(a)+'C'
display.text(temp,1,31)
humi = 'humidity '+ str(b)+'%'
display.text(humi,1,46)
display.show()
spi = SPI(baudrate=10000000, polarity=1, phase=0, sck=Pin(14,Pin.OUT), mosi=Pin(13,Pin.OUT), miso=Pin(12))
display = ssd1306.SSD1306_SPI(128, 64, spi, Pin(5),Pin(4), Pin(16))
tim = Timer(-1) #新建一个虚拟定时器
tim.init(period=2000, mode=Timer.PERIODIC, callback=f)
try:
display.poweron()
display.init_display()
display.text('TPYBoard V202',1,1)
display.text('Hi, TurnipSmart',1,16)
temp = 'Temp '+str(18)+'C'
display.text(temp,1,31)
humi = 'humidity '+str(70)+'%'
display.text(humi,1,46)
mqtt.main()
except Exception as ex:
print('Unexpected error: {0}'.format(ex))
display.poweroff()boot.py
def do_connect():
import network
sta_if = network.WLAN(network.STA_IF)
ap_if = network.WLAN(network.AP_IF)
if ap_if.active():
ap_if.active(False)
if not sta_if.isconnected():
print('connecting to network...')
sta_if.active(True)
sta_if.connect('mqtt-server', '123456') #wifi的SSID和密码
while not sta_if.isconnected():
pass
print('network config:', sta_if.ifconfig())
do_connect()
Android的MQTT应用
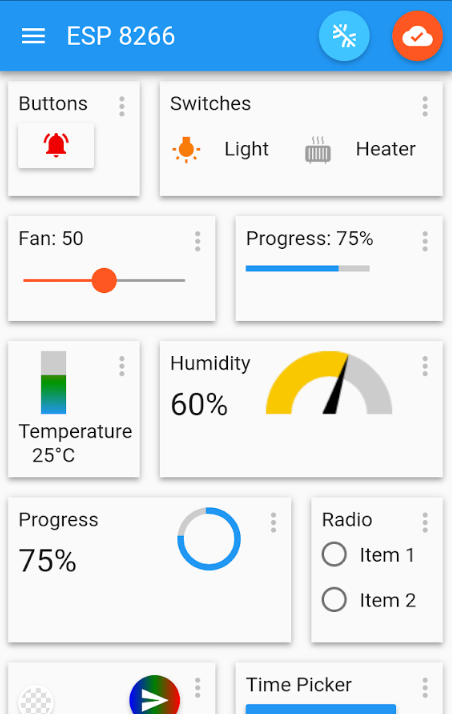
网上已经有APP(IoT MQTT Panel)基于MQTT协议,实现对NodeMCU的控制。
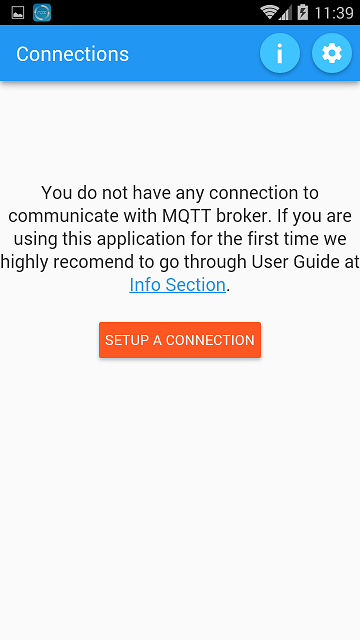
提示没有连接,点那个红色按钮创建一个连接:
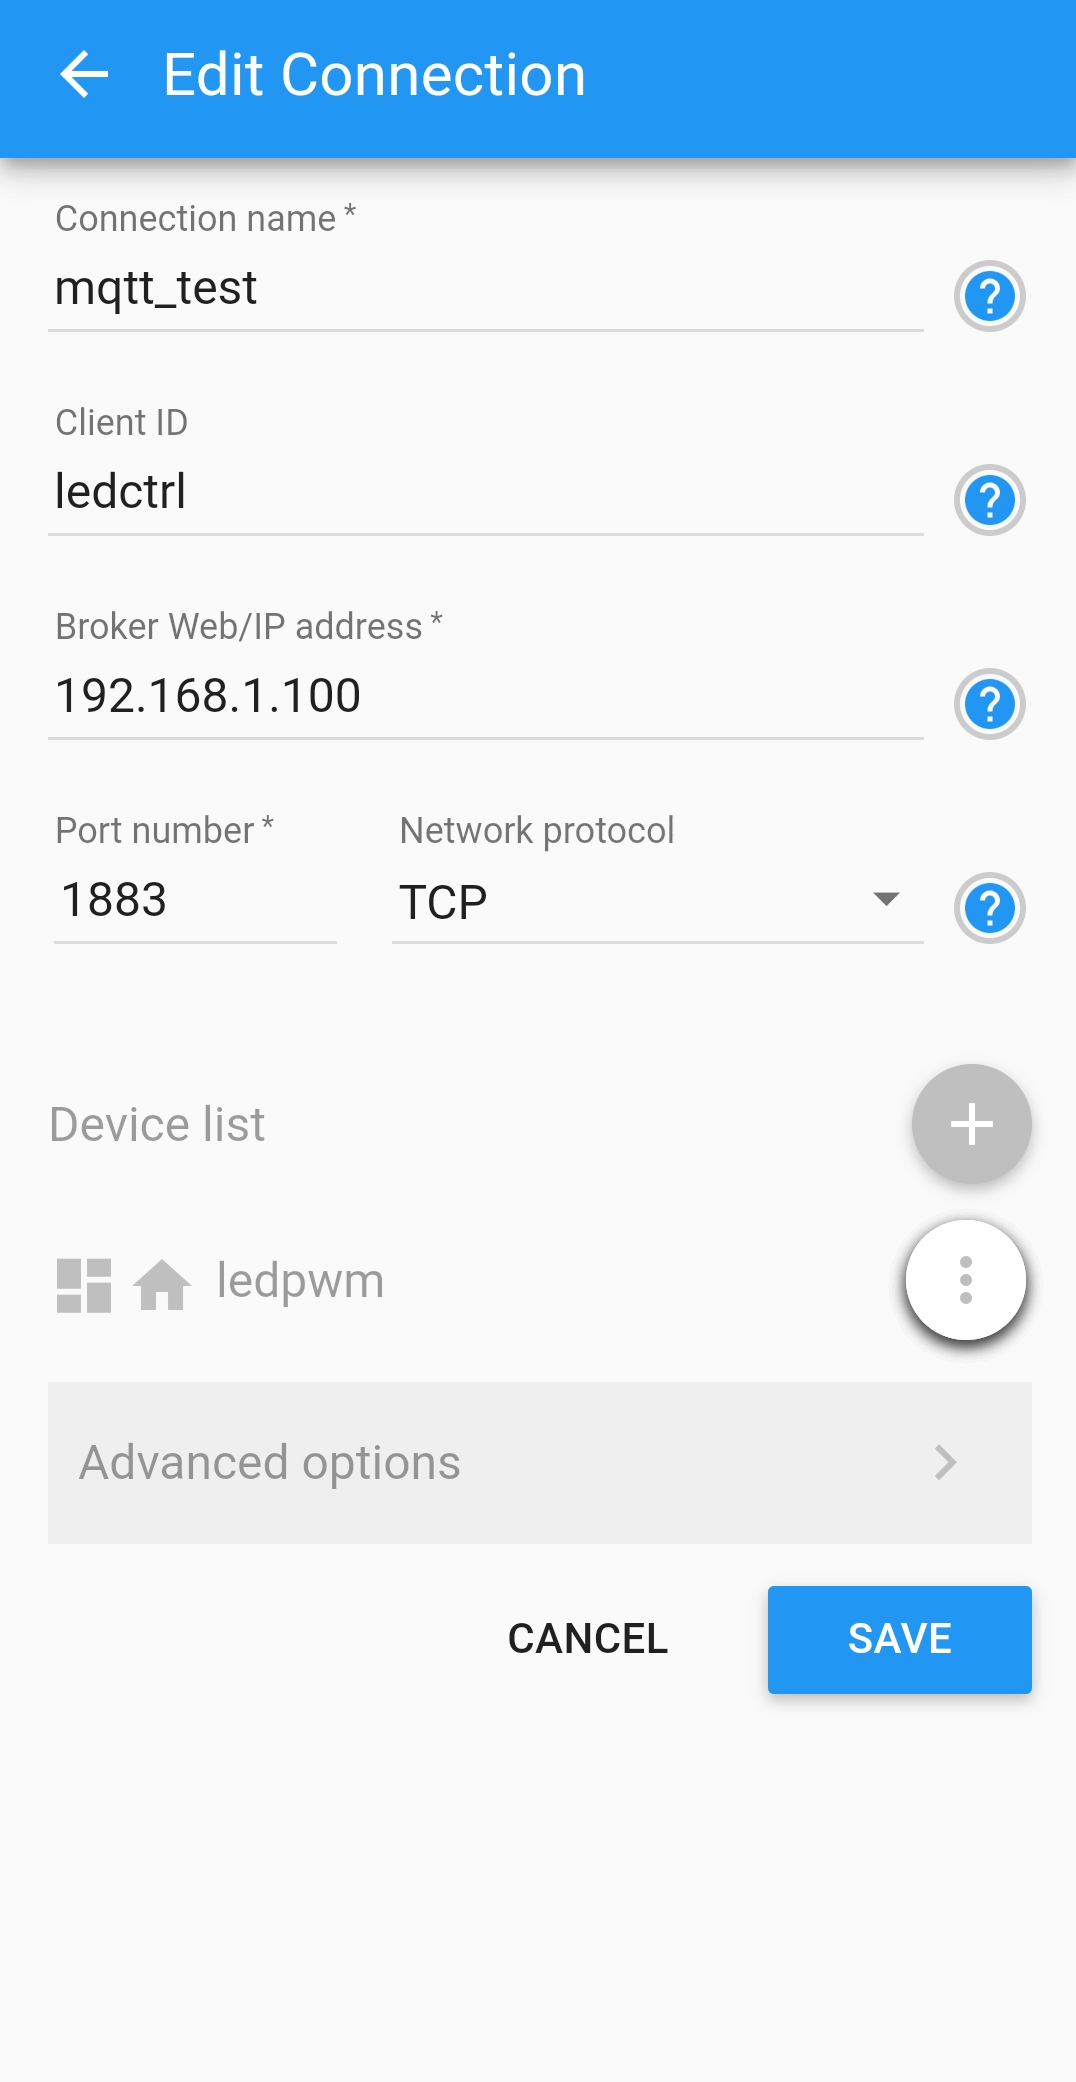
前两项都是随便填的,值得注意的的是那个Broker Web/IP Address,这个最好自己架个服务器,可以是上面搭建腾讯云服务器,也可以是本地搭建的服务器,当然这里做个例子,填完后点那个CREATE:
分别添加了Switch,Slider和LED Indicator面板。
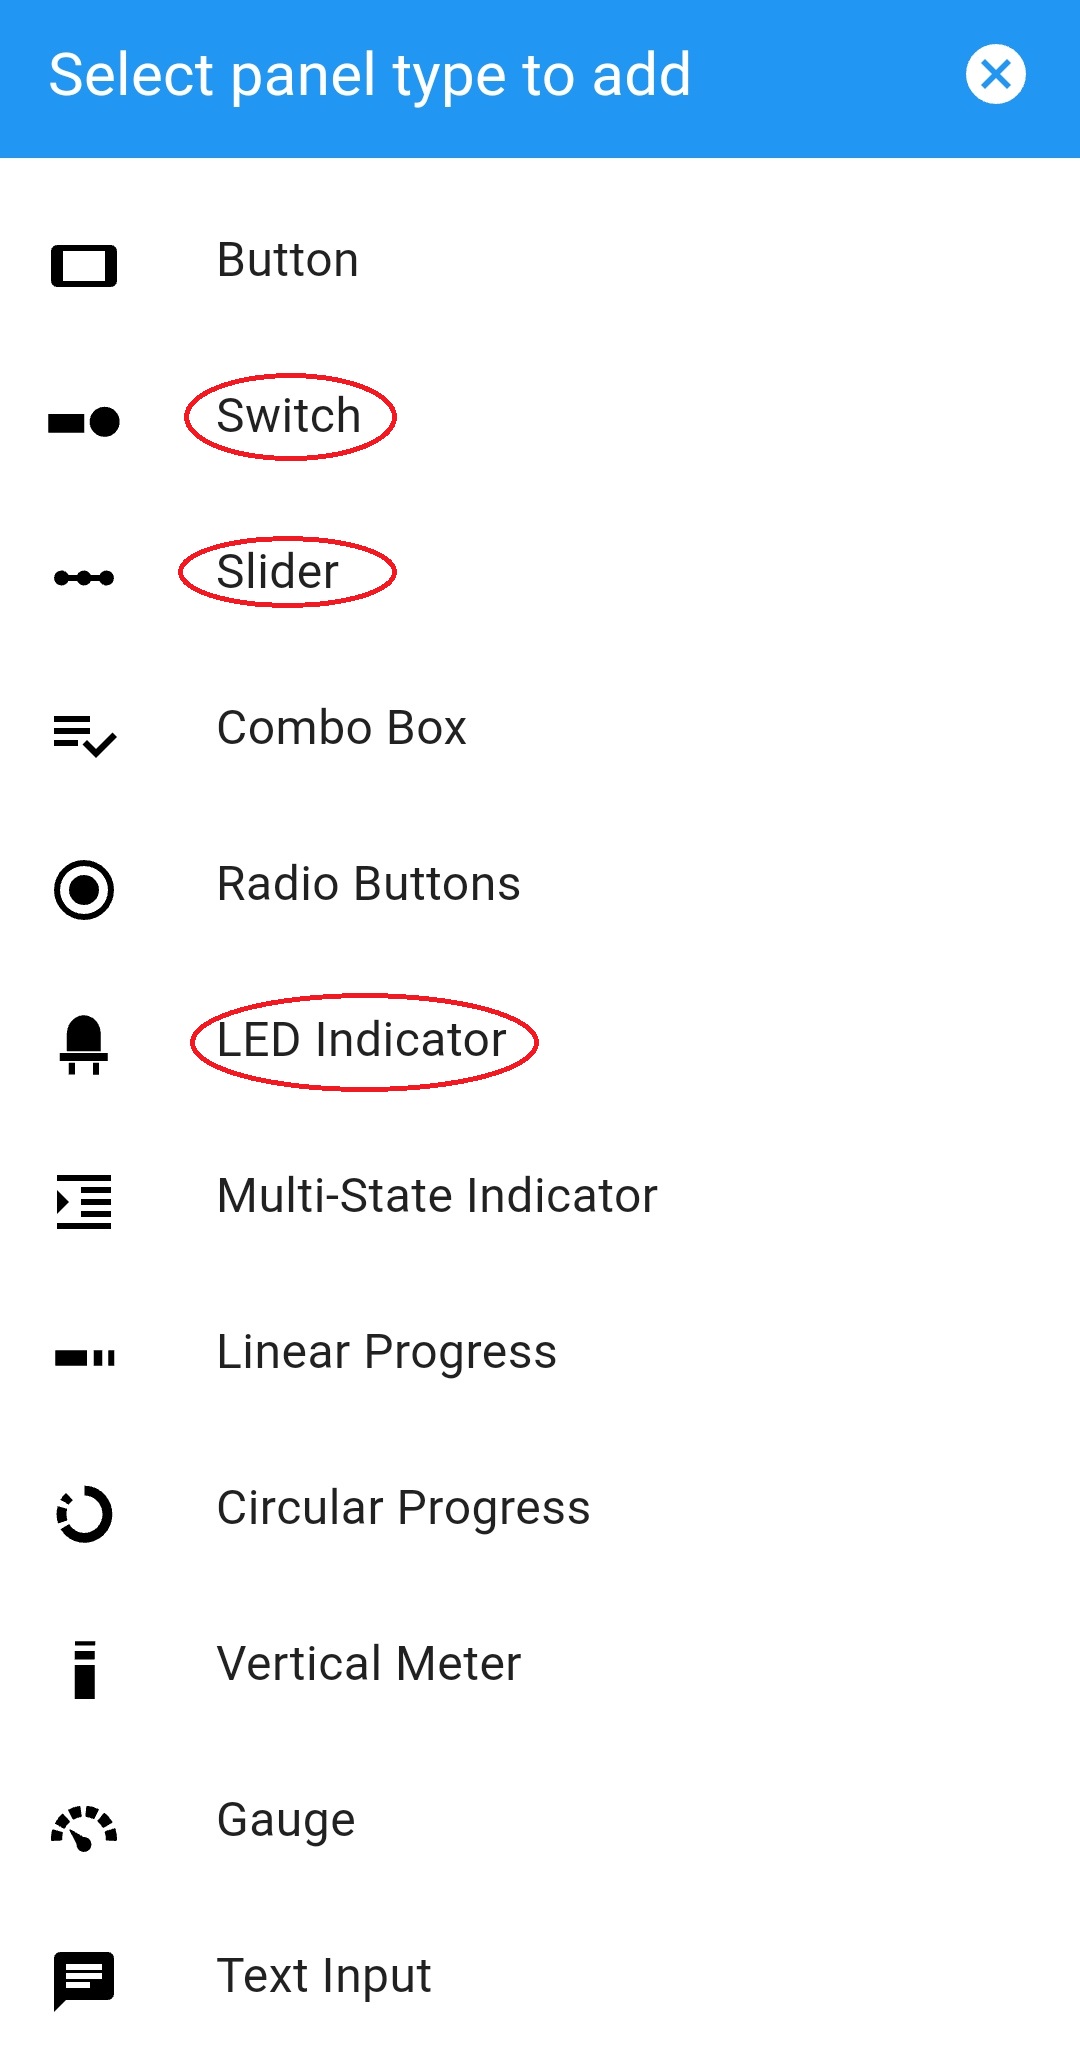
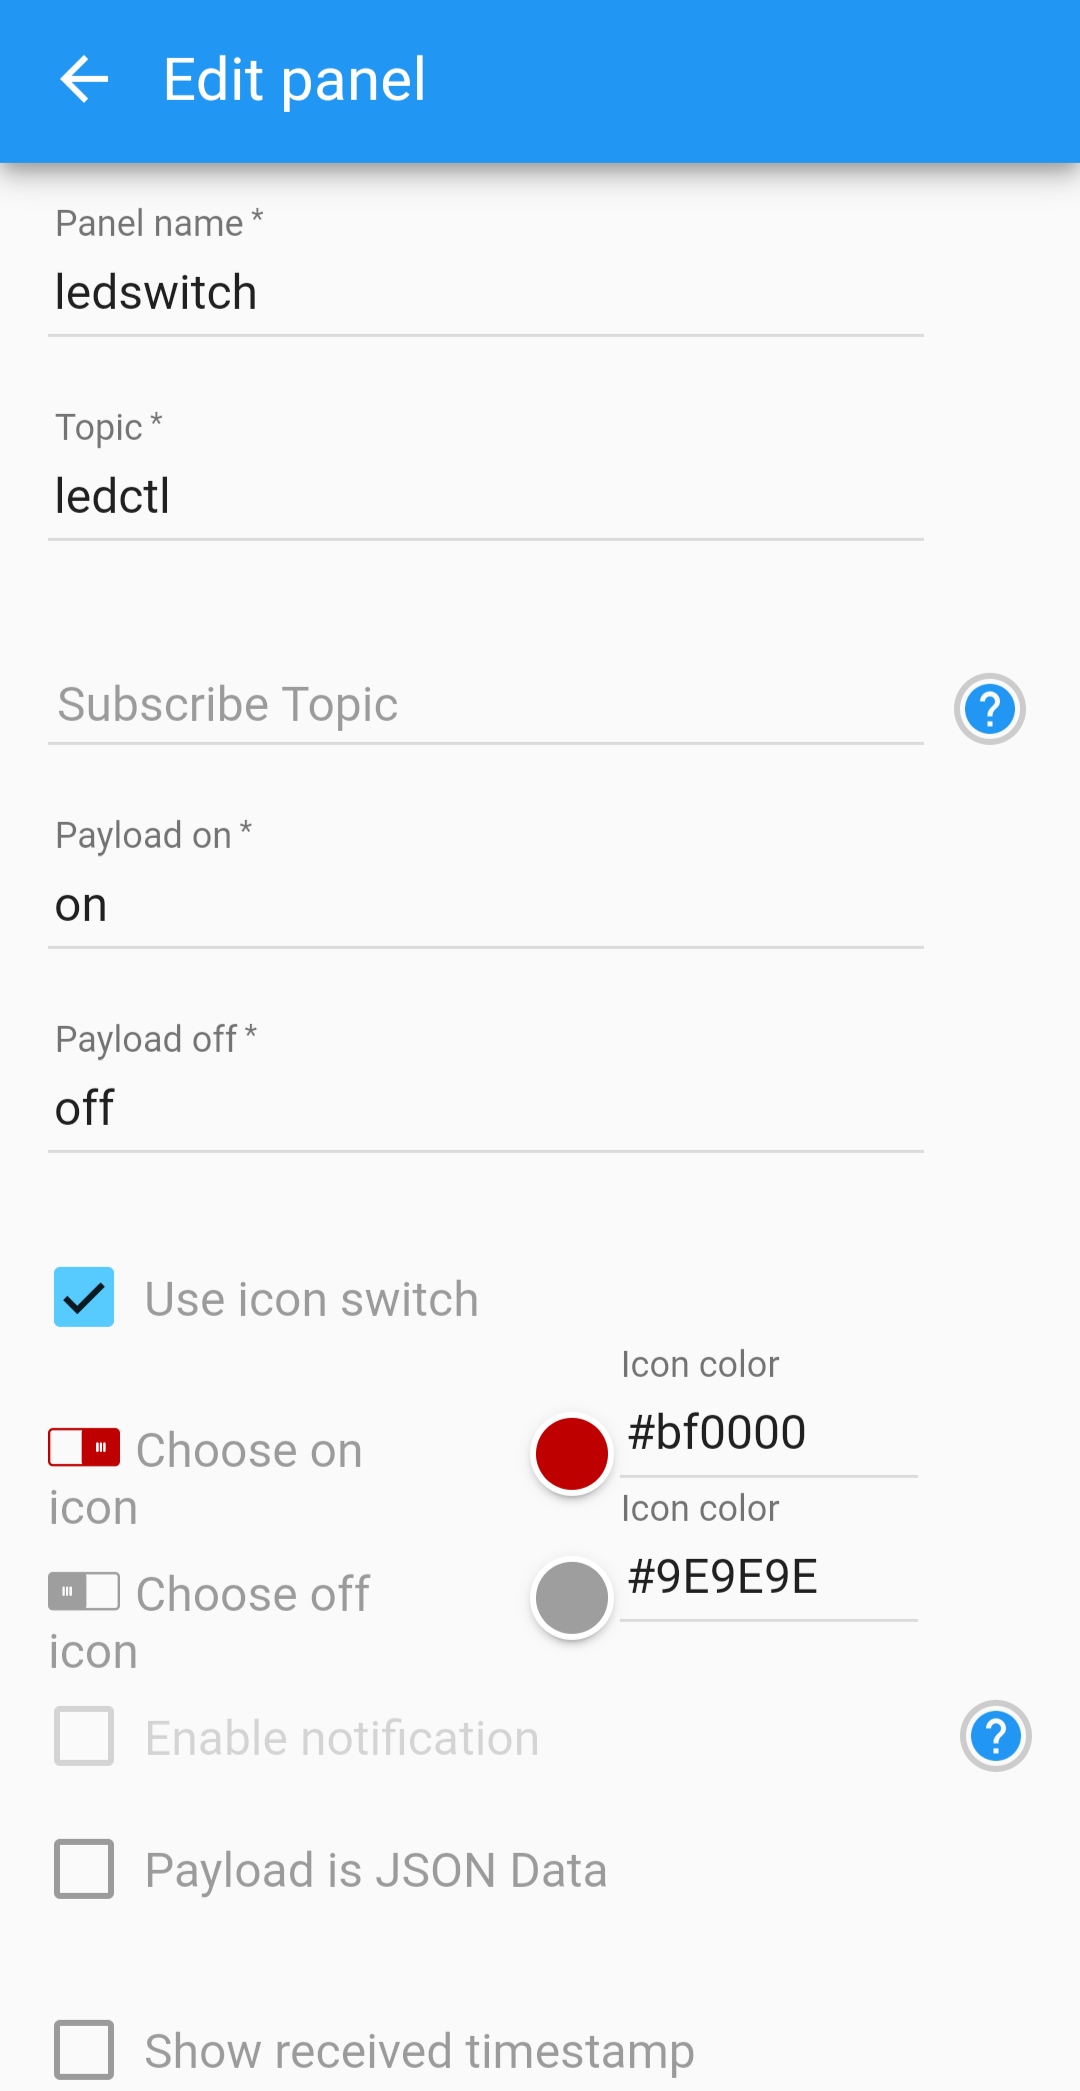
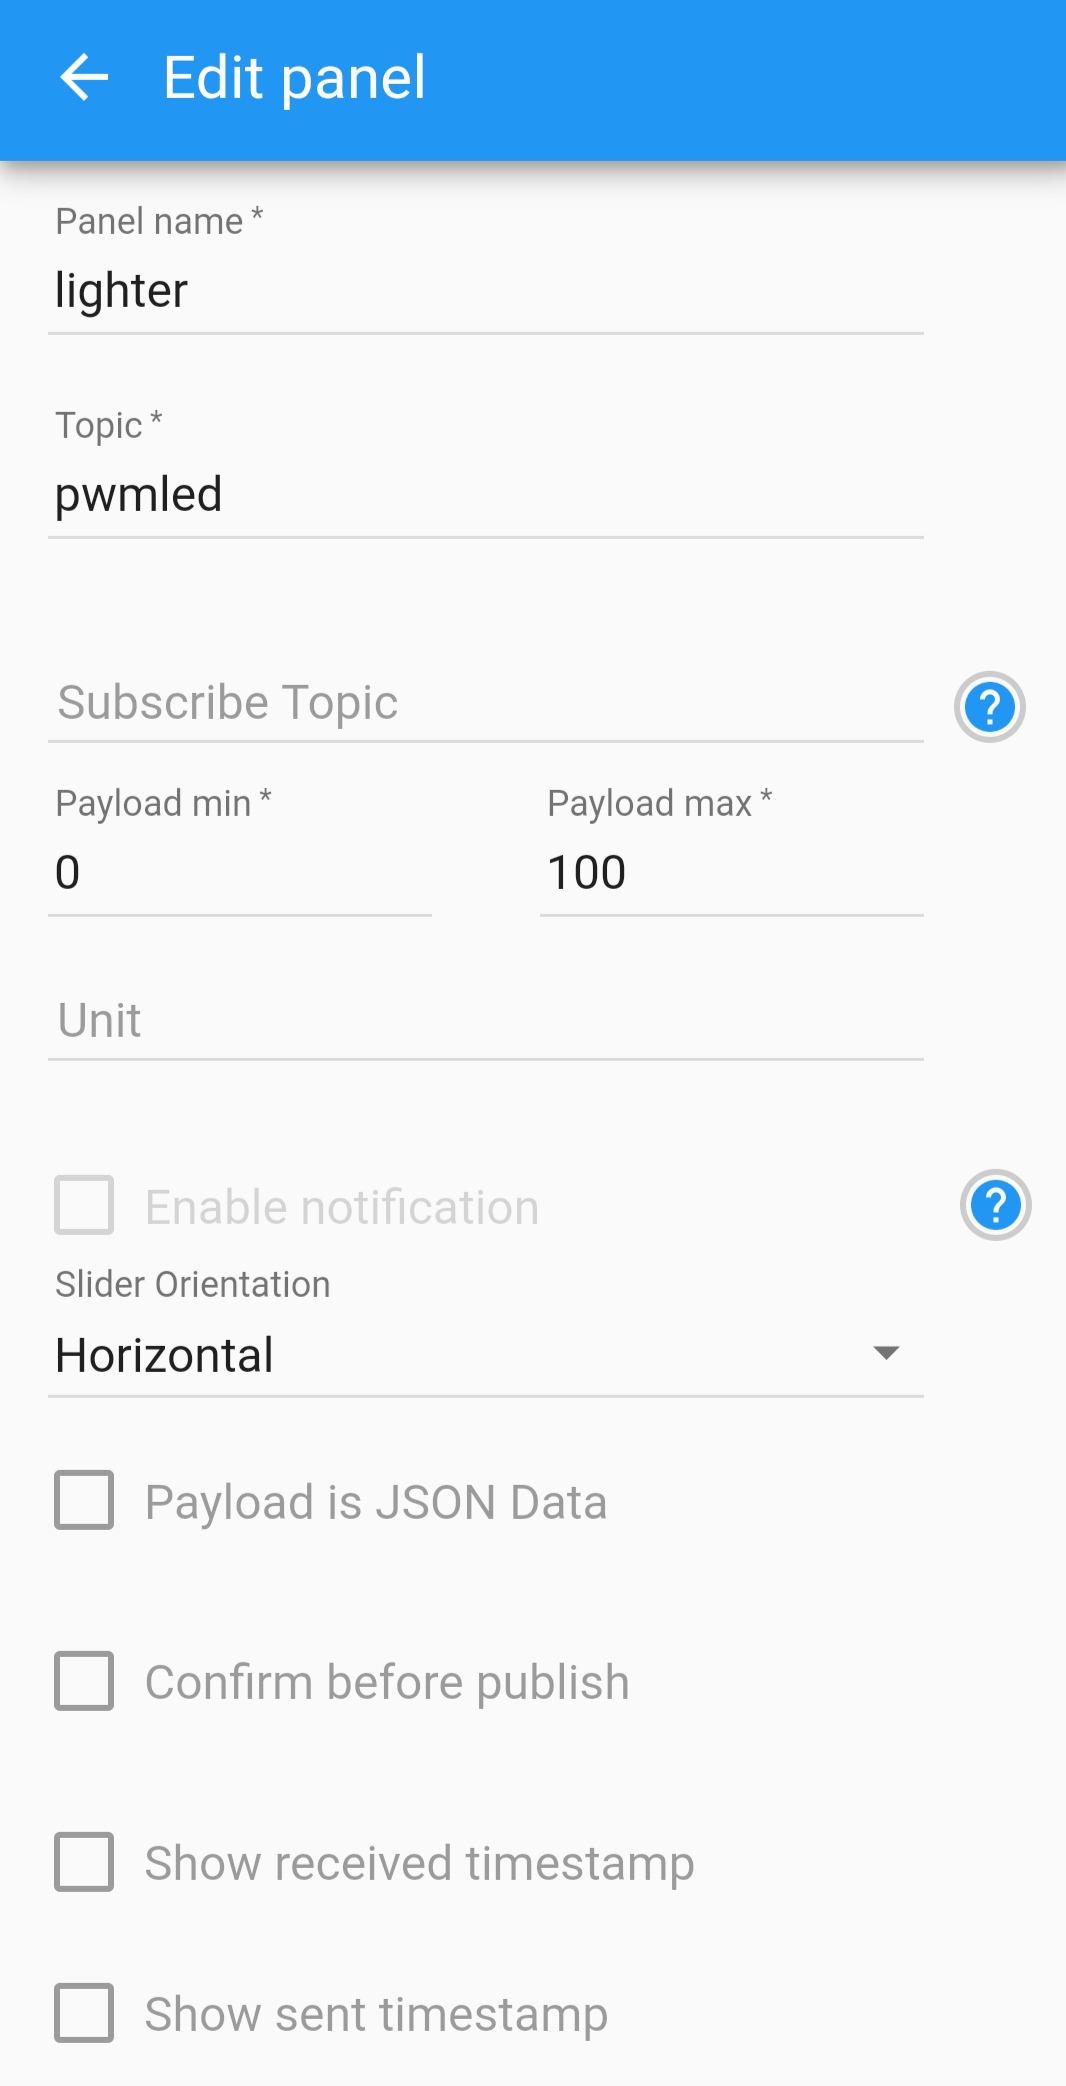
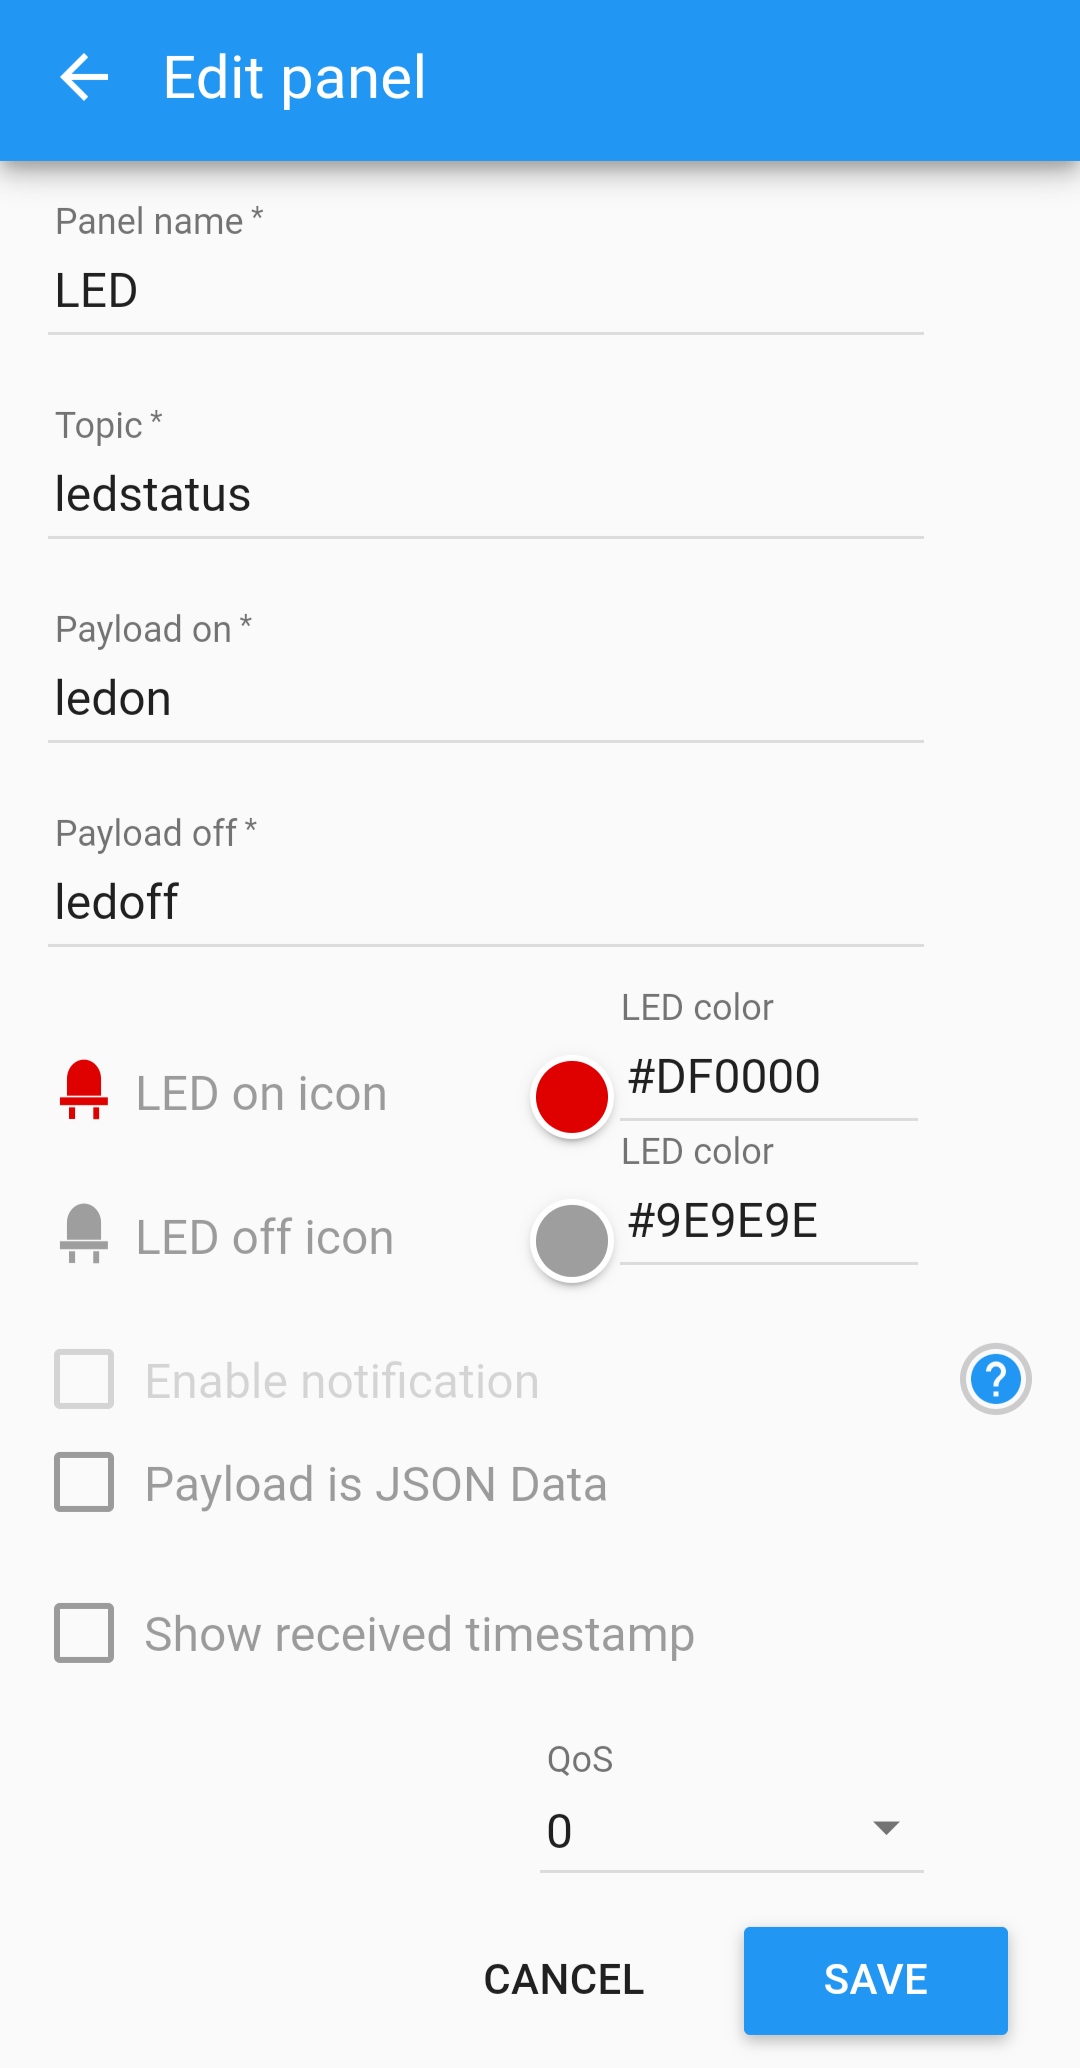
这理解释下:Topic可以理解为一个通道,比如开关,按下后会往ledctl这个通道里发ledon这个信息,再按一下会往ledctl通道里发ledoff这个信息,最终界面如下:
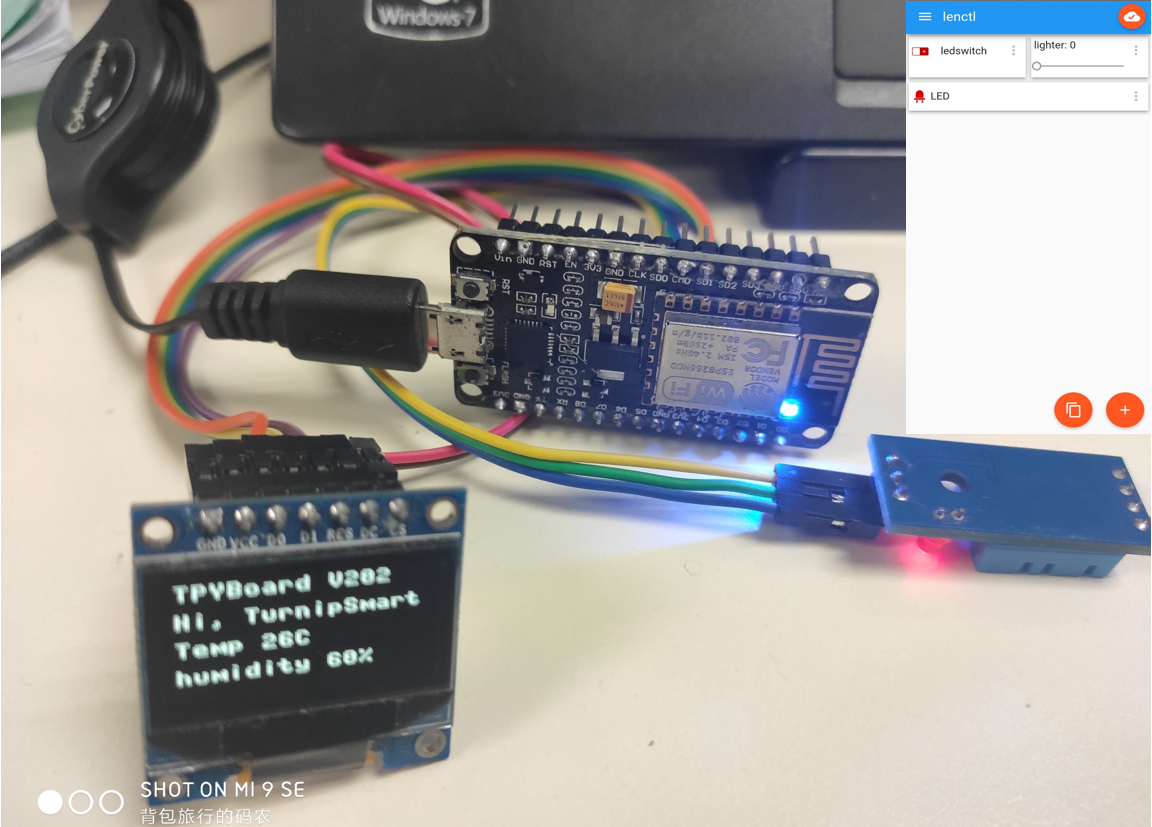
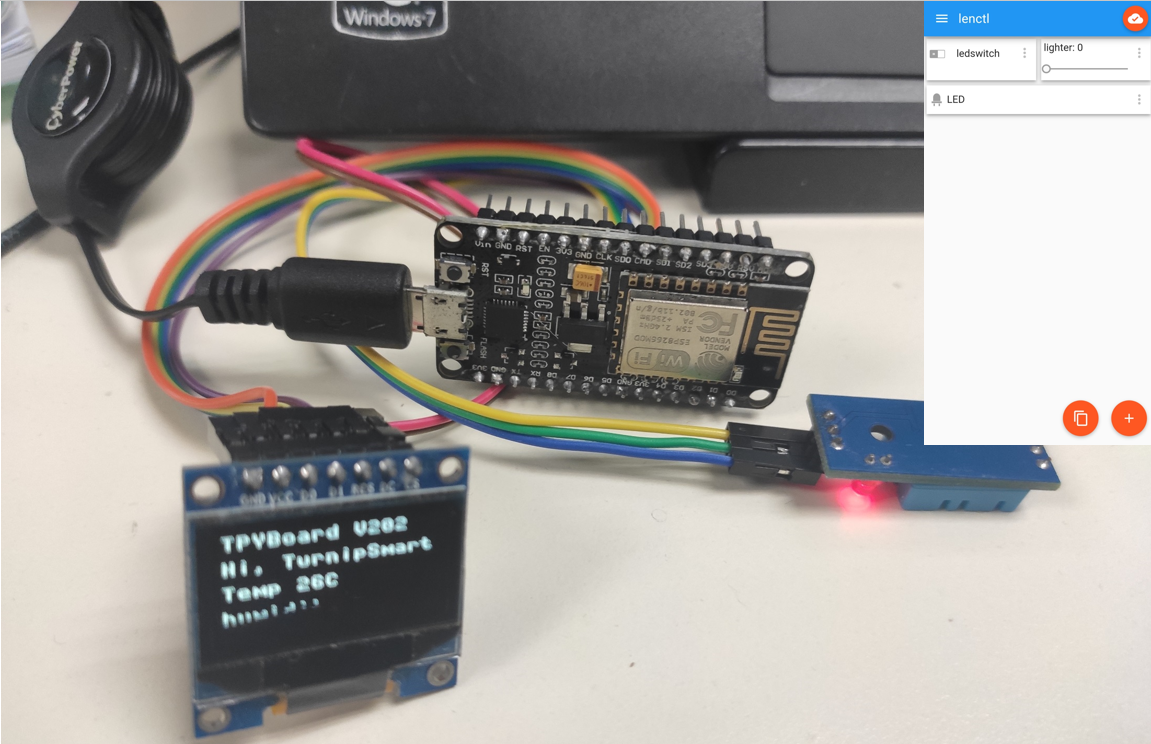
基于上面所有内,小白们都能很轻松的搭建IOT网络。