前言:
一、环境搭建
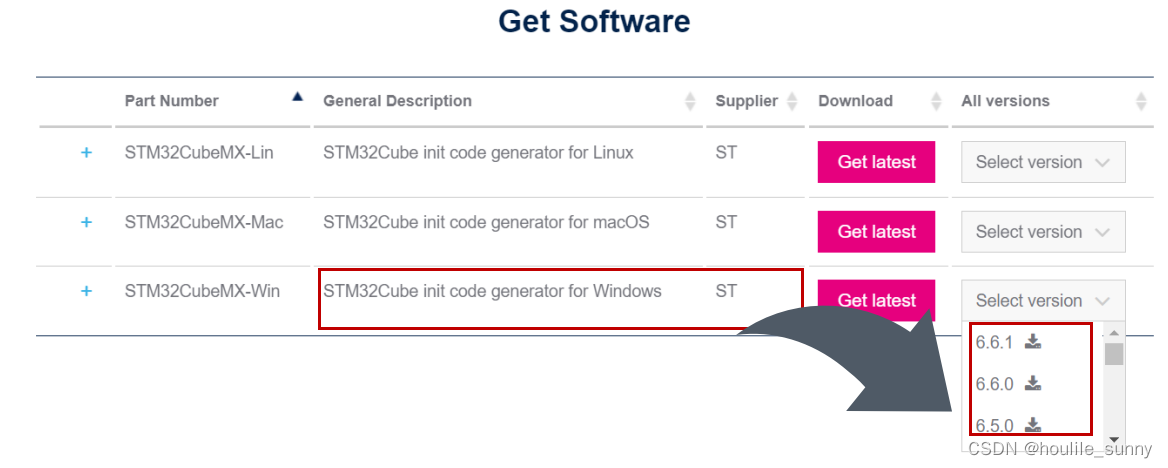
1. 下载STM32CuneMx
(1)官网下载地址:https://www.stmcu.com.cn/ecosystem/Cube/STM32cubemx
(2)地址2:STM32CubeMX - STM32Cube initialization code generator - STMicroelectronics
(3)也可以在电脑上自带的应用软件商店下载。
前两种方式下载官方回一个下载链接到邮箱才可以下载,第三种方法直接下载就ok了。
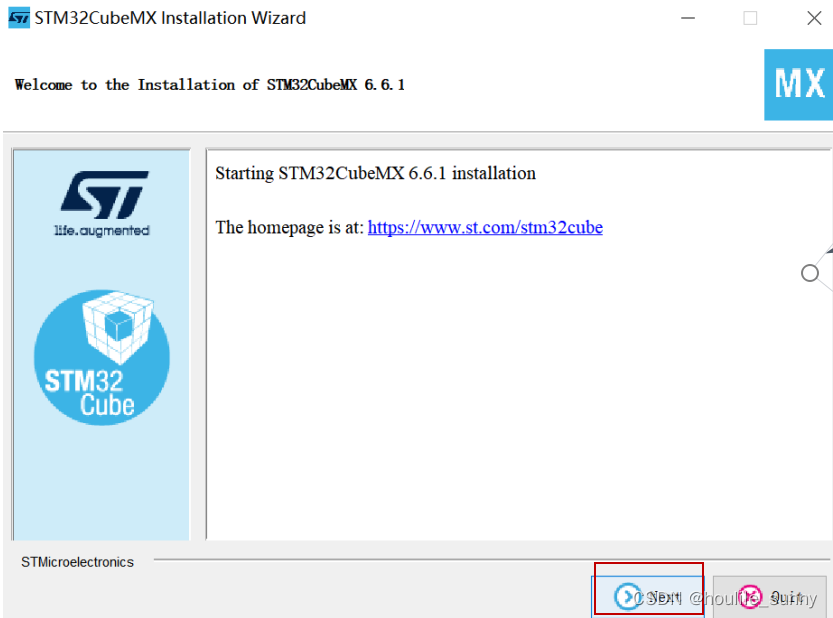
2.安装CubeMx
(1)在欢迎界面,“next”;
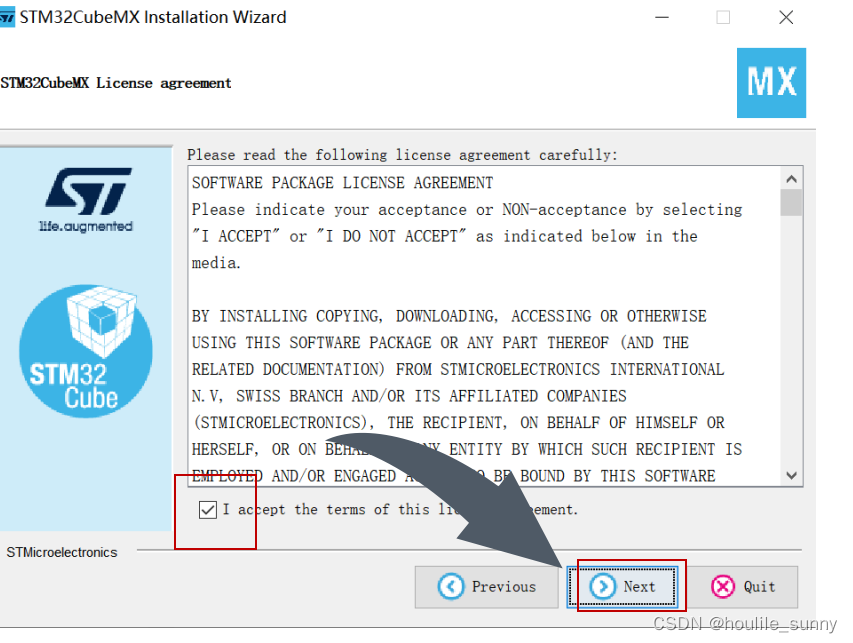
(2)勾选用户同意,“Next”;
(3)勾选第一个选项,“Next”
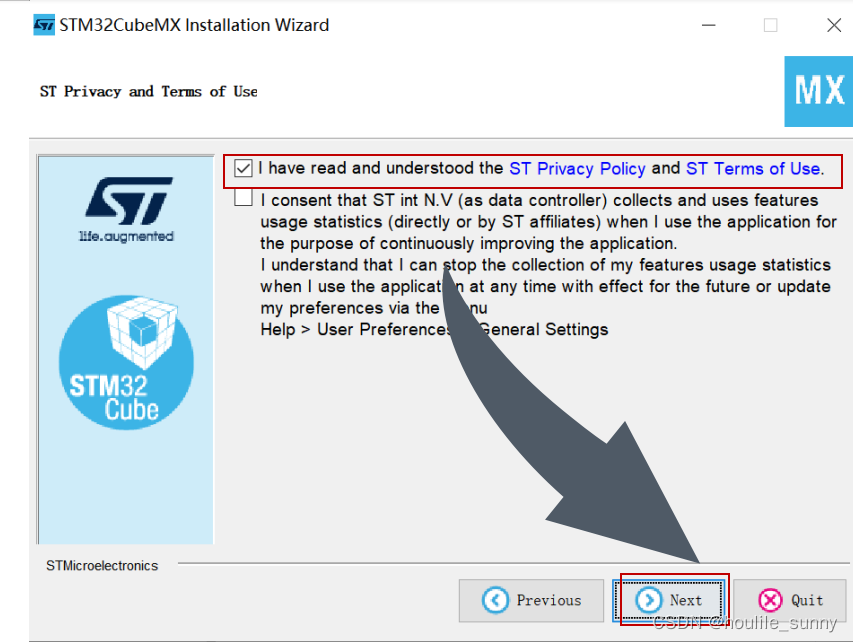
(4)选择安装路径,“Next”

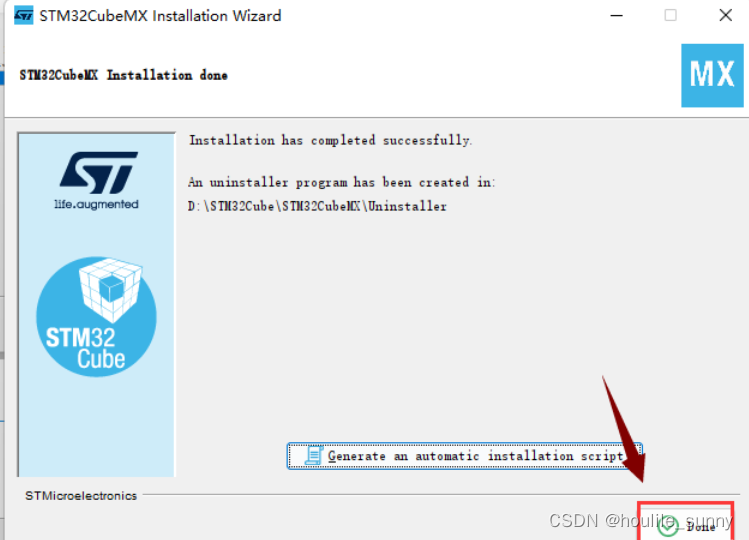
(5)等待安装即可。
3.安装HAL库
HAL库,有在线安装、离线安装两种方式。
在这里只介绍在线安装(比较快捷)
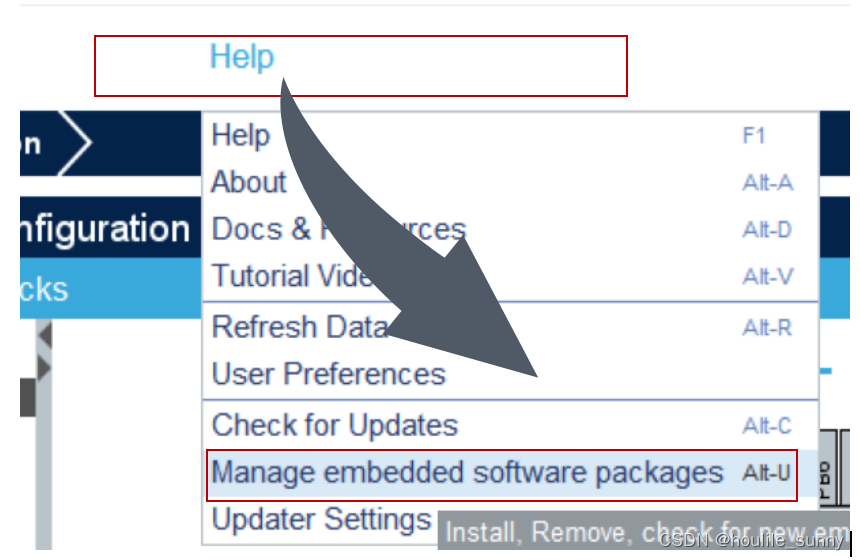
(1)打开安装好的 STM32CubeMX 软件 ,点击上面的Help -> Manage embedded software packages。
(2)选择自己的芯片型号
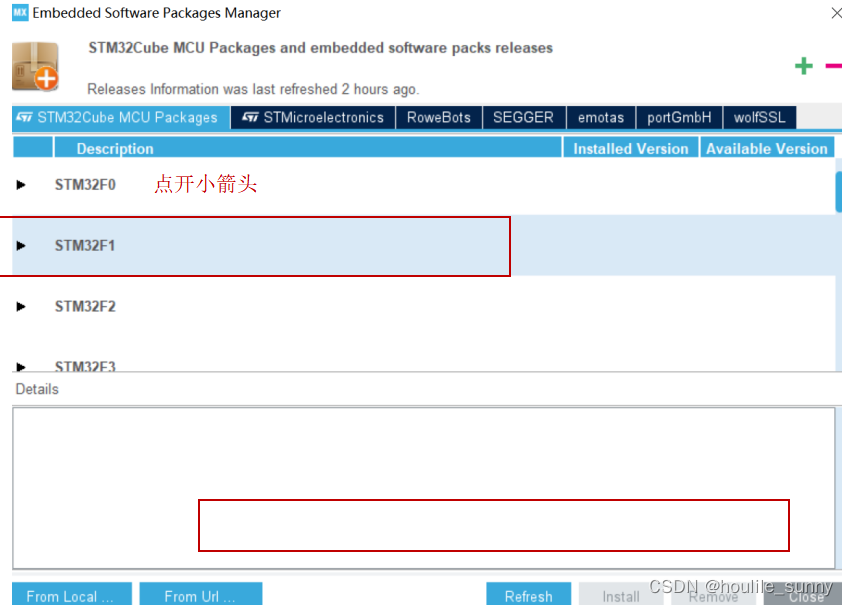
(2)勾选上要安装的HAL库, 点击“Install Now” 直到安装成功。
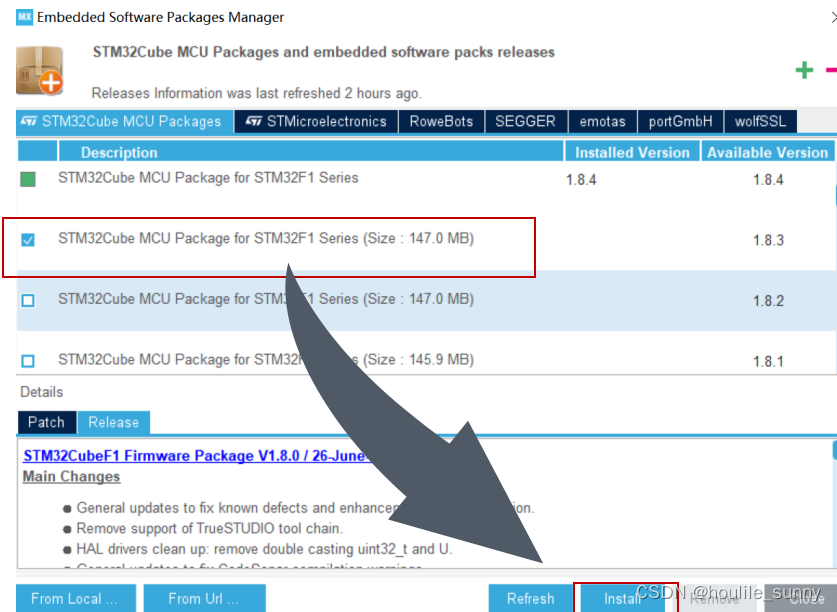
STM32CubeMx安装完成!
二、CubeMx配置完成点亮流水灯
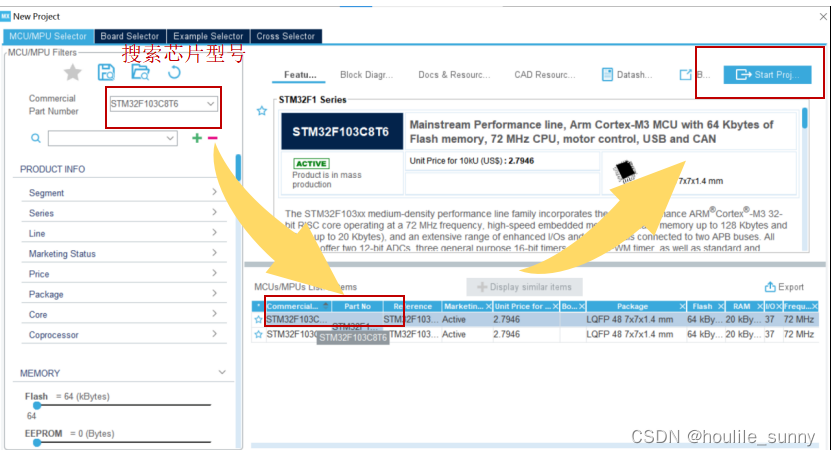
1.新建工程
(1)“File”―“New Project”,完成工程创建。

(2)找到自己需要的芯片型号,“Start Project ”
2.环境配置
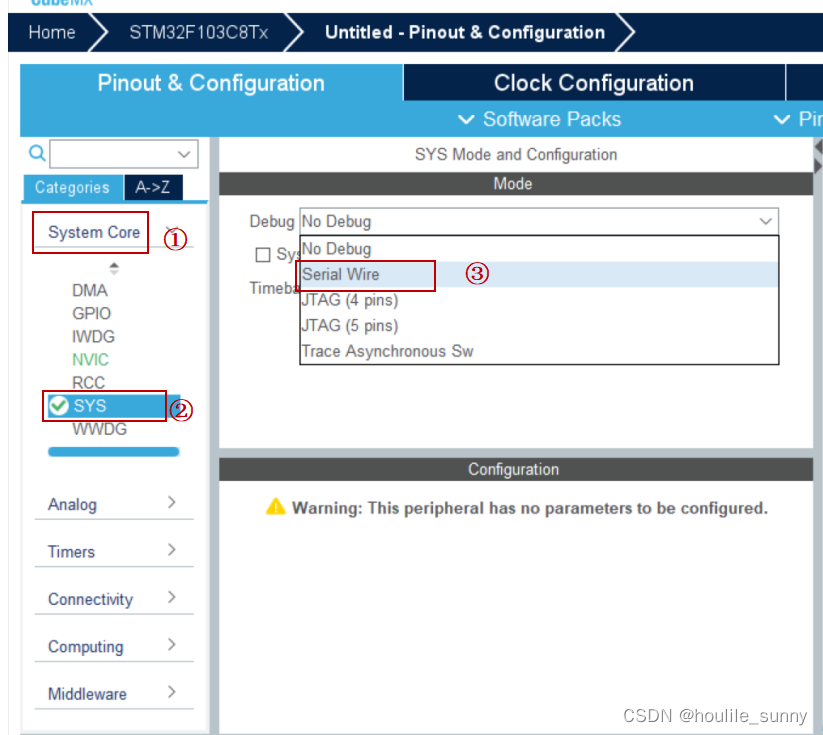
(1)选择System Core下的SYS,将Debug设置为Serial Wire:
这个根据自己的情况进行选择 :JTAG/SWD接口这是ALIENTEK精英STM32F103板载的20针标准JTAG调试口(JTAG),该JTAG口直接可以和ULINK、JLINK或者STLINK等调试器(仿真器)连接。
SW,Serial Wire 是串行调试接口,在本次实验中用这个即可
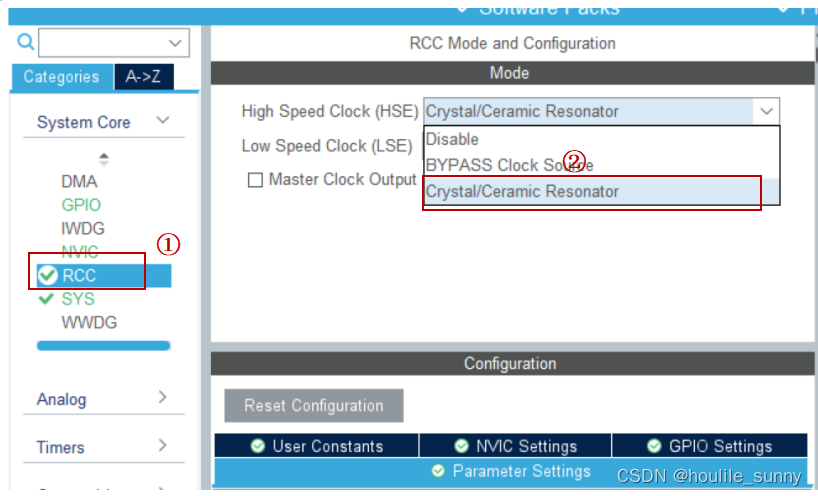
(2)时钟配置
在Cubemx晶振选择有3种:
Disable 这个是不用外部晶振;
Crystal/Ceramic Resontor 这个是用无源外部晶振;
BYPASS Clock Source 这个是有源外部晶振;
选择BYPASS Clock Source:系统时钟由外部提供
选择Crystal/Ceramic Resontor:系统时钟由外部晶振和芯片内部电路协作提供。
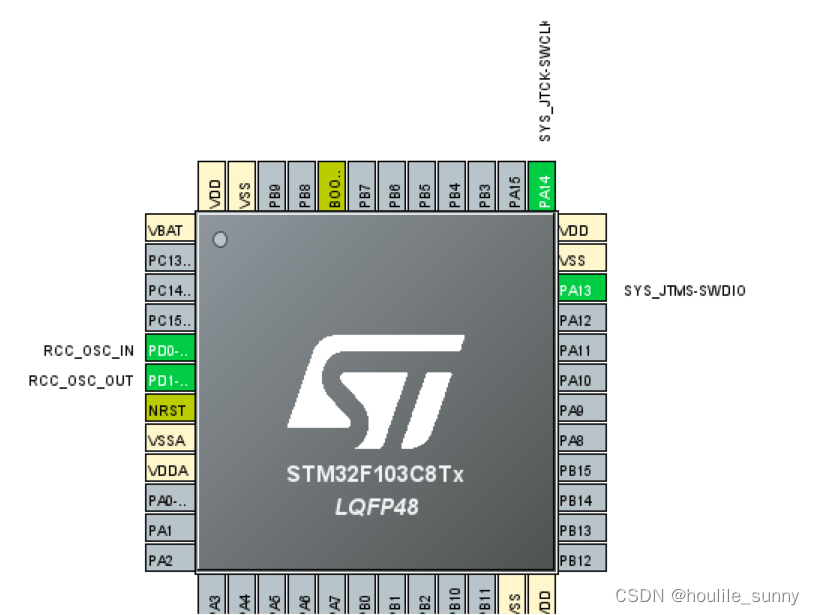
选择“RCC”-“HSE”-“Crystal/Ceramic Resontor”
配置完成后,芯片上的脚出现高亮。
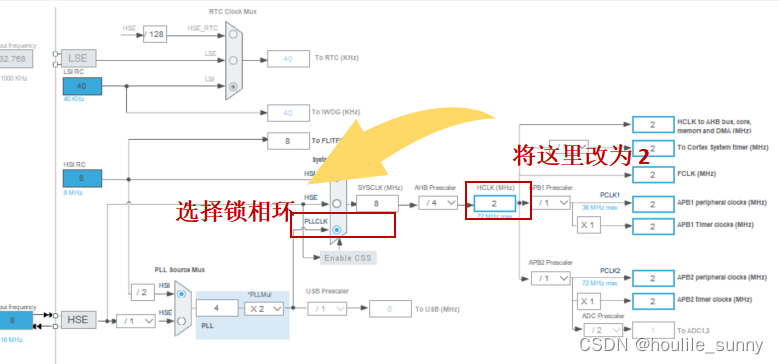
(3)继续时钟配置,限定最大时钟频率。
在“时钟树”下进行配置,将HCLK数值改为“2”,这样就设定了最大2MHz的HCKL的数值。
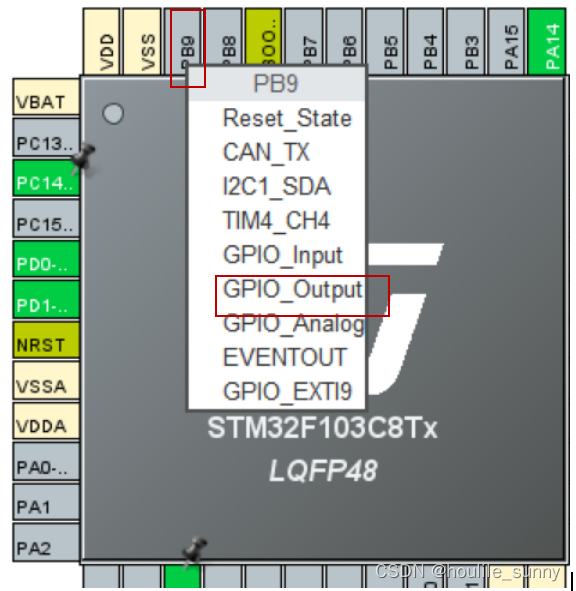
(4)GPIO配置
首先,找到PA5,PB9,PC14,右键,选择“GPIO_Output”
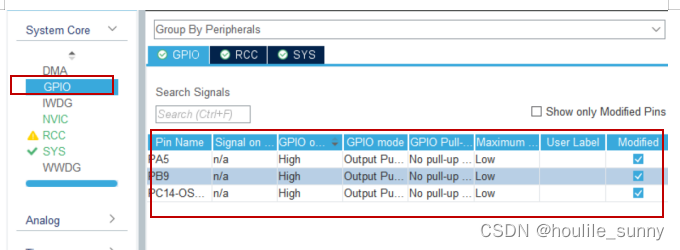
之后,点击右侧菜单栏的“GPIO”,将三个引脚的输出默认改为High,即高电平,输出模式默认“no pull up and no pull down”:如果引脚配置为output,一般选择no pull,这样,引脚才能根据你的output数据,进行正确输出。
(5)导出源代码
首先,在Project Manager下的Project中设置工程名称和工程路径,并选择编译软件:
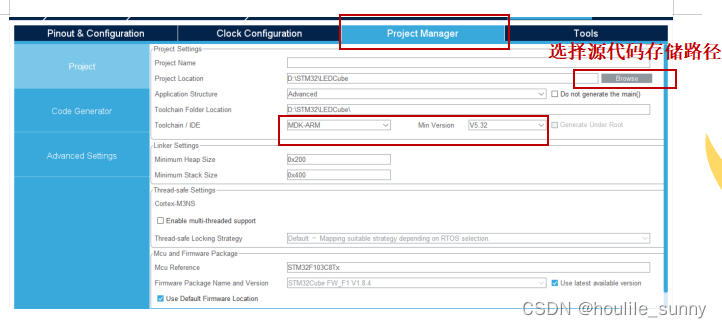
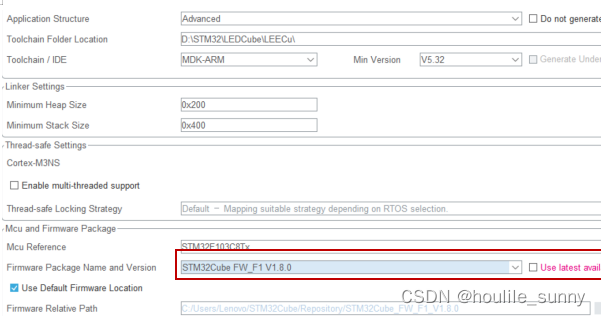
其次,取消勾选Use lastest available version,选择其他版本:
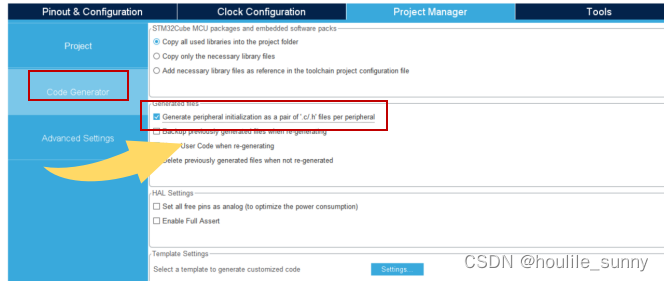
之后,在Code Generate中选择第一个,然后Generate Code,即生成代码:
最后,点击“Create Code”.
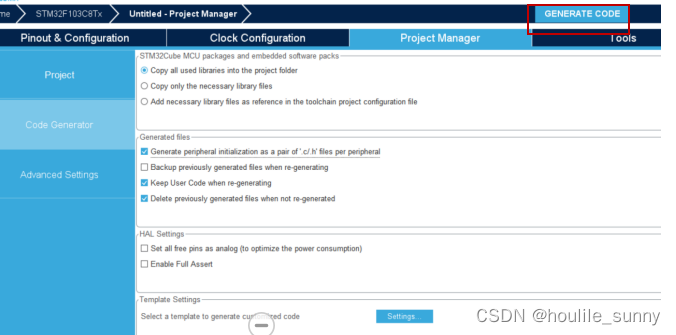
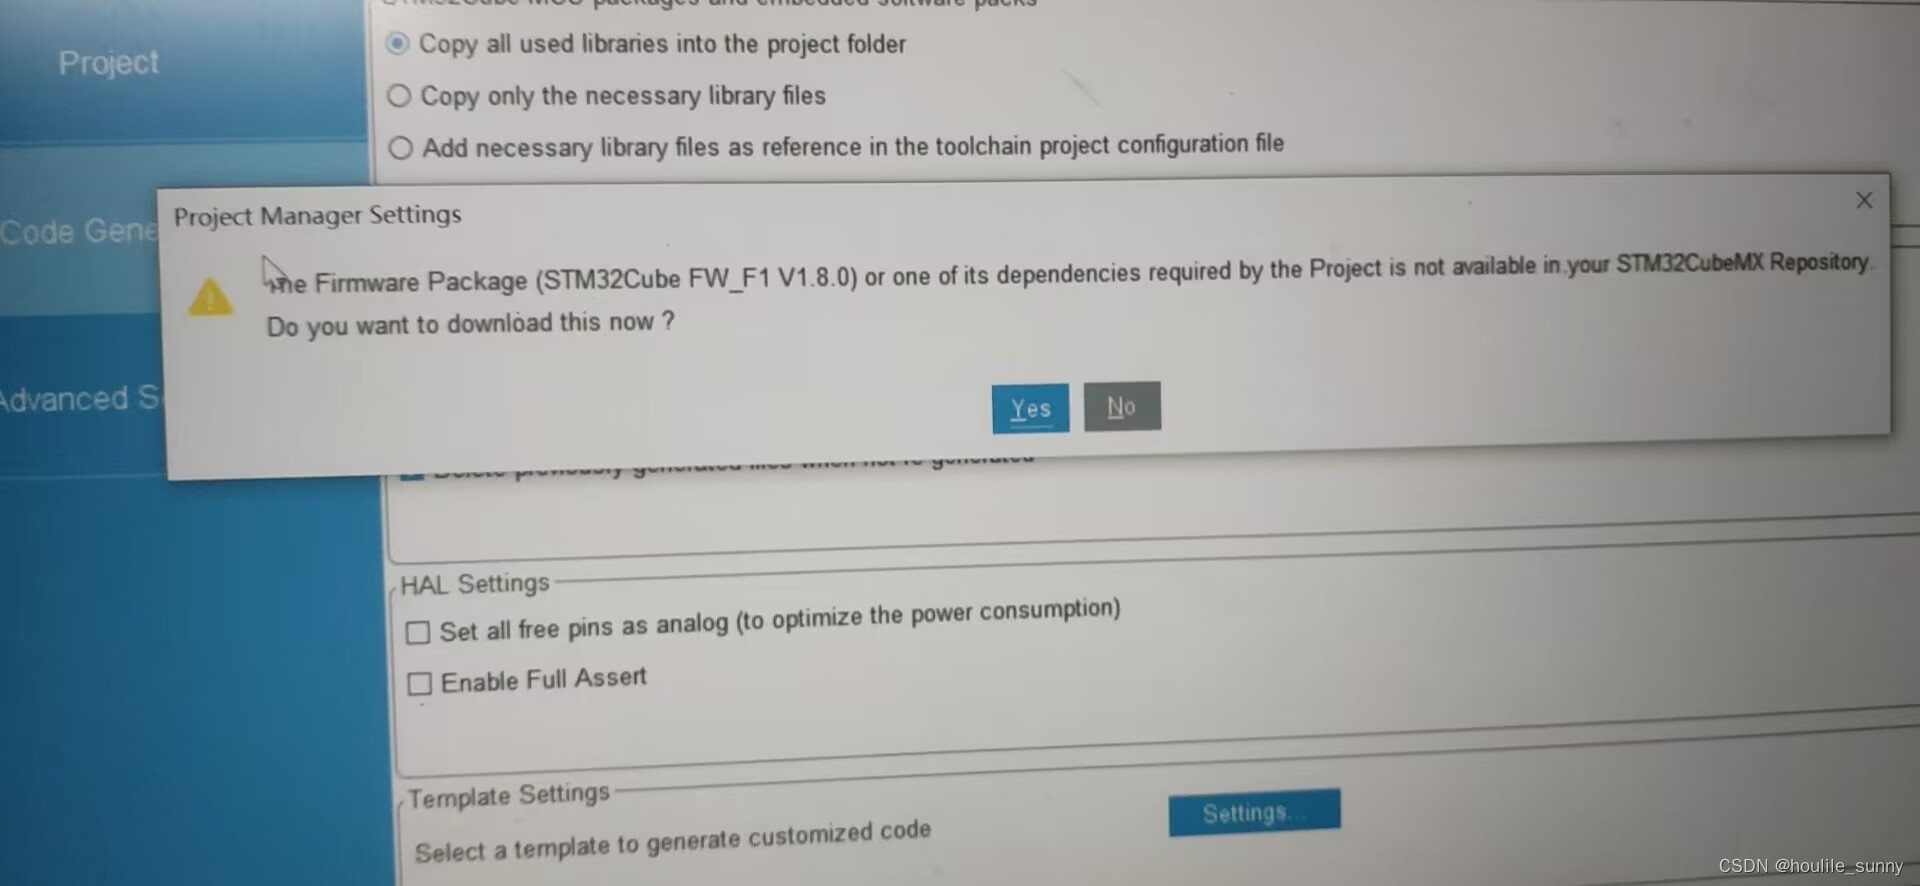
注意:如果生成代码过程中,出现以下情况,不要担心,是因为有依赖文件还未下载,点击“Yes”下载即可。
三、编写流水灯代码
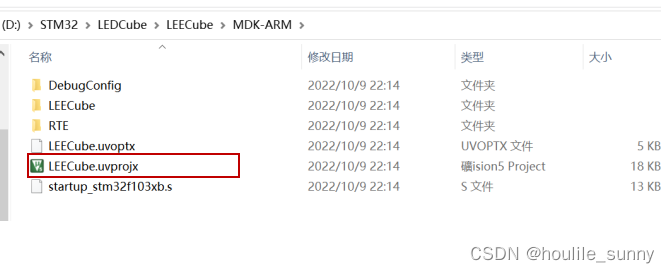
1.打开由CubeMx软件生成的代码。
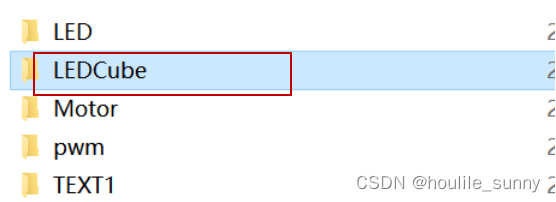
找到之前存放文件的文件路径,打开找到“MDK-ARM”,打开带有MDK标识的工程

2.编写main()函数代码
(1)找到main.c函数,在main函数体中的while()循环中写入使LED亮的代码
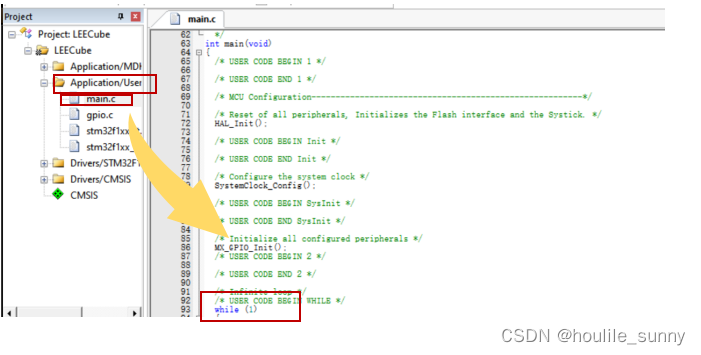
(2)在while()循环中写入如下代码:
HAL_GPIO_WritePin(GPIOA, GPIO_PIN_5, GPIO_PIN_RESET);  // 灯1亮
HAL_Delay(1000); // 延时1s
HAL_GPIO_WritePin(GPIOA, GPIO_PIN_5, GPIO_PIN_SET);  // 灯1灭

HAL_GPIO_WritePin(GPIOB, GPIO_PIN_9, GPIO_PIN_RESET);  // 灯2亮
HAL_Delay(1000); // 延时1s
HAL_GPIO_WritePin(GPIOB, GPIO_PIN_9, GPIO_PIN_SET);  // 灯2灭

HAL_GPIO_WritePin(GPIOC, GPIO_PIN_14, GPIO_PIN_RESET);  // 灯3亮
HAL_Delay(1000); // 延时1s
HAL_GPIO_WritePin(GPIOC, GPIO_PIN_14, GPIO_PIN_SET);  // 灯3灭
3.编译通过

四、软件仿真
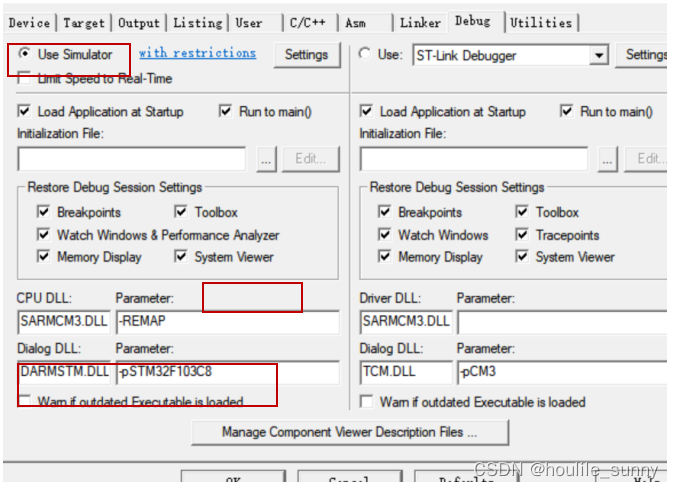
1.修改debug参数
勾选“Use Simulator”,修改Dialog DLL的内容为:DARMSTM.DLL
修改Parater内容为-p芯片选型
2.进入调试
(1)按下调试按钮“d”,进入调试

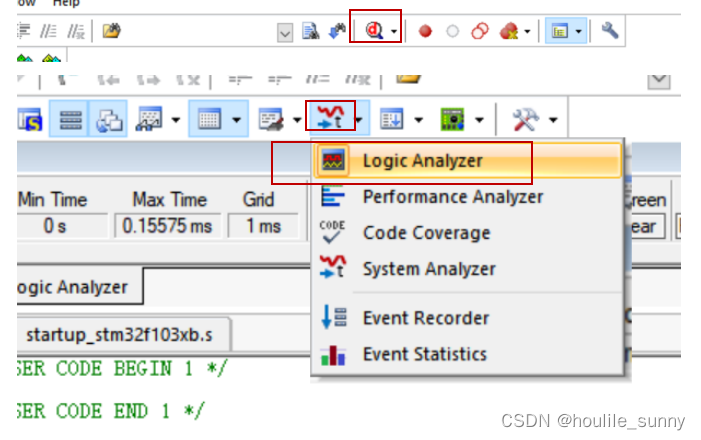
(2)点击“System Analyzer Window”-“Logic Analyzer”
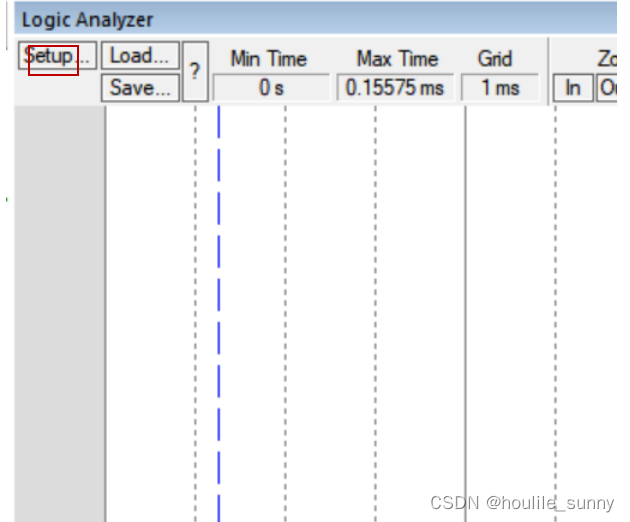
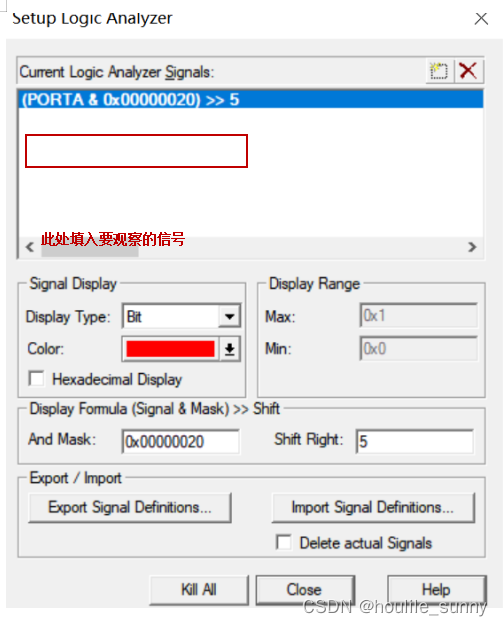
(3)点击“setup”,设置要观看的波形。
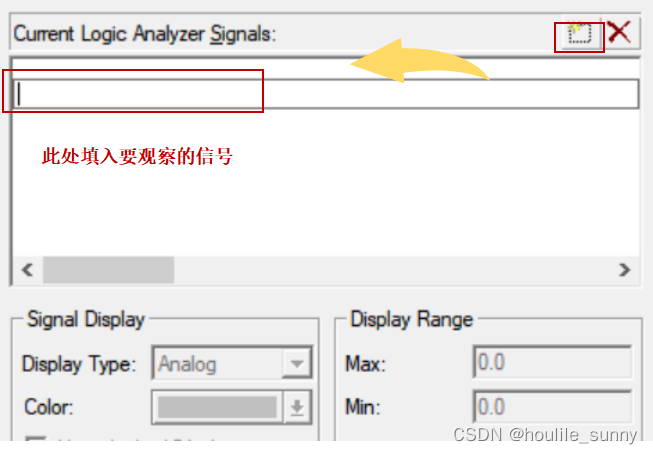
**比如:**假设要观察GPIOA的5号端口,输入信号PORTA.5,即可看到波形如图所示:
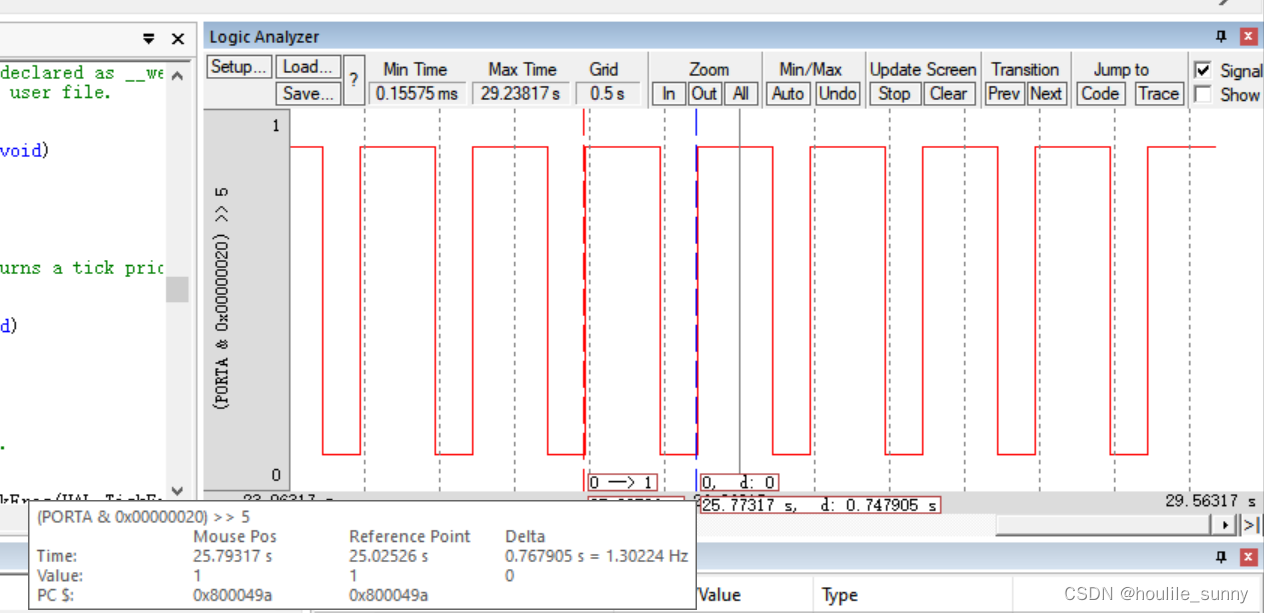
通过波形,发现周期并不是正好为1s。
(4)观察GPIOB_9,与GPIOC_14的波形,如图所示:
GPIOB_9:
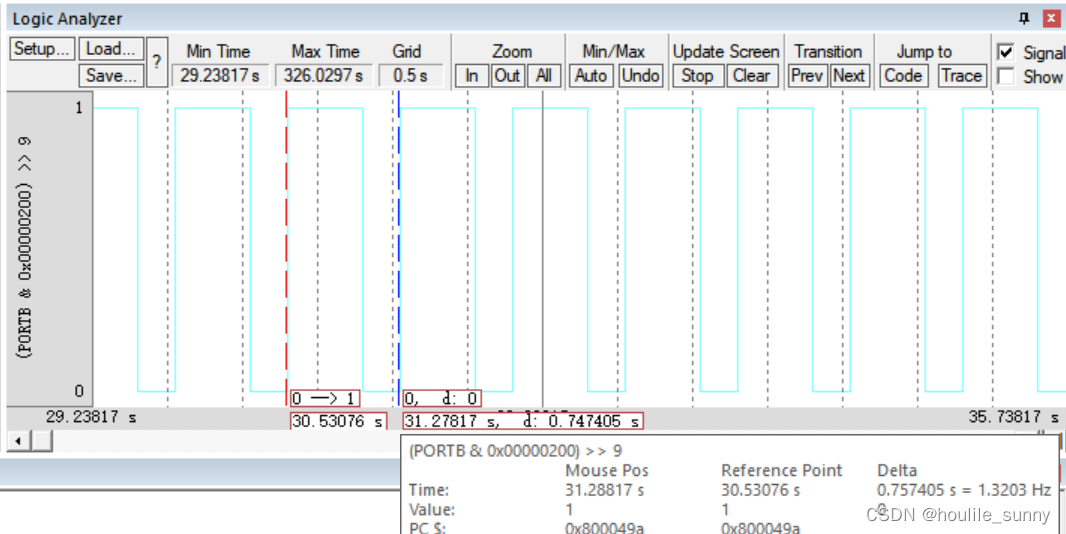
GPIOC_14:
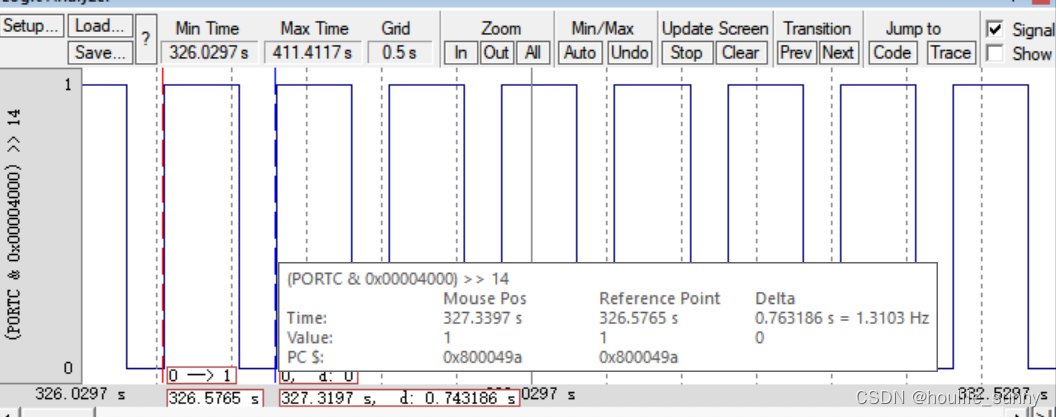
通过上述两个波形,发现周期并不是正好为1s.
五、硬件仿真
面包板和STM32的连接方式与博主之前的文章一样。