VsCode配置C++/C语言环境
第一步下载安装VsCode
下载链接:https://code.visualstudio.com/Download
第二步安装扩展
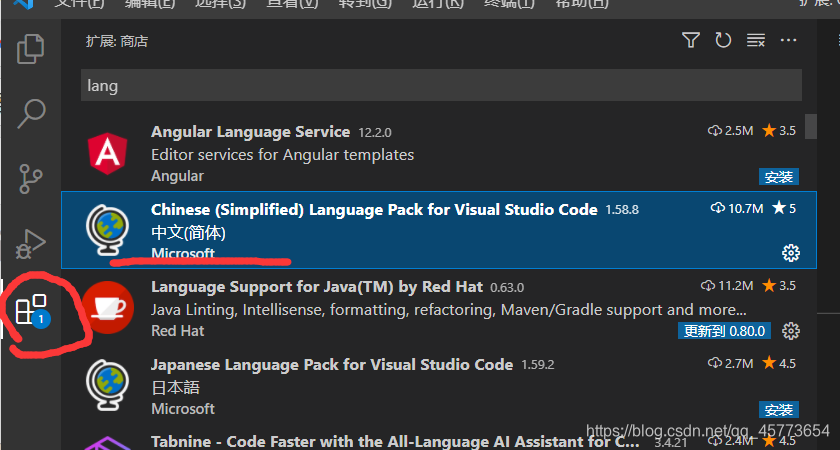
1.语言扩展,中文设置。

2.安装C++/C的有关扩展

安装完以上扩展,环境基本完成。
第三步配置环境。
1.项目的基本框架,可以自己创建。

其中hello.cpp就是你的代码。
2.安装MinGW64
如果你已经安装过Devc++不需要去重新安装MinGW64,你只需要去DevC++安装位置找找MinGW64文件就行。
如果你没有,可以去网上搜索如何安装。
强烈建议安装DevC++,然后保留其MinGW64文件,环境也不需要自己配置,十分方便。
Win+R打开cmd,输入g++,这样就是配置成功

2.json文件的相关内容
c_cpp_properties.json文件的内容
{
    "configurations": [
        {
            "name": "Win32",
            "includePath": [
                "${workspaceFolder}/**"
            ],
            "defines": [
                "_DEBUG",
                "UNICODE",
                "_UNICODE"
            ],
            "compilerPath": "D:\\C++\\devc++\\Dev-Cpp\\MinGW64\\bin\\gcc.exe",//这里需要修改成你的路径
            "cStandard": "c11",
            "cppStandard": "c++14",
            "intelliSenseMode": "windows-gcc-x64"
        }
    ],
    "version": 4
}
launch.json文件内容
{
    // 使用 IntelliSense 了解相关属性。
    // 悬停以查看现有属性的描述。
    // 欲了解更多信息,请访问: https://go.microsoft.com/fwlink/?linkid=830387
    "version": "0.2.0",
    "configurations": [
        {
            "name": "(gdb) 启动",
            "preLaunchTask": "C/C++: g++.exe 生成活动文件",
            "type": "cppdbg",
            "request": "launch",
            "program": "${fileDirname}\\a.exe",
            "args": [],
            "stopAtEntry": false,
            "cwd": "${workspaceFolder}",
            "environment": [],
            "externalConsole": true,
            "MIMode": "gdb",
            "miDebuggerPath": "D:\\C++\\devc++\\Dev-Cpp\\MinGW64\\bin\\gdb.exe",//这里也需要修改成你的路径
            "setupCommands": [
                {
                    "description": "为 gdb 启用整齐打印",
                    "text": "-enable-pretty-printing",
                    "ignoreFailures": true
                }
            ]
        }
    ]
}
tasks.json文件内容
{
	"version": "2.0.0",
	"tasks": [
		{
			"type": "cppbuild",
			"label": "C/C++: g++.exe 生成活动文件",
			"command": "D:\\C++\\devc++\\Dev-Cpp\\MinGW64\\bin\\g++.exe",//修改成你的路径
			"args": [
				"-g",
				"${file}",
				"-o",
				"${fileDirname}\\a.exe"
			],
			"options": {
				"cwd": "D:\\C++\\devc++\\Dev-Cpp\\MinGW64\\bin"//修改成你的路径
			},
			"problemMatcher": [
				"$gcc"
			],
			"group": {
				"kind": "build",
				"isDefault": true
			},
			"detail": "编译器: D:\\C++\\devc++\\Dev-Cpp\\MinGW64\\bin\\g++.exe"//修改成你的路径
		}
	]
}
配置好以上内容,基本能够成功。
在hello.cpp中编写代码。
运行:需要设置断点,鼠标移到数字左侧,点击红点,就是设置断点。然后运行->启用调试。或者F5

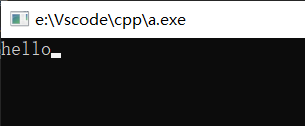
运行成功。

以上就是VsCode配置C++/C的基本操作,希望对你有所帮助。