ESP32 WiFi-AP模式下点灯控制程序
- 这是在VSCode里面的Platform环境下编译并上传的。
- 如需在ArduinoIDE环境下编译上传,直接拷贝过去粘贴,即可。注意选择对应的开发板。我选择的是
ESP Dev Module
#include <Arduino.h>
/*
WiFiAccessPoint.ino creates a WiFi access point and provides a web server on it.
Steps:
1. Connect to the access point "yourAp"
2. Point your web browser to http://192.168.4.1/H to turn the LED on or http://192.168.4.1/L to turn it off
OR
Run raw TCP "GET /H" and "GET /L" on PuTTY terminal with 192.168.4.1 as IP address and 80 as port
Created for arduino-esp32 on 04 July, 2018
by Elochukwu Ifediora (fedy0)
*/
#include <WiFi.h>
#include <WiFiClient.h>
#include <WiFiAP.h>
#define LED_BUILTIN 2 // Set the GPIO pin where you connected your test LED or comment this line out if your dev board has a built-in LED
// Set these to your desired credentials.
const char *ssid = "ESP32-AP";
const char *password = "";
WiFiServer server(80);
void setup()
{
pinMode(LED_BUILTIN, OUTPUT);
Serial.begin(115200);
Serial.println();
Serial.println("Configuring access point...");
// You can remove the password parameter if you want the AP to be open.
WiFi.softAP(ssid, password);
IPAddress myIP = WiFi.softAPIP();
Serial.print("AP IP address: ");
Serial.println(myIP);
server.begin();
Serial.println("Server started");
}
void loop()
{
WiFiClient client = server.available(); // listen for incoming clients
if (client)
{ // if you get a client,
Serial.println("New Client."); // print a message out the serial port
String currentLine = ""; // make a String to hold incoming data from the client
while (client.connected())
{ // loop while the client's connected
if (client.available())
{ // if there's bytes to read from the client,
char c = client.read(); // read a byte, then
Serial.write(c); // print it out the serial monitor
if (c == '\n')
{ // if the byte is a newline character
// if the current line is blank, you got two newline characters in a row.
// that's the end of the client HTTP request, so send a response:
if (currentLine.length() == 0)
{
// HTTP headers always start with a response code (e.g. HTTP/1.1 200 OK)
// and a content-type so the client knows what's coming, then a blank line:
client.println("HTTP/1.1 200 OK");
client.println("Content-type:text/html");
client.println();
// the content of the HTTP response follows the header:
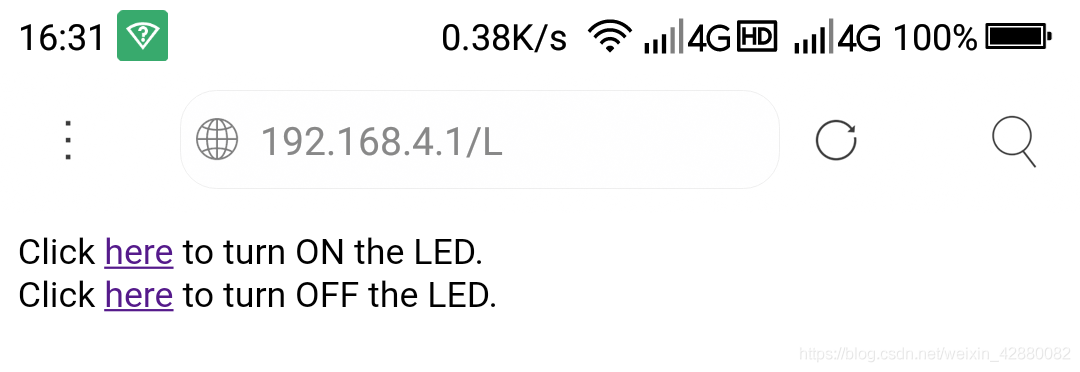
client.print("Click <a href=\"/H\">here</a> to turn ON the LED.<br>");
client.print("Click <a href=\"/L\">here</a> to turn OFF the LED.<br>");
// The HTTP response ends with another blank line:
client.println();
// break out of the while loop:
break;
}
else
{ // if you got a newline, then clear currentLine:
currentLine = "";
}
}
else if (c != '\r')
{ // if you got anything else but a carriage return character,
currentLine += c; // add it to the end of the currentLine
}
// Check to see if the client request was "GET /H" or "GET /L":
if (currentLine.endsWith("GET /H"))
{
digitalWrite(LED_BUILTIN, HIGH); // GET /H turns the LED on
}
if (currentLine.endsWith("GET /L"))
{
digitalWrite(LED_BUILTIN, LOW); // GET /L turns the LED off
}
}
}
// close the connection:
client.stop();
Serial.println("Client Disconnected.");
}
}
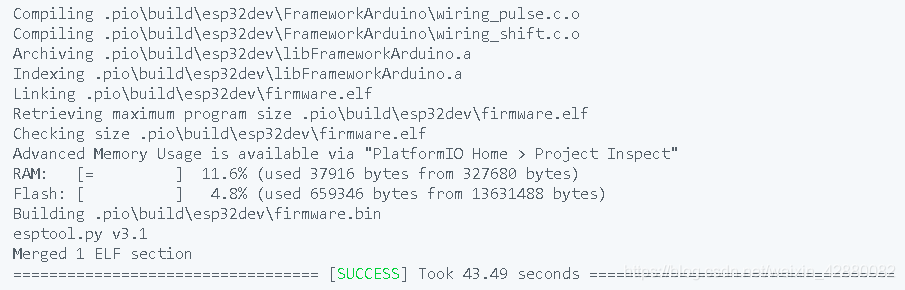
- 编译信息
- 手机连接ESP32-AP网络,浏览器登陆“192.168.4.1”页面进行点灯控制